1. Introduction
This manual provides detailed instructions for the installation, operation, and maintenance of your WEILAILIFE 5MP 6-Camera Wireless PTZ Security Camera System with 2TB DVR. Please read this manual thoroughly before using the product to ensure proper setup and functionality.

Image 1.1: Overview of the WEILAILIFE 5MP 6-Camera Wireless PTZ Security Camera System, showing six cameras, the NVR, a 2TB hard drive, and a remote control.
Package Contents:
- 5MP 2-Way Audio Wireless Security Camera x 6
- 10CH 8.0MP DVR with Pre-installed 2TB Hard Drive x 1
- 10FT Power Supply Cable for Camera x 6
- 3FT Power Supply Cable for DVR x 1
- USB Mouse x 1
- Remote Control x 1
- HDMI Cable x 1
- 3ft LAN Cable x 1
- Screw Kits x 6
- User Manual x 1
2. Setup
2.1 NVR Initial Setup
- Connect the NVR to a monitor using the provided HDMI cable.
- Connect the USB mouse to the NVR's USB port.
- Connect the NVR to your router using the LAN cable for network access.
- Connect the NVR power supply and plug it into an electrical outlet.
- The NVR will boot up and display the initial setup wizard on the monitor. Follow the on-screen instructions to configure basic settings such as language, time zone, and password.
2.2 Camera Installation and Connection
The cameras can be connected wirelessly or via a wired connection to the NVR.

Image 2.1: Illustration of dual-transmission mode, showing both wireless and wired connection options for the cameras to the NVR.
- Mounting: Choose suitable locations for your cameras, ensuring they have a clear field of view and are within range of the NVR's wireless signal or accessible for wired connection. Use the provided screw kits to securely mount each camera.
- Power: Connect each camera to its dedicated power supply and plug it into an electrical outlet.
- Wireless Connection: The cameras are designed for automatic wireless pairing with the NVR. Once powered on, they should connect to the NVR within minutes.
- Wired Connection (Optional): For enhanced stability or if wireless signal is weak, connect a camera directly to the NVR via an Ethernet cable.

Image 2.2: Depiction of a camera connected to power and wirelessly communicating with the NVR, highlighting the 'True Plug & Play' feature.
2.3 Mobile App Setup
Download the free "HonestView" app from the App Store (iOS) or Google Play Store (Android) to view your cameras remotely.
- Install the "HonestView" app on your smartphone or tablet.
- Register a new account or log in if you already have one.
- Add your NVR system to the app by scanning the QR code displayed on the NVR's monitor or by manually entering the device ID.
- Ensure your mobile device is connected to a 2.4GHz Wi-Fi network during the initial setup process.
3. Operating Instructions
3.1 Live View and Recording
Once the system is set up, you can view live footage from all cameras on the connected monitor or via the HonestView app. The NVR continuously records footage to the pre-installed 2TB hard drive.

Image 3.1: Illustration showing the NVR providing 24/7 video and audio recording capabilities.
3.2 Two-Way Audio
Each camera is equipped with a built-in microphone and speaker, enabling two-way audio communication.
- From the HonestView app, select the desired camera.
- Tap the microphone icon to speak through the camera's speaker.
- Audio from the camera's microphone will be transmitted to your device.

Image 3.2: A delivery person interacting with a resident via the camera's two-way audio feature.
3.3 PTZ Control (Pan, Tilt, Zoom)
The PTZ (Pan-Tilt-Zoom) cameras offer flexible viewing angles.
- Pan: Rotate the camera horizontally up to 355 degrees.
- Tilt: Adjust the camera vertically up to 90 degrees.
- Digital Zoom: Zoom in on specific areas of interest.
- Control these functions via the NVR interface using the mouse or through the HonestView mobile app.

Image 3.3: Illustration of the camera's auto-tracking capability, following a moving subject.

Image 3.4: Diagram showing how to set and utilize preset points for quick camera positioning to monitor different areas around a house.
3.4 Motion Detection and Alerts
Configure motion detection zones and sensitivity settings through the NVR interface or the mobile app.
- When motion is detected, the system can trigger various alerts: APP push notifications, email alerts, or an audible buzzer from the NVR.
- The system supports AI detection for more accurate alerts.

Image 3.5: Visual representation of motion detection triggering alerts via app push, email, and buzzer.
3.5 Night Vision
The cameras are equipped with 8 infrared LED arrays for enhanced night vision, providing clear surveillance in low-light conditions up to 65 feet.

Image 3.6: Comparison of daytime view and infrared night vision, demonstrating clear visibility in darkness.
3.6 Playback and Storage
The NVR comes with a pre-installed 2TB hard drive for continuous recording. You can review recorded footage through the NVR interface or the HonestView app.
- Playback: Access the playback function on the NVR or app to view recorded events.
- Storage Options: In addition to the 2TB HDD, the system supports dual TF card slots (cards not included) and cloud storage options for flexible data retention.
- The system utilizes H.265+ video compression for efficient storage, reducing file sizes compared to H.264 while maintaining video quality.

Image 3.7: Screenshot of the mobile app interface showing options for NVR HDD playback, SD card storage, and cloud storage.
4. Maintenance
4.1 Cleaning
- Regularly clean the camera lenses with a soft, dry cloth to ensure clear image quality.
- Wipe the NVR and camera bodies with a damp cloth as needed. Avoid using harsh chemicals.
4.2 Firmware Updates
Periodically check the HonestView app or the manufacturer's website for available firmware updates. Keeping your system updated ensures optimal performance and security.
4.3 Hard Drive Management
The 2TB hard drive will automatically overwrite the oldest footage when full. You can configure recording schedules and retention policies through the NVR settings.
5. Troubleshooting
Common Issues and Solutions:
- No Video Display: Ensure all power cables are securely connected to the NVR and cameras. Verify the monitor is correctly connected to the NVR via HDMI/VGA.
- Cameras Not Connecting: Check if cameras are powered on. Ensure they are within wireless range of the NVR. If issues persist, try re-pairing cameras or using a wired connection.
- No Remote Viewing on App: Confirm the NVR is connected to the internet via the LAN cable. Check your phone's internet connection. Ensure the HonestView app is updated and the NVR is correctly added to your account.
- Motion Detection Not Working: Verify motion detection settings (zones, sensitivity) are correctly configured in the NVR or app. Ensure the camera lens is clean and unobstructed.
- Poor Night Vision: Ensure the camera lens is clean. Check for any obstructions blocking the infrared LEDs.
6. Specifications
| Feature | Specification |
|---|---|
| Brand | WEILAILIFE |
| Model Number | 360° PT Digital Zoom |
| Connectivity Technology | IEEE802.11 1/n/f, Wi-Fi, Wireless |
| Video Capture Resolution | 2536 x 1944 (5.0 Megapixel) |
| Special Features | HD 5.0 Megapixel, 2-Way Audio, No Monthly Fee App, PTZ Digital Zoom |
| Number of Channels | 10 (Expandable) |
| Memory Storage Capacity | 2 TB (Pre-installed HDD) |
| Operating System | Linux |
| Recommended Uses | Indoor, Outdoor |
| Other Camera Features | 2-Antennas Enhancement, 2-Way Audio |
| Low Light Technology | 860nm Infrared LED Array Super Night Vision |
| Night Vision Range | 65 Feet |
| Frame Rate | 15 fps |
| Recording Mode | Event, Manual |
| Total USB Ports | 2 |
| Hardware Interface | HDMI, USB, VGA |
| Lens Type | Wide Angle |
| Video Input | IP Digital Camera, RJ45 |
| Viewing Angle | 360 Degrees (PTZ capability) |
| IP Rating | IP66 Waterproof |
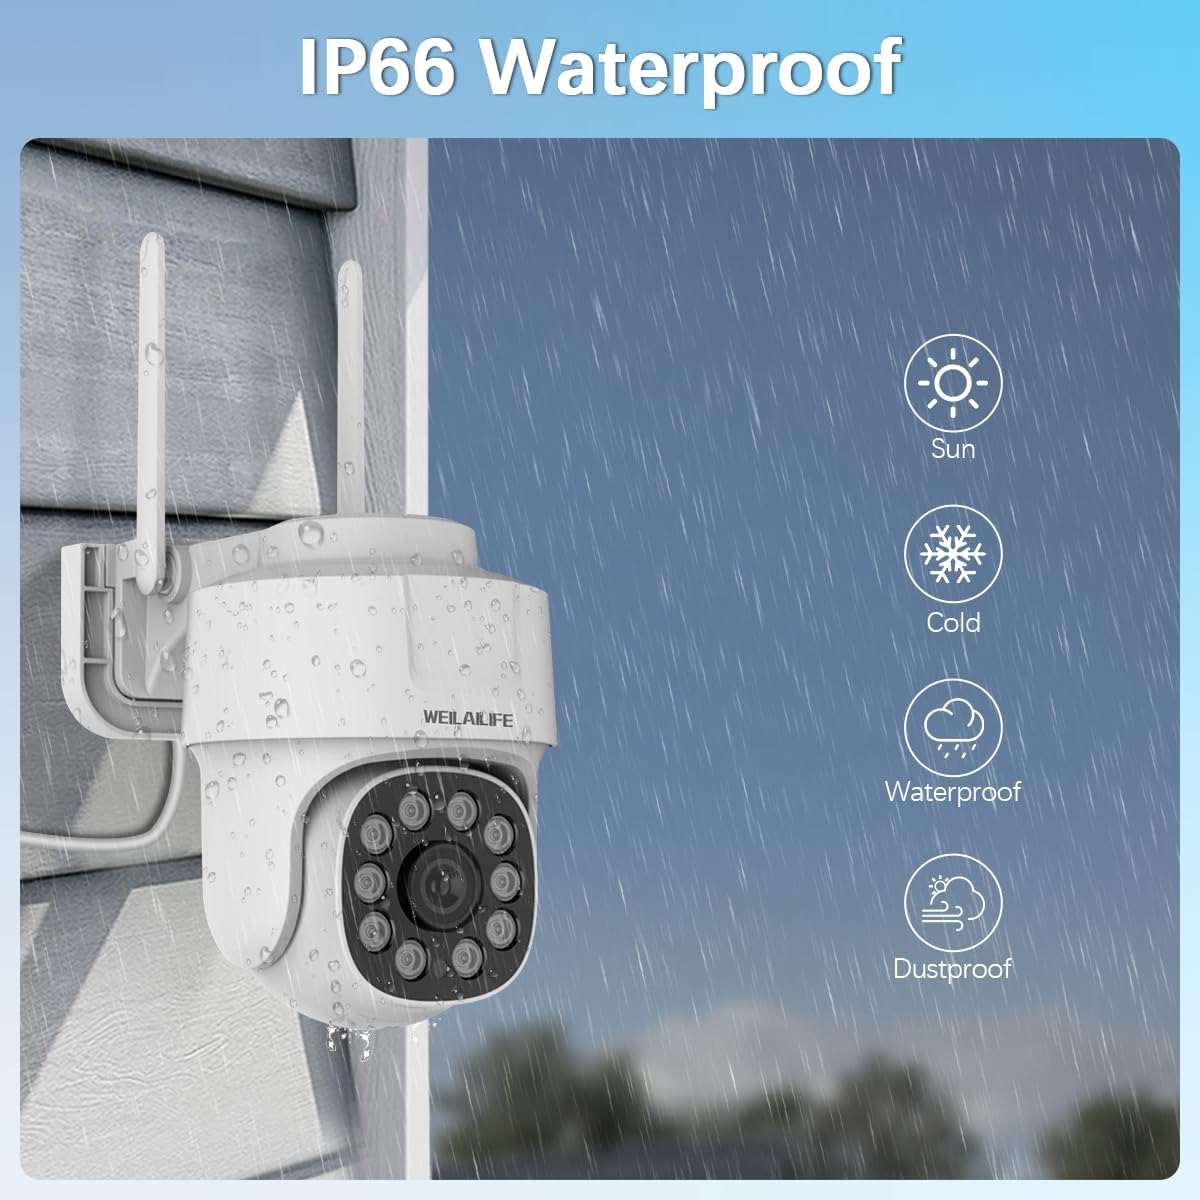
Image 6.1: The camera's IP66 waterproof rating, indicating resistance to various weather conditions.
7. Warranty and Support
7.1 Warranty Information
For specific warranty details, please refer to the product packaging or contact WEILAILIFE customer support. Protection plans may be available for extended coverage.
7.2 Customer Support
If you encounter any issues or have questions regarding your WEILAILIFE security camera system, please contact our customer support team. Refer to the contact information provided on the product packaging or the official WEILAILIFE website for assistance.