1. Introduction
The OSRAM BATTERYcharge SOLAR 100W is a high-performance portable solar panel designed for charging and maintaining 12V leisure batteries. Featuring monocrystalline solar cells within a robust aluminum frame, it delivers up to 100W of free solar energy. This panel is suitable for caravans, motorhomes, RVs, and general outdoor use. It includes a 12V/10A charge controller with a USB output, preventing overcharging and allowing for small device charging. Its water-resistant design (IP65) and sturdy aluminum stand ensure durability. The plug-and-play setup makes it easy to use, and its lightweight, foldable design is ideal for off-grid adventures, even in cloudy conditions. It comes with a 5m battery cable and connecting clamps for immediate use.
2. Safety Information
- Always read and understand all instructions before using the product.
- Do not attempt to modify or disassemble the solar panel or charge controller. Unauthorized modifications can be dangerous and will void the warranty.
- Ensure proper ventilation around the battery during charging to prevent gas buildup.
- Wear appropriate personal protective equipment, such as eye protection, when working with batteries.
- Avoid short-circuiting the battery terminals or the solar panel output.
- Keep the solar panel and all electrical connections dry. Although the panel is IP65 rated, the connections should be protected from direct water exposure.
- Keep out of reach of children.
- Dispose of batteries and electronic components according to local regulations.
3. Package Contents
Verify that all components are present in the package:
- OSRAM BATTERYcharge SOLAR 100W Portable Solar Panel
- Integrated 12V/10A Charge Controller
- 5m Battery Lead with Connecting Clamps
- Integrated Aluminum Stand
- User Manual (this document)
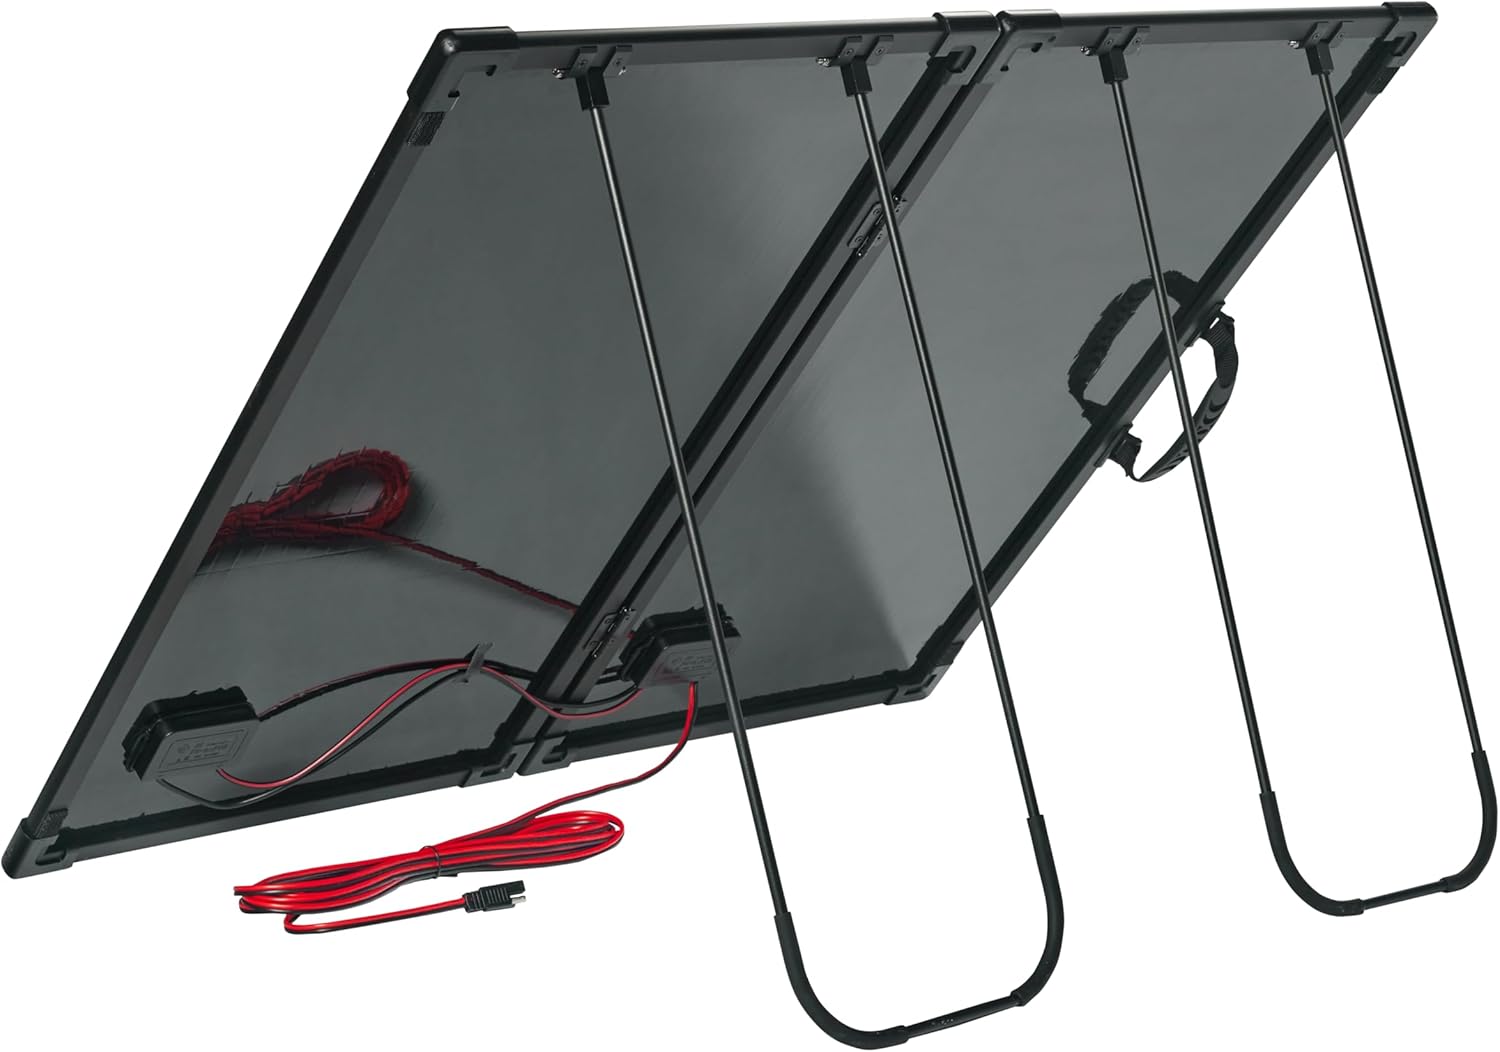
Image 3.1: The OSRAM BATTERYcharge SOLAR 100W panel with its carry bag, charge controller, and battery clamps.
4. Product Overview
The OSRAM BATTERYcharge SOLAR 100W is a compact and efficient power solution. It features high-efficiency monocrystalline cells and a durable design for various applications.
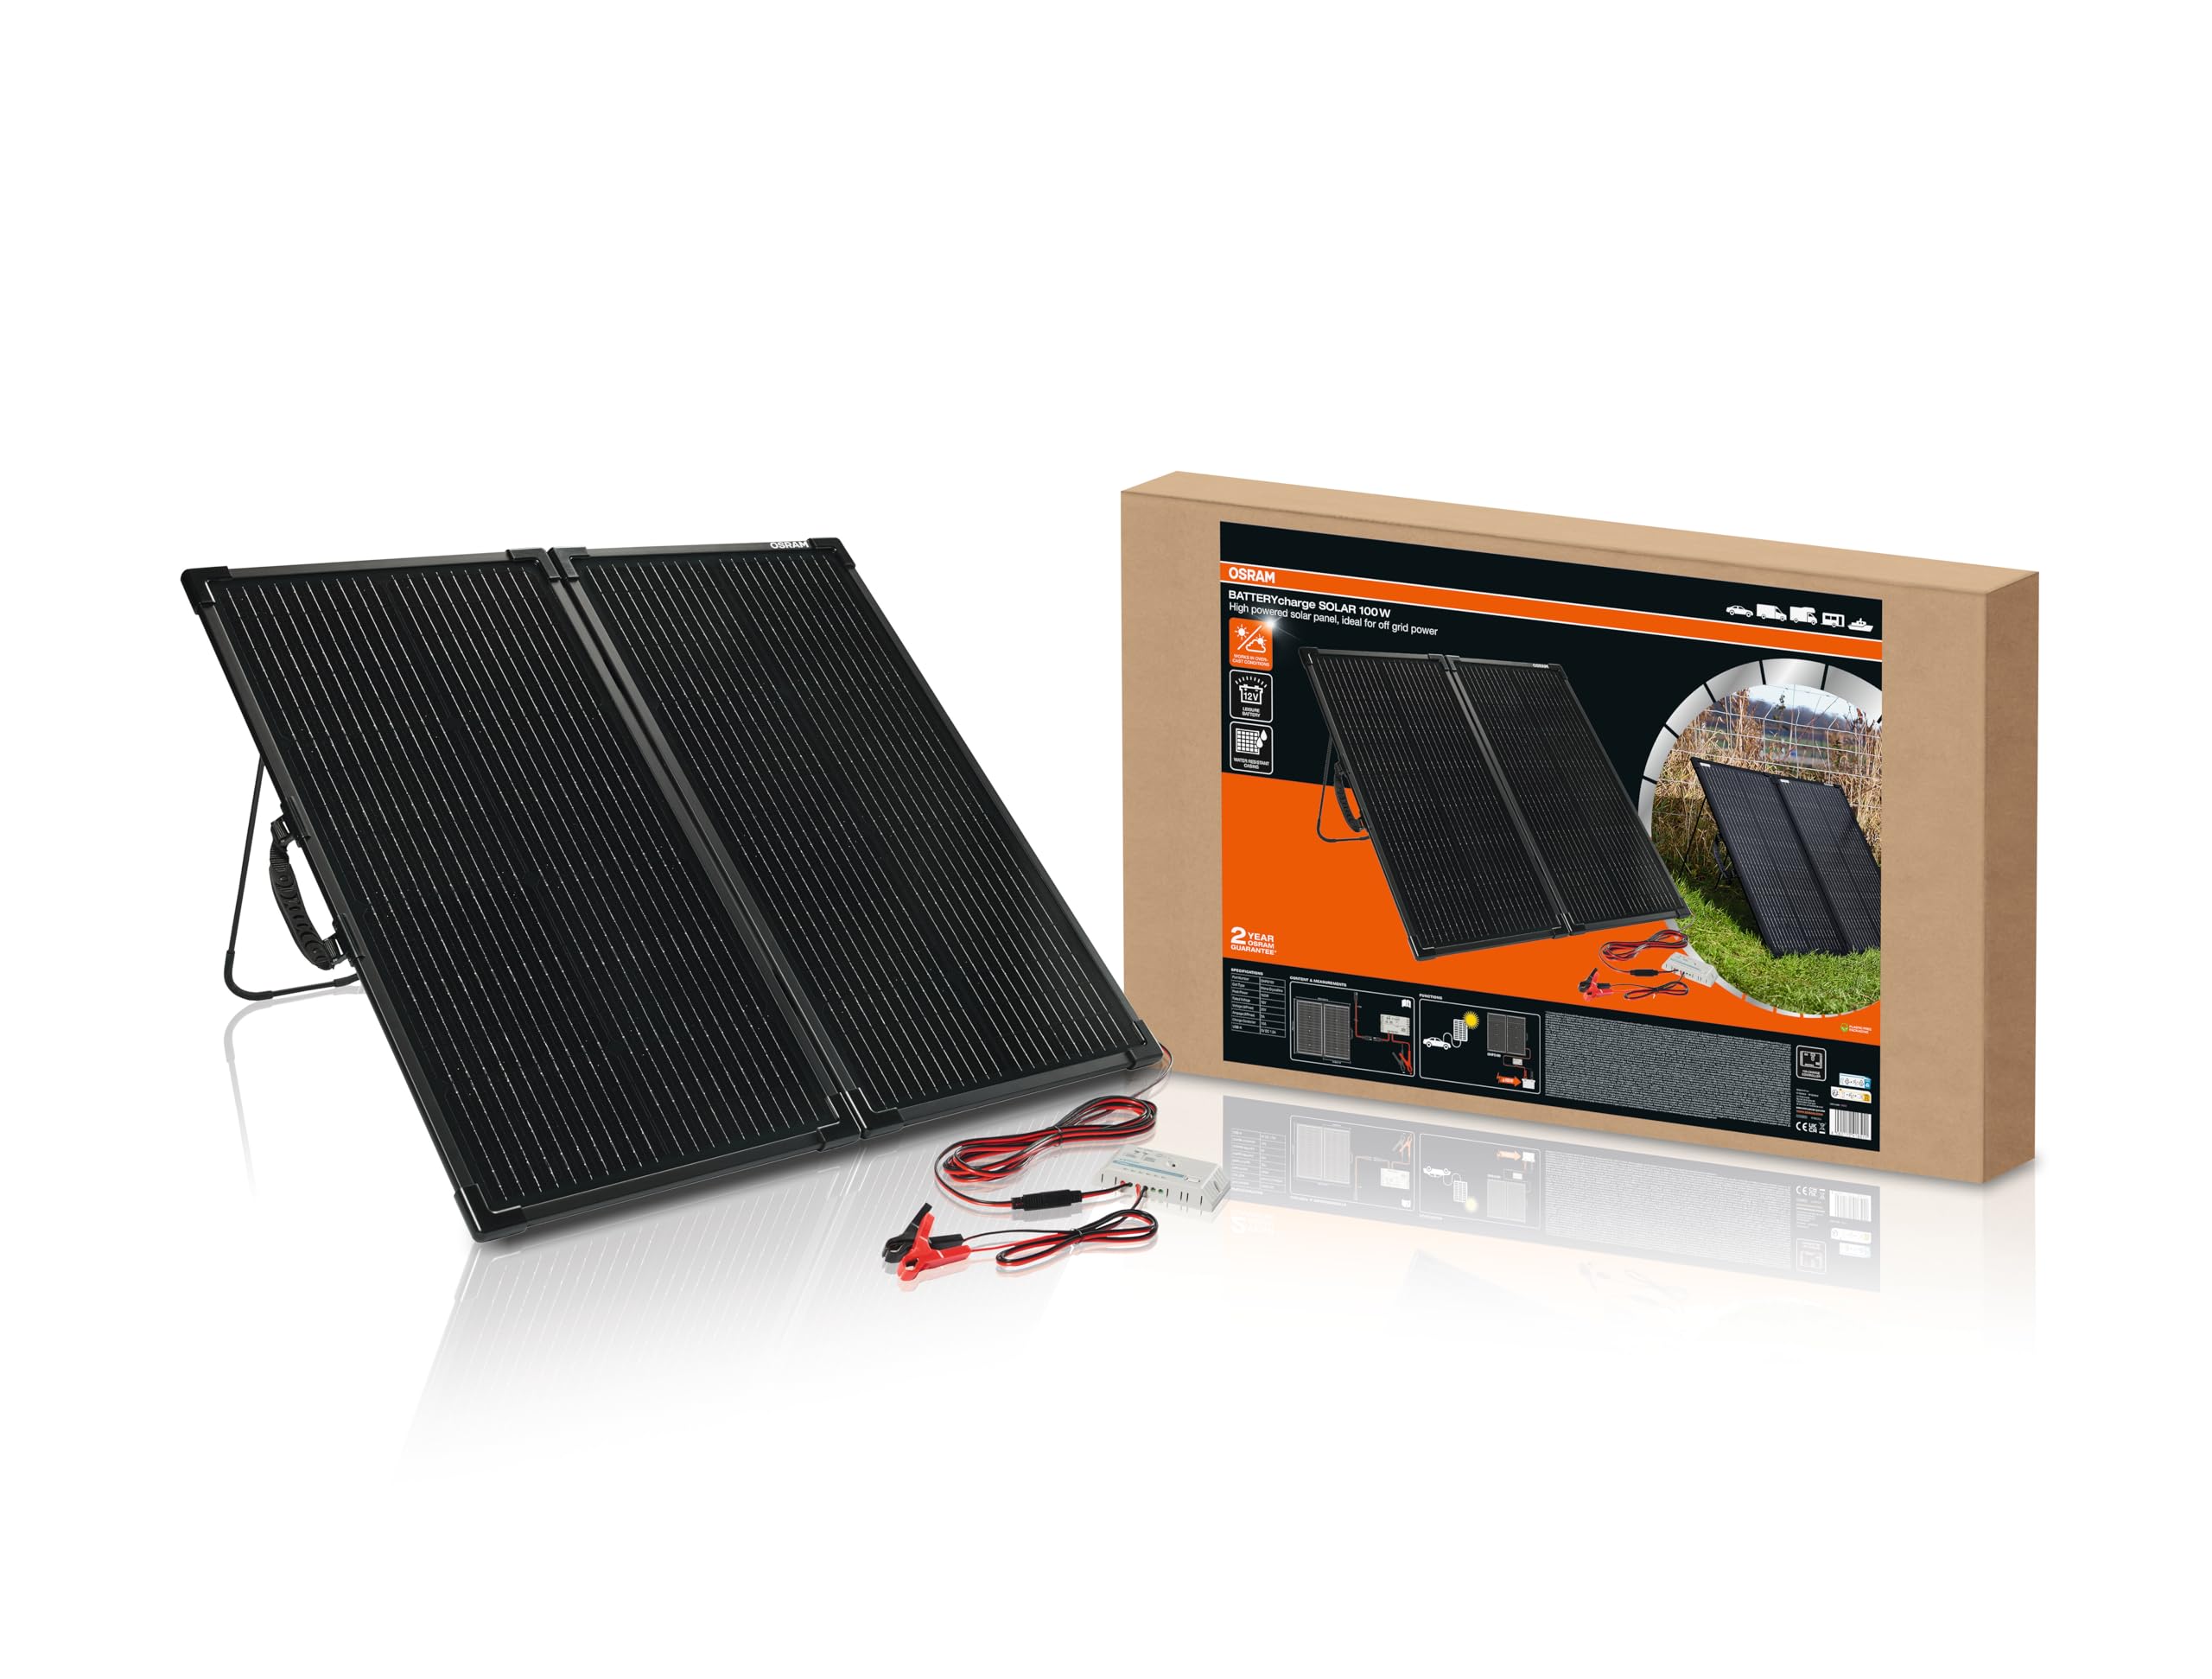
Image 4.1: The OSRAM BATTERYcharge SOLAR 100W portable solar panel unfolded, showing the integrated charge controller and battery clamps.
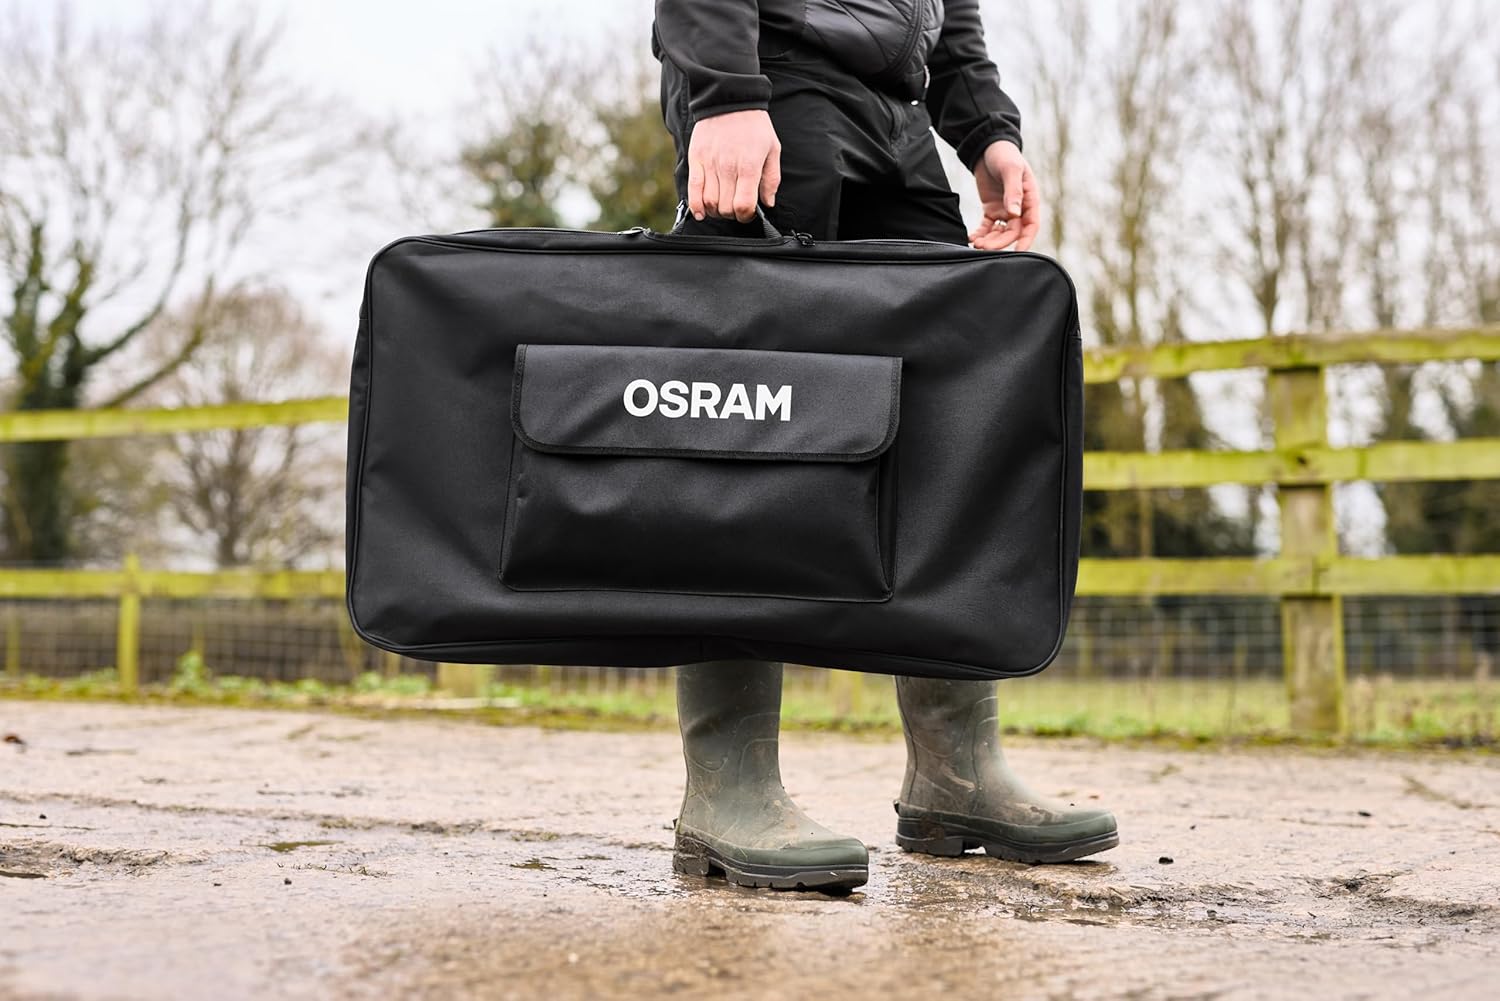
Image 4.2: The OSRAM BATTERYcharge SOLAR 100W is designed for portability, easily carried in its protective bag.
5. Setup Instructions
5.1 Unfolding and Positioning the Solar Panel
- Carefully remove the solar panel from its carry bag.
- Unfold the panel sections.
- Extend the integrated aluminum stand at the back of the panel.
- Position the solar panel in a location with direct sunlight, ensuring no shadows fall on the panel surface. Adjust the stand to angle the panel towards the sun for optimal energy capture.

Image 5.1: The integrated aluminum stand allows for easy positioning of the solar panel.
5.2 Connecting to a 12V Battery
The solar panel is equipped with a 12V/10A charge controller to protect your battery from overcharging.
- Ensure the solar panel is unfolded and positioned.
- Connect the 5m battery lead to the output port of the integrated charge controller.
- Connect the red (+) clamp to the positive terminal of your 12V battery.
- Connect the black (-) clamp to the negative terminal of your 12V battery.
- Once connected, the charge controller will automatically begin regulating the charge to the battery. Observe the indicator lights on the charge controller for charging status.

Image 5.2: The charge controller connected to a 12V battery, showing the positive (red) and negative (black) clamps.

Image 5.3: Detail of the battery clamps securely attached to a battery terminal.
5.3 Connecting USB Devices
The integrated charge controller features a USB output port for charging small electronic devices.
- Ensure the solar panel is receiving sufficient sunlight.
- Plug your USB charging cable into the USB output port on the charge controller.
- Connect the other end of the cable to your device (e.g., smartphone, tablet).

Image 5.4: Charging a smartphone directly from the solar panel's USB output.
6. Operating Instructions
6.1 Optimal Performance
- For maximum power output, position the solar panel directly facing the sun.
- Avoid any shading on the panel surface, as even partial shading can significantly reduce efficiency.
- The panel can still generate power on cloudy days, but output will be reduced.

Image 6.1: The solar panel deployed in an open area for optimal sun exposure, charging a battery.

Image 6.2: The portable solar panel can be easily set up next to vehicles like vans for convenient charging.
6.2 Charge Controller Indicators
Refer to the charge controller's specific manual or labels for detailed information on LED indicators, which typically show:
- Solar input status (receiving power from the panel).
- Battery charge status (charging, fully charged, low battery).
- Load output status (if applicable).
7. Maintenance
- Cleaning: Regularly clean the surface of the solar panel with a soft, damp cloth to remove dust, dirt, or debris. A clean panel ensures maximum efficiency. Do not use abrasive cleaners or harsh chemicals.
- Connections: Periodically check all electrical connections (battery clamps, cables) to ensure they are secure and free from corrosion.
- Storage: When not in use, fold the solar panel and store it in its protective carry bag in a dry, cool place, away from direct sunlight and extreme temperatures.
- Inspection: Inspect the panel and cables for any signs of damage before each use.
8. Troubleshooting
| Problem | Possible Cause | Solution |
|---|---|---|
| No charging indicator on controller | No sunlight; Panel shaded; Loose connections; Faulty cable/controller | Move panel to direct sunlight; Remove shade; Check all connections; Contact support if issue persists |
| Low charging current/slow charging | Partial shading; Cloudy weather; Panel not optimally angled; Dirty panel surface | Ensure full sun exposure; Adjust panel angle; Clean panel surface |
| USB device not charging | Insufficient solar power; USB cable issue; Device not compatible | Ensure strong sunlight; Try a different USB cable/device; Check charge controller status |
| Battery not holding charge | Battery fault; Insufficient charging time | Have battery tested by a professional; Allow more charging time in direct sunlight |
9. Specifications
| Model Number | OHPS100 |
| Maximum Power (Pmax) | 100 W |
| Maximum Voltage (Vmp) | 20.35 V |
| Maximum Current (Imp) | 4.95 A |
| Efficiency | 18-20% |
| Dimensions (L x W x H) | 55.7 x 4 x 53 cm (folded) |
| Weight | 5.5 kg |
| Material | Monocrystalline Silicon |
| Charge Controller | 12V / 10A (integrated) |
| Connector Type | MC4 |
| Included Components | Solar panel, 5m battery lead, connecting clamps |
| Origin | China |
10. Warranty Information
The OSRAM BATTERYcharge SOLAR 100W comes with a manufacturer's warranty of 2 years from the date of purchase. This warranty covers defects in materials and workmanship under normal use. Please retain your proof of purchase for warranty claims. The warranty does not cover damage caused by misuse, accident, unauthorized modification, or improper installation.
11. Support
For technical assistance, warranty claims, or further information regarding your OSRAM BATTERYcharge SOLAR 100W, please visit the official OSRAM website or contact their customer support. You can find contact details on the OSRAM website or through your local retailer.
Online Resources: www.osram.com


