Important Safety Instructions
Please read these instructions carefully before using the appliance and keep them for future reference. Failure to follow these instructions may result in electric shock, fire, or serious injury.
- Do not touch hot surfaces. Use handles or knobs.
- To protect against electrical shock, do not immerse cord, plugs, or toaster in water or other liquid.
- Close supervision is necessary when any appliance is used by or near children.
- Unplug from outlet when not in use and before cleaning. Allow to cool before putting on or taking off parts.
- Do not operate any appliance with a damaged cord or plug, or after the appliance malfunctions or has been damaged in any manner.
- Do not insert oversized foods, metal foil packages, or utensils into the toaster as this may involve a risk of fire or electric shock.
- A fire may occur if toasters are covered or touching flammable material, including curtains, draperies, walls, and the like, when in operation.
- Do not place on or near a hot gas or electric burner, or in a heated oven.
- Do not use the appliance for other than intended use.
- Do not leave the toaster unattended when in use.
Product Overview
Familiarize yourself with the components of your Braun PurShine HT1510GY toaster.
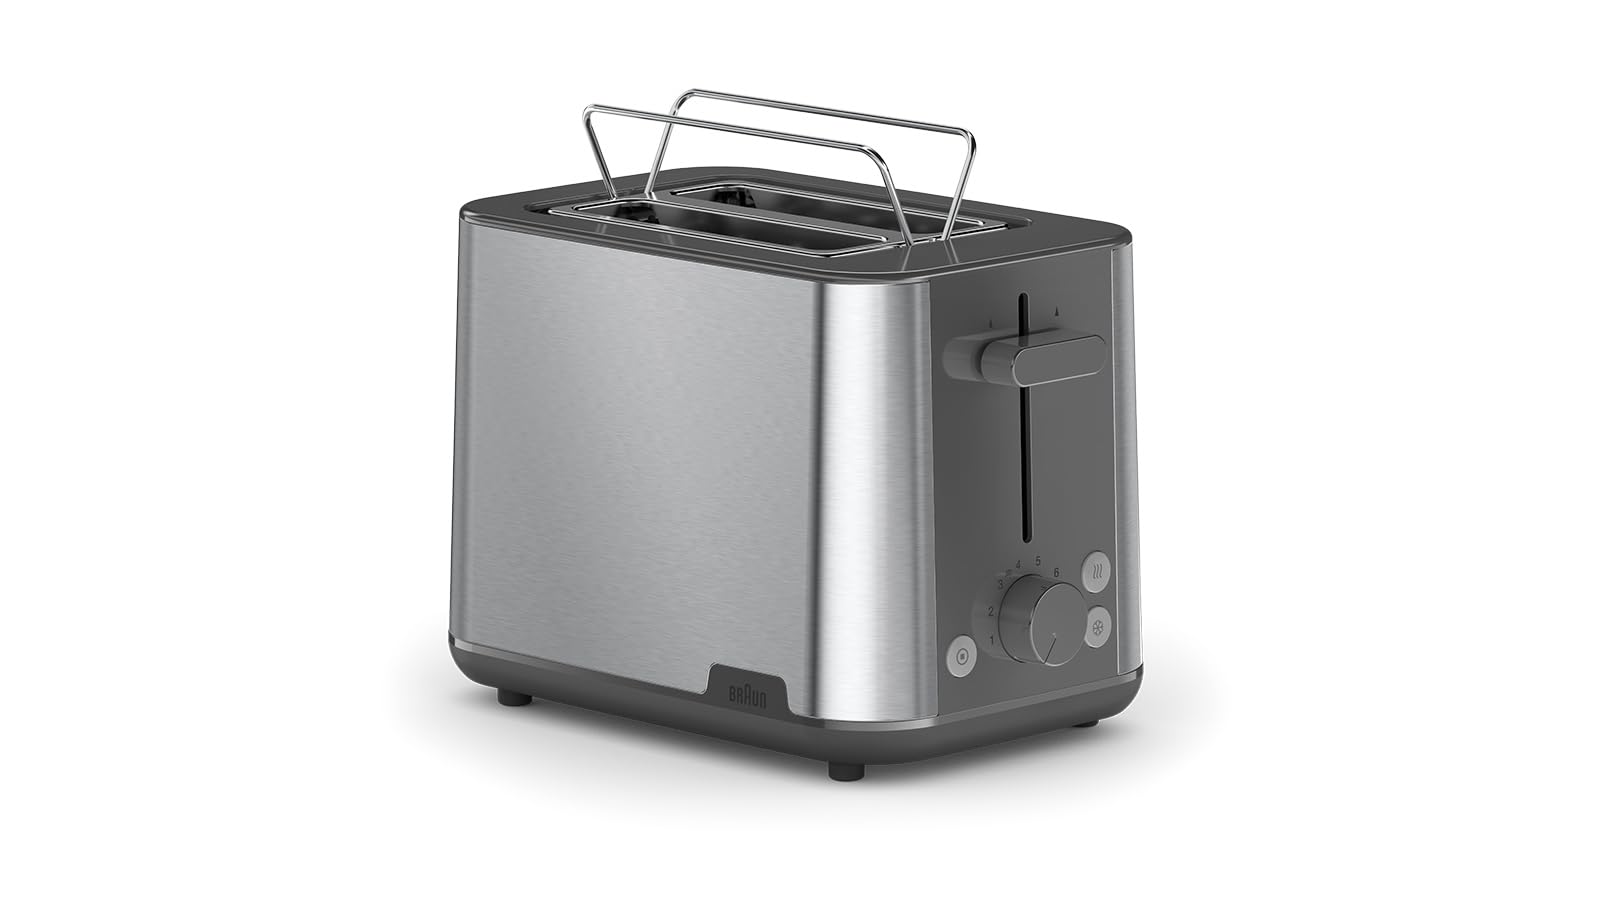
Image: Side view of the Braun PurShine HT1510GY toaster, highlighting the control panel with the browning dial and function buttons.
- Toasting Slots: Two wide slots for various bread types.
- High-Lift Lever: For easy retrieval of smaller items.
- Browning Control Dial: Adjusts browning from 1 (lightest) to 8 (darkest).
- Reheat Button: Warms toast without further browning.
- Defrost Button: Defrosts and toasts frozen bread.
- Cancel Button: Stops the toasting cycle at any time.
- Crumb Tray: Collects crumbs for easy cleaning.
Setup
- Unpacking: Remove all packaging materials and promotional labels from the toaster.
- Placement: Place the toaster on a stable, flat, heat-resistant surface, away from flammable materials like curtains. Ensure adequate ventilation around the appliance.
- First Use: Before toasting food for the first time, operate the toaster empty for two or three cycles at the highest browning setting (8) to burn off any manufacturing residues. This may produce a slight odor or smoke, which is normal. Ensure the area is well-ventilated.
- Power Connection: Plug the power cord into a suitable electrical outlet.
Operating Instructions
Toasting Bread

Image: Front view of the toaster with two slices of bread inserted into the slots, ready for toasting.
- Insert up to two slices of bread into the toasting slots.
- Select your desired browning level using the browning control dial (1 for lightest, 8 for darkest).
- Press the high-lift lever down until it latches. The toasting cycle will begin, and the cancel button will illuminate.
- When the desired browning is achieved, the toast will automatically pop up, and the toaster will switch off.
- Use the high-lift lever to safely retrieve smaller pieces of toast.
Reheat Function
Use this function to warm up previously toasted bread without further browning.
- Insert the toast into the slots.
- Press the high-lift lever down until it latches.
- Press the Reheat button. The button will illuminate, and the toaster will begin a short reheating cycle.
- The toast will pop up automatically when the cycle is complete.
Defrost Function
This function allows you to toast frozen bread directly.
- Insert frozen bread into the slots.
- Select your desired browning level.
- Press the high-lift lever down until it latches.
- Press the Defrost button. The button will illuminate, and the toaster will automatically adjust the toasting time to account for defrosting.
- The toast will pop up automatically when the cycle is complete.
Cancel Function
To stop the toasting cycle at any time, simply press the Cancel button. The toast will pop up immediately.
Integrated Warming Rack
The toaster features an integrated warming rack for heating croissants, rolls, or pastries. To use:
- Gently push the warming rack lever upwards until it locks into position.
- Place the items to be warmed on the rack.
- Select a low browning setting (e.g., 1 or 2) and press the high-lift lever down.
- Monitor the warming process closely to prevent burning.
- Once warmed, press the Cancel button to stop the cycle.
- Allow the rack to cool before folding it back down.
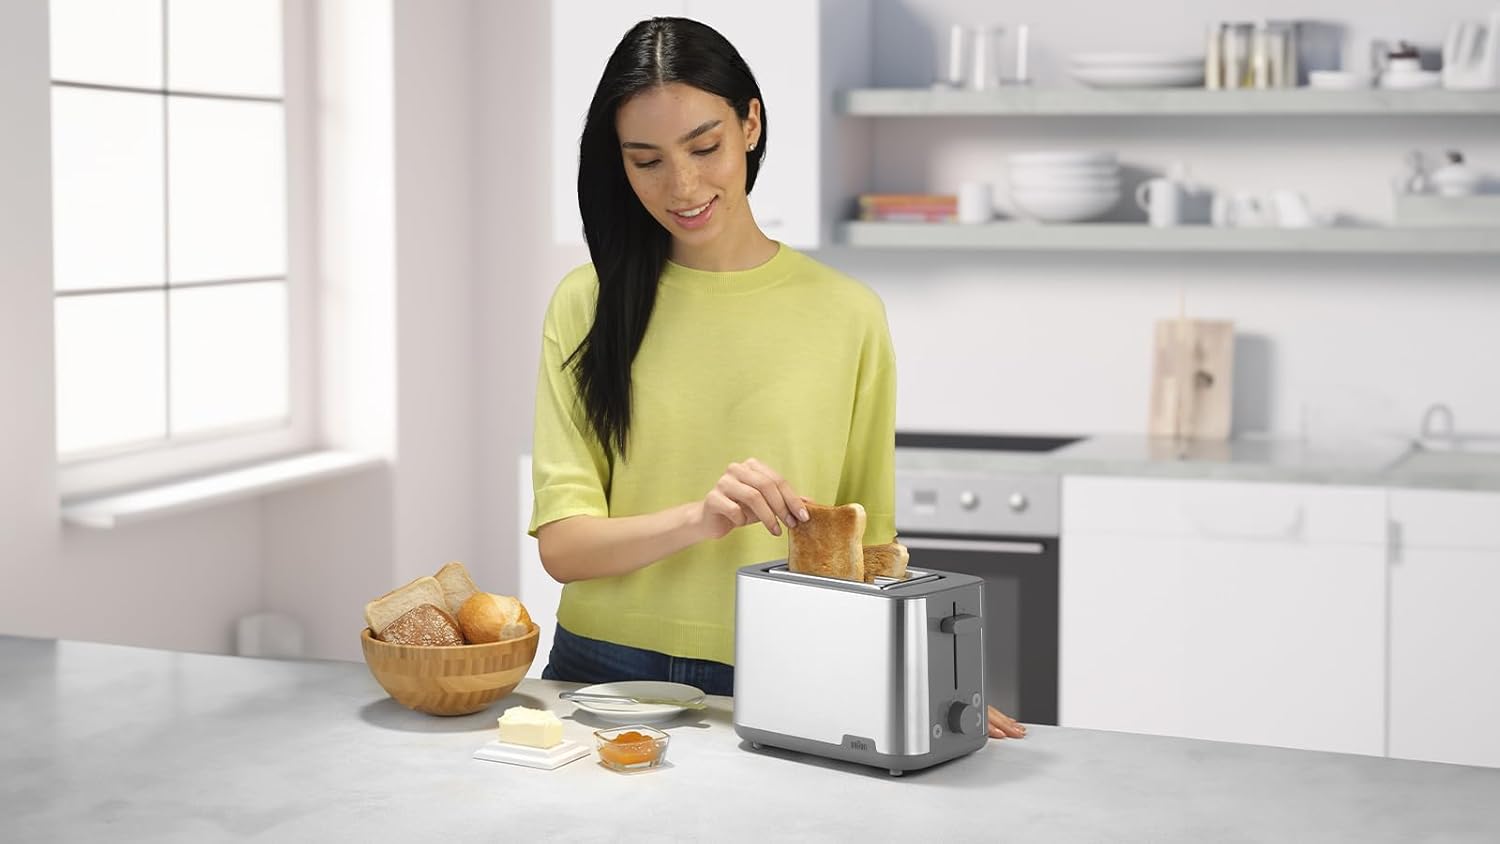
Image: A person demonstrating the placement of bread into the toaster slots, illustrating typical usage.
Maintenance and Cleaning
Regular cleaning ensures optimal performance and extends the life of your toaster.
- Always unplug the toaster from the power outlet and allow it to cool completely before cleaning.
- Crumb Tray: Pull out the crumb tray located at the bottom of the toaster. Empty the crumbs into a waste bin. Wipe the tray clean with a damp cloth and dry thoroughly before reinserting. Ensure the crumb tray is fully pushed in before using the toaster.
- Exterior: Wipe the exterior of the toaster with a soft, damp cloth. Do not use abrasive cleaners or scouring pads, as these can scratch the surface.
- Interior: Never insert any objects into the toasting slots to clean them. If food becomes lodged in the slots, unplug the toaster and carefully turn it upside down to dislodge the food.
- Storage: When not in use, store the toaster in a clean, dry place. The cord can be wrapped around the cord storage area (if available) at the base of the toaster.
Troubleshooting
| Problem | Possible Cause | Solution |
|---|---|---|
| Toaster does not turn on. | Not plugged in; power outlet not working; circuit breaker tripped. | Ensure the toaster is securely plugged into a working outlet. Check your home's circuit breaker. |
| Bread is not toasting evenly. | Inconsistent bread thickness; moisture content of bread; browning setting too low/high. | Use slices of uniform thickness. Adjust the browning control dial. Allow bread to reach room temperature if very cold. |
| Smoke coming from toaster. | Crumbs in the bottom of the toaster; food stuck in slots; browning setting too high. | Immediately press the Cancel button and unplug. Empty the crumb tray. Carefully remove any lodged food after cooling. Reduce browning setting. |
| Toast does not pop up. | Lever not fully pressed down; mechanical issue. | Ensure the high-lift lever is fully pressed down until it latches. If the problem persists, unplug the toaster and contact customer support. |
Specifications
- Model: Braun PurShine HT1510GY
- Power: 900 Watts
- Voltage: 240 Volts
- Number of Slots: 2
- Browning Levels: 8
- Material: Stainless Steel
- Color: Grey
- Dimensions (L x W x H): Approximately 27 cm x 18.5 cm x 16.5 cm
- Weight: 1.76 Kilograms
- Functions: Toast, Reheat, Defrost, Cancel, High-Lift, Integrated Warming Rack
Warranty and Support
This Braun appliance comes with a standard manufacturer's warranty. For detailed warranty information, please refer to the warranty card included with your product or visit the official Braun website.
If you experience any issues with your toaster or require technical assistance, please contact Braun customer support. Contact details can typically be found in the product packaging or on the official Braun website.
Please have your model number (HT1510GY) and proof of purchase ready when contacting support.


