Introduction
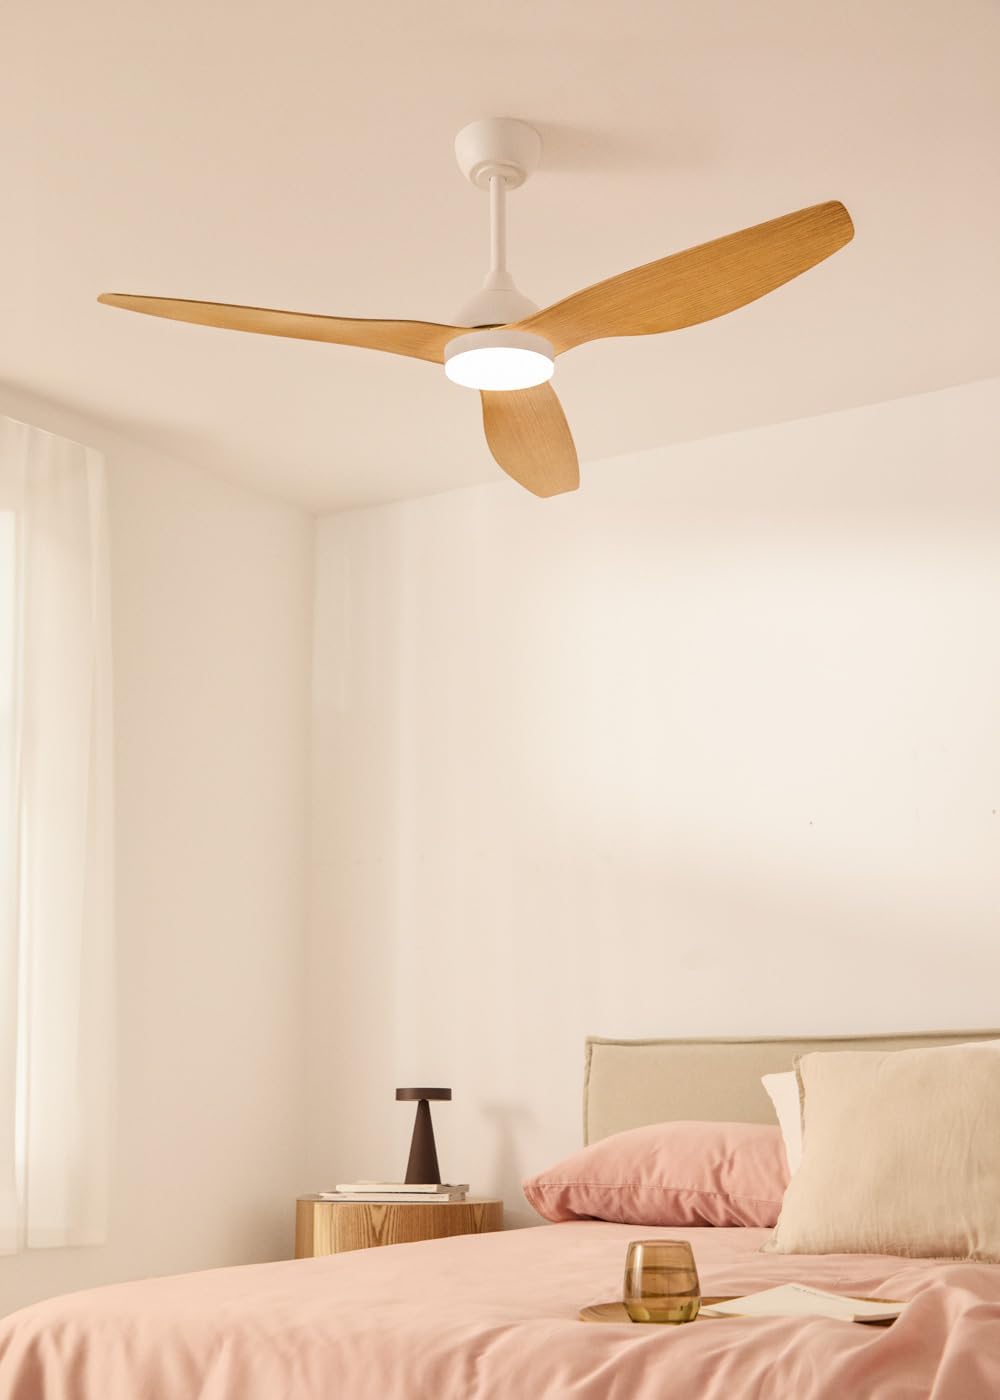
Thank you for choosing the CREATE WIND BALANCE Ceiling Fan. This manual provides essential information for the safe installation, operation, and maintenance of your new ceiling fan. Please read it thoroughly before installation and keep it for future reference.
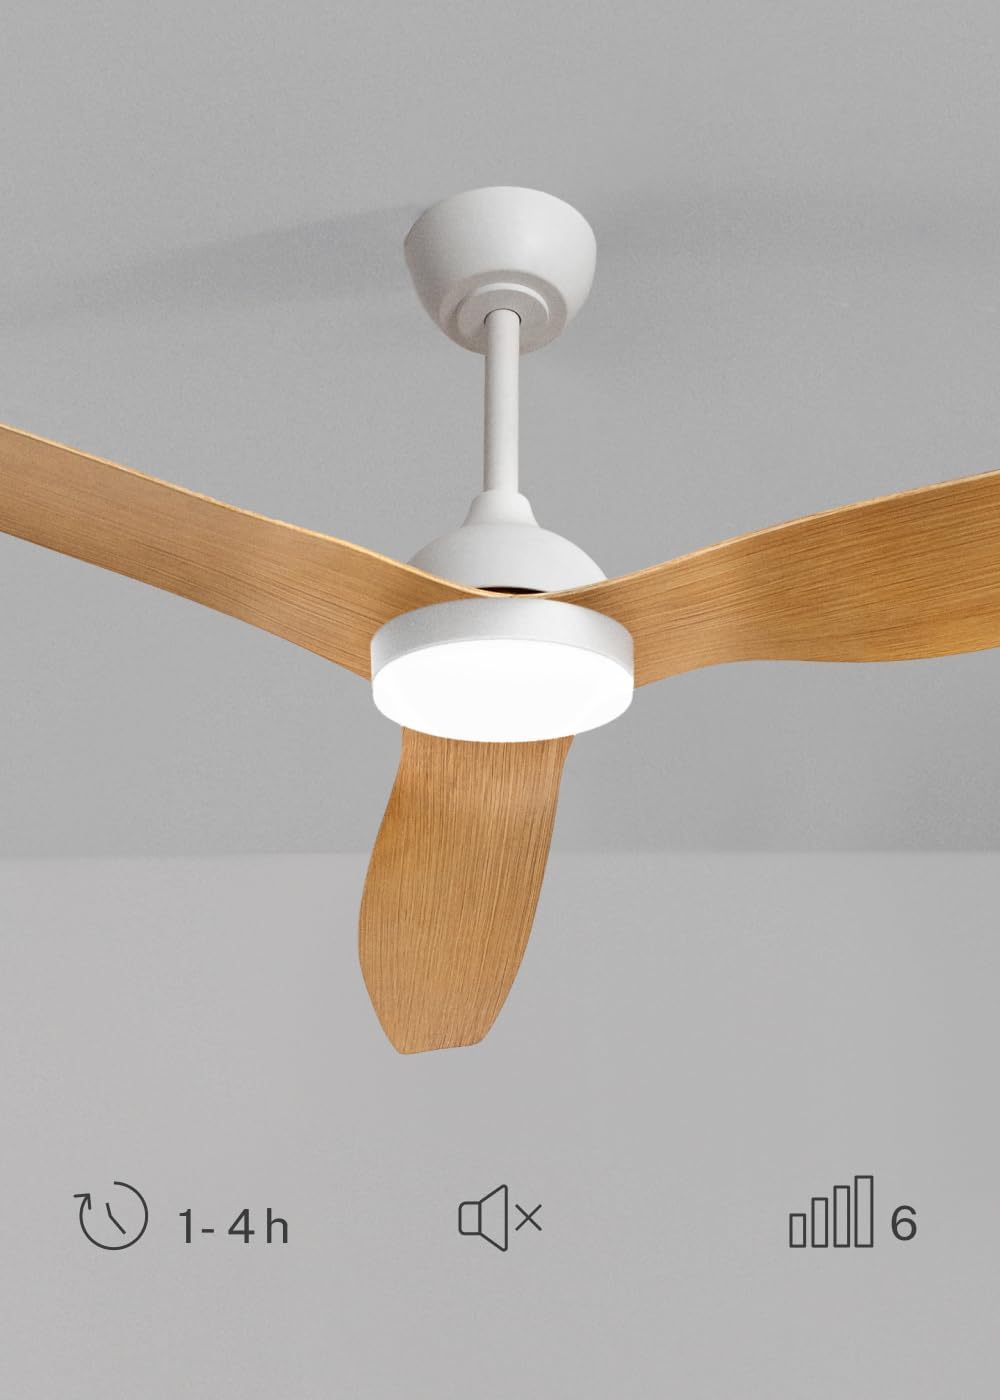
This ceiling fan features a silent 40W DC motor, a diameter of 132 cm, 6 speed settings, a programmable timer, a reversible summer-winter function, and an integrated LED light with 3 color temperatures. It is designed for indoor use.
Safety Information
- Ensure the main power supply is disconnected before installation or maintenance.
- Installation must be performed by a qualified electrician.
- The mounting structure must be capable of supporting the fan's weight (refer to specifications).
- Do not insert objects into the fan blades while the fan is operating.
- Keep children away from the fan during operation.
- This appliance is for indoor use only.
- Use only the remote control provided with the fan.
Package Contents
Verify that all components are present and undamaged before beginning installation.
- Ceiling Fan Motor Unit
- Fan Blades (3 units)
- Mounting Bracket
- Downrod
- Canopy
- LED Light Kit
- Remote Control
- Hardware Pack (screws, washers, wire nuts)
- Instruction Manual
Setup and Installation
Important: Disconnect power at the circuit breaker before starting installation.
- Mounting Bracket Installation: Secure the mounting bracket to the ceiling junction box. Ensure the bracket is firmly attached to a structural beam or a suitable support system capable of holding the fan's weight.
- Downrod Assembly: Insert the downrod through the canopy and connect it to the fan motor unit. Secure with the provided pin and screws.
- Wiring: Connect the fan's electrical wires to the household wiring according to local electrical codes. Typically, this involves connecting live, neutral, and ground wires.
- Hanging the Fan: Carefully lift the fan assembly and hang it from the mounting bracket hook.
- Blade Attachment: Attach the three fan blades to the motor housing using the provided screws. Ensure all screws are tightened securely.
- Light Kit Installation: Connect the LED light kit wires to the fan motor unit's light wires. Secure the light kit to the bottom of the fan motor housing.
- Canopy Installation: Slide the canopy up to the ceiling and secure it to the mounting bracket with the provided screws, covering all wiring.

Operating Instructions
Your CREATE WIND BALANCE ceiling fan is operated via the included remote control.
Remote Control Functions
- Power On/Off: Press the power button to turn the fan and light on or off.
- Fan Speed Control: Use the speed buttons (typically numbered 1-6 or with up/down arrows) to adjust the fan's rotation speed. There are 6 available speeds.
- Light On/Off: Press the light button to turn the LED light on or off.
- Light Color Temperature: Press the light color temperature button (often labeled with a sun or color icon) to cycle through the 3 available light temperatures: warm, neutral, and cool white.
- Timer Function: Press the timer button to set the fan to operate for 1, 2, or 4 hours before automatically shutting off.
- Mute Function: If available, a mute button can silence operational beeps or sounds.
Summer and Winter Mode
The fan features a reversible motor for year-round comfort and energy efficiency.
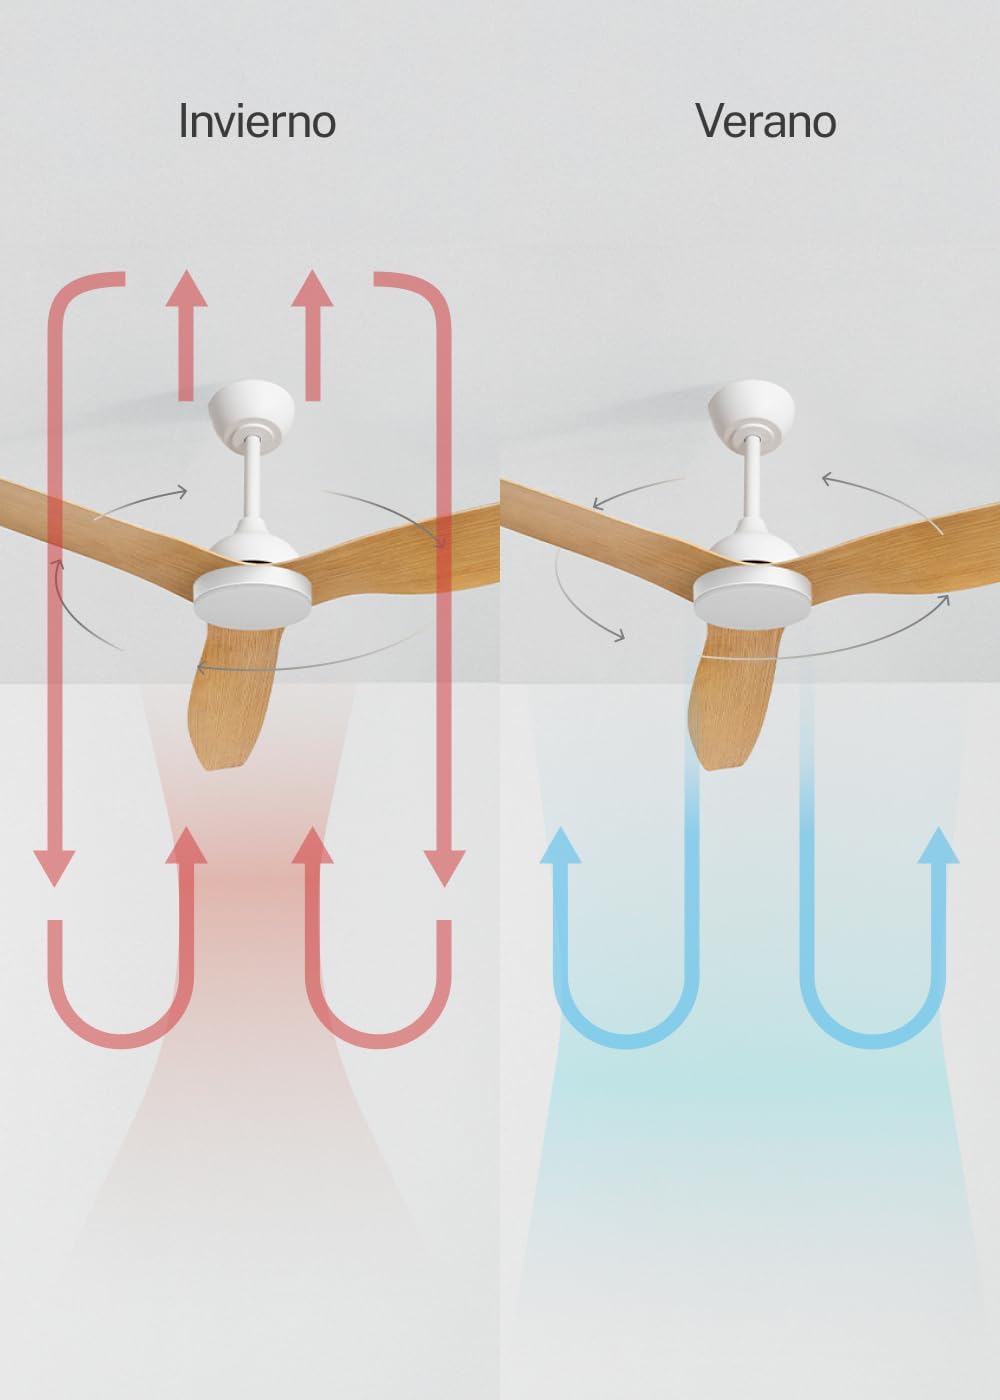
- Summer Mode (Counter-clockwise rotation): The blades rotate counter-clockwise, pushing air downwards to create a cooling breeze. This helps to make a room feel cooler without lowering the thermostat significantly.
- Winter Mode (Clockwise rotation): The blades rotate clockwise, drawing air upwards. This circulates warm air that has risen to the ceiling, distributing it throughout the room and helping to reduce heating costs.
- To switch modes, use the dedicated button on the remote control (if available) or a switch on the fan motor housing. Ensure the fan is off before changing direction.
LED Light Temperature Settings
The integrated LED light offers three distinct color temperatures to suit your preference and mood.
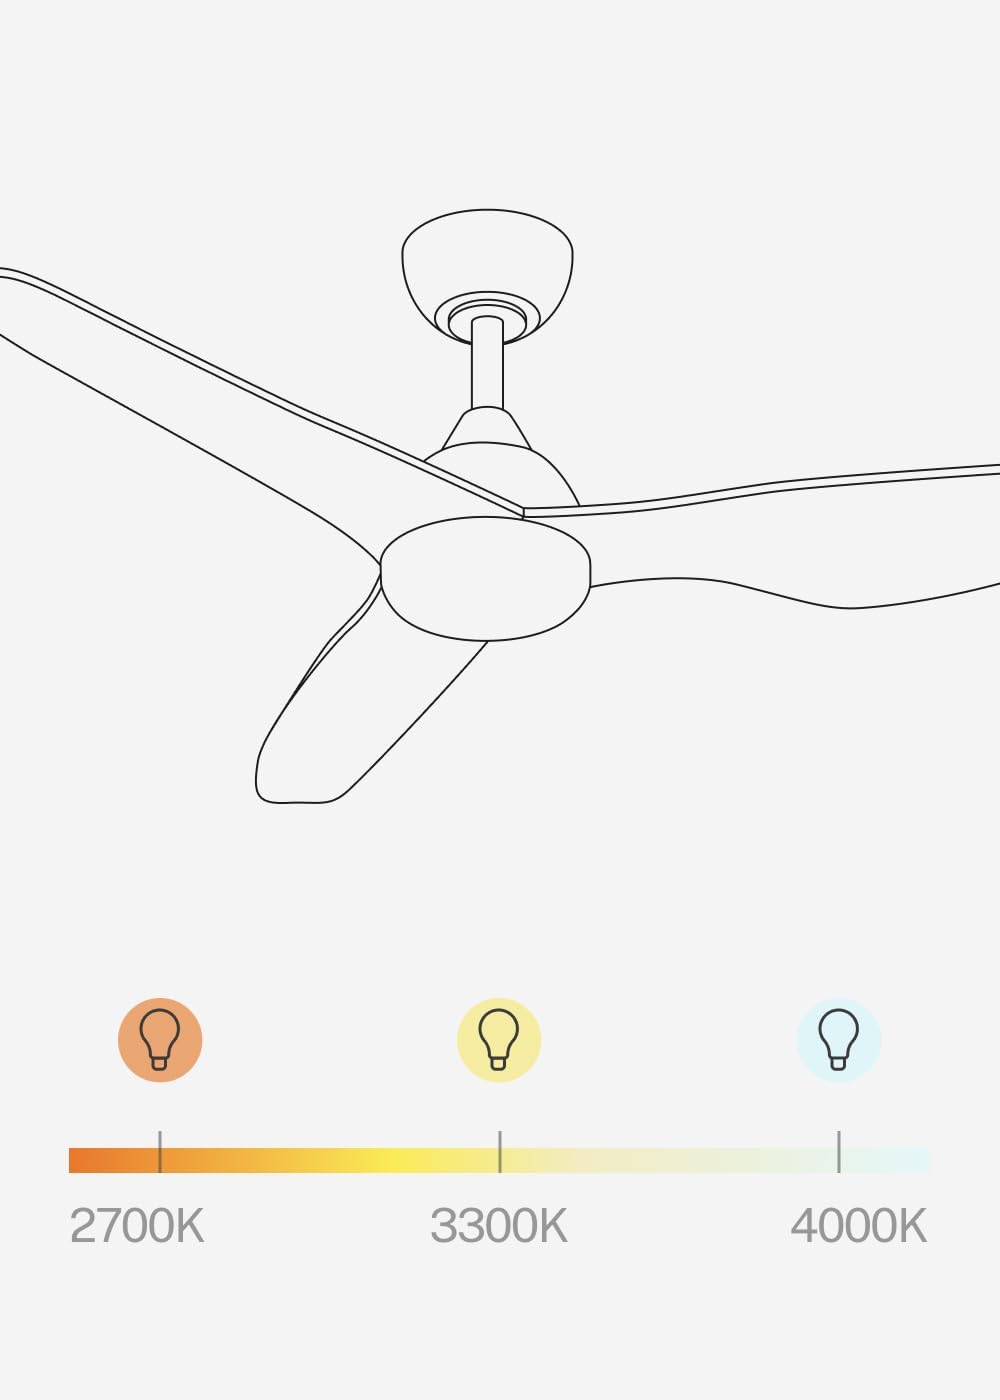
- 2700K (Warm White): Provides a cozy, inviting ambiance, ideal for relaxation.
- 3300K (Neutral White): Offers a balanced, natural light suitable for general tasks.
- 4000K (Cool White): Delivers bright, crisp light, often preferred for focused activities.
- Cycle through these temperatures using the dedicated light temperature button on the remote control. Note that the light intensity is not adjustable.
Maintenance
Regular maintenance ensures optimal performance and extends the lifespan of your fan.
- Cleaning: Dust the fan blades and motor housing regularly with a soft, damp cloth. Do not use abrasive cleaners or solvents. Ensure the fan is off and power is disconnected before cleaning.
- Tighten Fasteners: Periodically check and tighten all screws and fasteners on the fan blades and mounting hardware. Loose connections can cause noise and wobble.
- Blade Balance: If the fan wobbles, check that the blades are securely attached and that none are bent or damaged. A balancing kit (not included) may be used if necessary.
- Light Source: The LED light source is integrated and not user-replaceable. If the light fails, contact customer support.
Troubleshooting
| Problem | Possible Cause | Solution |
|---|---|---|
| Fan does not start | No power supply; Loose wiring; Remote control battery dead. | Check circuit breaker; Verify wiring connections (consult electrician); Replace remote control battery. |
| Fan wobbles | Loose blades or mounting hardware; Unbalanced blades. | Tighten all screws; Check blade alignment; Use a blade balancing kit. |
| Light does not work | Loose wiring; LED failure. | Check light kit wiring (consult electrician); Contact customer support for LED replacement. |
| Remote control not working | Dead battery; Remote not paired. | Replace battery; Refer to remote control pairing instructions (if applicable, usually automatic). |
| Excessive noise | Loose screws; Motor issue; Blades hitting an obstruction. | Tighten all screws; Ensure no obstructions; If noise persists, contact customer support. |
Specifications
- Brand: CREATE
- Model Name: WIND BALANCE
- Model Number: 195143_500628
- Color: Natural Wood
- Fan Type: Ceiling Fan
- Power Source: AC (240 Volts)
- Dimensions (D x W x H): 132 cm x 132 cm x 46 cm
- Special Features: LED Light, Timer, 6 Speeds, Reversible Summer-Winter, Remote Control
- Mounting Type: Ceiling Mount
- Controller Type: Remote Control
- Material: Plastic (Blades), Aluminum (Motor)
- Number of Speeds: 6
- Noise Level: 40 Decibels
- Power: 40 Watts
- Number of Blades: 3
- Airflow Capacity: 186.8 Cubic Meters per Minute
- Usage: Indoor
- Motor Type: DC
- Light: 18W LED with 3 color temperatures (2700K, 3300K, 4000K)
Warranty and Support
For warranty information or technical support, please refer to the warranty card included with your product or visit the official CREATE website. Keep your purchase receipt as proof of purchase for any warranty claims.
If you encounter any issues not covered in the troubleshooting section, please contact CREATE customer service for assistance.


