1. Introduction
Thank you for choosing the Deyagoo DY501 Small Dehumidifier. This device is designed to efficiently remove excess moisture from small spaces, creating a more comfortable and healthier environment. Its compact size, quiet operation, and automatic features make it ideal for bedrooms, bathrooms, RVs, closets, and other similar areas. Please read this manual thoroughly before use to ensure proper operation and maintenance.
2. Safety Instructions
To reduce the risk of fire, electric shock, or injury, always follow these basic safety precautions:
- Ensure the power cord is not damaged and is properly plugged into a suitable electrical outlet.
- Do not operate the dehumidifier if it has been dropped or damaged.
- Keep the appliance away from water or other liquids. Do not immerse it in water.
- Do not block the air inlet or outlet. Maintain clear space around the unit for optimal performance.
- This appliance is for indoor use only.
- Unplug the dehumidifier before cleaning or performing any maintenance.
- Keep out of reach of children and pets.
3. Product Overview
The Deyagoo DY501 dehumidifier features a compact design with intuitive controls and a transparent water tank.

Image: Front view of the Deyagoo DY501 Small Dehumidifier, showing its compact white body, control panel, and transparent water tank with collected water.
Key Components:
- Control Panel: Power button, light button, timer button.
- Air Inlet/Outlet: Located at the top and back for air circulation.
- Water Tank: Transparent, removable tank for collected moisture.
- Power Port: For connecting the power adapter.
4. Setup
Follow these steps to set up your dehumidifier for first use:
- Unpack: Carefully remove the dehumidifier and all accessories from the packaging.
- Placement: Place the dehumidifier on a flat, stable surface in the desired room. Ensure it is in a closed small room for optimal performance.
- Clear Obstructions: Ensure that the top air inlet and the back air outlet are free from any obstructions. Maintain at least 4 inches (10 cm) of space around the unit for proper airflow.
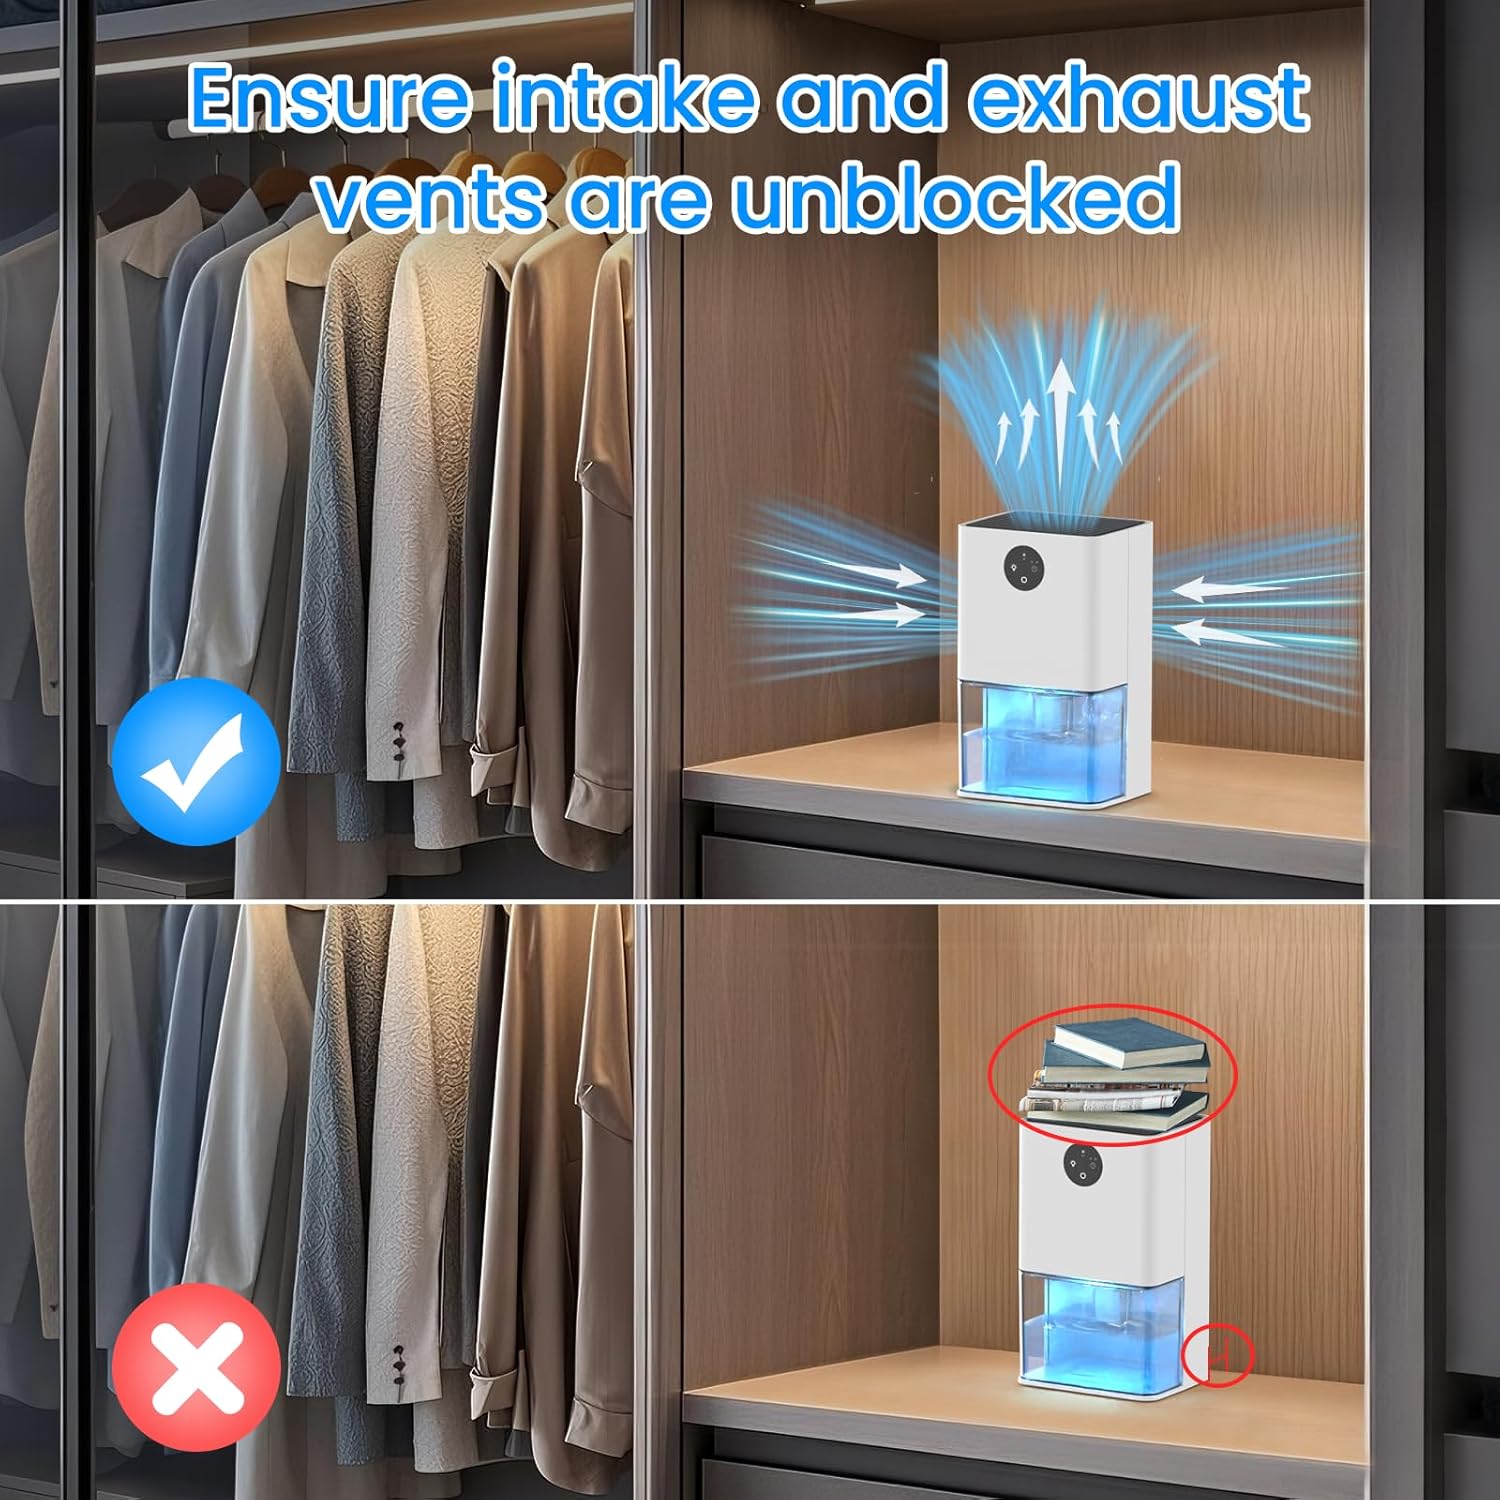
Image: Diagram illustrating correct and incorrect placement of the dehumidifier, emphasizing the need to keep air intake and exhaust vents unblocked for efficient operation.
- Power Connection: Connect the power adapter to the dehumidifier's power port, then plug the adapter into a standard electrical outlet.
The compact size of 5.91"D x 4.72"W x 9.84"H makes it suitable for various small spaces such as bedrooms, bathrooms, RVs, and closets.

Image: The dehumidifier placed on a table inside an RV, demonstrating its suitability for small, enclosed environments.
5. Operating Instructions
5.1 Powering On/Off
- Press the power button on the control panel to turn the dehumidifier on or off.
- When turned on, the dehumidifier will begin operating in dehumidification mode.
5.2 Ambient Light Function
The dehumidifier features a separate light button to control the 7-color romantic atmosphere lights.
- Press the light button once to turn on the ambient lights.
- Press the light button again to cycle through the 7 colors, which will switch automatically.
- Press the light button a third time to turn off the ambient lights.
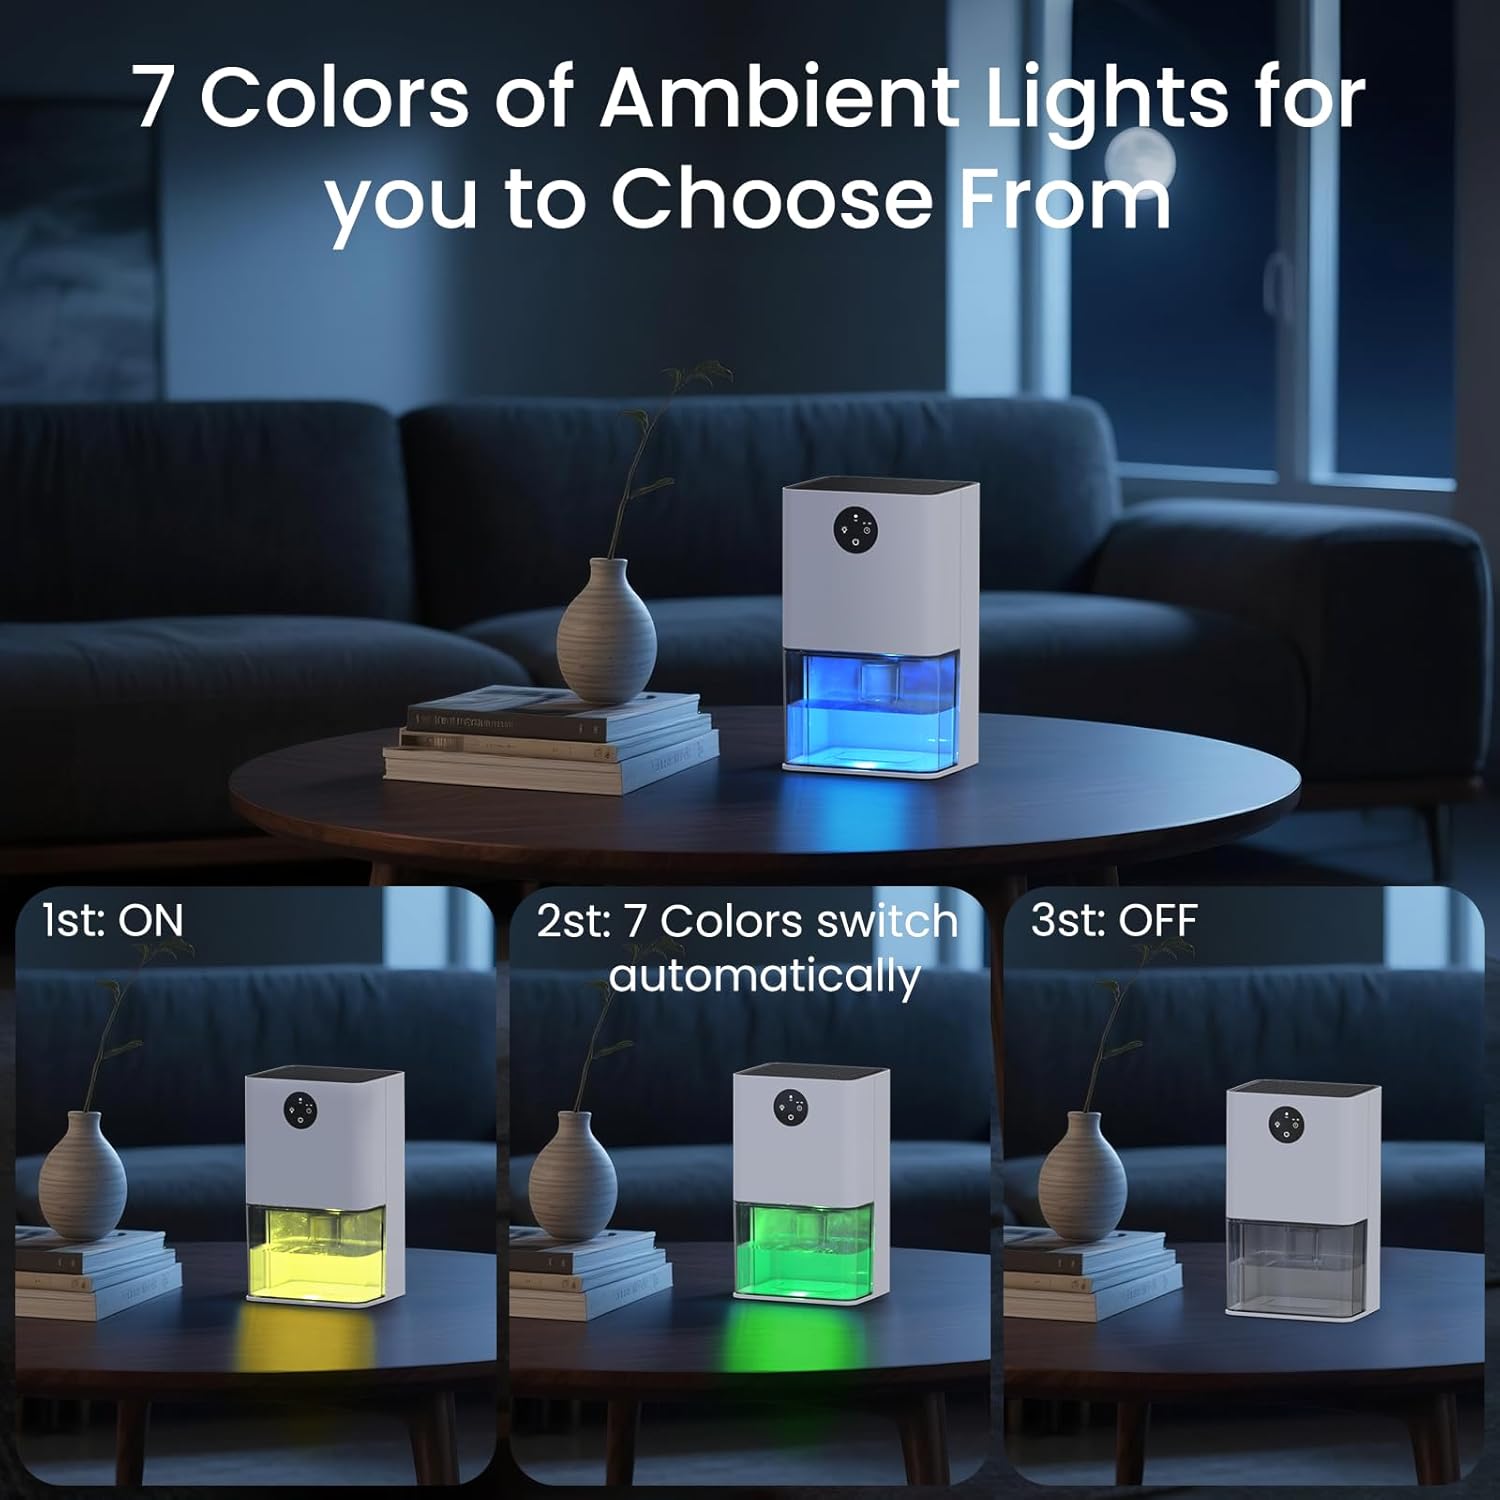
Image: A series of three images showing the dehumidifier with its ambient light feature: 1) light on (yellow), 2) 7 colors switching automatically (green), and 3) light off.
5.3 Timer Function
Utilize the timer function for scheduled operation.
- Press the timer button to set a 4-hour or 8-hour countdown.
- The unit will automatically shut off after the selected time period.
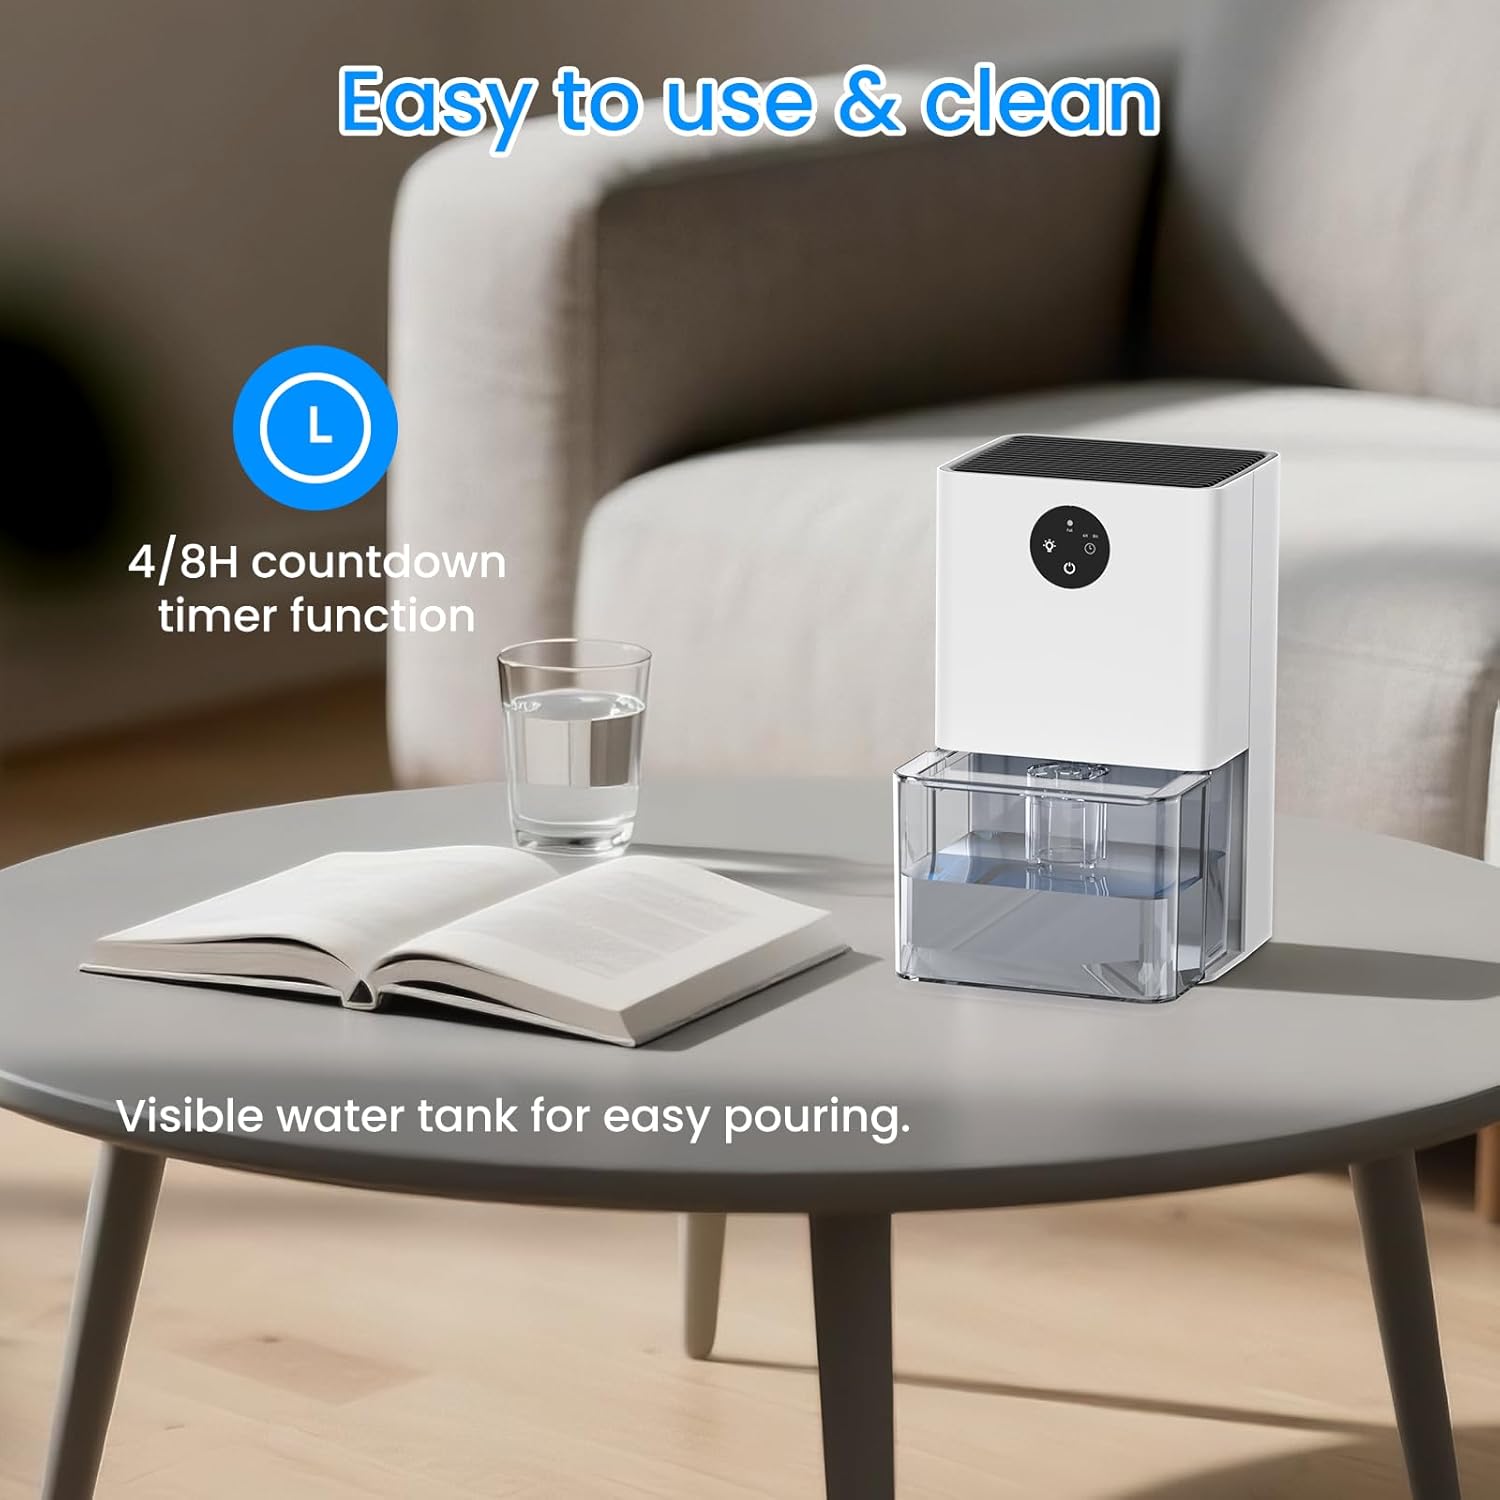
Image: The dehumidifier on a table, highlighting the 4/8H countdown timer function on its control panel.
5.4 Auto Shut-Off Protection
The dehumidifier is equipped with an auto shut-off feature for safety and convenience.
- When the water tank reaches 1300ml to 1500ml capacity, the dehumidifier will automatically stop operation.
- The light indicator will flash red to notify you that the water tank is full and needs to be emptied.

Image: Two images showing the dehumidifier's water tank: one with green light indicating normal operation, and another with a red flashing light indicating the tank is full and auto shut-off has activated.
5.5 Dehumidification Performance
In a closed small room with a humid environment of 86°F and 80% RH, the DY501 can collect up to 400ml of water in 24 hours. Its ultra-quiet operation (30dB) ensures a comfortable environment.

Image: A diagram illustrating the dehumidification process, showing air intake, internal components, and the reduction of relative humidity from 75% to 50%.
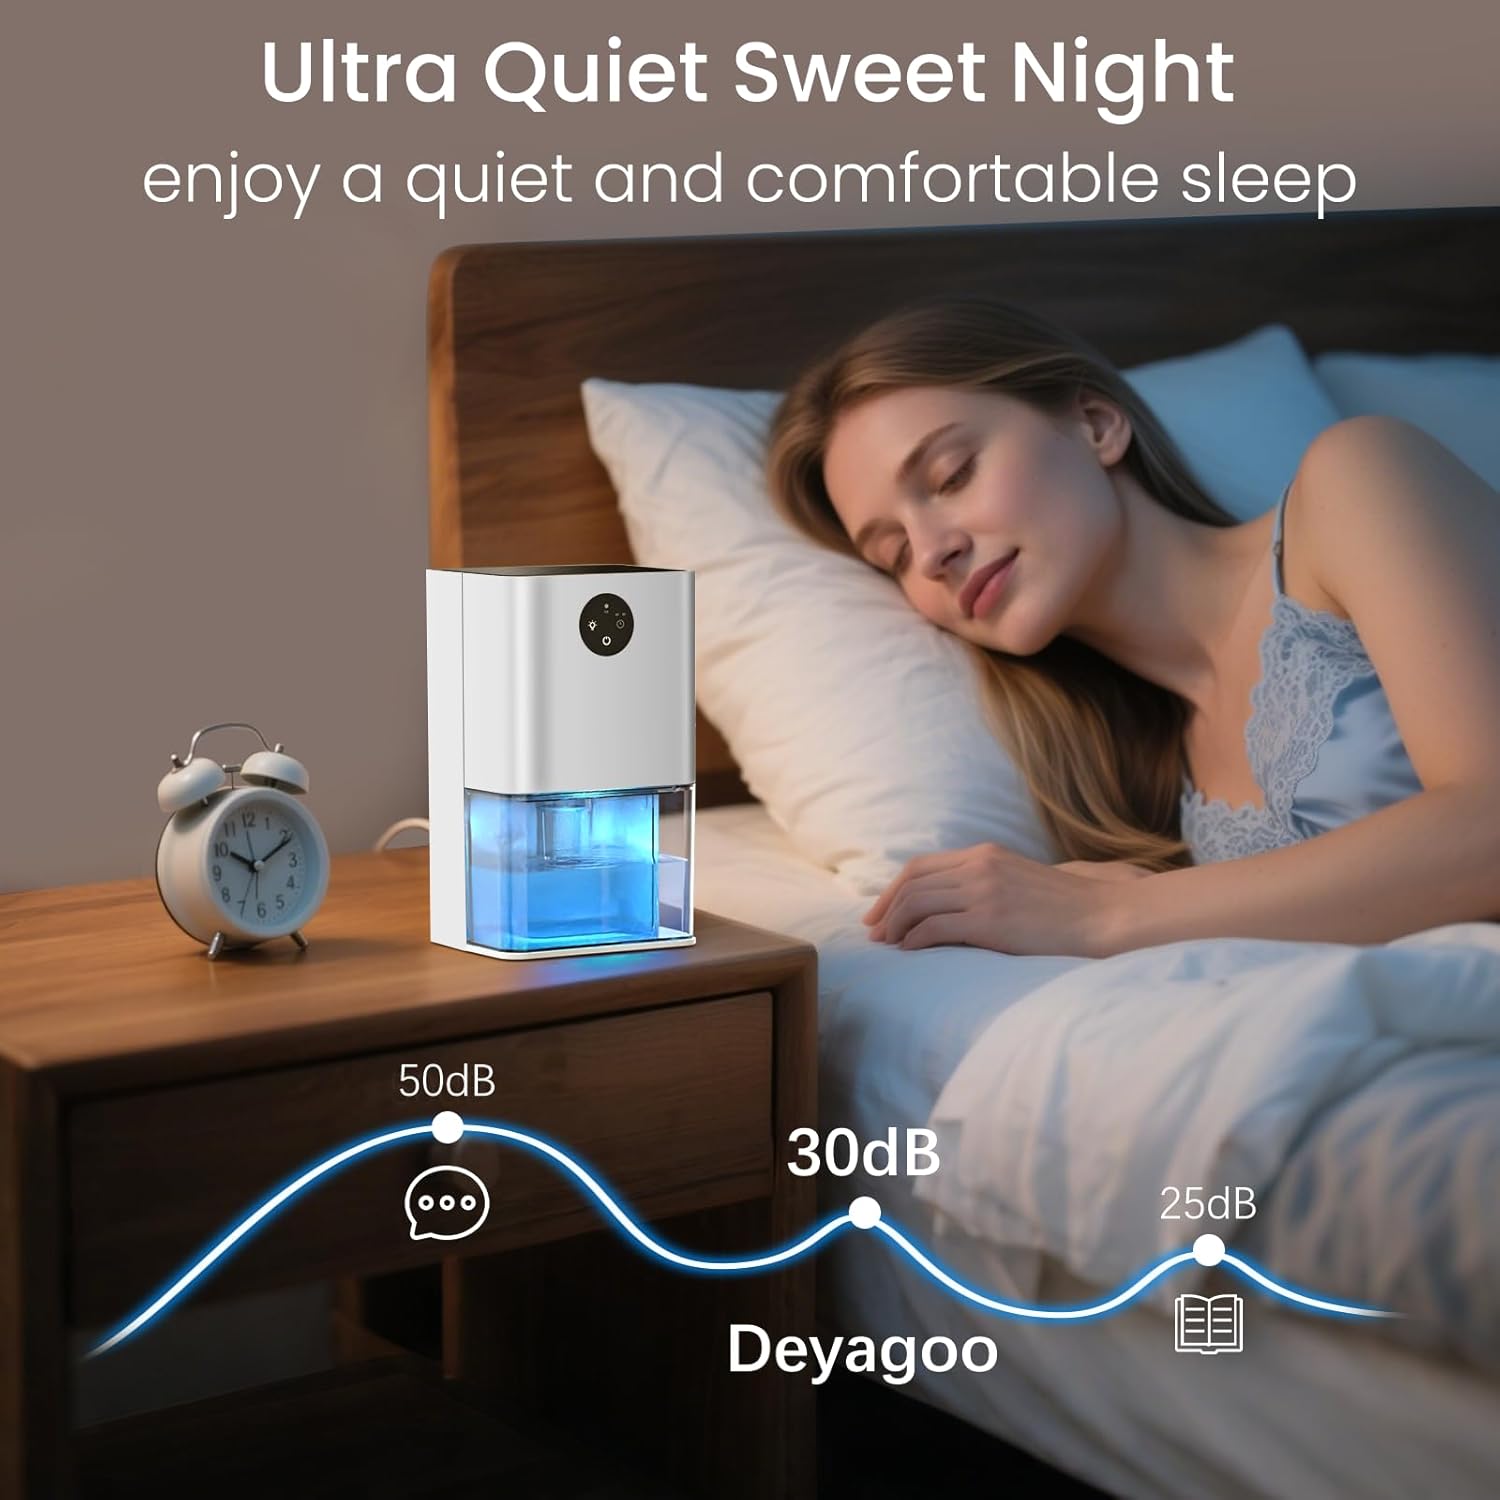
Image: A person sleeping peacefully in a bedroom with the dehumidifier operating quietly on a nightstand, illustrating its low noise level (30dB).
6. Maintenance
Regular maintenance ensures the longevity and efficiency of your dehumidifier.
6.1 Emptying the Water Tank
The 1500ml (50OZ) transparent water tank allows you to monitor the water collection volume. When full, the auto shut-off feature will activate.
- Gently pull out the water tank from the bottom of the dehumidifier. The tank has a groove design for easy removal.
- Carefully pour out the collected water.
- Slide the empty water tank back into the dehumidifier, ensuring it is securely seated.

Image: A three-panel illustration demonstrating how to remove the water tank, empty the collected water, and reinsert the tank into the dehumidifier.
6.2 Cleaning the Dehumidifier
- Exterior: Wipe the exterior of the unit with a soft, damp cloth. Do not use abrasive cleaners or solvents.
- Water Tank: Rinse the water tank with clean water periodically to prevent mold or mildew buildup. Allow it to air dry completely before reinserting.
- Air Vents: Use a soft brush or vacuum cleaner to gently remove any dust or debris from the air inlet and outlet vents.
7. Troubleshooting
If you encounter issues with your dehumidifier, refer to the following common problems and solutions:
| Problem | Possible Cause | Solution |
|---|---|---|
| Dehumidifier does not turn on. | No power supply; Power button not pressed. | Ensure the power adapter is securely plugged into both the unit and the wall outlet. Press the power button. |
| No water collected or low dehumidification. | Room humidity is too low; Air vents are blocked; Water tank is full or not properly inserted; Temperature is too low. | Check room humidity (unit works best in 80% RH); Ensure air inlet/outlet are clear; Empty and reinsert water tank correctly; Unit performs optimally above 41°F (5°C). |
| Unit suddenly stops operating. | Water tank is full; Timer function activated. | Empty the water tank; Check if the timer was set and has expired. |
| Unusual noise during operation. | Unit not on a flat surface; Internal component issue. | Place the unit on a stable, flat surface; If noise persists, contact customer support. |
If the problem persists after attempting these solutions, please contact customer support.
8. Specifications
| Feature | Specification |
|---|---|
| Model Name | DY501 |
| Brand | Deyagoo |
| Dehumidification Capacity | 0.4 Liters per Day (approx. 400ml/24h at 86°F, 80% RH) |
| Water Tank Volume | 1.5 Liters (50 OZ) |
| Product Dimensions | 5.91"D x 4.72"W x 9.84"H |
| Item Weight | 1.27 Kilograms (2.79 pounds) |
| Wattage | 23 watts |
| Operation Mode | Automatic |
| Special Features | Timer, Water Level Indicator, Auto Shut-Off, 7-Color Ambient Light |
| Material | Acrylonitrile Butadiene Styrene (ABS) |
| Recommended Use | Residential (Bedroom, Bathroom, RV, Closet) |
9. Warranty and Support
9.1 Warranty Information
This product comes with a standard manufacturer's warranty. Please refer to the product packaging or your purchase documentation for specific warranty terms and duration. Keep your proof of purchase for warranty claims.
9.2 Customer Support
For any questions, technical assistance, or warranty claims, please contact Deyagoo customer support through the retailer where you purchased the product or visit the official Deyagoo website for contact information.


