1. Important Safety Instructions
Please read all instructions carefully before operating the dehumidifier and retain this manual for future reference. Failure to follow these instructions may result in electric shock, fire, or serious injury.
- This appliance is for indoor household use only.
- Always connect the dehumidifier to a properly grounded electrical outlet.
- Do not operate the unit with a damaged cord or plug. If the power cord is damaged, it must be replaced by the manufacturer, its service agent, or similarly qualified persons to avoid a hazard.
- Do not block the air inlet or outlet. Maintain at least 8 inches (20 cm) of clearance around the unit.
- Do not insert objects into the air vents.
- Always turn off the unit and unplug it before cleaning, moving, or performing any maintenance.
- Do not use the dehumidifier in areas where flammable liquids or gases are stored.
- Ensure the unit is placed on a level, stable surface to prevent water spillage.
- Keep children and pets away from the dehumidifier during operation.
2. Product Overview
The HUMSURE HD01 30-Pint Dehumidifier is designed to efficiently remove excess moisture from your indoor environment, improving air quality and comfort. It features a powerful compressor, automatic defrosting, and versatile operating modes.
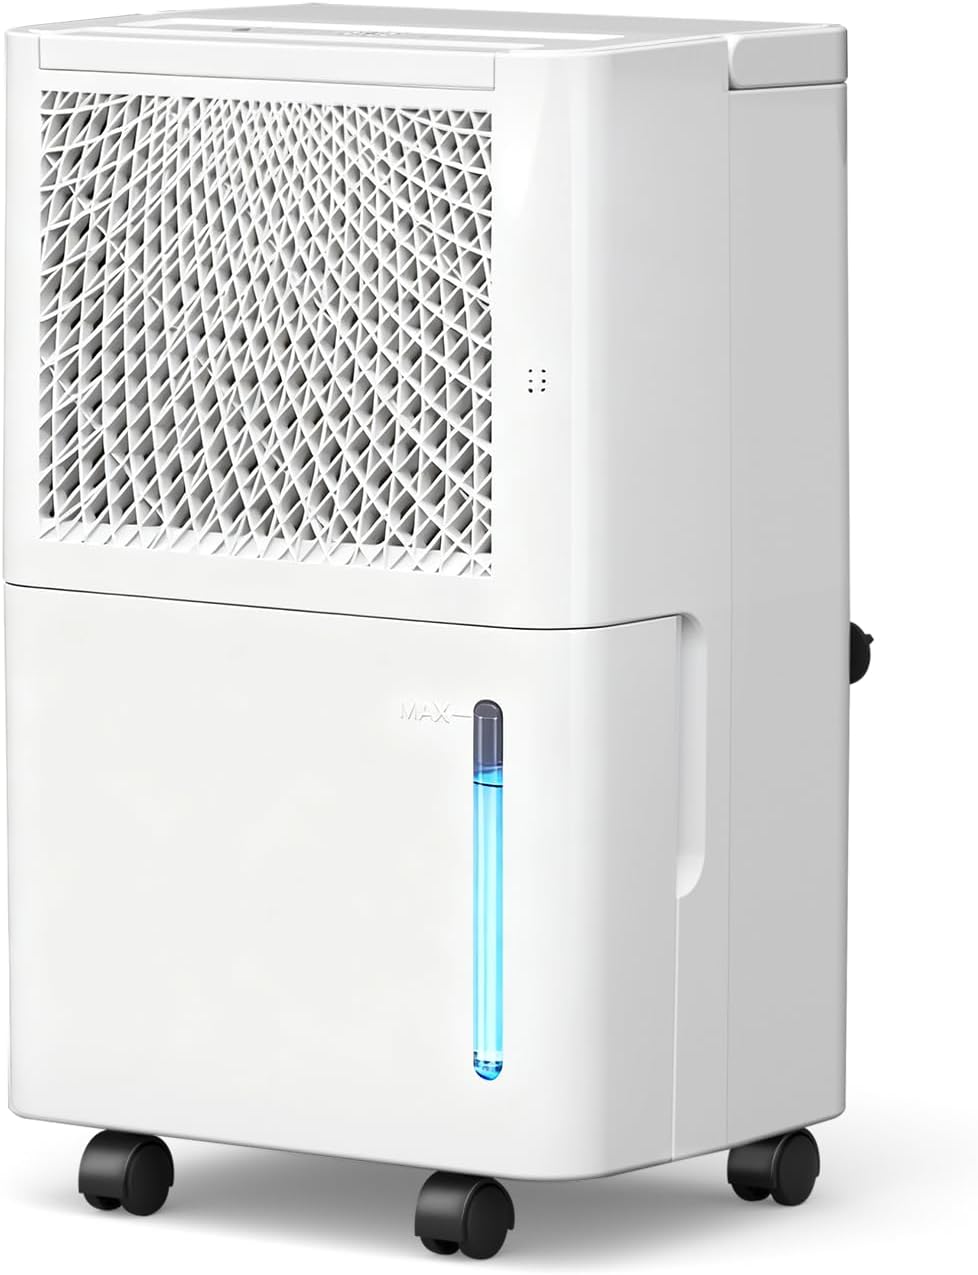
Image: Front view of the HUMSURE HD01 30-Pint Dehumidifier, showcasing its compact design and water level indicator.
3. Product Components
Familiarize yourself with the main components of your dehumidifier:
- Control Panel: For setting modes, humidity levels, and timer.
- Air Inlet/Filter: Located at the rear, where air enters for dehumidification.
- Air Outlet: Where dry air is expelled.
- Water Tank: Collects condensed water for manual drainage.
- Drainage Port: For continuous drainage using the included hose.
- Universal Wheels: For easy mobility.
- Built-in Handle: For convenient lifting and transport.
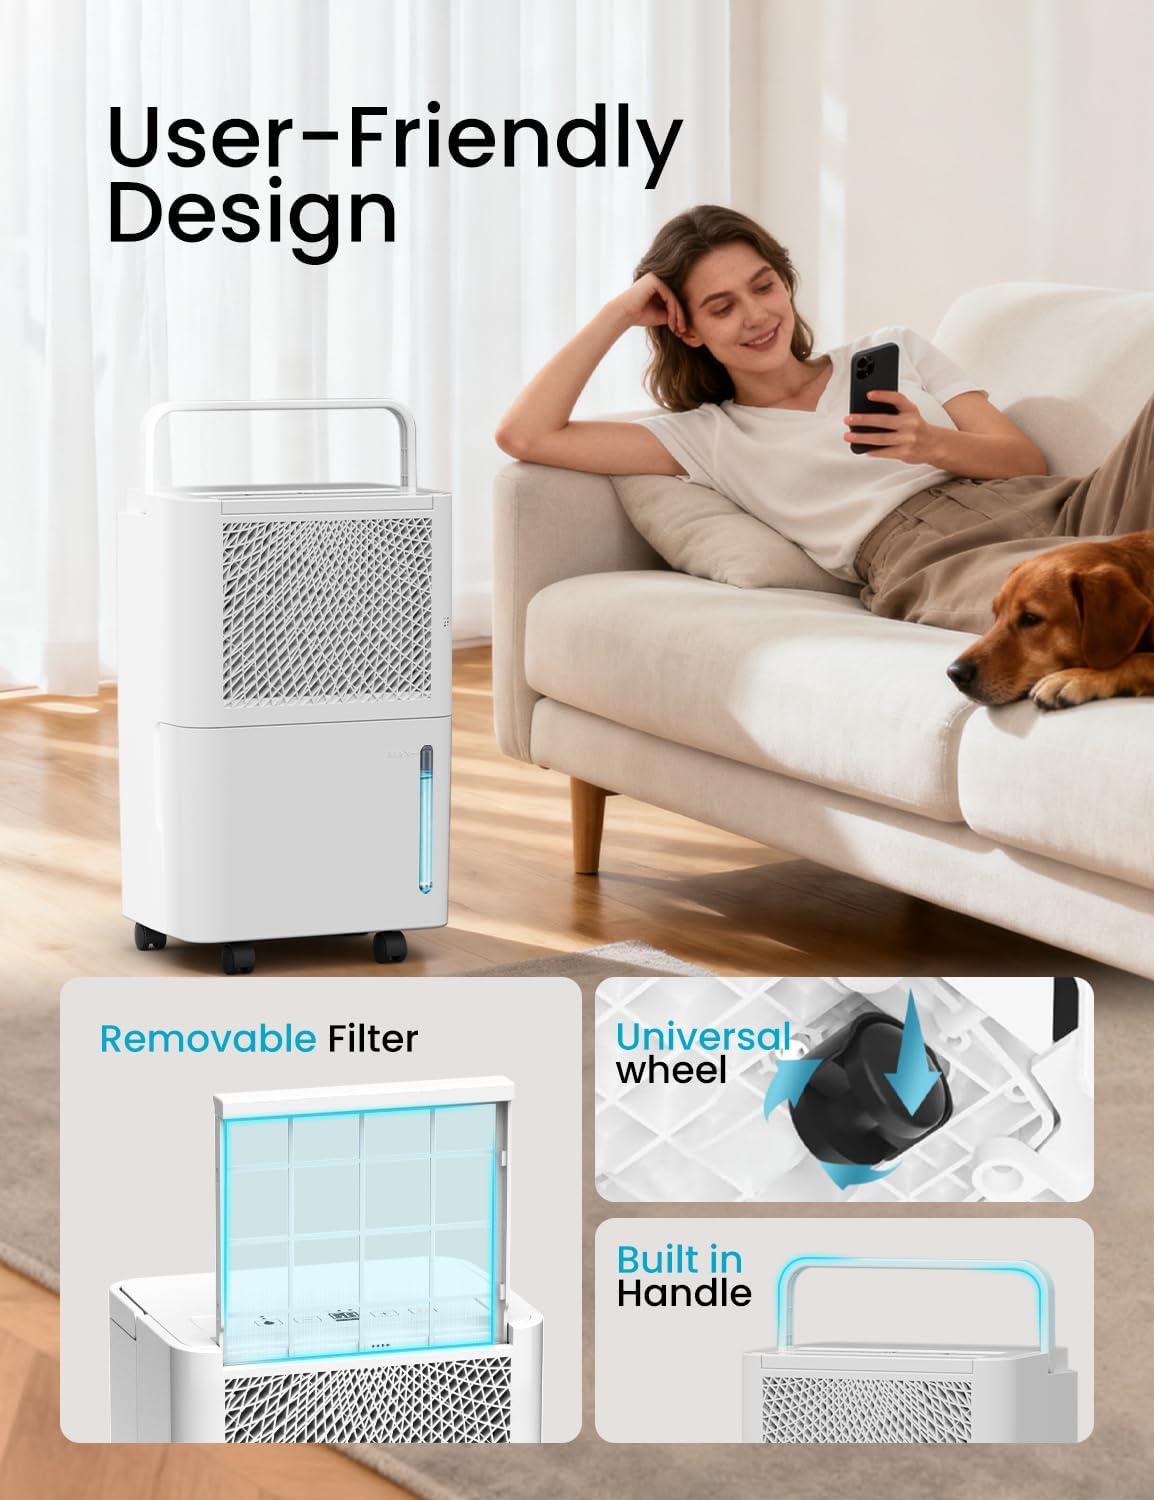
Image: Detailed view highlighting the removable filter, universal wheels, and built-in handle for user convenience.
4. Setup
4.1 Unpacking and Initial Placement
- Carefully remove the dehumidifier from its packaging.
- Place the unit upright on a level surface.
- Important: After transport, allow the dehumidifier to stand upright for at least 2 hours before plugging it in. This allows the refrigerant pressure in the compressor to stabilize.
- Ensure there is at least 8 inches (20 cm) of clear space around the air inlet and outlet for proper airflow.
4.2 Drainage Options
Your dehumidifier offers two methods for water removal:
- Manual Drainage (Water Tank): Water collects in the internal tank. The unit will automatically shut off when the tank is full, and an indicator light will illuminate. You will need to manually empty the tank.
- Continuous Drainage (Drain Hose): For uninterrupted operation, connect the supplied drain hose to the drainage port on the back of the unit. Route the hose to a suitable drain (e.g., floor drain, sink) ensuring it is sloped downwards to allow gravity to drain the water.

Image: Visual representation of the two drainage methods: manual water tank emptying and continuous drainage via hose.
5. Operating Instructions
5.1 Control Panel Overview
The control panel allows you to manage all functions of the dehumidifier.

Image: Detailed view of the control panel, showing buttons for mode selection, humidity adjustment, digital display, and power.
- 1. Standard/Dry Mode Button: Cycles through different operating modes.
- 2. Reduce Button (-): Decreases the target humidity level or timer setting.
- 3. Digital Display: Shows current humidity, target humidity, or timer settings.
- 4. Increase Button (+): Increases the target humidity level or timer setting.
- 5. Switch (Power) Button: Turns the unit ON or OFF.
5.2 Power On/Off
Press the Switch (Power) Button to turn the dehumidifier ON or OFF.
5.3 Operating Modes
Press the Standard/Dry Mode Button to cycle through the following modes:
- DRY Mode: Designed for rapid drying, such as drying clothes. The unit operates continuously at maximum dehumidification.
- DEHU Mode: Allows you to set a target humidity level between 30% and 80% Relative Humidity (RH). The unit will operate until the set humidity is reached, then cycle on and off to maintain it.
- CONT (Continuous) Mode: The unit operates continuously regardless of the ambient humidity level, ideal for very damp spaces.
5.4 Setting Humidity Level (DEHU Mode)
In DEHU Mode, use the Increase (+) and Reduce (-) buttons to set your desired humidity level. The digital display will show the target humidity. The unit will automatically adjust its operation to maintain this level.
5.5 Timer Function
To activate the timer function, press the Increase (+) and Reduce (-) buttons simultaneously. Use these buttons to set the desired operating duration (up to 24 hours). The unit will turn off automatically after the set time.
5.6 Automatic Defrosting
The dehumidifier is equipped with an automatic defrosting function. If frost forms on the evaporator coil, the compressor will temporarily cycle off while the fan continues to run. This melts the frost, ensuring continuous and efficient operation, especially in cooler environments.

Image: The dehumidifier positioned in a bathroom, demonstrating its auto-defrost capability for continuous operation.
6. Maintenance
Regular maintenance ensures optimal performance and extends the lifespan of your dehumidifier.
6.1 Emptying the Water Tank
When the water tank is full, the unit will automatically shut off, and the 'Full Tank' indicator will illuminate. Carefully slide out the water tank, empty the collected water, and reinsert the tank firmly until it clicks into place. The unit will resume operation.
6.2 Cleaning the Air Filter
The air filter should be cleaned regularly (e.g., every two weeks or as needed) to prevent dust buildup and maintain efficiency.
- Turn off the dehumidifier and unplug it from the power outlet.
- Locate the air filter, typically at the rear or side of the unit.
- Gently pull out the filter.
- Clean the filter with a vacuum cleaner or wash it with warm, soapy water. Rinse thoroughly and allow it to air dry completely before reinserting.
- Reinsert the dry filter into its slot.
6.3 General Cleaning
Wipe the exterior of the dehumidifier with a soft, damp cloth. Do not use harsh chemicals, abrasives, or solvents, as these can damage the surface.
7. Troubleshooting
If you encounter issues with your dehumidifier, refer to the following common problems and solutions:
| Problem | Possible Cause | Solution |
|---|---|---|
| Dehumidifier does not turn on. | No power; Power cord not plugged in; Water tank full or not properly inserted. | Check power connection; Ensure water tank is empty and correctly seated. |
| Unit is running but not collecting water. | Ambient humidity is too low; Air filter is clogged; Room temperature is too low; Unit is in continuous drainage mode with hose connected. | Check ambient humidity; Clean the air filter; Ensure room temperature is above 41°F (5°C); Verify hose connection and drainage. |
| Unit is noisy. | Unit is not on a level surface; Air filter is clogged. | Place unit on a flat, stable surface; Clean the air filter. |
| Water leaks from the unit. | Water tank not properly inserted; Drain hose is loose or clogged (if using continuous drainage). | Reinsert water tank correctly; Check drain hose for secure connection and obstructions. |
If the problem persists after trying these solutions, please contact customer support.
8. Specifications
| Feature | Detail |
|---|---|
| Brand | HUMSURE |
| Model Name | Humsure Electric Dehumidifier (HD01) |
| Dehumidification Capacity | 30 Pints/Day (at 86°F, 80% RH) |
| Coverage Area | Up to 1500 Sq. Ft. |
| Water Tank Volume | 2 Liters (approx. 68 Fluid Ounces) |
| Product Dimensions | 10.6"D x 8.1"W x 16"H |
| Item Weight | 22.2 pounds |
| Wattage | 45 watts |
| Operation Mode | Electric |
| Air Flow Capacity | 100 Cubic Feet Per Minute |
| Humidity Setting Range | 30% - 80% RH |
| Special Features | Automatic Defrosting, 24-Hour Timer, Continuous Drainage Option |
| Material | Plastic |
9. Warranty and Support
HUMSURE is committed to providing quality products and customer satisfaction. Your dehumidifier comes with a manufacturer's warranty. For specific warranty details, please refer to the documentation included with your purchase or contact customer support.
If you experience any initial defects or other issues with your HUMSURE dehumidifier, please do not hesitate to contact our after-sales service team. We are dedicated to resolving any concerns you may have.
Customer Support Email: support@humsure.com (Example email, please refer to actual product documentation for correct contact information)