1. Introduction
This manual provides detailed instructions for the safe and efficient operation of your VenirCool N5 Standard Mini Projector. Please read this manual thoroughly before use and retain it for future reference. This projector is designed for versatile use, offering high-quality projection with advanced connectivity and portability.
2. Product Overview
2.1. Key Features
- 360° Adjustable & Detachable Stand: Allows projection from various angles onto walls, tables, ceilings, or outdoor screens.
- Native 1080P Full HD Resolution with 4K Support: Delivers clear details, accurate colors, and supports 4K video input/decoding.
- Slim, Lightweight & Ultra-Portable Design: Compact form factor for easy transport and use in various settings.
- WiFi 6 & Bluetooth 5.2 Connectivity: Supports smooth screen mirroring from iOS and Android devices and easy connection to external audio.
- Wide Compatibility: Connects to laptops, smartphones, TV sticks, USB drives, and gaming consoles via HDMI, USB, and audio ports.
- Automatic Vertical Keystone Correction: Quickly delivers a perfectly aligned rectangular image.
2.2. Product Components
The VenirCool N5 Standard Mini Projector includes the main projector unit, a power adapter, and a remote control. The projector features a built-in 360° rotatable stand.
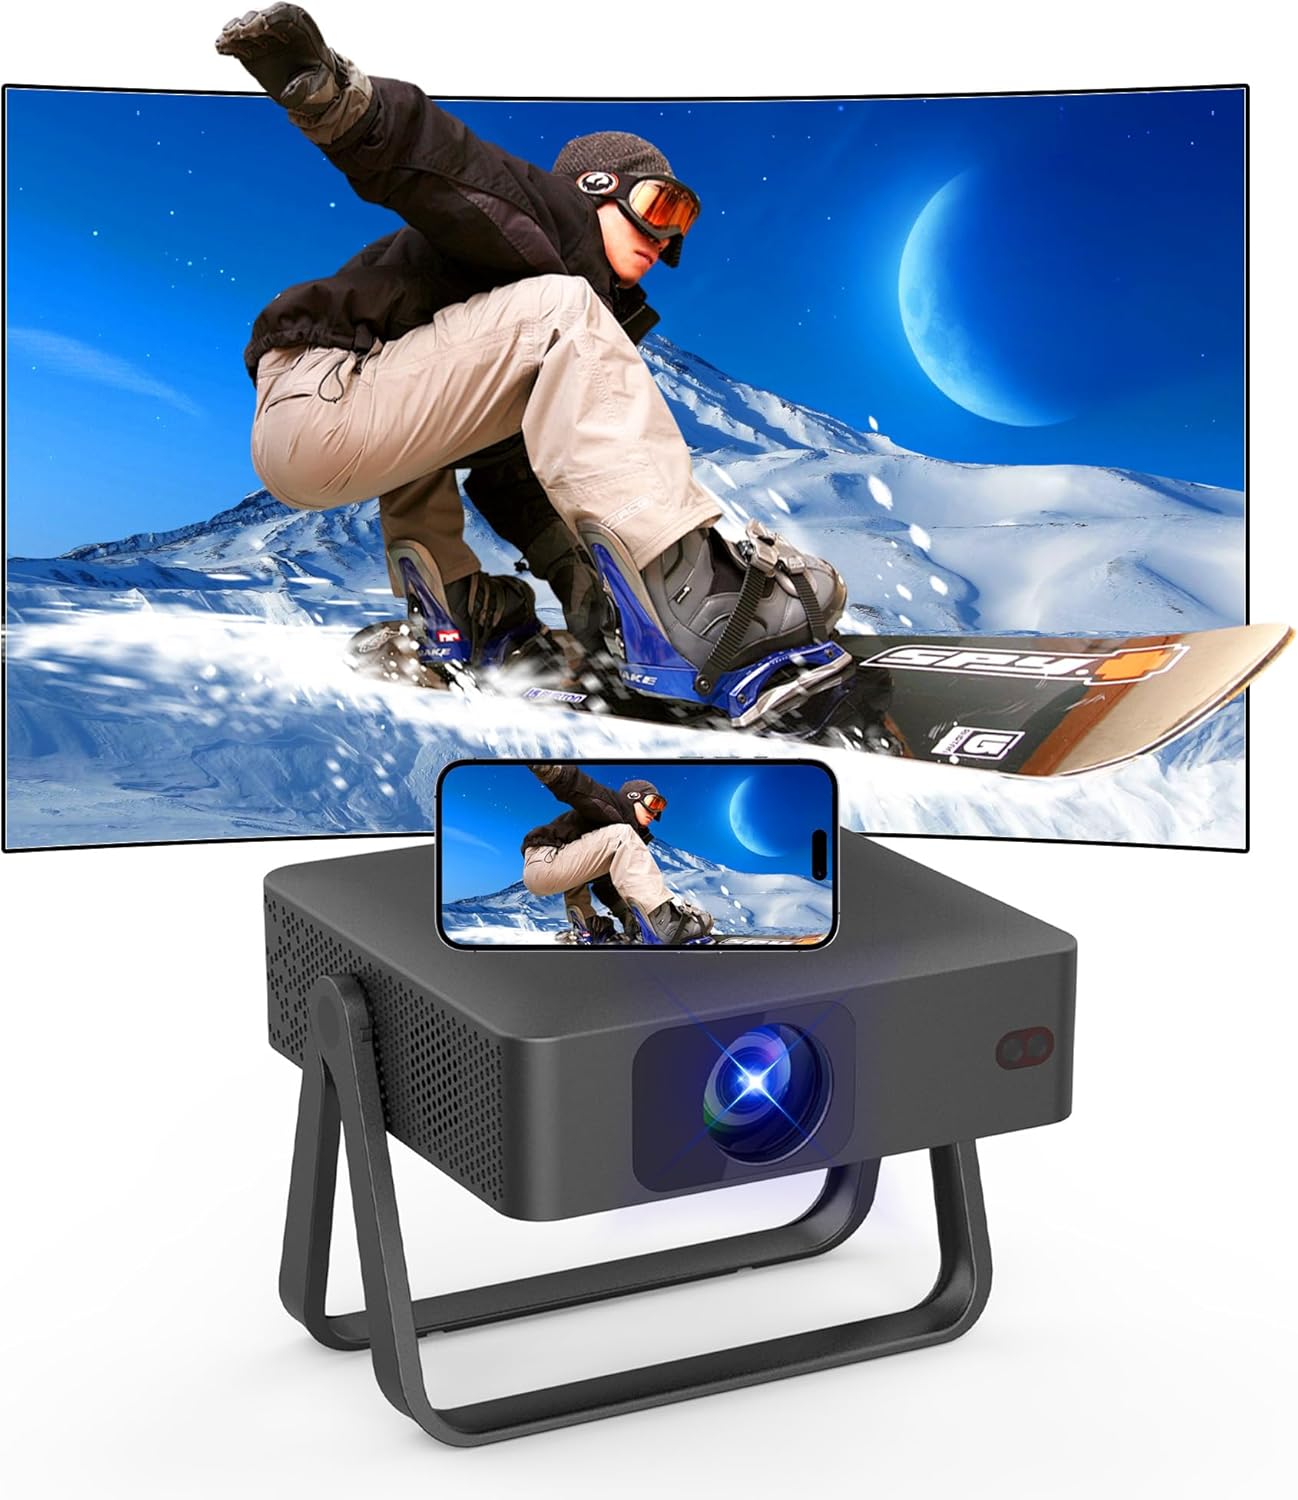
Image: The VenirCool N5 Standard Mini Projector with its built-in stand.

Image: Dimensions of the VenirCool N5 Standard Mini Projector, showing its compact size (approx. 7.91 inches long, 7.87 inches wide, 2.3 inches high).

Image: Rear view of the projector showing available ports: USB, HDMI, IR receiver, and power input.
2.3. Product Video
Video: An official product video demonstrating the ultra-slim design, compatible ports, built-in portable stand, 360° free rotation, vibrant colors, and screen mirroring capabilities of the VenirCool N5 Standard Mini Projector.
3. Setup
3.1. Placement
Position the projector on a stable, flat surface. The built-in 360° rotatable stand allows for flexible placement, including tabletop, tripod, ceiling, or wall mounting. Ensure adequate ventilation around the projector.
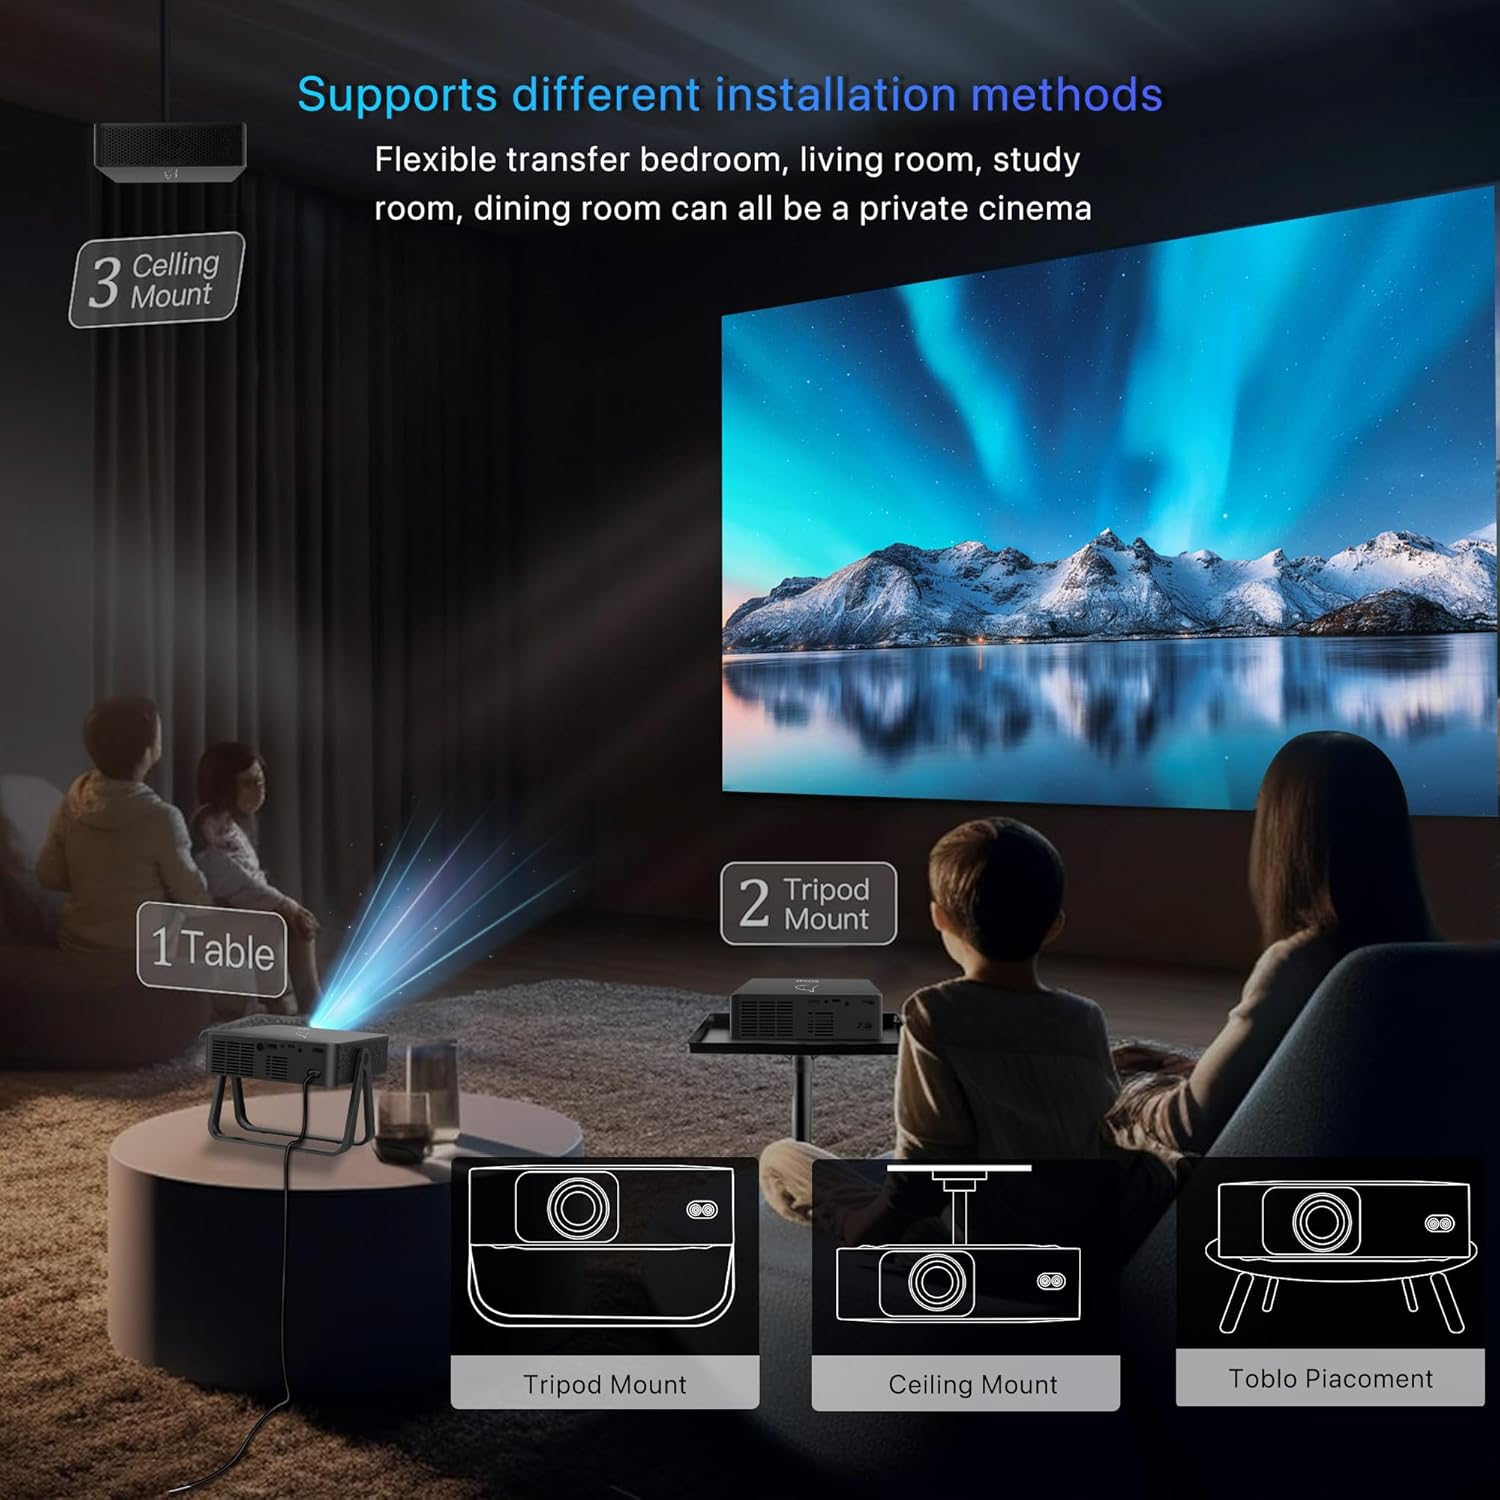
Image: Diagram illustrating various installation methods: Tabletop, Tripod Mount, and Ceiling Mount. The projector can adapt to different scenarios.
3.2. Power Connection
- Connect the power adapter to the projector's power input port.
- Plug the power adapter into a suitable electrical outlet.
4. Operating Instructions
4.1. Power On/Off
- To power on: Press the power button on the projector or the remote control.
- To power off: Press the power button again.
4.2. Basic Navigation
Use the remote control to navigate the projector's interface. The remote allows selection of input sources, adjustment of settings, and control of media playback.

Image: A user operating the projector with a remote control, highlighting the electric remote focus feature for clear image adjustment.
5. Connectivity
5.1. Wireless Connectivity (WiFi 6 & Bluetooth 5.2)
- WiFi 6: Connect to your home network for internet access and screen mirroring. Navigate to the network settings in the projector menu to connect to a WiFi 6 (2.4G/5G) network.
- Screen Mirroring: The projector supports screen mirroring from iOS and Android devices. Select the screen mirroring option in the projector's menu and follow the on-screen instructions to connect your device.
- Bluetooth 5.2: Pair with external Bluetooth speakers or headphones for enhanced audio. Access Bluetooth settings in the menu to discover and connect to devices.
Image: The projector wirelessly mirroring content from a laptop and a smartphone to a large screen, demonstrating iOS and Android compatibility.

Image: A smartphone screen being mirrored to a large projection, illustrating the WiFi 6 connection for seamless streaming.
5.2. Wired Connectivity
The projector offers multiple wired input options:
- HDMI Port: Connect laptops, TV sticks, gaming consoles (PS5, Xbox, Switch), and other HDMI-enabled devices.
- USB Port: Connect USB drives for direct media playback.
- 3.5mm Audio Jack: Connect external wired speakers or headphones.

Image: Icons representing various compatible multimedia devices including tablets, laptops, TV sticks, Chromecast, USB disks, smartphones, speakers, and gaming consoles (Xbox/PS5).
6. Image Adjustment
6.1. Auto Keystone Correction
The projector features automatic vertical keystone correction (±30°) to quickly adjust the image for a perfectly rectangular display, even if the projector is not perfectly aligned with the screen.

Image: A projected image showing keystone correction in action, adjusting a distorted image to a perfect rectangle. The image also indicates remote focus functionality.
6.2. Focus Adjustment
Use the remote control to adjust the focus for a clear and sharp image. This projector includes electric remote focus technology for precise adjustments.

Image: Two children watching a movie projected onto the ceiling, demonstrating the 360° adjustable stand for flexible projection angles.
7. Maintenance
7.1. Cleaning the Lens
Gently wipe the projector lens with a soft, lint-free cloth specifically designed for optical surfaces. Avoid using abrasive cleaners or excessive force.
7.2. Ventilation
Ensure that the projector's ventilation openings are not blocked to prevent overheating. Do not place the projector on soft surfaces that may obstruct airflow.
8. Troubleshooting
8.1. No Image Displayed
- Check if the projector is powered on.
- Verify the input source selection matches the connected device (e.g., HDMI, USB).
- Ensure all cables are securely connected.
- Adjust the focus and keystone correction.
8.2. No Sound
- Check the volume settings on both the projector and the connected device.
- If using Bluetooth, ensure the external speaker/headphone is properly paired and powered on.
- If using wired audio, ensure the cable is connected correctly.
8.3. Connection Issues (WiFi/Bluetooth)
- Restart the projector and the device you are trying to connect.
- Ensure the projector is within range of your WiFi router or Bluetooth device.
- Check WiFi password and network settings.
9. Specifications
| Feature | Specification |
|---|---|
| Brand | VenirCool |
| Model Name | N5 Standard |
| Native Resolution | 1280 x 720 Pixels |
| Display Resolution Maximum | 3480 × 2160 Pixels (4K Support) |
| Brightness | 6000 Lumen |
| Contrast Ratio | 80,000:1 |
| Connectivity Technology | Wi-Fi 6 (2.4G/5G), Bluetooth 5.2, HDMI, USB, 3.5mm Jack |
| Special Features | 4K Support, Built-In Speaker, Auto Keystone Correction, 360° Rotation Stand |
| Light Source Operating Life | 45000 Hours |
| Maximum Image Size | 300 Inches |
| Minimum Throw Distance | 2 Feet |
| Maximum Throw Distance | 20 Feet |
| Item Weight | 1.2 Kilograms |
| Item Dimensions (L x W x H) | 7"L x 10"W x 10"H |
10. Warranty and Support
10.1. Warranty Information
The VenirCool N5 Standard Mini Projector comes with a 30-day warranty from the date of purchase. Please retain your proof of purchase for warranty claims.
10.2. Customer Support
For any questions, technical assistance, or warranty inquiries, please contact VenirCool customer support through the retailer's platform or the official VenirCool website.


