1. Introduction
The HYUDNC CDZ9 series intermediate relays are electromechanical switching devices designed for various industrial control applications. These relays provide isolation and amplification of control signals, enabling a low-power signal to control a higher-power circuit or to switch multiple circuits simultaneously. This manual provides essential information for the safe and effective installation, operation, and maintenance of your CDZ9 series intermediate relay.
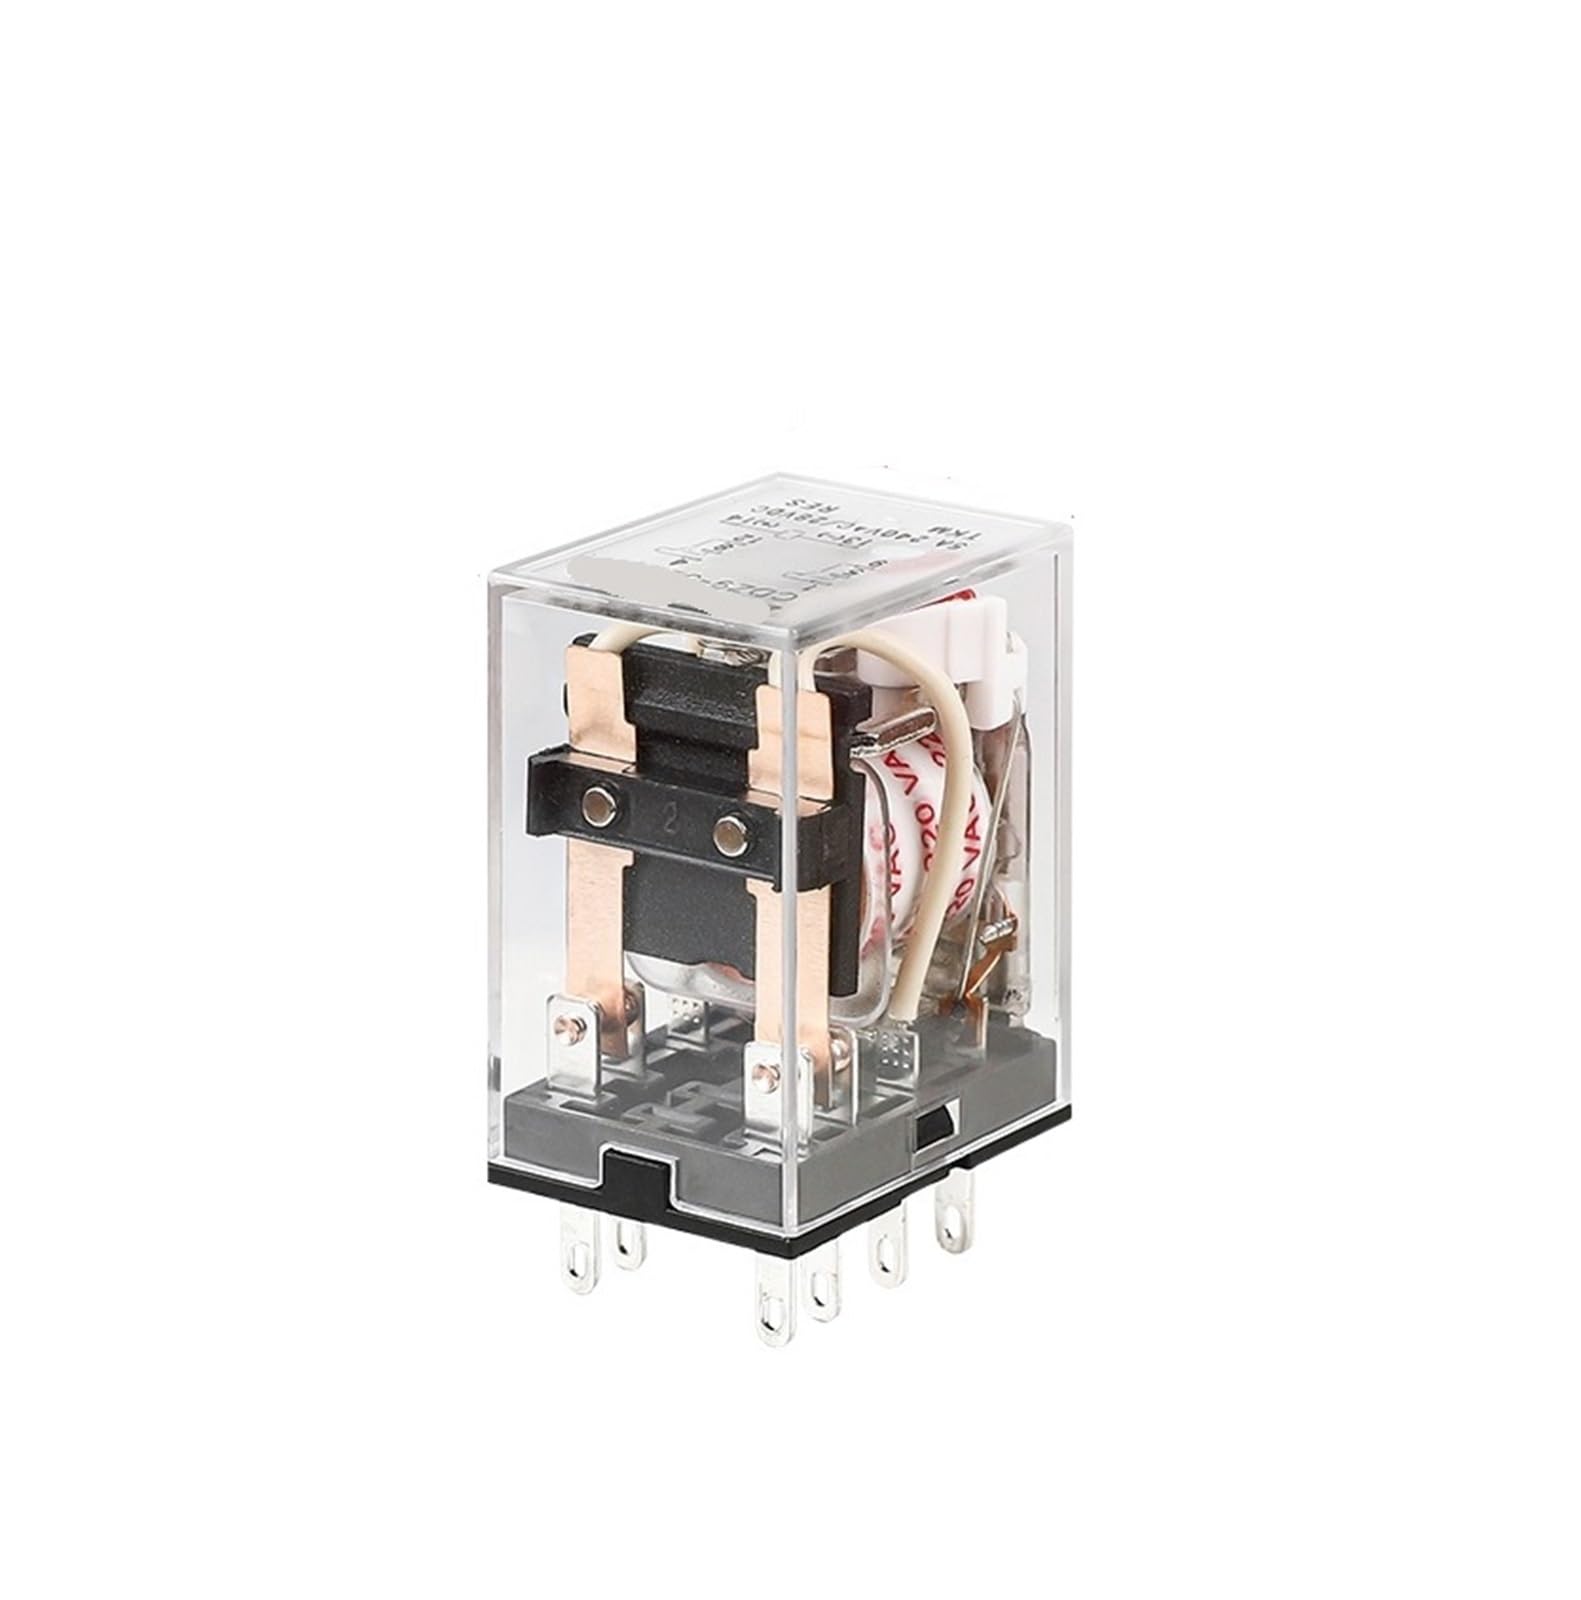
Figure 1: General view of a HYUDNC CDZ9 series intermediate relay.
2. Safety Information
Please read and understand all safety instructions before installing or operating this device. Failure to follow these instructions may result in electric shock, fire, or serious injury.
- Qualified Personnel: Installation and maintenance should only be performed by qualified electrical personnel.
- Power Disconnection: Always disconnect power to the circuit before installing, wiring, or servicing the relay.
- Voltage and Current Ratings: Ensure the relay's voltage and current ratings match the application requirements. Do not exceed specified ratings.
- Proper Wiring: Use appropriate wire gauges and ensure all connections are secure and properly insulated.
- Environmental Conditions: Do not expose the relay to excessive moisture, dust, corrosive gases, or extreme temperatures outside its operating range.
3. Product Overview and Features
The CDZ9 series intermediate relays are designed for reliability and versatility in control systems. Key features include:
- Multiple contact configurations (8-pin, 11-pin, 14-pin).
- Wide range of coil voltage options (AC and DC).
- Electromagnetic switching mechanism.
- Compact design for space-saving installations.

Figure 2: The CDZ9 series relays are available in a variety of AC and DC coil voltages, including AC12V, AC24V, AC36V, AC110V, AC220V, AC380V, DC12V, DC24V, and DC36V.
4. Specifications
The CDZ9 series includes models with different pin configurations and contact ratings. Refer to the specific model for detailed electrical characteristics.

Figure 3: Pin configurations and contact diagrams for CDZ9-52PL (8-pin), CDZ9-53PL (11-pin), and CDZ9-54PL (14-pin) models, showing maximum current ratings.
4.1 Model Specifics
| Model | Pin Count | Contact Configuration | Max Current |
|---|---|---|---|
| CDZ9-52PL | 8-pin | 2 Normally Open (NO), 2 Normally Closed (NC) | 5A |
| CDZ9-53PL | 11-pin | 3 Normally Open (NO), 3 Normally Closed (NC) | 5A |
| CDZ9-54PL | 14-pin | 4 Normally Open (NO), 4 Normally Closed (NC) | 3A |
4.2 General Specifications
- Coil Voltage Options: AC12V, AC24V, AC36V, AC110V, AC220V, AC380V, DC12V, DC24V, DC36V (Refer to product label for specific unit voltage)
- Item Weight: Approximately 1.76 ounces (50g)
- Package Dimensions: Approximately 1.18 x 0.79 x 0.39 inches (30 x 20 x 10 mm)
- Manufacturer: HYUDNC
5. Setup and Installation
The CDZ9 series relays are typically designed for plug-in mounting into a compatible relay socket (base not included). Ensure the correct socket is used for the specific pin configuration (8-pin, 11-pin, or 14-pin).
5.1 Mounting
- Ensure the power to the control circuit is completely disconnected.
- Select a suitable mounting location that is free from excessive vibration, moisture, and extreme temperatures.
- Mount the appropriate relay socket (base) securely using screws or DIN rail clips, depending on the socket type.
- Carefully align the relay pins with the corresponding holes in the socket and gently push the relay into place until it is fully seated. Do not force the relay.
5.2 Wiring
Refer to the wiring diagrams (Figure 3) for your specific CDZ9 model to ensure correct connections. The pin numbers on the relay correspond to the terminals on the relay socket.
- Coil Connections: Connect the control voltage (AC or DC, as specified on the relay label) to the coil terminals. These are typically pins 13 and 14 for 14-pin relays, or other designated pins as per the diagram.
- Contact Connections: Connect the load circuits to the appropriate Normally Open (NO) or Normally Closed (NC) contact terminals.
- Wire Gauge: Use wire gauges appropriate for the maximum current rating of the contacts and the length of the wire run.
- Verify Connections: Double-check all wiring for correctness and secure connections before applying power.
6. Operating Instructions
Once properly installed and wired, the CDZ9 series intermediate relay operates automatically based on the control signal applied to its coil.
- Energizing the Coil: When the rated control voltage is applied to the relay coil, an electromagnetic field is generated.
- Contact Switching: This electromagnetic field causes the armature to move, changing the state of the contacts. Normally Open (NO) contacts will close, and Normally Closed (NC) contacts will open.
- De-energizing the Coil: When the control voltage is removed from the coil, the electromagnetic field collapses, and the contacts return to their original (de-energized) state.
- Indicator (if present): Some relays may include an LED indicator that illuminates when the coil is energized, providing visual confirmation of operation.
7. Maintenance
The HYUDNC CDZ9 series relays are designed for long-term, reliable operation with minimal maintenance. However, periodic inspection can help ensure optimal performance and extend service life.
- Visual Inspection: Regularly inspect the relay and its socket for any signs of physical damage, discoloration, loose connections, or excessive dust accumulation.
- Cleaning: If dust or debris is present, gently clean the relay and socket using a soft, dry brush or compressed air. Ensure power is disconnected before cleaning.
- Contact Wear: Over time, contacts may show signs of wear (pitting or carbon buildup), especially in high-current or frequently switched applications. If significant wear is observed, the relay should be replaced.
- Environmental Check: Ensure the operating environment remains within the specified conditions (temperature, humidity, absence of corrosive agents).
8. Troubleshooting
If the relay is not functioning as expected, perform the following basic troubleshooting steps:
| Problem | Possible Cause | Solution |
|---|---|---|
| Relay coil does not energize | No control voltage; Incorrect control voltage; Loose wiring; Damaged coil | Check control power supply; Verify coil voltage matches relay rating; Inspect and secure wiring; Replace relay if coil is damaged. |
| Contacts do not switch | Coil not energizing (see above); Contacts stuck or worn; Incorrect wiring | Address coil issues; Replace relay if contacts are faulty; Re-check contact wiring against diagram. |
| Intermittent operation | Unstable control voltage; Loose connections; Relay nearing end of life | Stabilize control power; Tighten all connections; Consider replacing the relay. |
| Overheating or burning smell | Overcurrent through contacts; Incorrect coil voltage; Short circuit | Immediately disconnect power. Check load current against relay rating; Verify coil voltage; Inspect for short circuits. Replace damaged relay. |
If troubleshooting steps do not resolve the issue, contact a qualified technician or the manufacturer for assistance.
9. Warranty and Support
For warranty information and technical support, please refer to the documentation provided at the time of purchase or contact your supplier. The manufacturer of this product is HYUDNC.