IED4400VQ1 YIED4400VQ1 4KMEDC100BQ1
Dryer Timer Control User Manual
For Inglis, Maytag, Roper, and Whirlpool Models
1. Introduction
This manual provides essential information for the proper installation, operation, and maintenance of your new Dryer Timer Control. This component is crucial for ensuring accurate cycle timing and reliable performance of your dryer, contributing to efficient and consistent laundry drying results.
This Dryer Timer Control is compatible with a wide range of models, including:
- Admiral: AED4475TQ1, YAED4475TQ1
- Amana: 4KNED4400BQ1, NED5100TQ1
- Crosley: CEDX631VQ1
- Estate: EED4300VQ1, YEED4300VQ1
- Inglis: IED4400VQ1, YIED4400VQ1
- Maytag: 4KMEDC100BQ1
- Roper: RED4400VQ1, RED4440VQ1, YRED4340SQ2
- Whirlpool: 4KWED4750BQ1
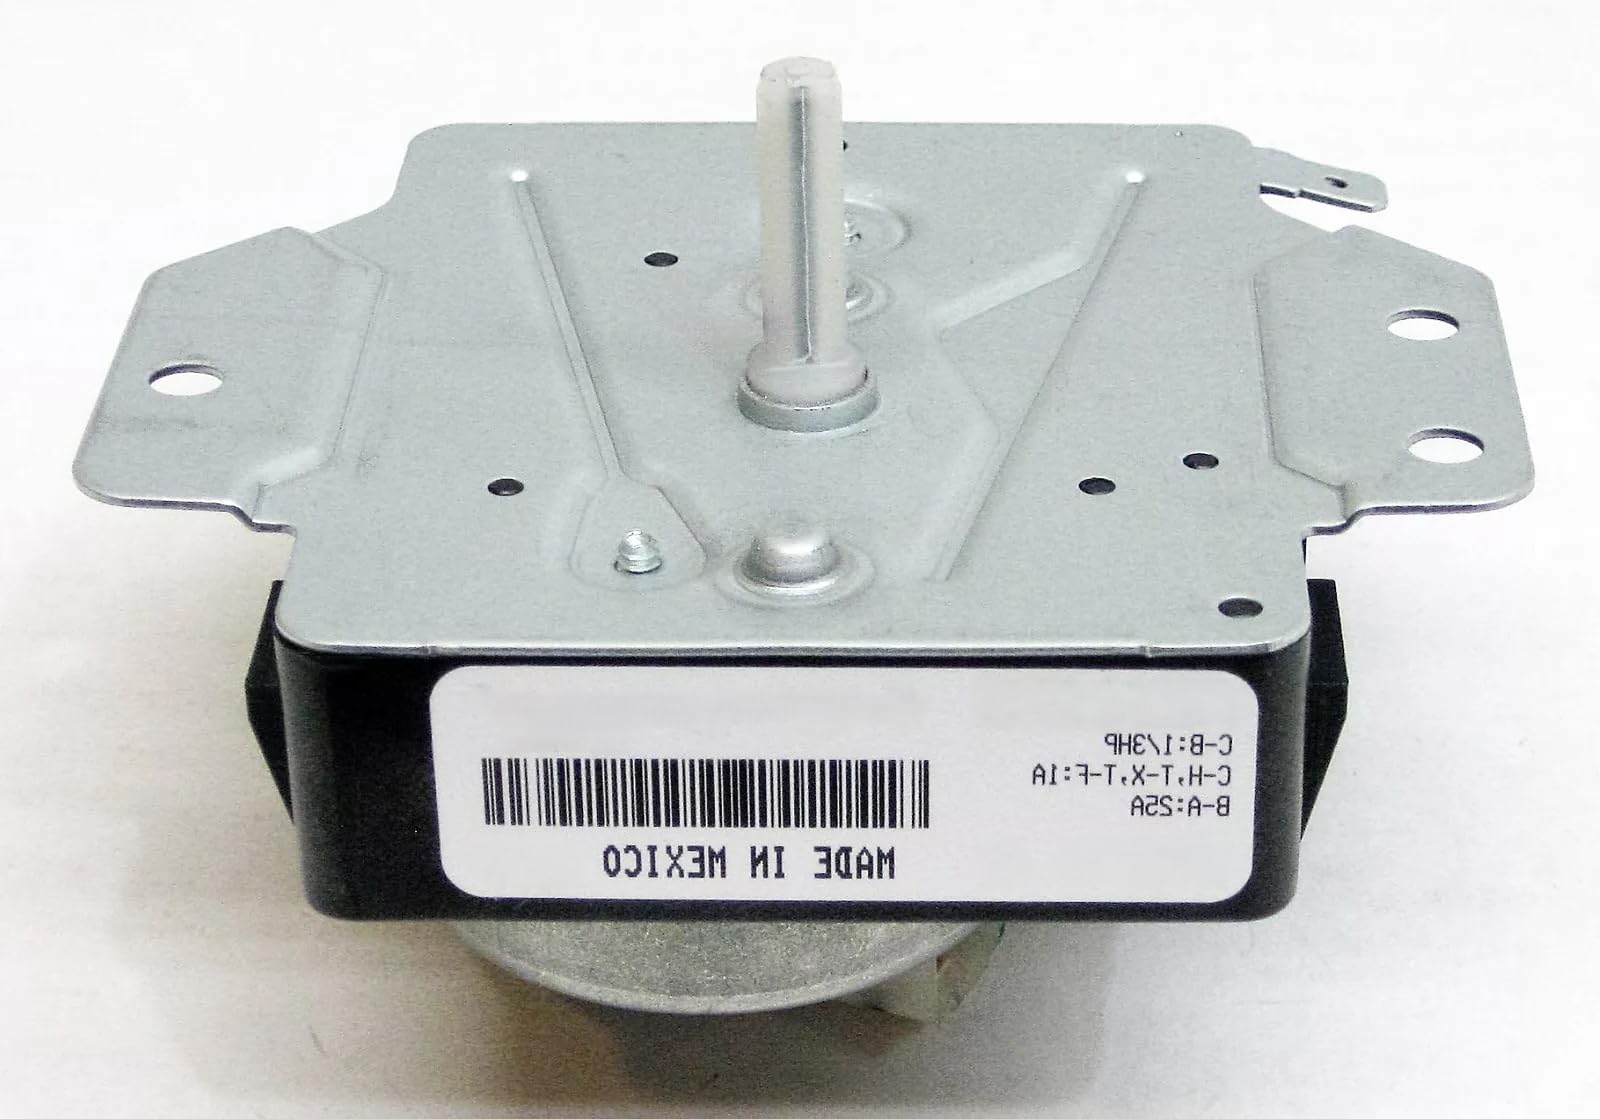
Figure 1: Front view of the Dryer Timer Control, showing the main body, metal mounting bracket, and the central control shaft.
2. Safety Information
Please read and understand all safety instructions before attempting to install or service this component. Failure to follow these instructions may result in electric shock, fire, or personal injury.
- Disconnect Power: Always disconnect the dryer from its power source (unplug or turn off circuit breaker) before beginning any installation, maintenance, or repair work.
- Professional Installation: Installation should ideally be performed by a qualified technician. If you are unsure about any step, consult a professional.
- Electrical Specifications: This dryer timer control operates at 120 Volts. Ensure your dryer's electrical system is compatible.
- Proper Tools: Use appropriate tools for installation to prevent damage to the component or the appliance.
- Inspect Connections: After installation, ensure all electrical connections are secure and properly insulated.
3. Installation Guide
This section outlines the general steps for replacing a dryer timer control. Specific procedures may vary depending on your dryer model. Always refer to your appliance's service manual for detailed, model-specific instructions.
Step-by-Step Installation:
- Prepare the Dryer: Disconnect the dryer from the power supply. Move the dryer away from the wall to access the rear or top panel, as required by your model.
- Access the Timer: Depending on your dryer model, you may need to remove the top panel, control panel, or rear access panel to reach the existing timer. Carefully remove any screws or clips securing these panels.
- Document Connections: Before disconnecting any wires, take clear photos or draw a diagram of the existing wire connections to the old timer. This will be crucial for correct re-connection.
- Disconnect Wires: Carefully disconnect all wires from the old timer. Note that some terminals may be labeled (e.g., A, B, C, H, L, etc.).
- Remove Old Timer: Unscrew or unclip the old timer from its mounting bracket.
- Install New Timer: Position the new Dryer Timer Control in the same location as the old one and secure it with the original screws or clips.

Figure 2: Rear view of the Dryer Timer Control, highlighting the electrical terminals for wiring connections.
- Connect Wires: Using your documented diagram or photos, carefully re-connect all wires to the corresponding terminals on the new timer. Ensure connections are snug and secure.
- Reassemble Dryer: Reattach any panels or covers that were removed, ensuring all screws and clips are properly fastened.
- Test Operation: Plug the dryer back into the power outlet or restore power at the circuit breaker. Test the dryer's functions to ensure the new timer is operating correctly through all cycles.

Figure 3: Detailed rear view of the Dryer Timer Control, providing a clearer look at the timer dial and terminal arrangement.
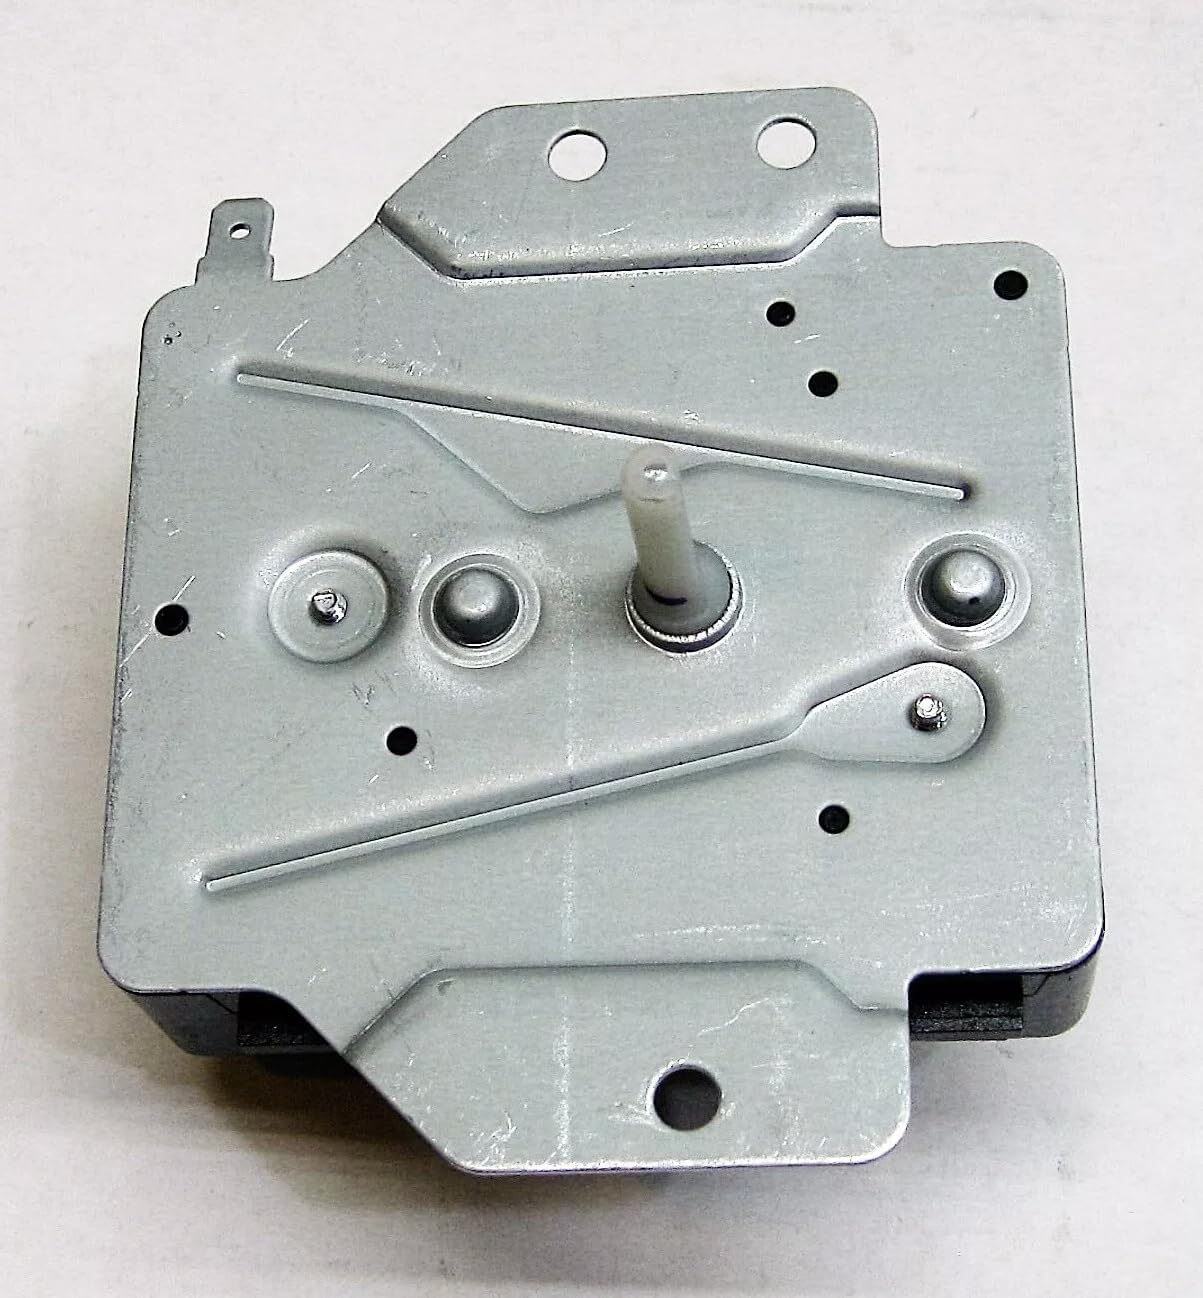
Figure 4: Top view of the Dryer Timer Control, showing the metal mounting plate and the shaft that connects to the control knob.
4. Operation
The Dryer Timer Control is responsible for regulating the duration and sequence of your dryer's cycles. Once installed, its operation is integrated with your dryer's control panel. Turning the dryer's cycle knob will engage the timer, which then precisely controls the heating, tumbling, and cooling phases of the drying process.
The timer ensures that your laundry is dried efficiently and consistently, preventing over-drying or under-drying. If your dryer previously experienced issues with cycle completion or inconsistent drying times, this replacement part is designed to restore optimal performance.
5. Maintenance
The Dryer Timer Control is a sealed unit and generally requires no internal maintenance. However, periodic inspection of its external components and connections can help ensure long-term reliability.
- Visual Inspection: Annually, or if you notice any unusual dryer behavior, disconnect power and visually inspect the timer and its wiring. Look for any signs of wear, corrosion, or loose connections.
- Clean Connections: If accessible, ensure that the electrical terminals are free from dust and debris. Do not use liquid cleaners directly on electrical components.
- Secure Mounting: Verify that the timer remains securely mounted within the dryer.
If any issues are observed, it is recommended to consult a qualified appliance technician.
6. Troubleshooting
If you experience issues after installing the new dryer timer, consider the following common troubleshooting steps:
Common Issues and Solutions:
- Dryer Not Starting:
- Ensure the dryer is properly plugged in and the circuit breaker has not tripped.
- Verify all wires to the timer are securely connected according to your diagram.
- Check if the door switch is functioning correctly.
- Cycles Not Completing or Stopping Prematurely:
- Confirm that the timer knob is correctly aligned and engaging the timer shaft.
- Re-check all wire connections for looseness or incorrect placement.
- Ensure the dryer vent is not clogged, as this can cause safety thermostats to trip and interrupt cycles.
- Timer Not Advancing:
- This often indicates an issue with the timer itself or its internal motor. Double-check power supply to the timer.
- Verify that the timer is correctly installed and not obstructed.
If these steps do not resolve the issue, it is advisable to contact a qualified appliance repair technician for further diagnosis.
7. Specifications
| Attribute | Value |
|---|---|
| Product Type | Dryer Timer Control |
| Model Number | IED4400VQ1 YIED4400VQ1 4KMEDC100BQ1 (and others) |
| Voltage | 120 Volts |
| Dimensions | Approximately 1 x 1 x 1 inches |
| Item Package Quantity | 1 |
| Manufacturer | tranvandat |
8. Warranty and Support
For specific warranty details, please refer to the documentation provided with your purchase or contact the seller directly. General warranty information is typically provided at the point of sale.
If you require technical assistance or have questions regarding the installation or function of this Dryer Timer Control, please reach out to the seller or a qualified appliance technician. Provide your product model number and a detailed description of the issue to facilitate support.
Ask a question about this manual
Ask about setup, troubleshooting, compatibility, parts, safety, or missing instructions. Manuals+ will review the question and use this page’s manual context to help answer it.