Introduction
Welcome to the EraVortx V40 MAX Retro Handheld Game Console user manual. This guide provides essential information for setting up, operating, maintaining, and troubleshooting your device to ensure an optimal gaming experience. The V40 MAX is designed for portable entertainment, featuring a robust open-source Linux system and a vast library of pre-installed classic games.

Figure 1: EraVortx V40 MAX Retro Handheld Game Console
What's in the Box
Your EraVortx V40 MAX package includes the following items:
- V40 MAX Game Console
- Organizer Bag
- Type-C Charging Cable
- 256GB TF Card (pre-installed)
- Screen Film
- User Manual

Figure 2: Package Contents
Product Features
- Unlimited Fun V40 Handheld Game Console: Features a robust open-source Linux operating system for stability and fluency. Built-in 256G SD Card preloaded with over 20000+ games. Innovative TF card independent system design allows easy addition of more games.
- 4.0-inch IPS Tempered Glass Screen: 4.0-inch IPS screen with a full viewing angle, delivering stunning visuals in 720x720 high definition. Enjoy crisp and vibrant RGB colors. Tempered glass screen for durability.
- All-in-One Multi-Function Game Console: Equipped with high-fidelity stereo speakers and a 3.5mm headphone jack. Connect an external Wi-Fi module for online multiplayer or link a wired controller for shared gaming.
- Portable Pocket Retro Gaming Console: Robust 4000mAh rechargeable battery supports long-lasting 10-hour playtime. Lightweight and travel-ready for gaming anywhere.
Setup
1. Initial Charging
Before first use, fully charge the console. Connect the provided Type-C charging cable to the console's charging port and a compatible USB power adapter (not included). A full charge typically takes approximately 2 hours and provides up to 10 hours of playtime.
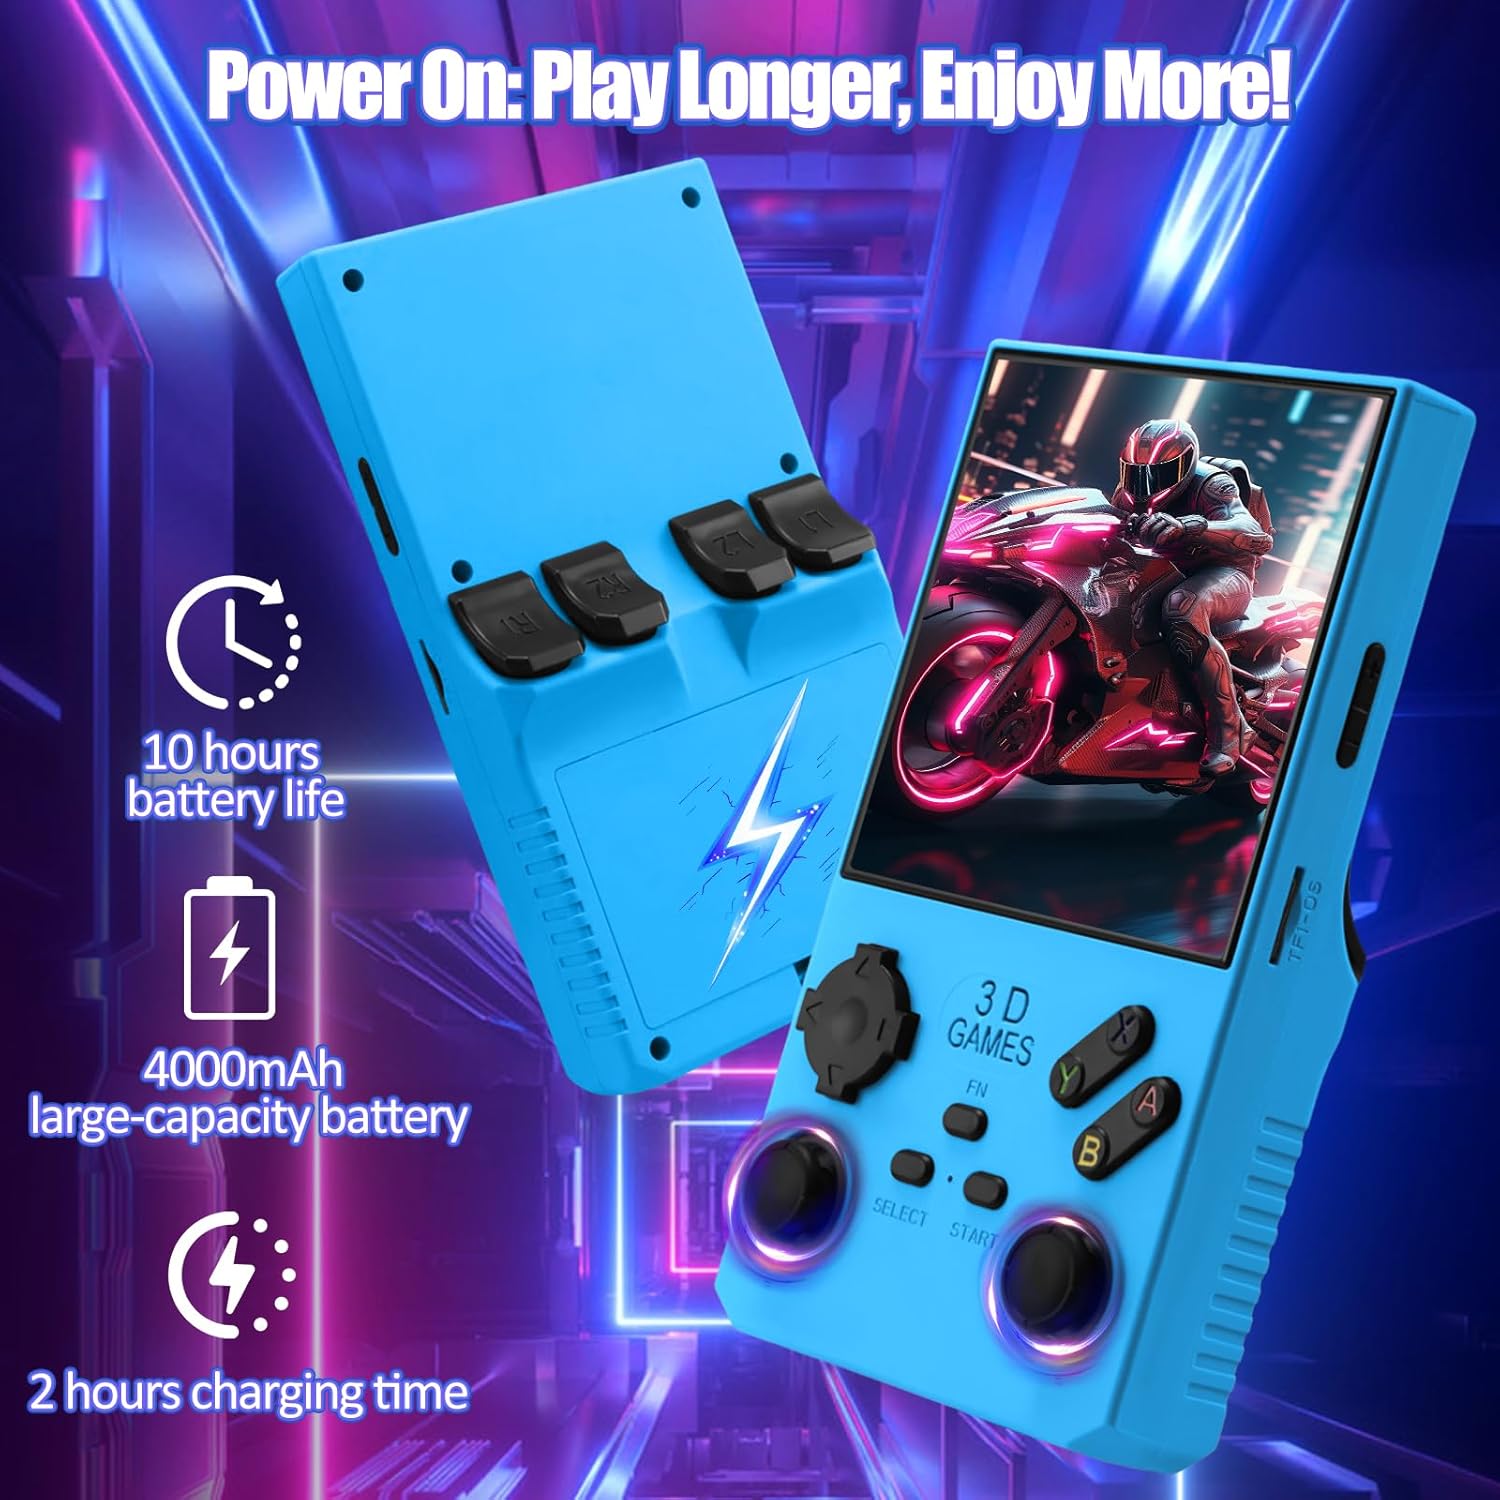
Figure 3: Battery and Charging Information
2. SD Card Installation
The 256GB TF card with pre-installed games should already be inserted into the TF-Game slot. If not, gently insert the card until it clicks into place. Ensure the console is powered off before inserting or removing the TF card.
3. Powering On/Off
To power on, press and hold the Power button located on the side of the console for a few seconds until the screen illuminates. To power off, press and hold the Power button again until the shutdown options appear, then select 'Power Off'.
4. Controls Overview
Familiarize yourself with the console's buttons and joysticks for optimal gameplay.
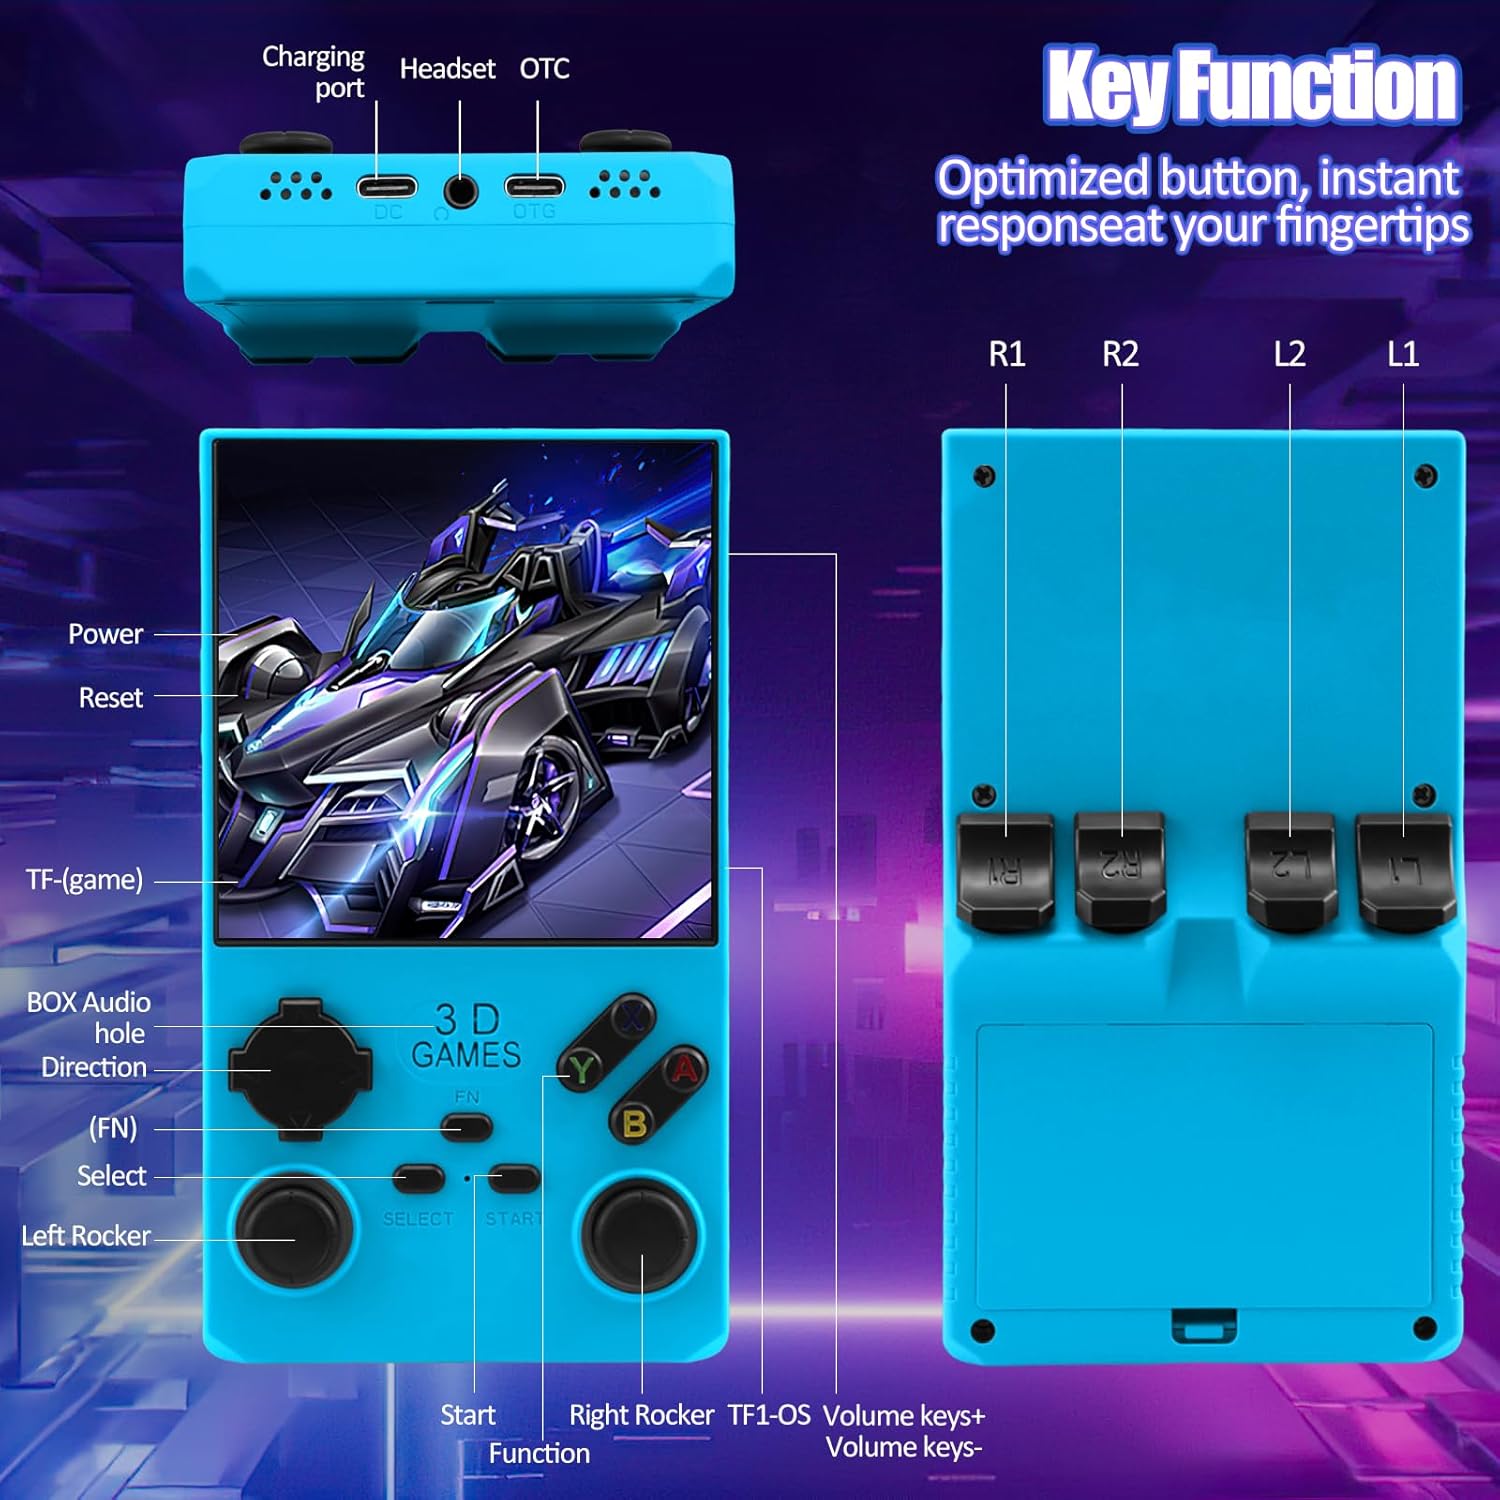
Figure 4: Key Functions and Button Layout
Operating Instructions
1. Navigating the User Interface
Use the D-pad or analog sticks to navigate through the main menu and select different emulators or game categories. Press the 'A' button to confirm a selection and the 'B' button to go back.
2. Selecting and Playing Games
Once an emulator is selected, a list of available games will appear. Scroll through the list and press 'A' to launch a game. Some games may have a preview image or video. The console supports a wide range of classic gaming systems.

Figure 5: 4.0-inch IPS Display
3. Saving and Loading Game Progress
To save your game progress, access the emulator's menu (often by pressing the 'FN' button or a combination of buttons, refer to specific emulator instructions). It is recommended to save through the emulator's save state function rather than the in-game save feature for reliability.
4. Volume Control and Audio Output
Adjust the volume using the dedicated volume buttons/slider on the side of the console. For private listening, plug standard 3.5mm headphones into the headphone jack located at the bottom of the device.
5. External Connectivity
The console supports external Wi-Fi modules for online multiplayer (module not included) and wired controllers for co-op play. Refer to the specific accessory's instructions for connection details.
Maintenance
1. Screen Care
The 4.0-inch IPS screen is made of tempered glass for durability. To clean, gently wipe with a soft, lint-free cloth. For stubborn smudges, use a screen cleaning solution or the provided screen film cleaning wipes. Avoid harsh chemicals or abrasive materials.
2. Battery Care
To prolong battery life, avoid fully discharging the console frequently. Charge the device when the battery indicator is low. Store the console in a cool, dry place when not in use for extended periods.
3. General Cleaning
Keep the console free from dust and debris. Use a soft brush or compressed air to clean around buttons and ports. Avoid exposing the device to extreme temperatures or moisture.
Troubleshooting
1. Console Not Powering On
- Ensure the battery is charged. Connect the console to the charger and wait a few minutes before attempting to power on.
- Press and hold the Power button for at least 5 seconds to ensure it's not in a sleep state.
2. Games Not Loading or Crashing
- Verify the TF card is properly inserted into the TF-Game slot.
- Some games may have compatibility issues. Try a different game to see if the problem persists.
- Ensure the console's firmware is up to date (refer to manufacturer's website for updates).
3. Poor Sound Quality
- Check the volume level.
- If using headphones, ensure they are fully plugged into the 3.5mm jack and are functioning correctly.
4. Buttons Unresponsive
- Restart the console.
- Ensure no debris is lodged around the buttons.
Specifications
| Feature | Detail |
|---|---|
| Model | V40 MAX |
| Screen Size | 4.0 Inches |
| Display Type | IPS LCD |
| Resolution | 720x720 |
| Operating System | Open Source Linux System |
| Memory Storage Capacity | 256 GB (TF Card) |
| Battery Capacity | 4000mAh |
| Battery Life | Up to 10 Hours |
| Charging Time | Approx. 2 Hours |
| Charging Interface | Type-C |
| Controller Type | Button Control |
| Material | Plastic |
| Product Dimensions | 3.22 x 0.86 x 5.7 inches |
| Item Weight | 11.7 ounces |
| Manufacturer | EraVortx |
Warranty and Support
For warranty information, technical support, or service inquiries, please refer to the contact details provided by EraVortx at the point of purchase or visit the official EraVortx website. Keep your purchase receipt as proof of purchase.