Introduction
This instruction manual provides detailed guidance for assembling and finishing your Academy 1/35 UH-60M Blackhawk plastic model kit. Please read all instructions carefully before beginning assembly. This kit is designed for model enthusiasts and requires precision and attention to detail.
The UH-60M Blackhawk is a general-purpose military helicopter. This 1/35 scale model accurately reproduces its features, including the main rotor, radar warning receiver (RWR), and cockpit instrument board.
Safety Information
- Small Parts: This kit contains small parts that may pose a choking hazard. Keep out of reach of small children.
- Sharp Tools: Assembly requires the use of sharp tools such as hobby knives and nippers. Exercise caution to prevent injury.
- Adhesives and Paints: Use adhesives and paints in a well-ventilated area. Refer to the manufacturer's safety data sheets for specific product warnings. Avoid prolonged skin contact and inhalation of fumes.
- Eye Protection: Consider wearing eye protection during cutting and sanding operations.
Package Contents
Verify that all components are present before starting assembly. The kit should include:
- Plastic sprues containing model parts
- Decal sheet with various markings
- Instruction booklet
Tools and Materials Required (Sold Separately)
The following tools and materials are necessary for assembly and finishing:
- Plastic nippers or sprue cutters
- Hobby knife with a sharp blade
- Plastic cement (model glue)
- Fine-grit sandpaper or sanding sticks
- Paints (acrylic or enamel, as desired)
- Paintbrushes or airbrush
- Decal setting solution and softener
- Tweezers
- Cotton swabs or soft cloth
Assembly Instructions
Follow the numbered steps in the instruction booklet provided with your kit. Always test-fit parts before applying glue. Remove parts from sprues carefully using nippers to avoid damage.
General Assembly Tips:
- Clean any mold lines or excess plastic from parts using a hobby knife or sandpaper.
- Use small amounts of plastic cement. Too much glue can damage the plastic.
- Allow glue to dry completely before handling assembled sections.
Key Assembly Areas:
- Cockpit Assembly: Assemble the cockpit interior, including seats, instrument panel, and control sticks. Paint these components before closing the fuselage.
- Fuselage Halves: Carefully join the left and right fuselage halves. Ensure proper alignment and secure with glue.
- Main Rotor and Tail Rotor: Assemble the main rotor blades and hub, and the tail rotor. These are often designed to be movable after assembly.
- Landing Gear: Attach the landing gear components. Ensure they are securely fixed to support the model.
- External Details: Add external antennas, sensors, and other small details as indicated in the instructions.
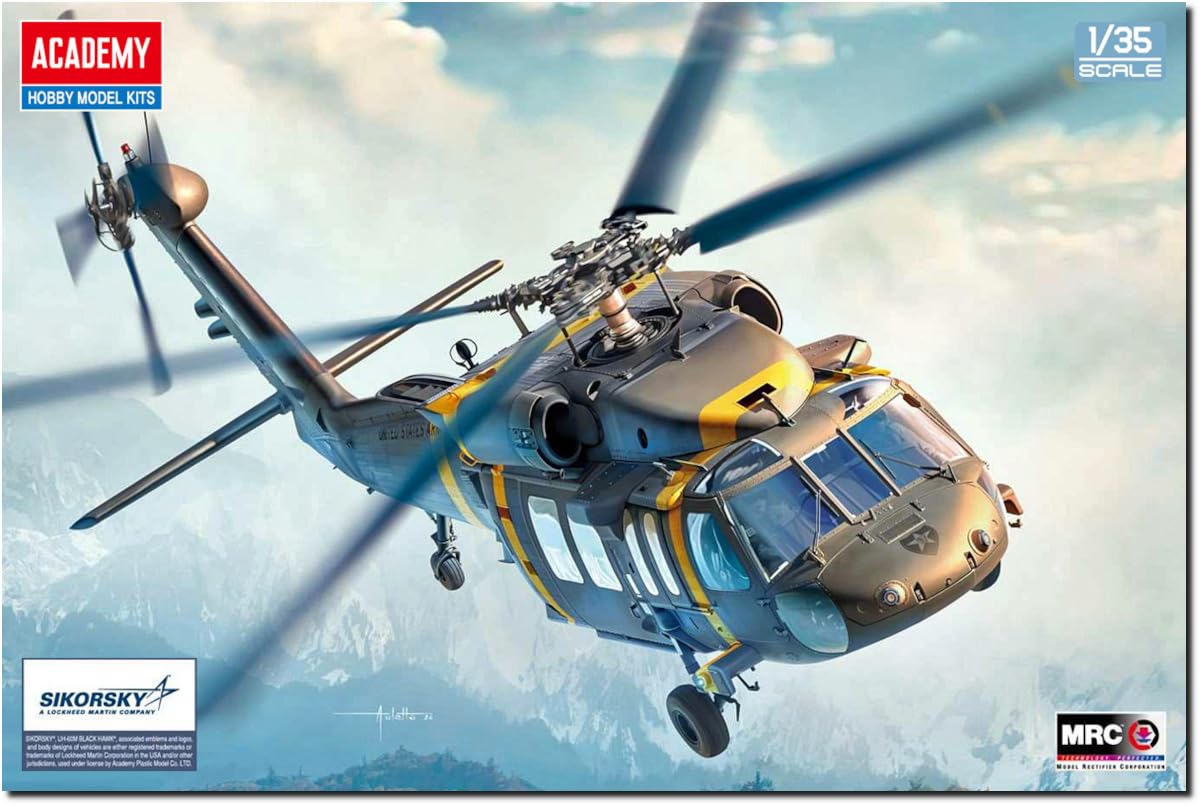
Image: This diagram illustrates the decal sheet and several potential livery options for the UH-60M Blackhawk model, including markings for US Army units in Korea (DMZ flight markings), the 1st Cavalry Division, 227th Aviation Regiment, 3rd Attack Helicopter Battalion (B Company 'Jokers'), the 1st Infantry Division, 3rd Attack Helicopter Battalion, and the Australian Army. It provides visual guidance for decal placement and overall appearance.
Painting Guide
Painting is a crucial step to achieve a realistic finish. Refer to the color guide in your kit's instruction booklet for specific paint recommendations. The UH-60M Blackhawk typically features a dark gray or olive drab color scheme.
- Preparation: Ensure the model surface is clean, dry, and free of dust or grease before painting.
- Priming: Applying a primer coat can improve paint adhesion and provide a uniform base color.
- Base Coats: Apply thin, even coats of your chosen base colors. Multiple thin coats are better than one thick coat to avoid obscuring detail.
- Detail Painting: Paint smaller details such as lights, windows, and interior components using fine brushes.
- Weathering (Optional): Advanced modelers may choose to apply weathering effects to simulate wear and tear.
Decal Application
The decal sheet provides markings to personalize your UH-60M Blackhawk model. Follow these steps for proper application:

Image: A detailed view of the decal sheet included with the Academy 1/35 UH-60M Blackhawk model kit. It displays various numerical, textual, and insignia decals for different military units and aircraft markings, essential for adding realism to the finished model.
- Prepare Surface: Ensure the painted surface where the decal will be applied is smooth and glossy. A clear gloss coat can be applied if your paint finish is matte.
- Cut Decal: Carefully cut out the desired decal from the sheet using a hobby knife or sharp scissors, leaving a small margin around the artwork.
- Soak Decal: Dip the decal in lukewarm water for 10-20 seconds until it begins to slide freely on its backing paper.
- Position Decal: Using tweezers, carefully slide the decal from its backing paper onto the model surface.
- Adjust and Smooth: Gently position the decal into its final place. Use a damp cotton swab or soft brush to smooth out any wrinkles or air bubbles.
- Setting Solution: Apply a decal setting solution to help the decal conform to surface details and eliminate 'silvering' (air trapped under the decal).
- Seal Decal: Once dry, apply a clear coat (gloss or matte, depending on desired finish) over the decals to protect them and blend them into the model's surface.
Maintenance and Display
To preserve the quality of your finished model:
- Cleaning: Dust your model regularly with a soft, dry brush or a can of compressed air. Avoid using harsh chemicals or wet cloths.
- Storage/Display: Display your model in a cool, dry place away from direct sunlight, which can cause paint fading and decal deterioration. Consider a display case to protect it from dust and accidental damage.
- Handling: Handle the model by its sturdy parts, such as the fuselage, to avoid breaking delicate components like antennas or rotor blades.
Troubleshooting Common Issues
- Parts Not Fitting: Ensure all sprue gates are cleanly removed and check for any excess plastic (flash) that might be obstructing the fit. Light sanding may be required.
- Gaps in Seams: Small gaps can be filled with plastic putty or stretched sprue, then sanded smooth before painting.
- Paint Issues: If paint is uneven or peels, ensure the surface was clean and primed. Apply paint in thin coats. Humidity can also affect paint drying and finish.
- Decal Silvering: This occurs when air is trapped under the decal. Ensure the surface is glossy before application and use a decal setting solution to help the decal conform. Puncturing tiny bubbles with a sharp needle can also help.
Specifications
| Brand | Academy |
| Model Number | 12135 (Item Model Number: 492135) |
| Scale | 1/35 |
| Theme | Military (UH-60M Blackhawk) |
| Material | Plastic |
| Product Dimensions (L x W x H) | 22.24 x 18.43 x 5.91 inches (56.5 cm x 46.8 cm x 15 cm) |
| Item Weight | 2.14 pounds |
| Assembly Required | Yes |
| Estimated Assembly Time | 12 Hours |
Warranty Information
This product is a plastic model kit. As such, it is typically sold without a direct manufacturer's warranty for the assembled product. Please inspect all parts upon receipt. If any parts are missing or damaged, contact the retailer or Academy customer support within a reasonable timeframe after purchase. Keep your proof of purchase.
Customer Support
For technical assistance, missing parts, or general inquiries regarding your Academy model kit, please refer to the contact information provided on the product packaging or visit the official Academy Hobby Model Kits website. When contacting support, please have your model number (12135 or 492135) and proof of purchase available.