
1. Introduction
Thank you for choosing the jmhdyg Double 10 Gallon Tilt Out Trash Can Cabinet. This versatile furniture piece is designed to discreetly store two 10-gallon trash bins, enhance air quality with a built-in deodorizing system, and provide convenient power access with integrated outlets. It also features additional storage drawers to help keep your space organized and tidy. Please read this manual thoroughly before assembly and use to ensure safe and optimal performance of your cabinet.
2. Safety Information
- General Safety: Ensure all parts are securely fastened during assembly. Do not overload drawers or the top surface. Use the included anti-tipping device to secure the cabinet to a wall, especially in homes with children or pets, to prevent accidental tipping.
- Electrical Safety: The integrated power outlet includes 2 AC outlets and 2 USB ports. Do not exceed the maximum electrical rating (125V/12A). Avoid spilling liquids near or on the power strip. Do not use if the power cord or outlets are damaged. Unplug the unit from the wall outlet before cleaning or if not in use for extended periods.
- Deodorizing Function: The Active Air Care System utilizes ozone to neutralize odors. While effective, ensure adequate ventilation in the room when the deodorizer is in continuous operation. Avoid direct inhalation of ozone. If you experience discomfort, reduce usage time or increase room ventilation.
- Pet Safety: While designed to be pet-proof, ensure pets do not attempt to chew on electrical cords or components.
3. Package Contents
Please check that all components are present and undamaged before beginning assembly. If any parts are missing or damaged, please contact customer support.
- 1 x Trash Can Cabinet (unassembled components)
- All necessary hardware (screws, dowels, hinges, etc.)
- Detailed paper assembly instructions
- Anti-tipping device
4. Assembly and Setup
Your trash can cabinet is designed for straightforward assembly. All parts are clearly labeled, and detailed paper instructions are included to guide you through each step.
- Unpack all components and verify against the parts list in the instruction manual.
- Follow the step-by-step diagrams and instructions provided. It is recommended to assemble on a soft, clean surface to prevent scratches.
- Ensure all screws and fasteners are tightened securely, but do not overtighten.
- Once assembled, attach the anti-tipping device to the back of the cabinet and secure it to a wall stud according to the instructions.
- Plug the cabinet's power cord into a grounded wall outlet.

Image: Overview of cabinet components and assembly instructions.
5. Operating Instructions
5.1. Tilt-Out Mechanism
The cabinet features two tilt-out doors for easy access to your trash bins. Simply pull the handle to open the door. The adjustable 2-stage soft-close hinge prevents the door from slamming shut. A slight 'click' sound when opening is normal and indicates the built-in locking mechanism engaging, which keeps the door stable.
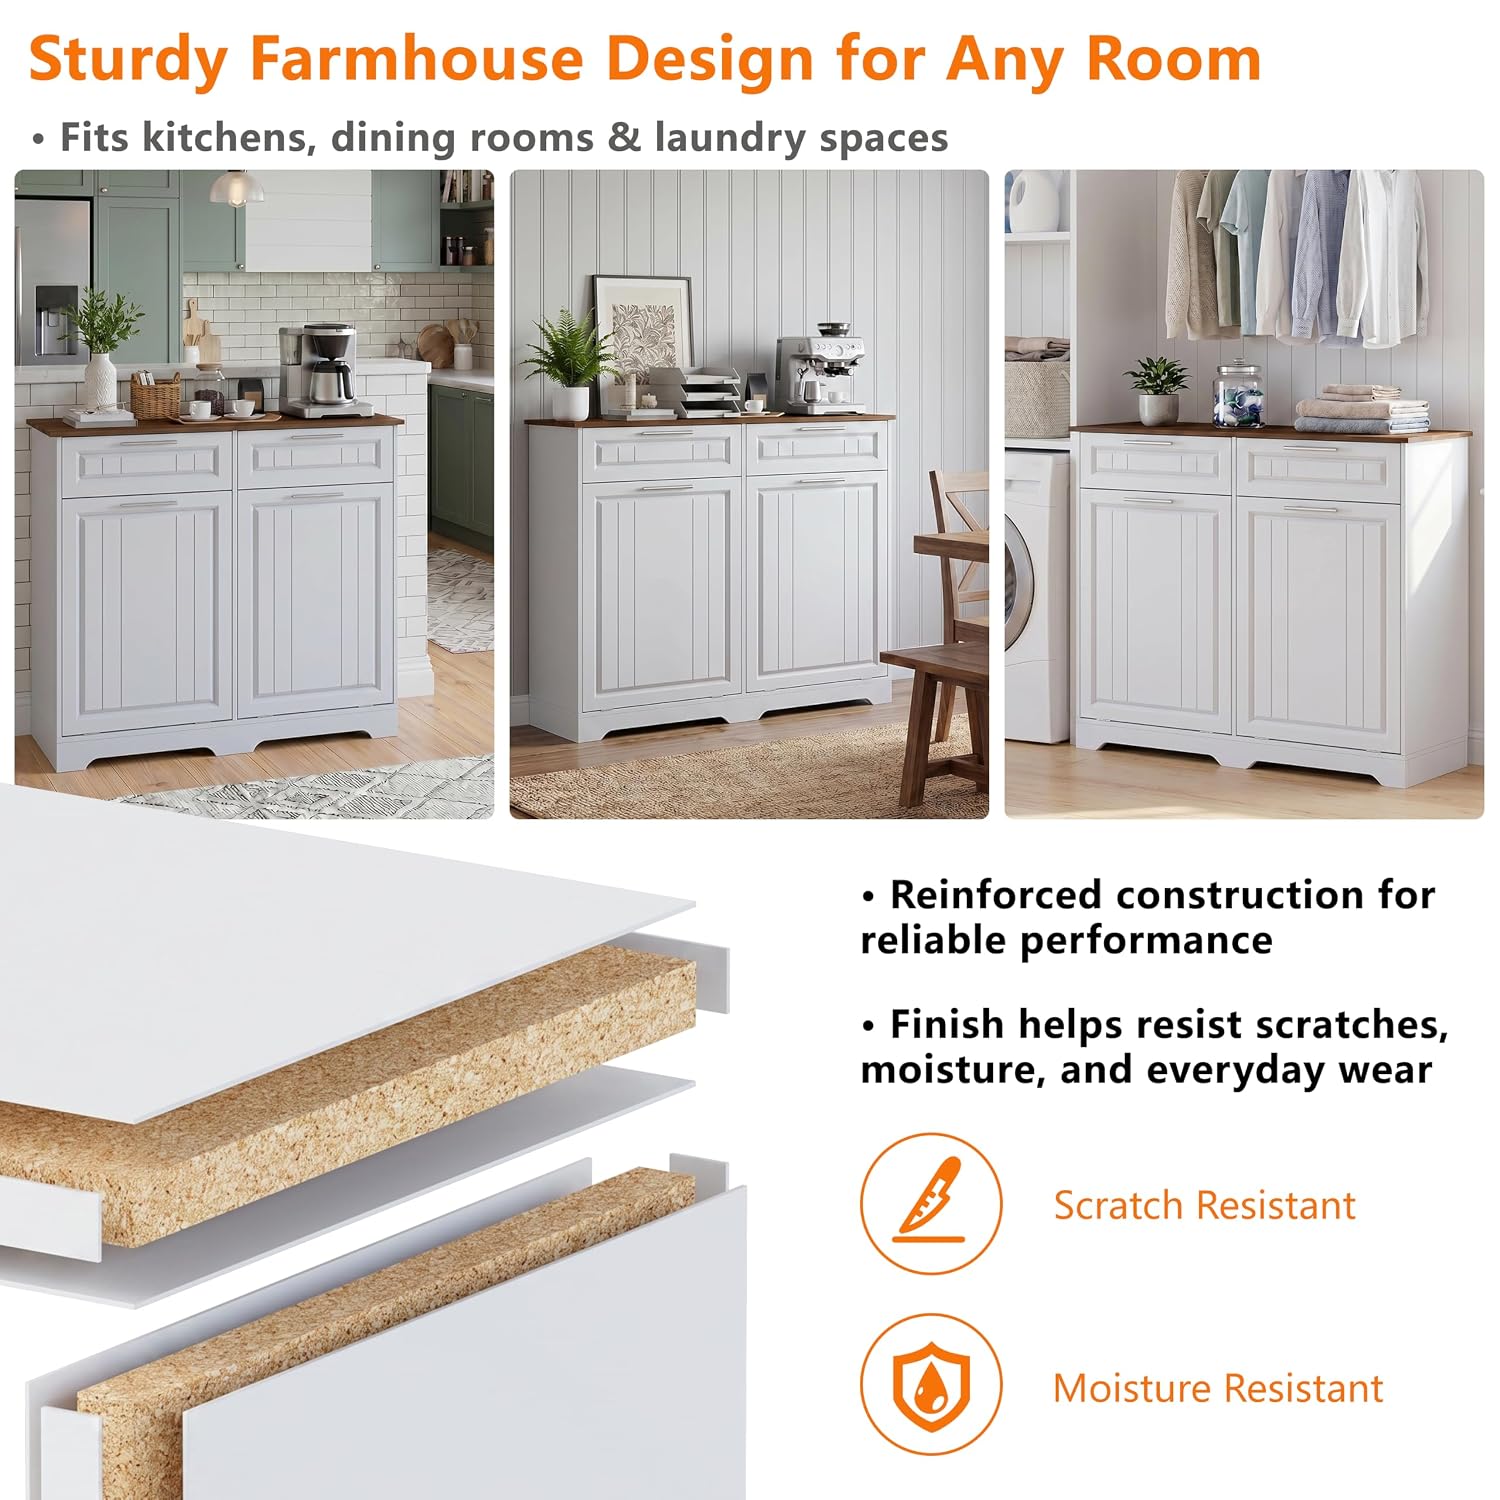
Image: Demonstrating the one-hand tilt operation for quick waste disposal.
5.2. Deodorizing Function (Active Air Care System)
The built-in deodorizing system helps minimize odors at their source through continuous air circulation and ozone generation. Control is via an intuitive LED touch panel located on the top surface of the cabinet.
- Power On/Off: Press the power icon on the LED touch panel to activate or deactivate the system.
- Fan Speeds: The system offers 4 cycle modes (P1, P2, P3, P4) to adjust the intensity of air circulation and deodorization. Press the cycle mode button to cycle through the options.
- Timer Settings: Choose from 4 timer options (05, 15, 30, 60 minutes) for timed operation. Press the timer button to select your desired duration. The numbers will flash to indicate the timer is active.

Image: Visual representation of odor reduction and the LED touch panel controls for the deodorizing system.
5.3. Power Outlet
The integrated charging station provides convenient power access for your devices.
- AC Outlets: Two standard 125V/12A AC outlets are available for small appliances or chargers.
- USB Ports: Two 5V/2A USB ports are provided for charging smartphones, tablets, and other USB-powered devices.

Image: Detail of the integrated power strip with AC and USB charging capabilities.
5.4. Storage Drawers
Two convenient drawers are located above the tilt-out compartments. These provide hidden storage for kitchen tools, trash bags, pet supplies, or other small items, helping to keep your countertops clear.

Image: Illustrating the spacious desktop and functional storage drawers.
5.5. Official Product Video
Video: An official overview of the jmhdyg Double Trash Can Cabinet, showcasing its features and functionality.
6. Maintenance and Care
- Cleaning: The cabinet features smooth, wipeable surfaces. Use a soft, damp cloth to clean the exterior. Avoid abrasive cleaners or harsh chemicals that could damage the finish. For the interior, remove trash bins and wipe down as needed.
- Material Care: The cabinet is constructed from moisture-resistant board with a scratch-resistant wood-style finish. While durable, avoid prolonged exposure to excessive moisture or direct heat.
- Electrical Components: Keep the power outlet and deodorizer panel clean and dry. Do not spray cleaning solutions directly onto electrical parts.

Image: Illustrating the durable, scratch-resistant, and moisture-resistant construction materials.
7. Troubleshooting
- Deodorizer Not Working: Ensure the cabinet is plugged into a live outlet. Check if the power button on the LED panel has been pressed. Verify that the power cord for the deodorizer unit (if separate) is properly connected.
- Power Outlets Not Functioning: Confirm the cabinet's main power cord is securely plugged into a working wall outlet. Check if the wall outlet itself is functional by testing with another device.
- Tilt-Out Door Not Opening/Closing Smoothly: Check for any obstructions inside the compartment or along the hinge mechanism. Ensure the trash bin is correctly positioned and not interfering with the door's movement.
- Door Makes a 'Click' Sound: This is normal operation. The slight 'click' you hear when opening the door is the built-in locking mechanism engaging, which keeps the tilt-out door stable and aligned.
- Missing or Damaged Parts: If you encounter missing or damaged parts during assembly, please refer to the assembly instructions for part identification and contact customer support for replacements.
8. Specifications
| Brand | jmhdyg |
| Model | Double 10 Gallon Tilt Out Trash Can Cabinet |
| Capacity | 2 x 10 Gallons |
| Color | White |
| Material | Engineered Wood |
| Opening Mechanism | Tilt-Out |
| Overall Dimensions (L x W x H) | 40.16" x 13.11" x 35.28" |
| Power Outlet | 2 AC Outlets (125V/12A), 2 USB Ports (5V/2A) |
| Special Features | Deodorizing Function, Power Outlet, Storage Drawers, Pet-Proof Design |
| Recommended Trash Can Size | D 11" x W 16" x H 20" (Trash cans not included) |

Image: Detailed dimensions of the cabinet and recommended trash bin size.
9. Warranty and Support
jmhdyg products are manufactured to high-quality standards. For warranty information, please refer to the documentation included with your purchase or contact our customer support. If you have any questions, require assistance with assembly, or need to report missing/damaged parts, please do not hesitate to contact our customer service team. We are committed to providing professional service and support.