
EROMMY 13x20 FT
EROMMY 13' x 20' Heavy Duty Carport Instruction Manual
Model: 13x20 FT
Brand: EROMMY
Introduction
This manual provides detailed instructions for the assembly, operation, maintenance, and troubleshooting of your EROMMY 13' x 20' Heavy Duty Carport. Please read this manual thoroughly before beginning assembly to ensure safe and correct installation and use. Proper assembly and care will extend the lifespan of your carport.
Safety Information
WARNING:
- Ensure the shelter is properly secured to a stable foundation using all provided ground stakes and ropes. Failure to do so may result in structural collapse, especially in windy conditions.
- Do not exceed the carport's intended weight limits. This carport is designed for vehicle and general storage, not for heavy loads on the roof.
- Take extreme precautions during assembly and disassembly. It is recommended that 2-3 adults perform the assembly. Wear appropriate safety gear, such as gloves.
- Avoid assembling or using the carport in severe weather conditions, including strong winds, heavy snow, or thunderstorms.
- Keep all parts away from children during assembly.
- Regularly inspect the carport for any signs of wear, damage, or loose connections. Address any issues promptly.
Parts List
Before beginning assembly, verify that all parts listed below are present and undamaged. If any parts are missing or damaged, contact EROMMY customer service.
| Part | Description | Quantity |
|---|---|---|
| Steel Poles | Galvanized steel poles (38mm diameter, 0.8mm wall thickness) for the frame. | Varies by section |
| Connectors | Steel welding joints for connecting poles. | Varies by section |
| Canopy Cover | 180 GMS Thickened PE Fabric, UV and water-resistant. | 1 |
| Sidewalls | Removable sidewalls with roll-up windows. | 4 |
| Zipper Doors | Roll-up zipper doors for entry/exit. | 2 |
| Base Plates | Thickened metal base plates for stability. | 8 |
| Ground Stakes | Extra ground stakes for securing the structure. | Included |
| Windproof Ropes | Ropes for additional wind resistance. | Included |
| Elastic Ball Fixations | Bungee balls for attaching the cover to the frame. | Included |
Setup and Assembly
Assembly typically requires 2-3 adults and no additional tools beyond what may be included. Follow the numbered parts and detailed instructions provided in the packaging for the most accurate guidance. The general steps are outlined below:
- Step 1: Assemble the Top Frame
Begin by connecting the steel poles and connectors to form the rectangular top frame of the carport. Ensure all connections are secure.
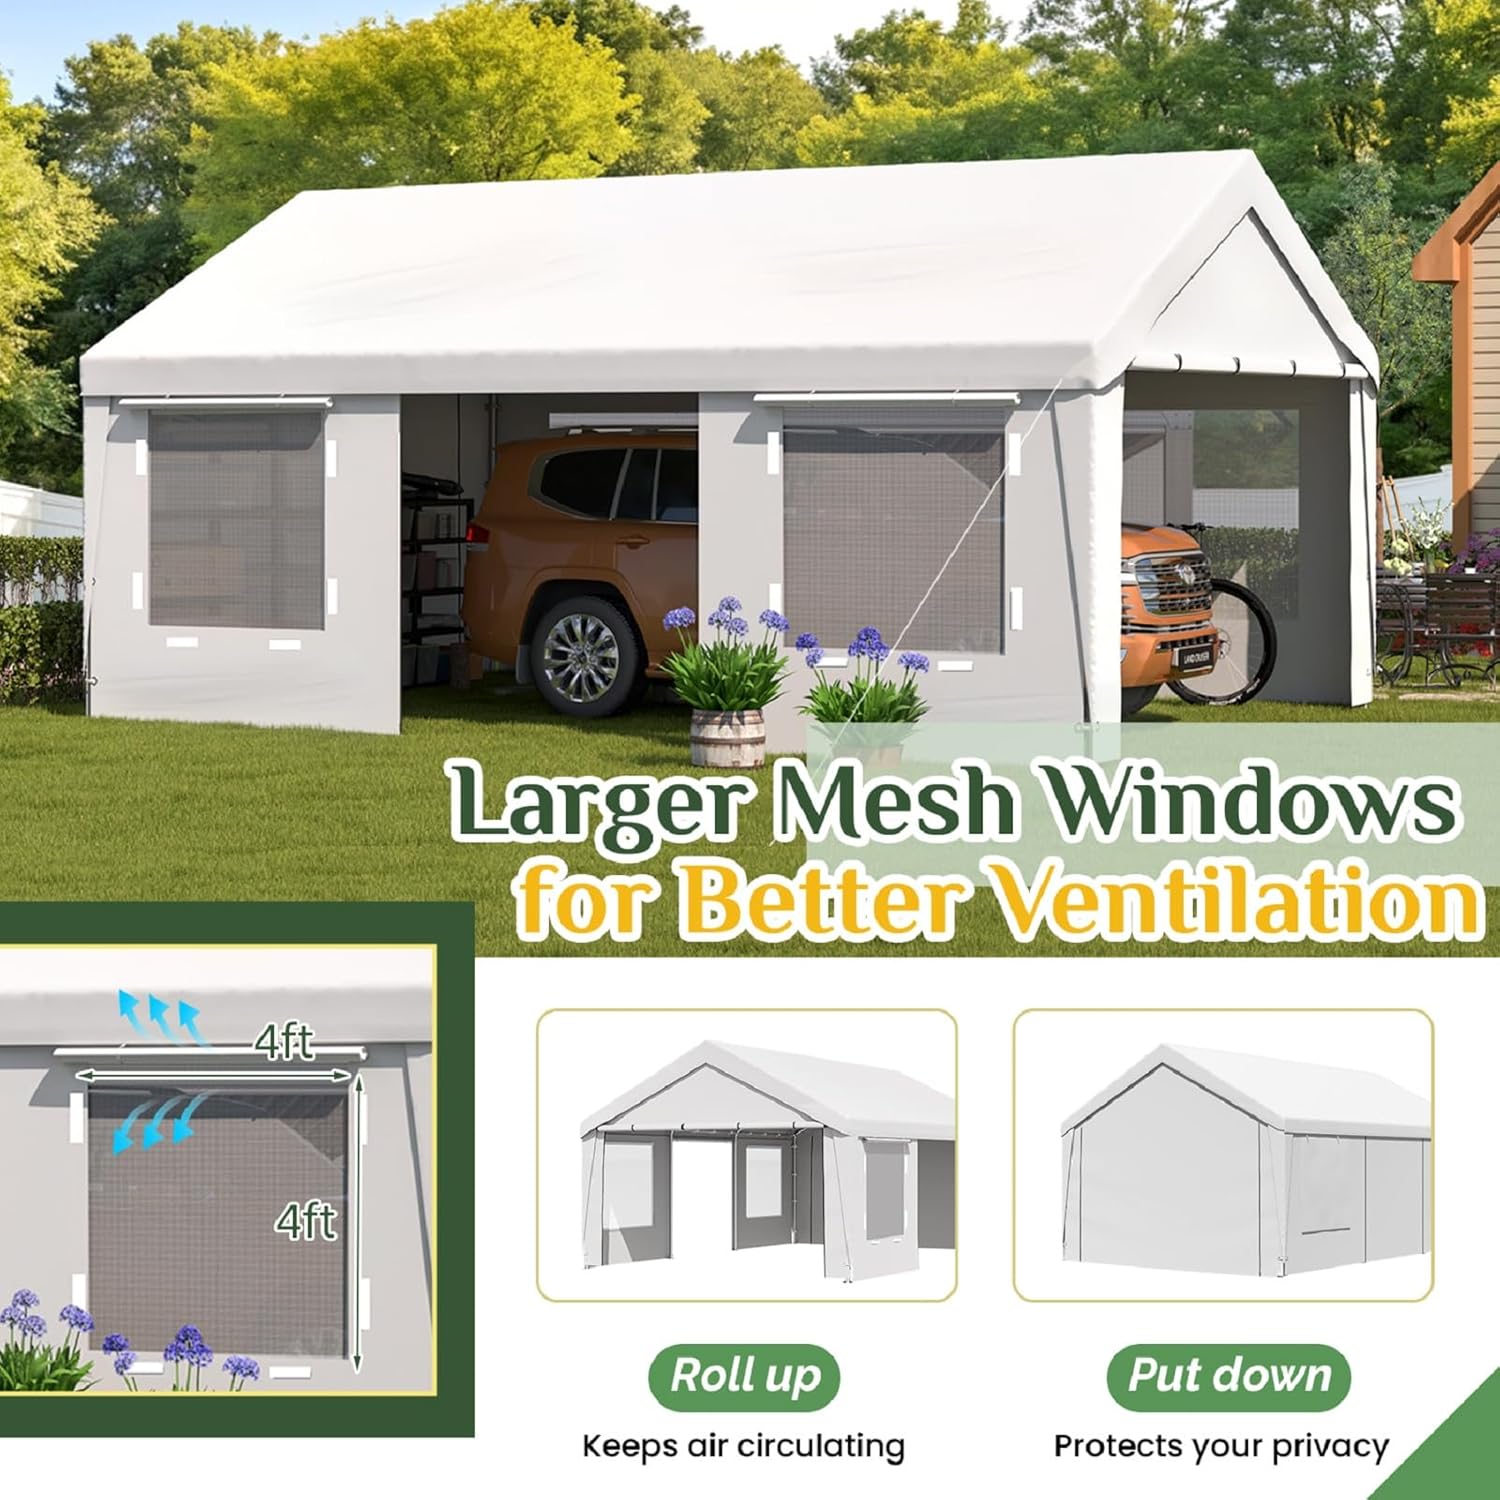
Image: Detailed view of the carport's frame components, highlighting the robust construction and connection points.
- Step 2: Cover the Frame with Tarpaulin
Carefully drape the 180 GMS thickened PE fabric canopy cover over the assembled top frame. Align it properly to ensure even coverage.

Image: Close-up of the durable PE fabric, illustrating its protective features against various weather conditions.
- Step 3: Assemble Supporting Steel Pipes
Attach the vertical supporting steel pipes to the top frame and secure them to the thickened base plates. There are 8 supporting legs for this 13x20 FT model.
- Step 4: Install the Sidewalls and Doors
Attach the removable sidewalls and roll-up zipper doors to the frame. Ensure the zippers are functional and the windows are properly aligned.

Image: Demonstration of the mesh windows, highlighting their dual functionality for airflow and privacy.
- Step 5: Secure Carport with Ground Nails and Windproof Ropes
Once the structure is standing, use the provided ground stakes (nails) and windproof ropes to firmly anchor the carport to the ground. This step is critical for stability.

Image: Visual representation of the various windproof features designed to enhance the carport's stability.
Video: Overview of the EROMMY Heavy Duty Carport, demonstrating its features and structure. This video provides a visual guide to the product's design and functionality.
Operating Instructions
- Roll-Up Zipper Doors: The carport features roll-up zipper doors at both ends. These can be opened from either the inside or outside. To open, unzip the door and roll it upwards, securing it with the attached ties. This allows for easy vehicle access and increased airflow.

Image: The carport with its front door open, showcasing the interior space and accessibility.
- Roll-Up Windows: The sidewalls are equipped with four roll-up mesh windows. These windows facilitate air circulation and prevent moisture accumulation. To open, unfasten the window flap and roll it up, securing it in place. To close, unroll the flap and secure it to protect the interior from elements and provide privacy.
Image: A detailed view of the mesh windows, demonstrating their roll-up functionality for ventilation or privacy.
- Multiple Uses: The flexible design allows the carport to be used for various purposes:
- Vehicle parking (cars, SUVs, trucks, boats, tractors).
- Outdoor activities such as parties and business events (fully open configuration).
- Temporary storage for equipment or goods (fully enclosed configuration).
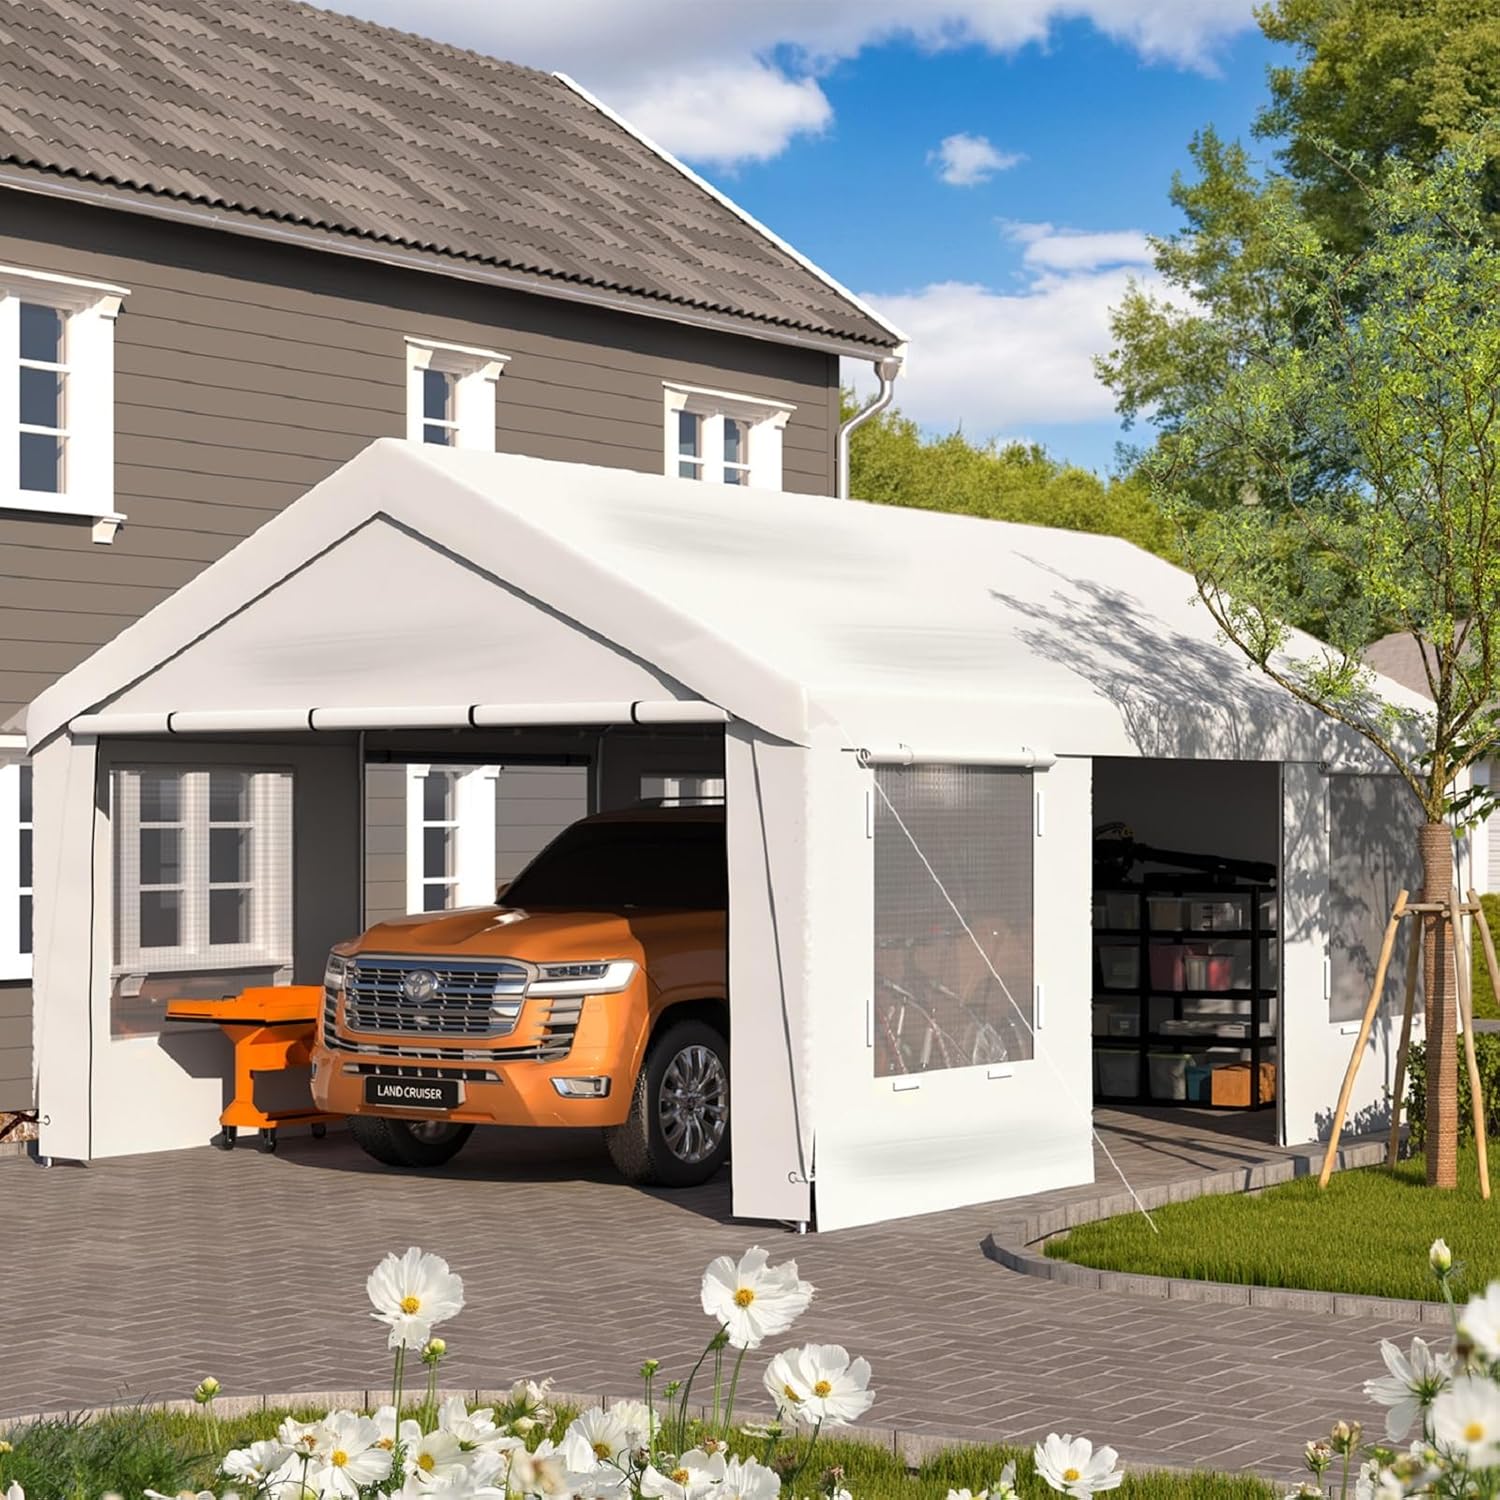
Image: Examples of different vehicles and items that can be accommodated by the carport, highlighting its spacious design.
Maintenance
- Regular Inspection: Periodically inspect the entire structure, including the frame, canopy cover, zippers, and tie-downs. Check for any signs of wear, tears, rust, or loose connections.
- Cleaning: Clean the canopy cover with mild soap and water. Avoid harsh chemicals or abrasive cleaners, as they can damage the fabric's protective coatings. Rinse thoroughly and allow to air dry completely before folding or storing.
- Snow Removal: In areas with heavy snowfall, regularly remove accumulated snow from the roof to prevent excessive weight and potential collapse. Use a soft brush or broom to avoid damaging the canopy.
- Securing in Wind: Always ensure the carport is properly anchored with all ground stakes and windproof ropes, especially in anticipation of windy conditions. Additional securing methods may be necessary in extremely high winds.
- Storage: If disassembling for storage, clean all components, ensure they are dry, and store them in a cool, dry place away from direct sunlight and extreme temperatures to prevent material degradation.
Troubleshooting
| Problem | Possible Cause | Solution |
|---|---|---|
| Carport unstable or swaying in wind. | Insufficient anchoring; loose frame connections. | Ensure all ground stakes are fully inserted and windproof ropes are taut. Check and tighten all frame connections. Consider additional anchoring in very windy areas. |
| Water pooling on roof. | Improper canopy tension; excessive snow/debris. | Adjust canopy tension to ensure a tight fit. Remove any accumulated snow, leaves, or debris promptly. |
| Zippers sticking or difficult to operate. | Dirt/debris in zipper teeth; lack of lubrication. | Clean zipper teeth with a small brush. Apply a silicone-based lubricant or zipper wax to the teeth. |
| Frame poles bending or deforming. | Excessive load (snow/wind); improper assembly. | Immediately remove any excessive load. Review assembly instructions to ensure correct setup. Contact customer service if damage is severe. |
Specifications
- Model: 13x20 FT
- Dimensions (L x W x H): 20' x 13' x 10' (6.1m x 4.0m x 3.0m)
- Frame Material: Anti-rust powder coated galvanized alloy steel
- Pole Diameter: 38 mm
- Pole Wall Thickness: 0.8 mm
- Cover Material: 180 GMS Thickened PE Fabric
- Color: White
- Features: UV Resistant, Water Resistant, Removable Sidewalls, Roll-Up Windows, Roll-Up Zipper Doors
- Assembly: Required (2-3 adults recommended)
- Item Weight: Approximately 101 Pounds (45.8 kg)

Image: Dimensional drawing of the carport, providing key measurements for planning and setup.
Warranty and Support
For any questions regarding assembly, missing parts, or product performance, please contact EROMMY customer service. Keep your purchase receipt for any warranty claims. Information on extended protection plans may be available at the point of purchase.
Visit the official EROMMY store for more products and support: EROMMY Store
Related Documents - 13x20 FT
 |
10x20ft Carport Assembly Instructions | EROMMY Portable Garage Comprehensive assembly guide for the EROMMY 10x20ft Carport. This manual provides step-by-step instructions, a detailed parts list, and important notes for setting up your heavy-duty, portable garage canopy, featuring roll-up ventilated windows and UV-resistant, waterproof tarp. |
 |
Erommy 20' x 30' Metal Carport Assembly Guide and Owner's Manual Comprehensive assembly instructions and owner's manual for the Erommy 20' x 30' metal carport. Includes safety precautions, maintenance tips, tools required, parts list, and step-by-step assembly guidance. |
 |
14' x 30' RV Metal Carport Owner's Manual & Assembly Guide Comprehensive owner's manual and assembly guide for the 14' x 30' RV Metal Carport, including safety precautions, maintenance tips, tools required, and step-by-step assembly instructions. |
 |
YYCP012SG Carport Assembly Instructions Detailed assembly instructions and parts list for the YYCP012SG carport. Guide includes step-by-step diagrams for easy setup. |
 |
Erommy 20'x20' Metal Carport Assembly Manual and Owner's Guide Comprehensive assembly instructions and owner's guide for the Erommy 20'x20' heavy-duty galvanized steel carport. Includes safety precautions, maintenance tips, parts list, and step-by-step assembly guidance. |
 |
HWG-044WT Pop-Up Gazebo 20' x 10' - Assembly & Instruction Manual Comprehensive guide for the EROMMY HWG-044WT 20' x 10' pop-up gazebo. Includes parts list, step-by-step assembly and de-assembly instructions, and essential care tips. |
Ask a question about this manual
Ask about setup, troubleshooting, compatibility, parts, safety, or missing instructions. Manuals+ will review the question and use this page’s manual context to help answer it.