Alltotive R5 Pro
Alltotive R5 Pro 4K Front & 2.5K Rear Dual Dash Cam User Manual
Model: R5 Pro | Brand: Alltotive
1. Introduction
This user manual provides comprehensive instructions for the Alltotive R5 Pro 4K Front and 2.5K Rear Dual Dash Cam. Designed for clear recording and intelligent functionality, the R5 Pro captures critical road details day and night. This guide covers product features, installation, operation, maintenance, and troubleshooting to ensure optimal performance and longevity of your device.
2. Safety Information
- Installation: Ensure the dash cam is installed in a location that does not obstruct the driver's view or interfere with vehicle safety features.
- Power Supply: Use only the provided car charger. Using unauthorized power adapters may damage the device or cause fire.
- Temperature: Avoid exposing the device to extreme temperatures (hot or cold) as this can affect battery life and performance.
- Cleaning: Clean the lenses and screen with a soft, dry cloth. Do not use abrasive cleaners or solvents.
- Disassembly: Do not attempt to disassemble or repair the device yourself. Contact customer support for assistance.
- SD Card: Format the microSD card regularly to maintain optimal recording performance.
3. Package Contents
Please check the package for the following items:
- Alltotive R5 Pro Front Dash Cam
- Rear Camera
- External GPS Module
- 128GB MicroSD Card (pre-installed)
- Car Charger with additional USB port
- Cable Clips
- Installation Trim Tool
- Adhesive Mount
- User Manual
4. Product Overview
The Alltotive R5 Pro dash cam features a compact design with a 3.1-inch IPS screen, a 4K front camera, and a 2.5K rear camera. It integrates 5G WiFi, an external GPS module, and various recording functionalities.

Figure 4.1: Alltotive R5 Pro Dash Cam components and interface. This image displays the main dash cam unit, the rear camera, the included 128GB SD card, and a smartphone screen showing the dash cam's live view and map tracking.
4.1 Front Camera
- Lens: 4K (2160P) resolution, F1.6 aperture, 6-glass element lens, 170° wide angle.
- Screen: 3.1-inch IPS display.
- Controls: Intuitive buttons for menu navigation and emergency lock.
- Connectivity: USB Type-C port, 5GHz Wi-Fi.
4.2 Rear Camera
- Lens: 2.5K (1440P) resolution.
- Mounting: Designed for discreet installation.
5. Setup and Installation
Follow these steps to install your Alltotive R5 Pro Dash Cam:
5.1 Prepare the MicroSD Card
- The 128GB MicroSD card is pre-installed. If using a different card (up to 256GB supported), ensure it is a high-speed Class 10 or U3 card.
- Format the MicroSD card within the dash cam's settings before first use and periodically thereafter.
5.2 Install the Front Dash Cam
- Choose a location on your windshield that does not obstruct your view, typically behind the rearview mirror.
- Clean the windshield surface thoroughly.
- Attach the adhesive mount to the dash cam, then firmly press it onto the chosen spot on the windshield.
- Adjust the lens angle to ensure it captures the road ahead clearly.
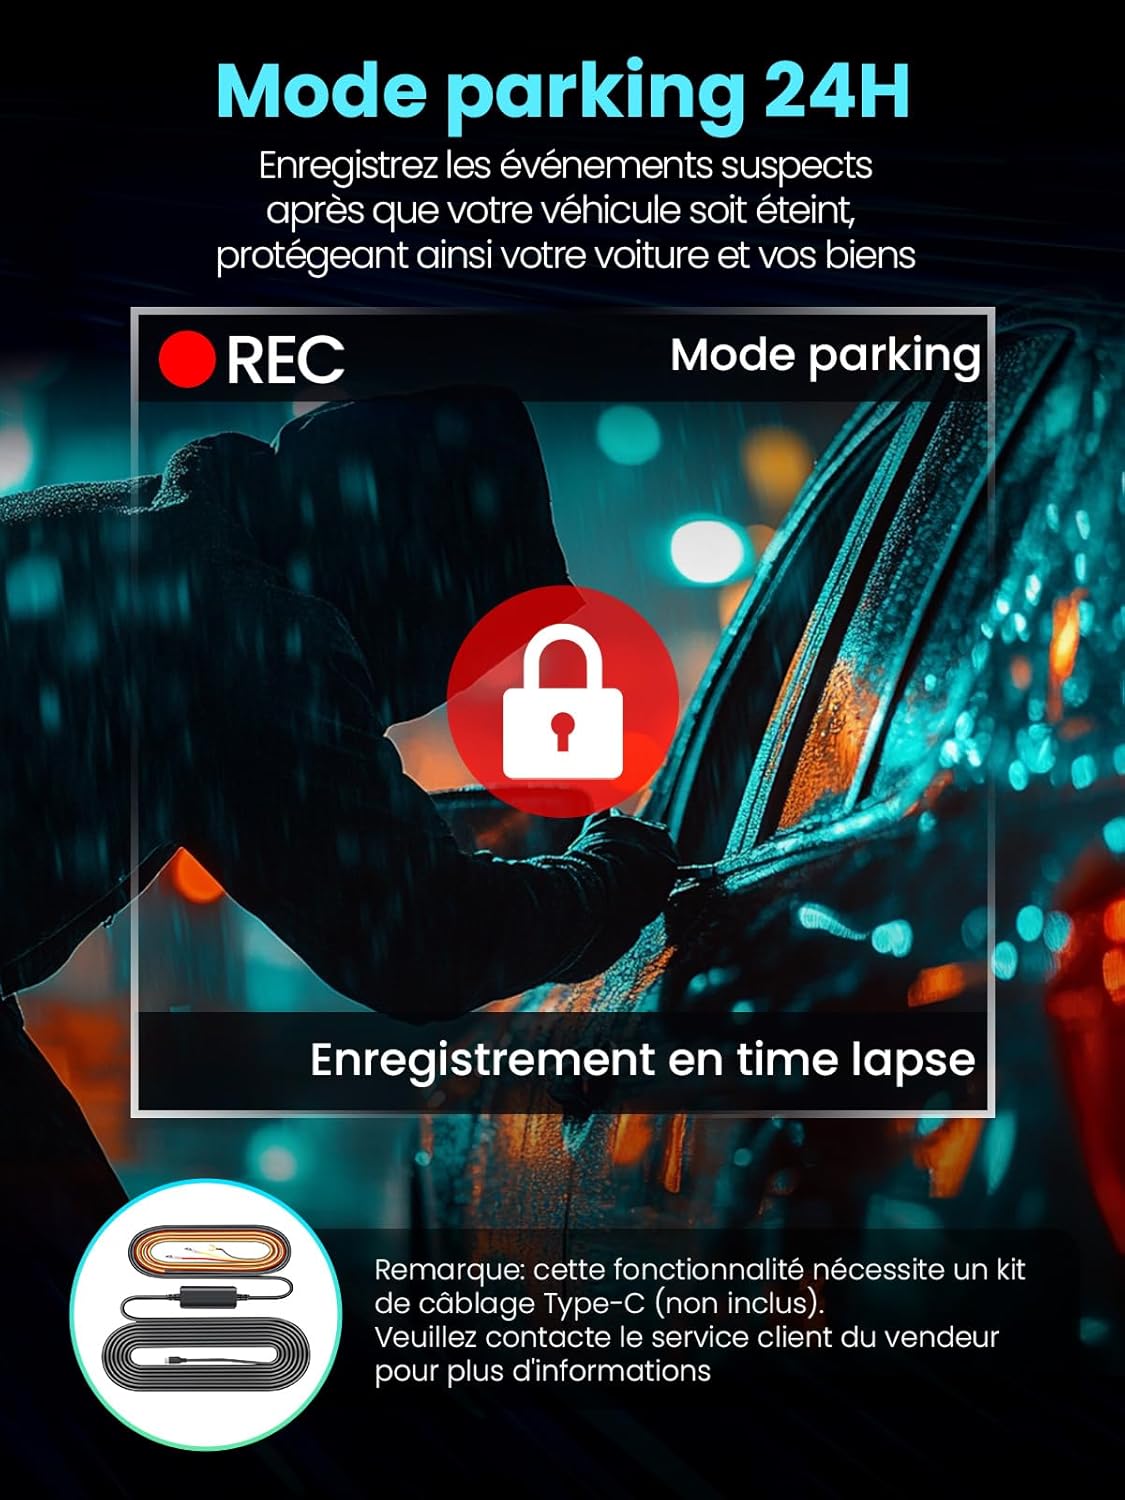
Figure 5.1: Discreet installation of the Alltotive R5 Pro dash cam, showing its compact size and placement behind the rearview mirror for minimal obstruction.
5.3 Install the Rear Camera
- Mount the rear camera on the rear windshield, ensuring a clear view.
- Route the rear camera cable to the front dash cam, tucking it neatly along the vehicle's headliner and pillars using the provided trim tool and cable clips.
- Connect the rear camera cable to the designated port on the front dash cam.

Figure 5.2: Illustration of the dual-channel recording capability, with the front camera capturing 4K footage and the rear camera capturing 2.5K footage, ensuring comprehensive coverage.
5.4 Connect the GPS Module
- Connect the external GPS module to the dash cam.
- Place the GPS module in a location with a clear view of the sky, typically on the dashboard, to ensure accurate signal reception.
5.5 Power Connection
- Plug the car charger into your vehicle's cigarette lighter socket.
- Connect the USB Type-C end of the power cable to the dash cam.
- Route the power cable neatly along the vehicle's interior using the trim tool and cable clips.
- The dash cam will automatically power on and begin recording when the vehicle's ignition is turned on.
6. Operation
6.1 Basic Recording
- The dash cam automatically starts recording when powered on.
- Front camera records in 4K (2160P) and the rear camera in 2.5K (1440P).
- Recordings are saved to the MicroSD card in segments due to loop recording.
6.2 Loop Recording
The dash cam utilizes seamless loop recording. When the MicroSD card is full, the oldest unlocked video files are automatically overwritten by new recordings. Emergency locked files are protected from being overwritten.

Figure 6.1: Visual representation of loop recording, where the dash cam continuously records, overwriting the oldest footage when the memory card is full, except for protected emergency files.
6.3 G-Sensor and Emergency Lock
The built-in G-sensor automatically detects sudden impacts or collisions. When an event is detected, the current video segment is automatically locked and saved to a protected folder, preventing it from being overwritten by loop recording. You can also manually lock a video segment by pressing the designated button on the dash cam.

Figure 6.2: Illustration of the G-sensor detecting a violent shock and automatically locking the video. It also shows the manual button to lock current video footage, ensuring important events are saved.
6.4 24-Hour Parking Mode
To enable 24-hour parking mode, a hardwire kit (sold separately) is required. Once installed, you can choose between two parking monitoring options:
- Impact-Triggered Monitoring: The dash cam records when vibrations or impacts are detected while parked.
- Time-Lapse Mode: Records continuously at a low frame rate, providing efficient surveillance with minimal power consumption.
Note: The hardwire kit is not included in the standard package. Please contact seller customer service for more details on purchasing the hardwire kit.

Figure 6.3: The 24-hour parking mode feature, showing the dash cam recording suspicious events even when the vehicle is turned off, protecting your car and belongings. A hardwire kit is required for this function.
6.5 5GHz Wi-Fi and App Control
The R5 Pro features built-in 5GHz Wi-Fi for ultra-fast data transfer, up to 5 times faster than traditional 2.4GHz connections. Download the free companion app (compatible with iOS and Android devices) to:
- View live footage from both cameras.
- Adjust dash cam settings.
- Download and share recorded clips directly to your smartphone.

Figure 6.4: The 5GHz Wi-Fi feature, enabling super-fast downloads and seamless connection to the mobile app for live viewing, settings adjustment, and sharing recorded footage.
6.6 GPS Tracking
The included external GPS module records real-time location, speed, and route data. This information can be viewed on your PC using the dedicated GPS player software or via the mobile app, providing crucial evidence in case of an incident.

Figure 6.5: GPS tracking functionality, displaying real-time position, speed, and route information on both computer and smartphone interfaces, useful for precise driving records.
6.7 Super Night Vision
Equipped with a large F1.6 aperture, an advanced 6-glass lens, and WDR technology, the R5 Pro delivers clear and vivid footage even in low-light conditions, ensuring reliable recording day and night.

Figure 6.6: Demonstration of the R5 Pro's Super Night Vision, highlighting the clarity of 4K front and 2.5K rear camera footage in low-light environments, thanks to the F1.6 aperture and 6-layer lens.
7. Maintenance
7.1 MicroSD Card Management
- Formatting: It is recommended to format the MicroSD card every 2-4 weeks to prevent data corruption and ensure optimal recording performance. This can be done through the dash cam's menu settings.
- Capacity: The dash cam supports MicroSD cards up to 256GB. Ensure you use a high-quality Class 10 or U3 card.
7.2 Cleaning
- Lenses: Gently wipe the front and rear camera lenses with a soft, lint-free cloth to remove dust or smudges. Avoid touching the lens directly with your fingers.
- Screen: Clean the IPS screen with a soft, dry cloth.
- Device Body: Use a slightly damp cloth to wipe the exterior of the dash cam. Do not use chemical cleaners.
8. Troubleshooting
- Dash Cam does not power on:
- Ensure the car charger is properly connected to both the dash cam and the vehicle's power outlet.
- Check if the vehicle's cigarette lighter socket is receiving power.
- Try a different USB Type-C cable or car charger if available.
- Recording stops or freezes:
- Format the MicroSD card regularly.
- Ensure you are using a high-speed (Class 10 or U3) MicroSD card. Low-quality cards can cause recording issues.
- The card may be full; ensure loop recording is enabled or format the card.
- Poor video quality:
- Clean the camera lenses with a soft cloth.
- Ensure the protective film has been removed from the lenses.
- Check video resolution settings in the menu.
- GPS signal not found:
- Ensure the external GPS module is properly connected and placed in a location with a clear view of the sky (e.g., dashboard).
- Obstructions like tinted windows or metallic coatings can interfere with the GPS signal.
- Wi-Fi connection issues:
- Ensure the dash cam's Wi-Fi is enabled.
- Restart both the dash cam and your smartphone.
- Make sure you are within close proximity to the dash cam for a stable connection.
9. Specifications
| Feature | Detail |
|---|---|
| Brand | Alltotive |
| Model Name | R5 Pro |
| Screen Size | 3.1 Inches IPS |
| Connectivity Technology | Wi-Fi (5GHz) |
| Special Features | 24H Parking Mode (hardwire kit required), G-Sensor, Loop Recording, Night Vision, WDR, GPS |
| Compatible Devices | Smartphone (iOS & Android) |
| Video Recording Resolution | Front: 4K (3840 x 2160), Rear: 2.5K (2560 x 1440) |
| Field of View | 170 Degrees |
| Mounting Type | Windshield mount (adhesive) |
| Included Components | Dash Cam, Rear Camera, GPS Module, 128GB MicroSD Card, Car Charger, Cable Clips, Installation Tool, Adhesive Mount, User Manual |
| Supported MicroSD Card | Up to 256GB |
| Product Dimensions | 90D x 25W x 70H millimeters (approximate for main unit) |
| Power Source | Car Charger (1 Lithium metal battery included for internal clock/settings) |
10. Warranty and Support
10.1 Product Warranty
The Alltotive R5 Pro Dash Cam comes with a standard 12-month warranty. This warranty can be extended to 24 months if you register your product within 30 days of purchase. Please refer to the product registration instructions provided with your purchase for details.
10.2 Customer Support
For any questions, technical assistance, or warranty claims, please contact Alltotive customer support. Our responsive support team is available 24/7 and aims to resolve your inquiries within 12 hours.
Contact Information: Please refer to the contact details provided on the product packaging or the official Alltotive website.
Related Documents - R5 Pro
 |
R5 Pro Dash Cam User Manual - 4K Front, 2.5K Rear, 5G WiFi, GPS Comprehensive user manual for the R5 Pro Dash Cam, covering installation, features, app connectivity, troubleshooting, and specifications. Features 4K front and 2.5K rear cameras, 5G WiFi, and GPS. |
 |
ROVE R2-4K DUAL Dash Cam User Manual: Setup, Features, and Support Comprehensive user manual for the ROVE R2-4K DUAL dual-channel 4K dash cam. Covers installation, features like SONY STARVIS 2, GPS, WiFi, parking mode, and troubleshooting. Includes setup guides and support information. |
 |
ROVE R2-4K PRO Dash Cam User Manual: Features, Setup, and Support Comprehensive user manual for the ROVE R2-4K PRO Dash Cam. Learn about installation, features, settings, Wi-Fi connectivity, parking modes, troubleshooting, and warranty information for your vehicle's advanced driving recorder. |
 |
ROVE R2-4K PRO Dash Cam User Manual: Features, Setup, and Troubleshooting Comprehensive user manual for the ROVE R2-4K PRO Dash Cam. Learn about setup, features like 4K recording, GPS, WiFi, parking mode, and troubleshooting tips. |
 |
Baseus PrimeTrip VD1 Pro Dash Cam: 4K+1080P Quick Start Guide with Night Vision & Parking Mode Quickly set up your Baseus PrimeTrip VD1 Pro Dash Cam. This guide covers installation, features like 4K recording, Starvis night vision, Wi-Fi connectivity, and parking surveillance for your vehicle. |
 |
VIOFO A229 Pro Dash Cam User Manual Comprehensive user manual for the VIOFO A229 Pro dash cam, covering installation, operation, settings, and features. |