1. Introduction
This manual provides essential information for the installation, operation, and maintenance of your new Generic replacement lint screen. This part is designed to be compatible with specific GE dryer models, ensuring proper function and safety. Please read these instructions carefully before use.
2. Product Overview
The lint screen is a critical component of your dryer, designed to capture lint and debris from your clothes during the drying cycle. This helps maintain drying efficiency and prevents fire hazards. This replacement part is gray in color and is specifically manufactured to fit the listed GE dryer models.
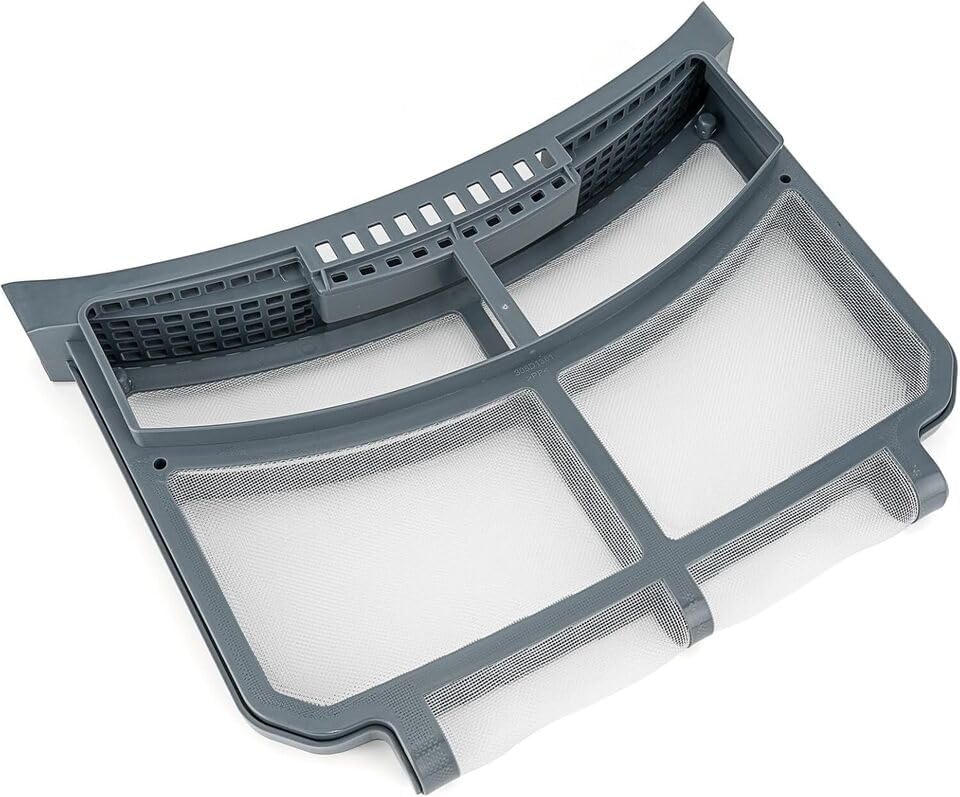
Image 1: The Generic replacement lint screen. This component features a sturdy gray frame with fine mesh to effectively capture lint and debris from the dryer's airflow.
Compatibility: This lint screen is compatible with the following GE dryer models:
- GFD55GSSN3WW
- GFD55ESMN3WW
- GFD55GSSN2WW
- GFD55ESSN1WW
Please verify your dryer's model number to ensure proper fit before installation.
3. Setup and Installation
Installing the replacement lint screen is a straightforward process. Ensure your dryer is turned off and unplugged from the power outlet before proceeding.
- Locate the Existing Lint Screen: The lint screen is typically located in a slot near the dryer door opening or on the top panel of the dryer.
- Remove the Old Lint Screen: Grasp the handle of the old lint screen and pull it straight out of its slot. Dispose of the old screen properly.
- Inspect the Lint Screen Housing: Before inserting the new screen, inspect the lint screen housing for any accumulated lint or debris. Clean out any blockages to ensure proper airflow.
- Insert the New Lint Screen: Carefully slide the new Generic replacement lint screen into the designated slot. Ensure it is fully seated and flush with the dryer's surface. Do not force the screen into place.
- Verify Fit: Once inserted, gently try to pull the screen out to ensure it is securely in place and does not wobble.
After installation, you may plug in and turn on your dryer.
4. Operating Considerations
While the lint screen itself does not have operational controls, its proper placement is crucial for dryer operation. Always ensure the lint screen is fully inserted and clean before starting any drying cycle. Operating the dryer without a lint screen, or with a damaged or clogged screen, can lead to reduced drying efficiency, increased energy consumption, and potential fire hazards.
5. Maintenance
Regular cleaning of the lint screen is essential for the safe and efficient operation of your dryer. Follow these maintenance guidelines:
- Clean After Every Load: Remove and clean the lint screen after every single dryer load. This is the most important step to prevent lint buildup.
- How to Clean: Simply pull the lint screen out and peel off the accumulated lint. You can use your hand or a soft brush.
- Deep Cleaning (Monthly/As Needed): If you notice a film or residue on the screen that lint doesn't easily peel off, it may be clogged with fabric softener residue. Wash the screen with warm, soapy water and a soft brush. Rinse thoroughly and allow it to air dry completely before reinserting it into the dryer.
- Inspect for Damage: Periodically inspect the lint screen for any tears, holes, or damage to the mesh. A damaged screen will not effectively capture lint and should be replaced immediately.
6. Troubleshooting
If you experience issues with your dryer, the lint screen can sometimes be a contributing factor. Consider the following:
- Dryer Not Drying Efficiently: The most common cause is a clogged lint screen. Ensure it is clean and free of any residue. Also, check that the screen is fully seated in its slot.
- Dryer Overheating: A severely clogged lint screen can restrict airflow, causing the dryer to overheat. Clean the screen thoroughly. If the problem persists, consult a qualified technician.
- Lint on Clothes After Drying: This could indicate a damaged lint screen (holes or tears) or that the screen is not properly installed, allowing lint to bypass it. Inspect the screen for damage and ensure it is correctly seated.
7. Specifications
| Part Number | lint#p5311039 |
| Item Model Number | lint#p5311039 |
| Manufacturer | Generic |
| Color | Gray |
| Item Package Quantity | 1 |
| ASIN | B0F395NNVG |
8. Warranty Information
As a generic replacement part, specific warranty details are typically provided by the seller at the time of purchase. Please refer to your purchase documentation or contact the seller directly for information regarding any applicable warranty or return policy.
9. Support
For further assistance with this replacement lint screen, please contact the seller through the platform where the purchase was made. For issues related to your GE dryer itself, please refer to your dryer's original manufacturer manual or contact GE customer support.