1. Introduction
This manual provides detailed instructions for the installation, operation, and maintenance of the YSVQHHDV RC-EC5 Central Air Conditioning Wire Controller. This controller is designed to provide precise temperature management for compatible central air conditioning systems, specifically Mitsubishi PJA502A800BD models. Please read this manual thoroughly before use to ensure proper function and longevity of your device.
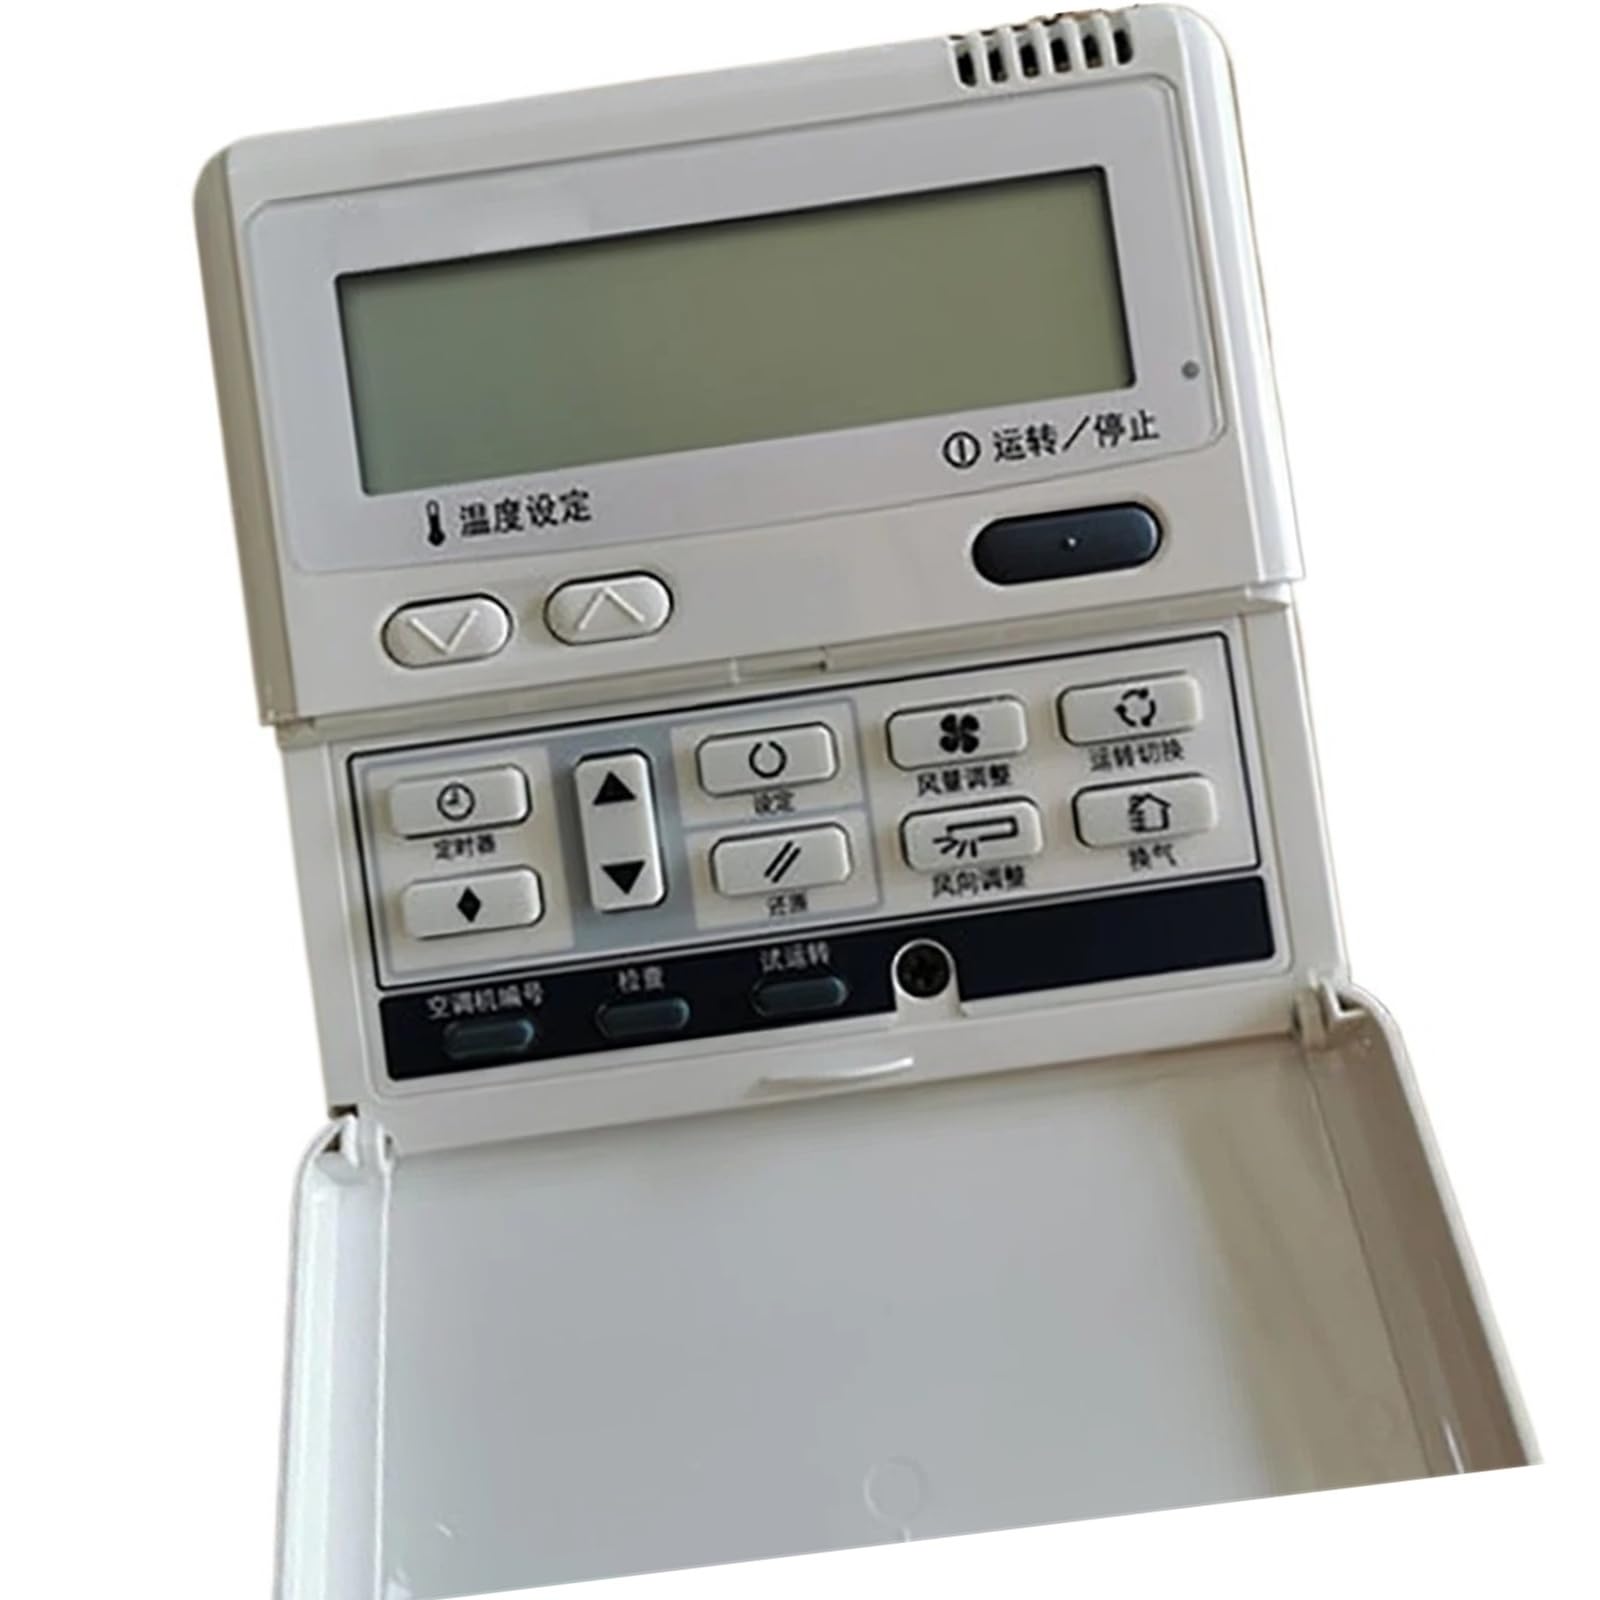
Image: Front view of the YSVQHHDV RC-EC5 Central Air Conditioning Wire Controller, showing the display screen, temperature setting buttons, and the operation/stop button. The model name 'RC-EC5' is visible on the unit.
2. Product Features
- Restores precise temperature control performance, fixing sensing deviations for stable cooling/heating effects.
- Optimizes energy consumption by reducing redundant power usage, potentially lowering electricity bills.
- Extends equipment service life by balancing the load on core components such as compressors and fans.
- Improves response speed and stability, resolving issues like button failure and program jamming, ensuring instant execution of commands.
- Compatible with Mitsubishi RC-EC5 Multi-online PJA502A800BD central air conditioning systems.
3. Safety Information
- Always disconnect power to the air conditioning unit at the circuit breaker before performing any installation, maintenance, or repair.
- Installation should be performed by a qualified technician to prevent electrical shock, fire, or damage to the equipment.
- Do not expose the controller to water, excessive humidity, or extreme temperatures.
- Do not attempt to open, modify, or repair the unit yourself. Refer all servicing to qualified service personnel.
- Keep out of reach of children.
4. Package Contents
Verify that all items are present in the package:
- 1 x YSVQHHDV RC-EC5 Central Air Conditioning Wire Controller
- 1 x User Manual (This document)
- Mounting Screws (typically included for installation)
5. Installation Guide
5.1. Prepare for Installation
Ensure the main power supply to the central air conditioning unit is turned off at the circuit breaker. Identify the appropriate mounting location for the wire controller. It should be on an interior wall, away from direct sunlight, drafts, and heat sources that could affect temperature readings.
5.2. Wiring Connection
Carefully open the controller casing to access the wiring terminals. Connect the communication wires from the central air conditioning unit to the corresponding terminals on the RC-EC5 controller. Refer to the specific wiring diagram provided with your Mitsubishi PJA502A800BD system for accurate terminal assignments. Ensure all connections are secure and properly insulated.
5.3. Mounting the Controller
Mount the controller securely to the wall using the provided screws. Ensure it is level and firmly attached. Close the controller casing, making sure it snaps into place correctly.
5.4. Power On and Initial Test
Restore power to the central air conditioning unit at the circuit breaker. The controller display should illuminate. Follow any on-screen prompts for initial setup or calibration if presented. Verify basic functionality such as turning the unit on/off and adjusting temperature.
6. Operating Instructions
6.1. Controller Overview
The RC-EC5 controller features a digital display and several control buttons for easy operation.
Image: Close-up of the RC-EC5 controller interface. The display shows operational information. Below the display are two arrow buttons for temperature adjustment, labeled '温度设定' (Temperature Setting). To the right is a larger button labeled '①运转/停止' (Operation/Stop).
6.2. Power On/Off
To turn the air conditioning system on or off, press the ①运转/停止 (Operation/Stop) button. The display will indicate the current status.
6.3. Temperature Setting
Use the 温度设定 (Temperature Setting) arrow buttons (up and down) located below the display to adjust the desired room temperature. The set temperature will be shown on the display.
6.4. Display Information
The digital display provides real-time information, including the current room temperature, the set temperature, and the operating status of the air conditioning unit.
7. Maintenance
7.1. Cleaning
Wipe the controller's surface with a soft, dry cloth. Do not use abrasive cleaners, solvents, or chemical sprays, as these can damage the display or casing.
7.2. Regular Checks
Periodically check the wiring connections at the back of the controller for any signs of looseness or corrosion. Ensure that any vents on the controller (if present) are not obstructed by dust or debris to allow for proper air circulation and temperature sensing.
8. Troubleshooting
| Problem | Possible Cause | Solution |
|---|---|---|
| Controller display is blank. | No power supply to the unit or controller. | Check the circuit breaker for the AC unit. Ensure wiring connections to the controller are secure. |
| Temperature not adjusting. | Buttons unresponsive or system in a locked mode. | Press the Operation/Stop button to cycle power. If the issue persists, consult a qualified technician. |
| Inaccurate temperature readings. | Sensor malfunction or controller placement issues. | Ensure the controller is not near heat sources, drafts, or direct sunlight. If the issue persists, sensor replacement may be needed by a technician. |
| Air conditioning unit does not respond to controller commands. | Communication error or incorrect wiring. | Verify all wiring connections are correct and secure. Power cycle both the AC unit and the controller. If the problem continues, contact a service professional. |
9. Specifications
- Model: RC-EC5
- Compatibility: Mitsubishi PJA502A800BD Central Air Conditioning Systems
- Package Dimensions: 1.18 x 0.79 x 0.39 inches
- Item Weight: 1.76 ounces
- Manufacturer: congyili
- Assembly Required: No
- Number of Pieces: 1
10. Warranty and Support
For warranty information, technical support, or service inquiries, please contact your retailer or the manufacturer directly. It is recommended to keep your purchase receipt as proof of purchase for any warranty claims. Do not attempt to service the unit yourself, as this may void the warranty.