1. Introduction
This manual provides comprehensive instructions for the installation, operation, and maintenance of your YSVQHHDV Central Air Conditioning Control Panel Wired Controller, model RBC-ASCU11-C. This controller is designed for compatibility with Toshiba central air conditioning systems, including RBC-AMT31E wire controllers. Please read this manual thoroughly before installation and operation to ensure correct usage and optimal performance.
2. Safety Information
- Professional Installation Recommended: Installation should be performed by a qualified technician to prevent electrical shock, fire, or damage to the unit.
- Power Disconnection: Always disconnect power to the air conditioning system before performing any installation, maintenance, or troubleshooting.
- Wiring: Ensure all wiring connections are secure and comply with local electrical codes. Incorrect wiring can lead to malfunction or safety hazards.
- Environmental Conditions: Do not expose the controller to direct water, excessive humidity, or extreme temperatures.
- Children and Pets: Keep the controller out of reach of children and pets to prevent accidental operation or damage.
3. Product Overview
The RBC-ASCU11-C wired controller provides a user interface for managing your central air conditioning system. It features an LCD display for temperature and status information, along with intuitive buttons for control.
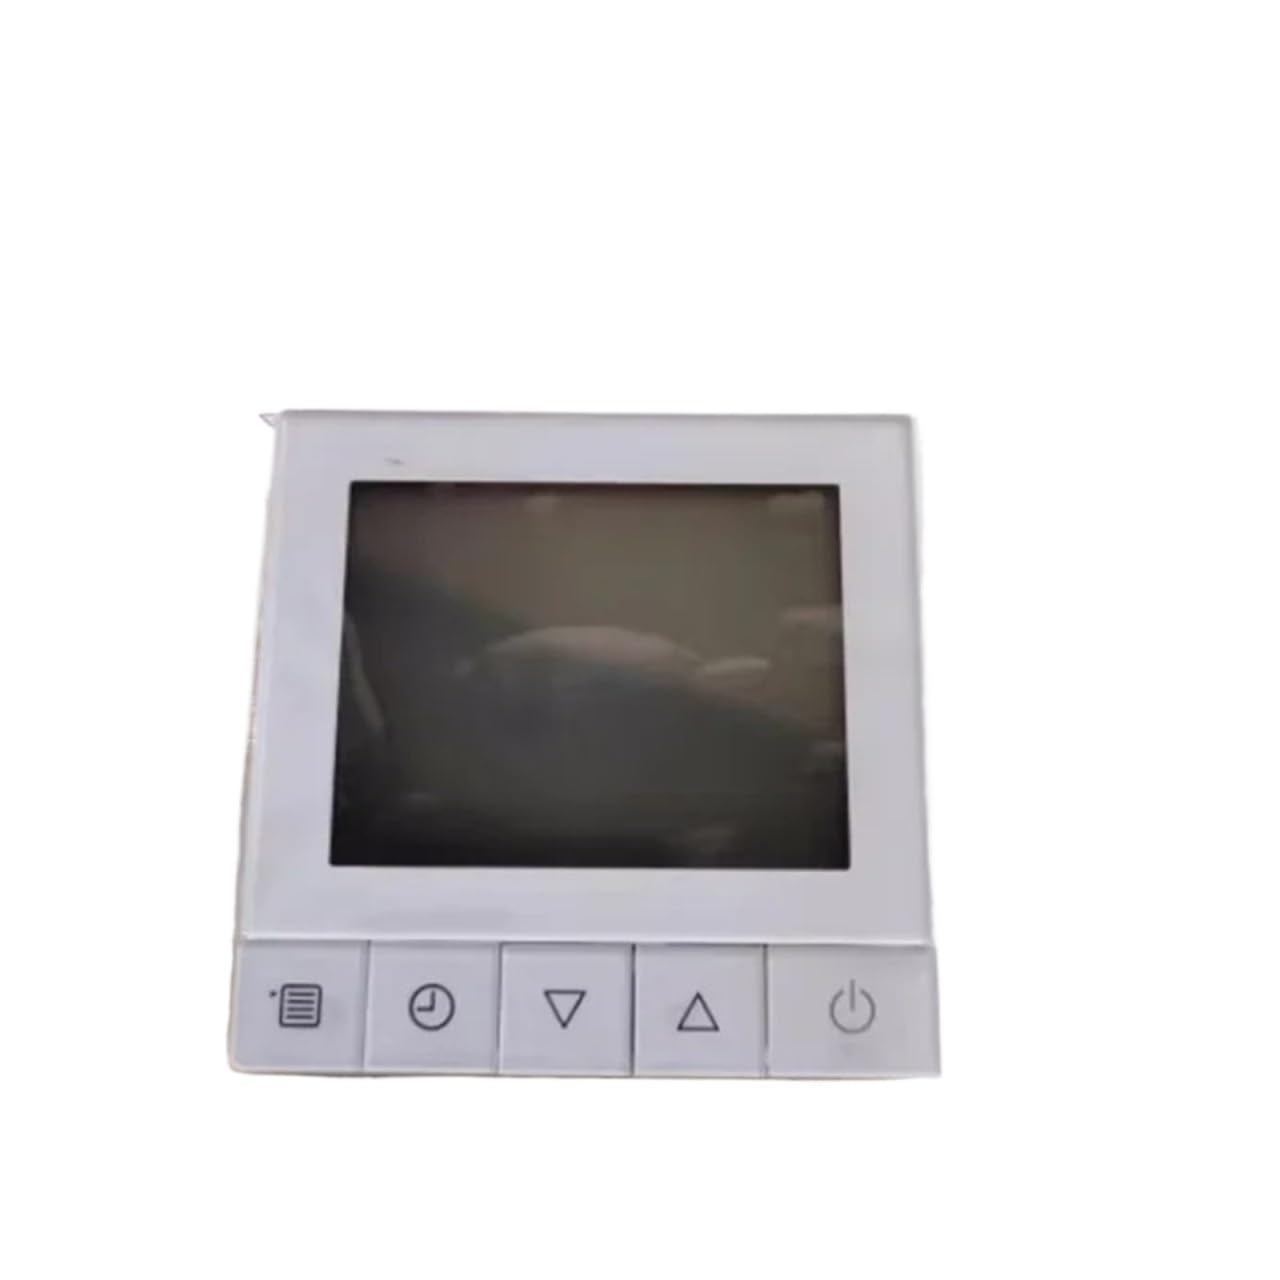
Front view of the YSVQHHDV RBC-ASCU11-C wired controller, showing the LCD display, temperature adjustment buttons (up/down arrows), and the ON/OFF button.
Controller Components:
- LCD Display: Shows current temperature, operating mode, and other system status indicators.
- TEMP. Buttons (▼ / ▲): Used to decrease (down arrow) or increase (up arrow) the desired temperature setting.
- ON/OFF Button: Powers the air conditioning system on or off.
4. Setup and Installation
This wired controller requires connection to your central air conditioning system. Due to the nature of electrical wiring and system compatibility, professional installation is strongly recommended.
General Installation Steps (Consult a professional):
- Power Disconnection: Ensure the main power supply to the air conditioning unit is completely turned off at the circuit breaker.
- Mounting Location: Select a suitable indoor location for the controller, away from direct sunlight, heat sources, or drafts, which could affect temperature readings.
- Wiring Connections: Carefully connect the controller's wiring to the corresponding terminals on your central air conditioning system. Refer to the wiring diagram provided with your specific Toshiba air conditioning unit for correct terminal identification. Ensure all connections are secure and insulated.
- Mounting the Controller: Secure the controller to the wall using appropriate screws and anchors.
- Power Restoration: Once all connections are verified and the controller is securely mounted, restore power to the air conditioning system.
5. Operating Instructions
Once installed and powered, the controller is ready for operation.
Power On/Off:
- To turn the system ON, press the ON/OFF button. The display will illuminate, and the system will begin operation according to its last settings.
- To turn the system OFF, press the ON/OFF button again. The display may turn off or show a standby indicator.
Adjusting Temperature:
- To increase the desired temperature, press the ▲ (Up) button next to 'TEMP.'.
- To decrease the desired temperature, press the ▼ (Down) button next to 'TEMP.'.
- The new set temperature will be displayed on the LCD. The system will adjust its operation to reach and maintain this temperature.
6. Maintenance
Regular maintenance ensures the longevity and accurate operation of your controller.
- Cleaning: Gently wipe the controller's surface and LCD display with a soft, dry cloth. Do not use abrasive cleaners, solvents, or wet cloths, as these can damage the unit.
- Inspection: Periodically check for any visible damage to the controller or its wiring. If damage is observed, contact a qualified technician for inspection and repair.
- Avoid Obstruction: Ensure that the small vents (if present) on the controller are not blocked, as these may be for internal temperature sensors.
7. Troubleshooting
If you encounter issues with your controller, refer to the following common problems and solutions:
| Problem | Possible Cause | Solution |
|---|---|---|
| Controller display is blank or unresponsive. | No power supply; loose wiring connection; internal fault. | Check the main power supply to the AC unit. Verify all wiring connections are secure. If problem persists, contact a qualified technician. |
| Temperature setting does not change. | Buttons not registering; system in a locked mode; internal fault. | Ensure buttons are pressed firmly. Check if the AC system has a 'lock' function. If not, contact a technician. |
| Air conditioning system not responding to controller. | Communication error; wiring issue; AC unit fault. | Verify controller is powered on. Check wiring connections. Consult your AC unit's manual for troubleshooting its communication. Contact a technician if necessary. |
| Inaccurate temperature readings. | Sensor obstruction; sensor fault; controller placement. | Ensure no objects are blocking the controller's vents. Relocate controller if it's in direct sunlight or near a heat source/draft. If problem persists, a sensor calibration or replacement may be needed by a technician. |
For issues not listed above or if solutions do not resolve the problem, please contact a qualified HVAC technician or the product seller for assistance.
8. Specifications
| Feature | Detail |
|---|---|
| Model Number | RBC-ASCU11-C |
| Compatibility | Toshiba Central Air Conditioning Systems (e.g., RBC-AMT31E wire controller) |
| Package Dimensions | 1.18 x 0.79 x 0.39 inches |
| Item Weight | 1.76 ounces |
| Number of Pieces | 1 |
| Assembly Required | No |
9. Warranty and Support
For warranty information, please refer to the terms provided by your retailer or contact the manufacturer directly. Specific warranty periods and conditions may vary.
For technical support or assistance with installation and troubleshooting, please contact the seller or your qualified HVAC technician.