1. Introduction
Thank you for choosing the SunRider LED Flush Mount Ceiling Light Fixture. This manual provides detailed instructions for the safe installation, operation, and maintenance of your new lighting fixture. Designed for modern living spaces, this fixture offers versatile illumination with both a bright main light and a soft night light feature, ensuring comfort and efficiency in various indoor environments.
Please read this manual thoroughly before installation and retain it for future reference. Proper installation and adherence to these guidelines will ensure optimal performance and longevity of your product.
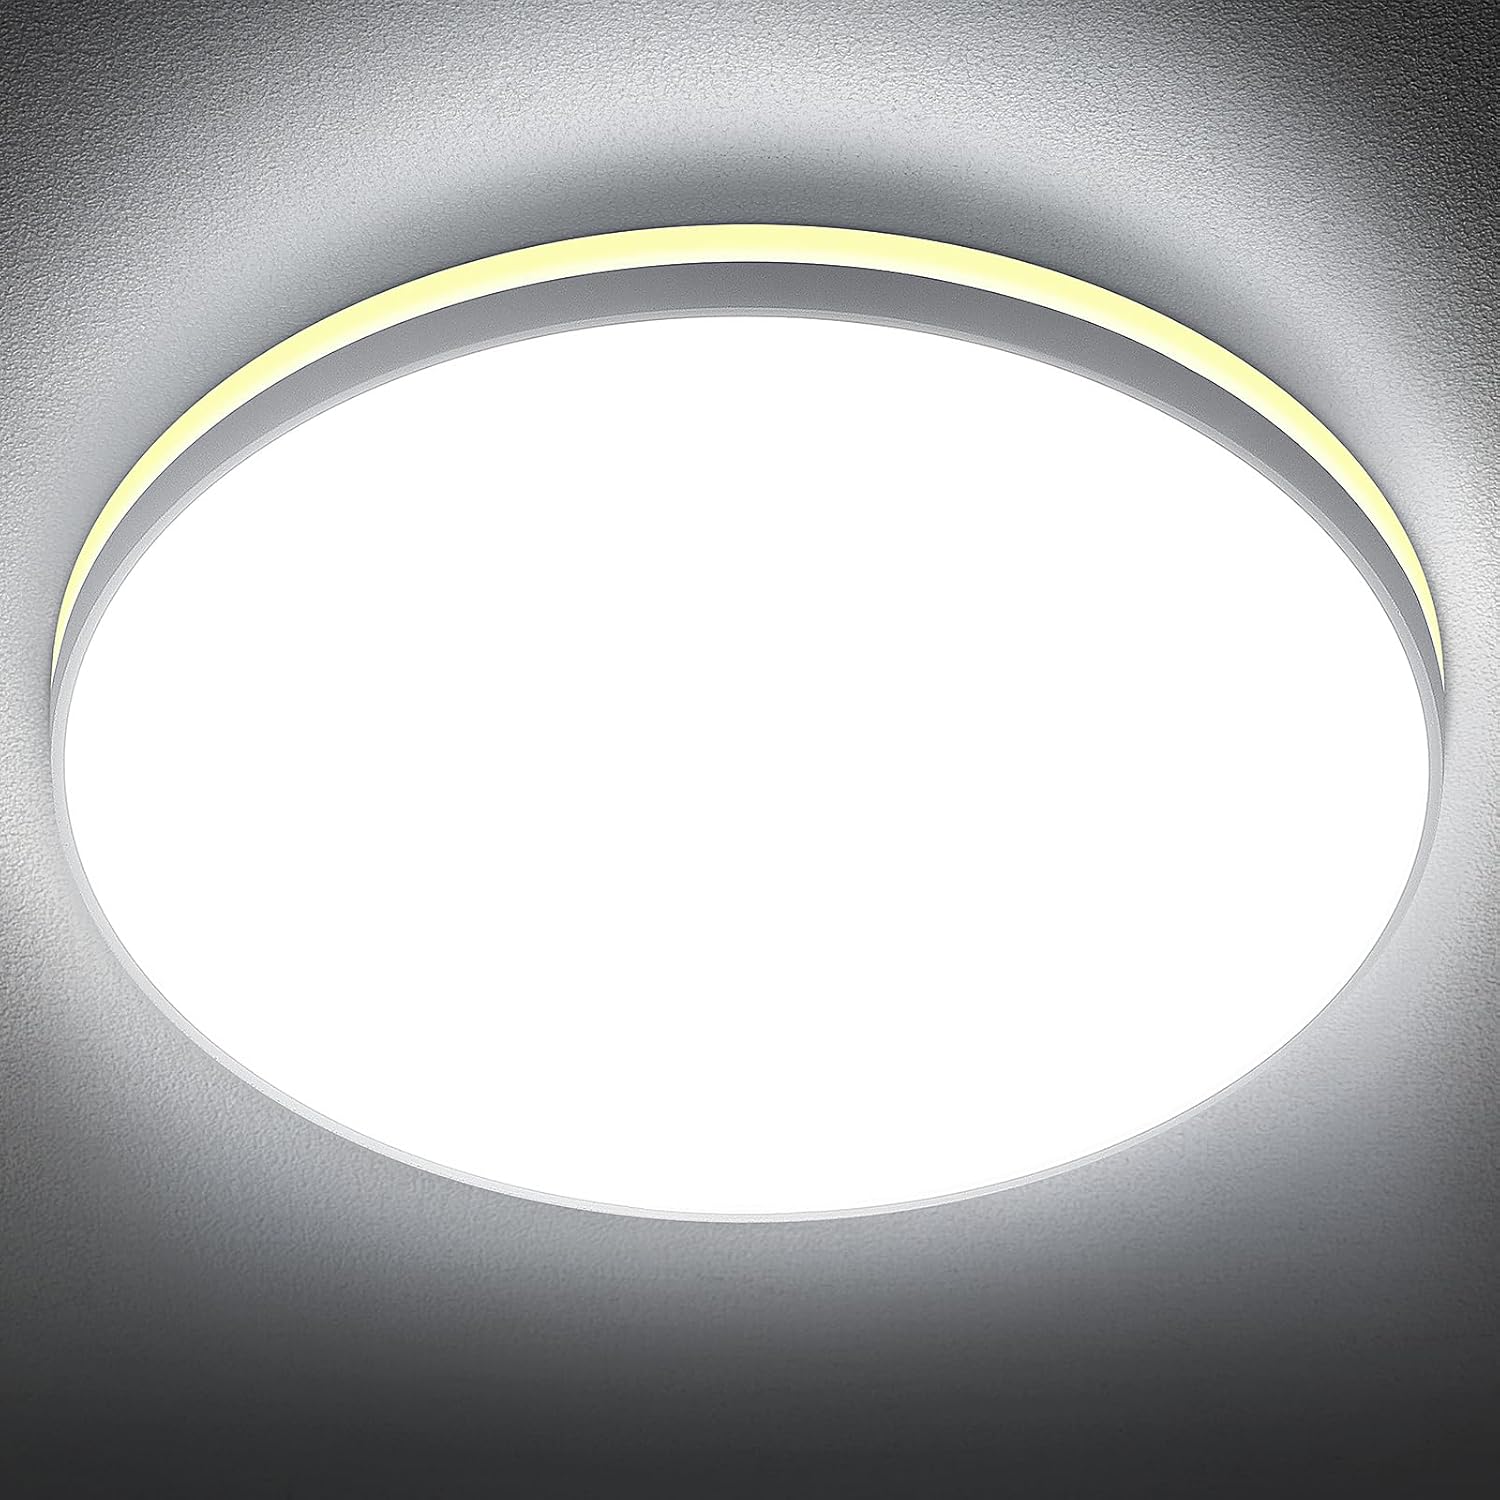
Image: The SunRider LED Flush Mount Ceiling Light Fixture, showcasing its sleek, round design when installed on a ceiling.
2. Important Safety Information
To reduce the risk of fire, electric shock, or personal injury, always follow these basic safety precautions:
- ALWAYS TURN OFF POWER AT THE MAIN BREAKER BEFORE INSTALLATION. Failure to do so may result in serious injury or death.
- All wiring connections must be in accordance with local and national electrical codes (NEC). If you are unsure about wiring, consult a qualified electrician.
- This fixture is designed for 120V AC power supply. Do not attempt to connect it to any other voltage.
- Do not modify the fixture in any way. Any modifications may void the warranty and create a safety hazard.
- Ensure the mounting surface can support the weight of the fixture.
- Do not look directly into the LED light source when the fixture is on, as it may cause eye strain.
- Keep packaging materials out of reach of children.
- The fixture is IP44 rated, suitable for damp locations like bathrooms and laundry rooms, but not for direct water exposure.
3. Package Contents
Verify that all components are present and undamaged before beginning installation. If any parts are missing or damaged, contact SunRider customer support.
- SunRider LED Flush Mount Ceiling Light Fixture (1)
- Mounting Plate (pre-attached to fixture) (1)
- Mounting Screws (2)
- Wire Connectors (3)
- Instruction Manual (this document) (1)
4. Product Specifications
| Feature | Specification |
|---|---|
| Model Number | FM10R12-24-8CCT-Y |
| Dimensions | 12"L x 12"W x 1"H (305mm diameter, 24mm thickness) |
| Wattage (Main Light) | 24 Watts |
| Lumen Output (Main Light) | 2400 Lumens |
| Color Temperature (Main Light) | 6000K Cool White |
| Wattage (Night Light) | 4 Watts |
| Lumen Output (Night Light) | 200 Lumens |
| Color Temperature (Night Light) | 2000K Warm White |
| Voltage | AC100-130V, 50/60Hz |
| Dimmable | Yes (0-100% smooth dimming for main light) |
| CRI | 85+ |
| Lifespan | 50,000+ Hours |
| Material | Plastic |
| IP Rating | IP44 (Suitable for damp locations) |
| Mounting Type | Flush Mount |
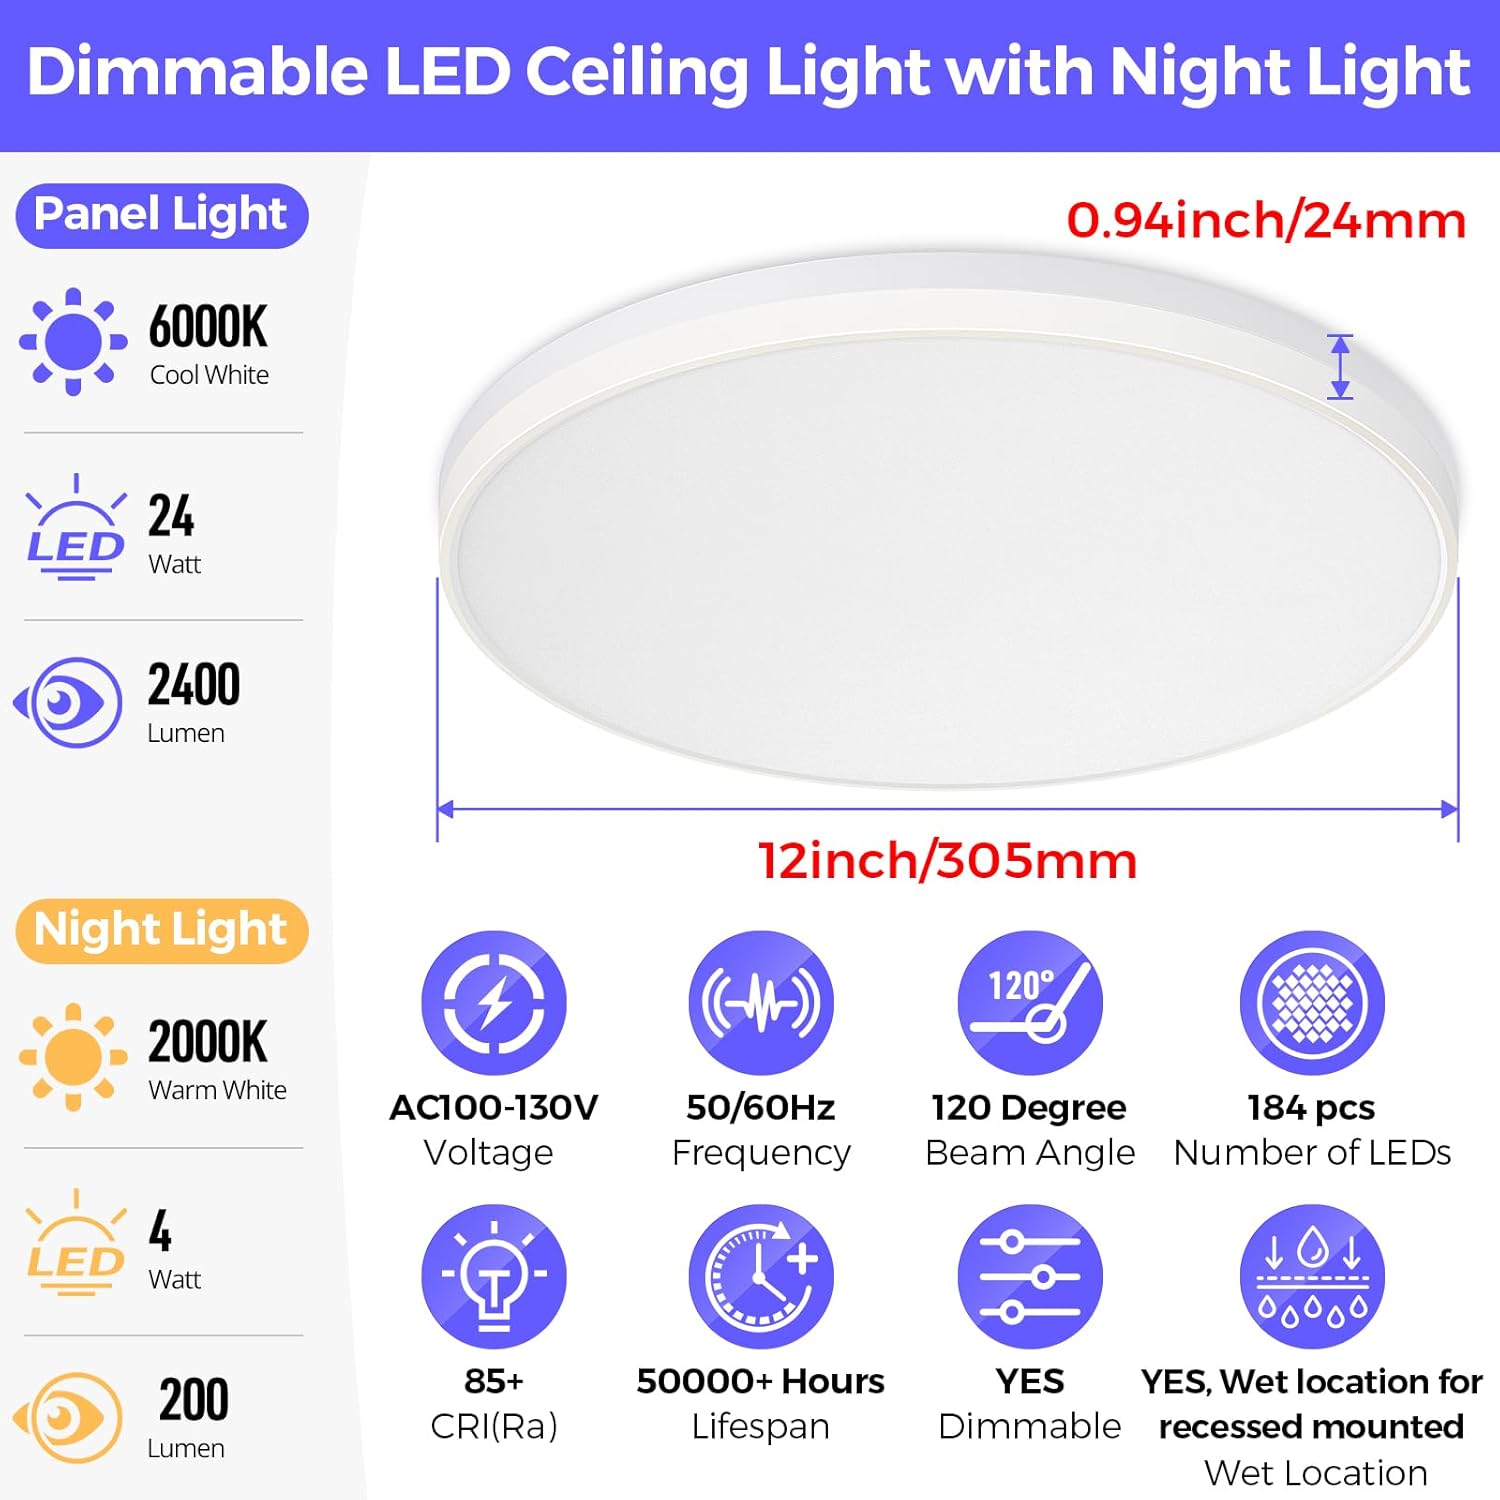
Image: Detailed diagram showing the 12-inch diameter and 0.94-inch thickness of the light fixture, along with key specifications like wattage, lumens, color temperature, and lifespan.
5. Installation Guide
This fixture is designed for easy installation and is compatible with most standard ceiling junction boxes (0.59" - 8.46" crossbar range). Please follow these steps carefully:
- Turn off power: Locate the circuit breaker controlling the light fixture's circuit and turn it OFF. Verify power is off using a voltage tester.
- Prepare the fixture: Unscrew the snap-fit mounting plate from the base of the ceiling light fixture.
- Attach mounting plate: Attach the mounting plate to the junction box on your ceiling using the provided mounting screws. Ensure it is securely fastened.
- Connect wiring: Carefully connect the wires from the ceiling to the fixture's wires using the provided wire connectors.
- Connect the black wire (live/hot) from the ceiling to the black wire of the fixture.
- Connect the white wire (neutral) from the ceiling to the white wire of the fixture.
- If your junction box has a ground wire, connect it to the fixture's ground wire (if present) or secure it to the junction box. This fixture is double insulated and may not require a separate ground connection.
- Mount the fixture: Align the ceiling light fixture with the mounting plate and gently push it up until it snaps securely into place. Screw the fixture back into the snap-fit mounting plate.
- Restore power: Turn the power back ON at the circuit breaker.

Image: Visual guide illustrating the four steps of installation: unscrewing the mounting plate, attaching it to the junction box, connecting wires, and securing the fixture.
6. Operating Instructions
6.1 Switching Between Main Light and Night Light
The SunRider LED Flush Mount Ceiling Light features a dual lighting mode, allowing you to switch between the bright 6000K Cool White main light and the soft 2000K Warm White night light using your existing wall switch.
- Main Light Mode: Turn the wall switch ON. The fixture will illuminate with the full 6000K Cool White brightness.
- Night Light Mode: To activate the night light, turn the wall switch OFF, then immediately turn it back ON within 1-2 seconds. The fixture will switch to the soft 2000K Warm White night light.
- To return to the main light mode, turn the wall switch OFF, then ON again.

Image: Illustration demonstrating the "Flip Wall Switch" method to change light modes: ON for main light, OFF then ON for night light.
6.2 Dimming Function (Main Light Only)
The 6000K Cool White main light is smoothly dimmable from 0% to 100% when connected to a compatible dimmer switch. The night light feature is not dimmable.
For optimal dimming performance, it is recommended to use LED-compatible dimmer switches. Refer to the table below for compatible dimmer models:
| Brand | Compatible Dimmer Models |
|---|---|
| LUTRON | DVWCL-153PH-LA, MSC-AD-PD MAESTRO 600, SCL-153P-AL, AYCL-153P-WH, AYCL-153P-AL, TGCL-153P, FSQ-2FH-DK |
| LEVITON | SURESLIDE 6674, 6672-ILW, TSL06-ILW |

Image: Visual representation of the light's 0-100% smooth dimming range, accompanied by a table listing recommended compatible dimmer switch models from Lutron and Leviton.

Image: The fixture in night light mode, casting a soft, warm glow in a bedroom, designed to create a cozy sleeping environment.
7. Maintenance
The SunRider LED Flush Mount Ceiling Light Fixture requires minimal maintenance. Follow these guidelines to ensure its longevity and performance:
- Cleaning: Before cleaning, ensure the power to the fixture is turned off at the circuit breaker. Use a soft, dry, or slightly damp cloth to wipe the surface of the fixture. Do not use harsh chemicals, abrasive cleaners, or solvents, as these can damage the finish or electrical components.
- No Bulb Replacement: This fixture uses integrated LED technology, meaning there are no bulbs to replace. The LEDs are designed to last for the entire lifespan of the fixture (50,000+ hours).
- Inspection: Periodically inspect the fixture for any signs of damage or loose connections. If any issues are found, turn off the power and consult a qualified electrician.
8. Troubleshooting
If you encounter any issues with your SunRider LED Flush Mount Ceiling Light Fixture, please refer to the following common problems and solutions:
| Problem | Possible Cause | Solution |
|---|---|---|
| Light does not turn on. |
|
|
| Light flickers or dims unexpectedly. |
|
|
| Night light feature not working. |
|
|
| Light is not bright enough. |
|
|
If the problem persists after trying these solutions, please contact SunRider customer support for further assistance.
9. Warranty and Support
9.1 Limited Warranty
The SunRider LED Flush Mount Ceiling Light Fixture comes with a limited warranty. This warranty covers defects in materials and workmanship under normal use. Please retain your proof of purchase for warranty claims. The warranty does not cover damage caused by improper installation, misuse, abuse, accidents, or unauthorized modifications.
For specific warranty terms and conditions, please refer to the product packaging or contact SunRider customer support.
9.2 Customer Support
If you have any questions, require technical assistance, or need to make a warranty claim, please contact SunRider customer support through the retailer where you purchased the product or visit the official SunRider website for contact information.
SunRider Official Store: Visit SunRider Store on Amazon


