1. Introduction
This manual provides detailed instructions for the installation, operation, and maintenance of your Avutrel H13 Wireless Solar Tire Pressure Monitoring System (TPMS). This system is designed to monitor the tire pressure and temperature of up to 6 tires in real-time, enhancing driving safety for RVs, trucks, and other heavy vehicles.
The Avutrel H13 TPMS features advanced automotive chips for precise monitoring, dual charging options (solar and USB), comprehensive alarm functions, and an energy-efficient design with auto-sleep mode. Its durable, weather-resistant sensors are built to withstand various environmental conditions.
2. Safety Information
- Always ensure correct sensor installation to prevent air leakage.
- Do not attempt to disassemble or repair the monitor or sensors yourself. Contact customer support for assistance.
- Keep the monitor away from direct sunlight for prolonged periods when not in use to prevent overheating, especially if not charging.
- Ensure the monitor is securely mounted and does not obstruct your view while driving.
- While the system provides real-time data, it is not a substitute for regular manual tire pressure checks.
3. Package Contents
Verify that all items are present in your package:
- 1x TPMS Monitor
- 6x External Sensors
- 6x Anti-theft Nuts
- 1x Spanner Tool
- 1x USB Charging Cable
- 1x User Manual

Image: Overview of all included accessories for the Avutrel H13 TPMS, including the monitor, sensors, and installation tools.
4. Product Overview
The Avutrel H13 TPMS consists of a display monitor and six external sensors. The monitor displays real-time tire pressure and temperature, along with various alarm indicators. The external sensors are installed directly onto the tire valve stems.
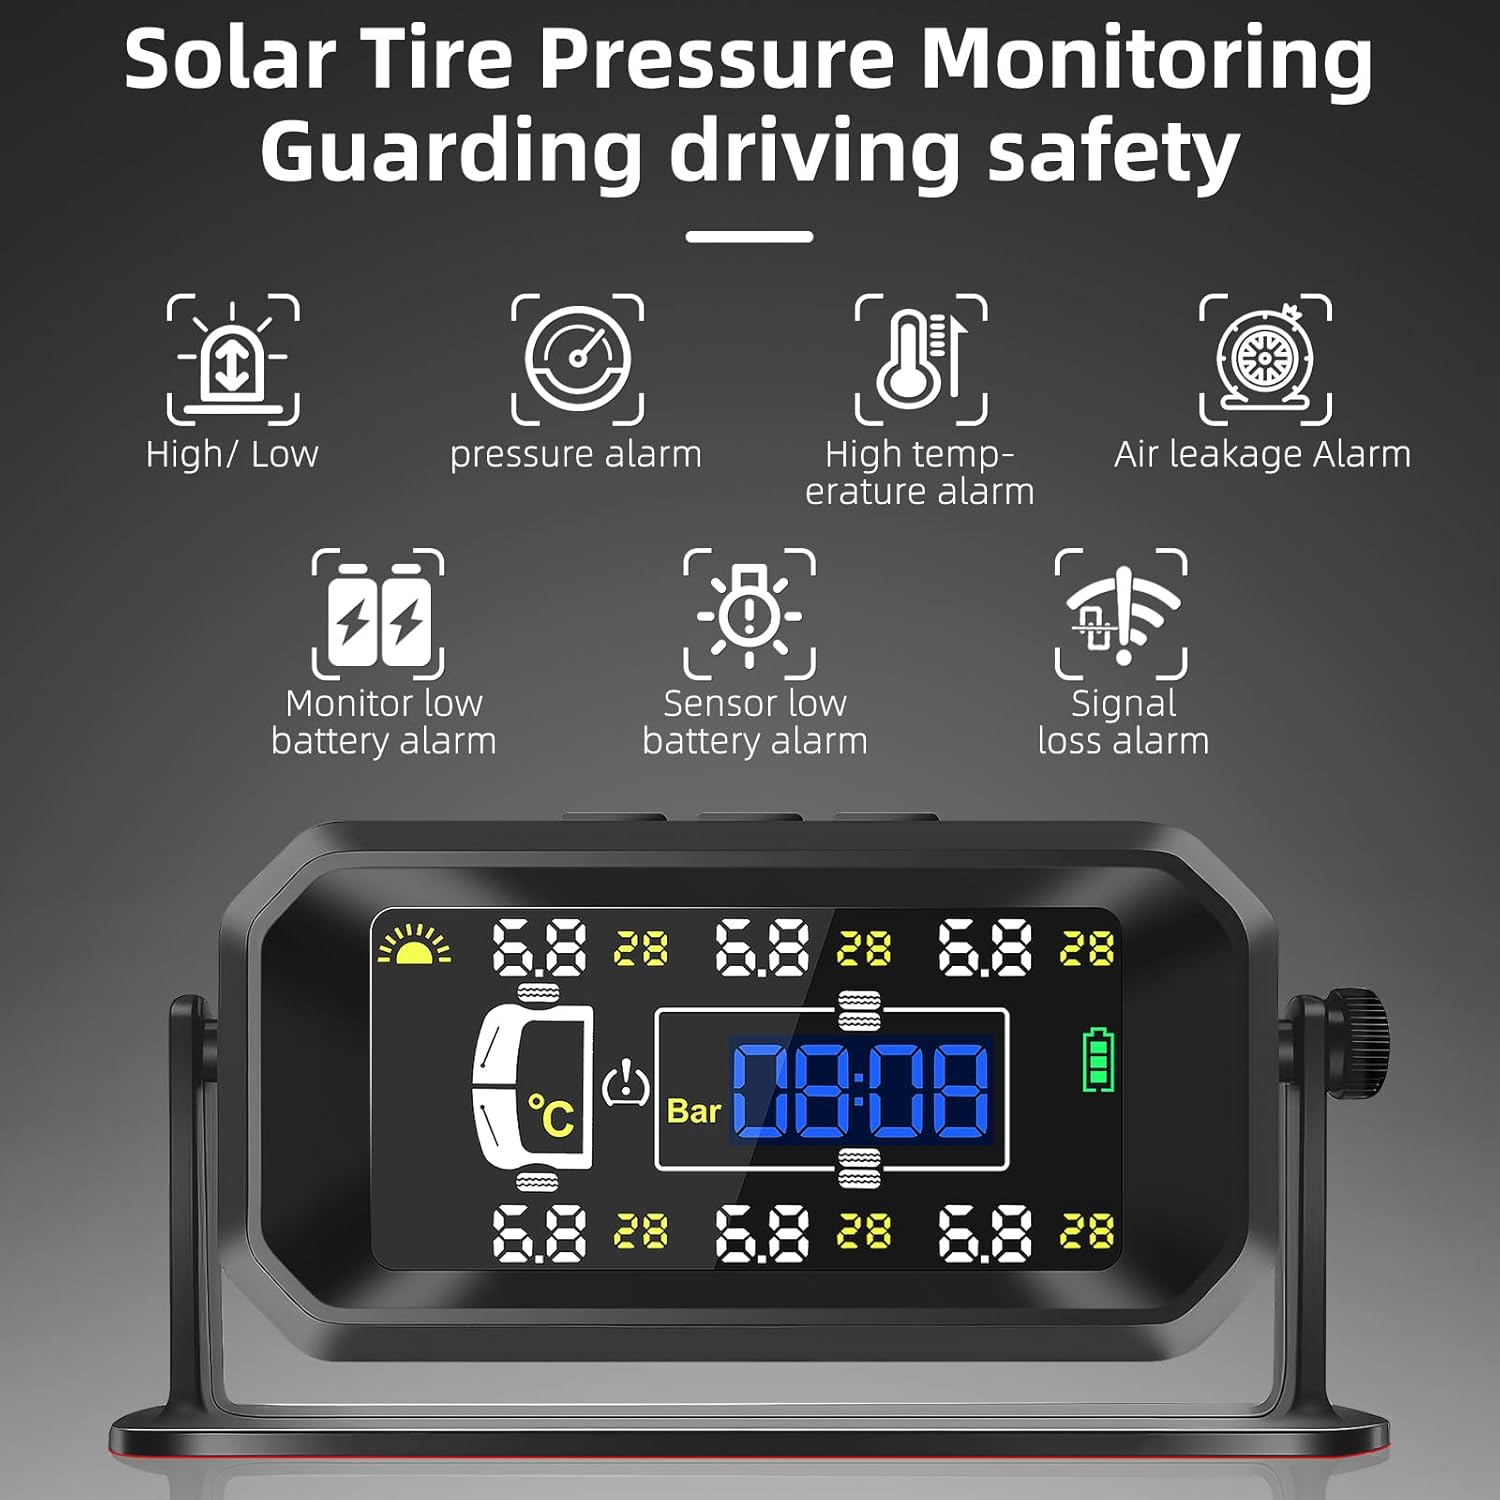
Image: The Avutrel H13 TPMS monitor displaying real-time tire data and various alarm indicators.

Image: The system is designed for heavy-duty vehicles, monitoring up to 6 tires, suitable for RVs, trucks, and trailers.
5. Setup and Installation
5.1 Charging the Monitor
The monitor can be charged via its built-in solar panel or through the USB Type-C port.
- Solar Charging: Place the monitor on your dashboard where it can receive direct sunlight. The solar panel will automatically charge the internal battery.
- USB Charging: For faster charging or in low-light conditions, connect the provided USB cable to the monitor's Type-C port and a 5V USB power source.
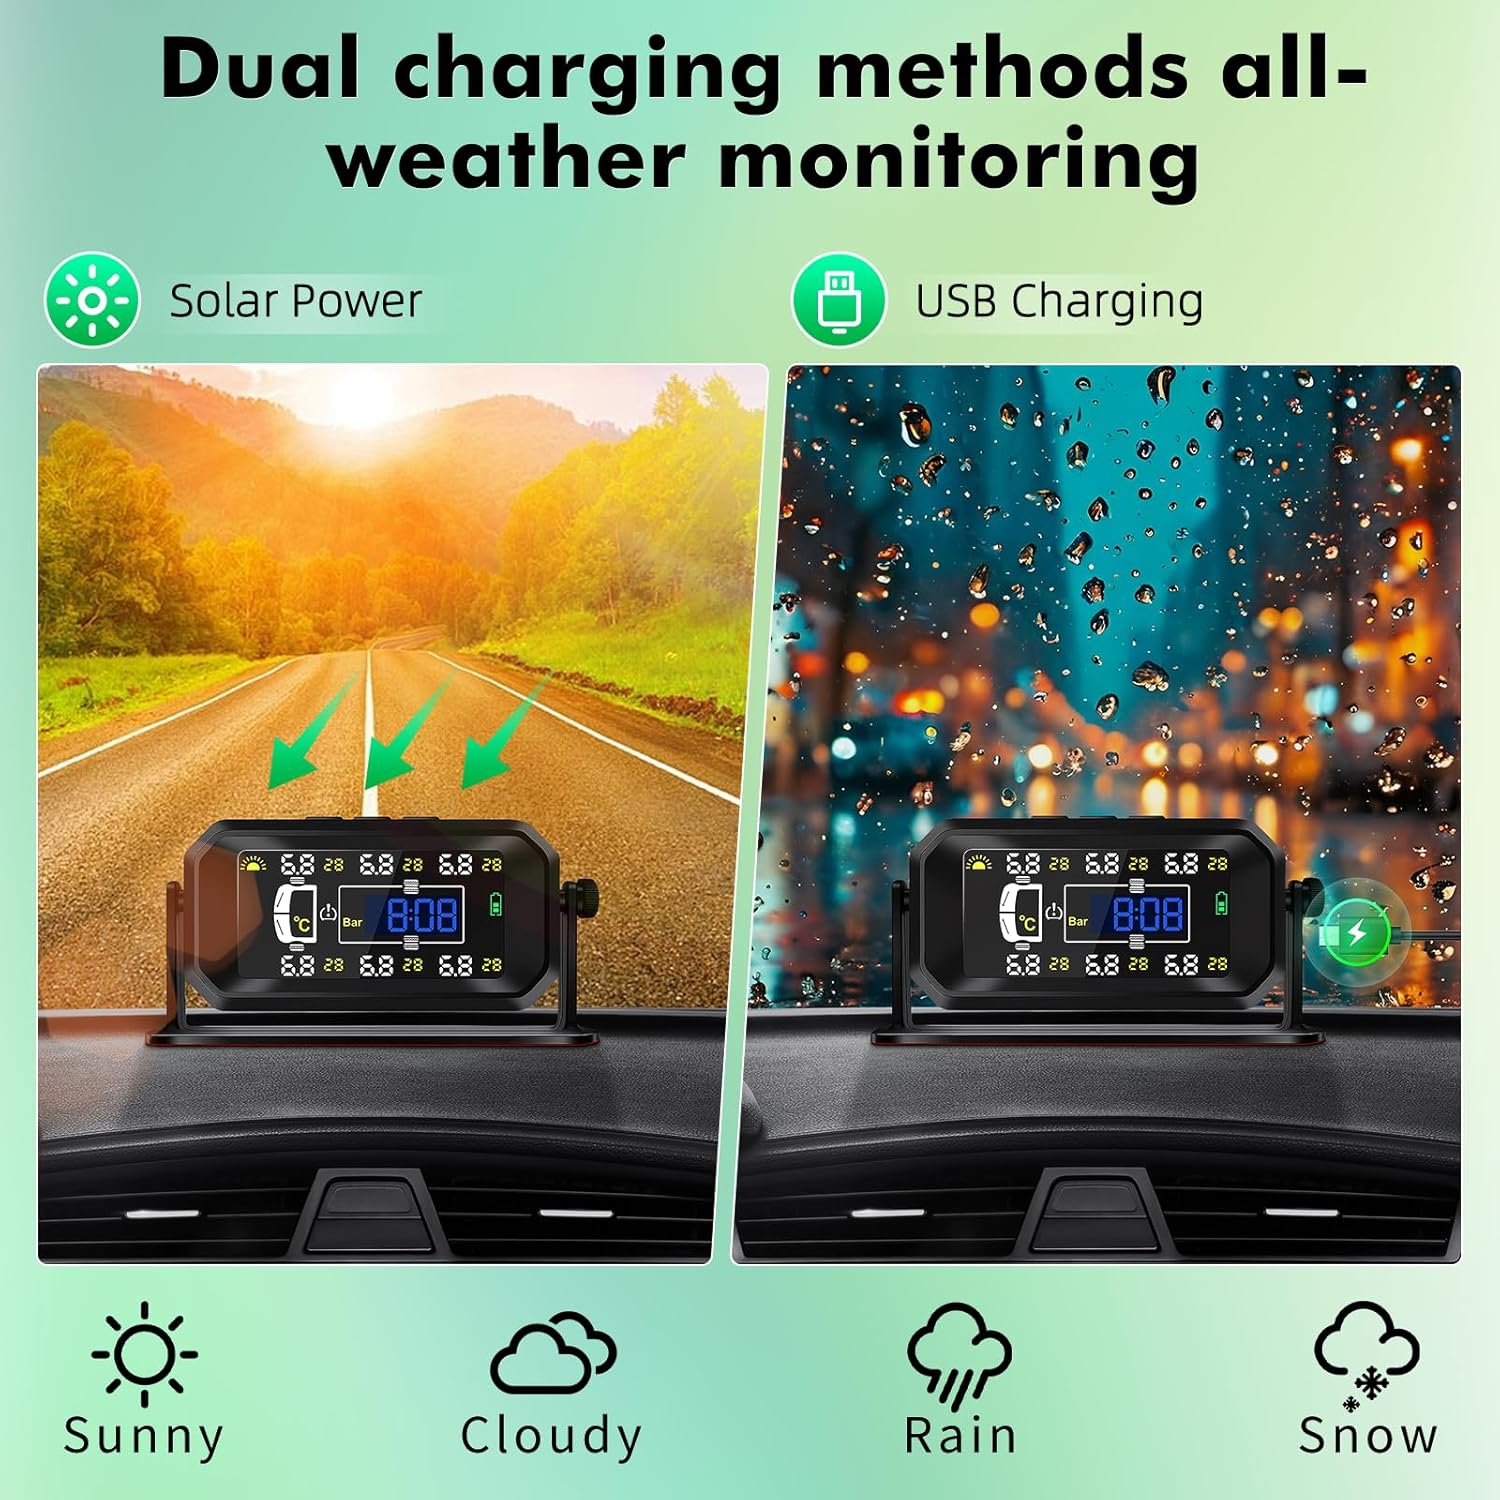
Image: The Avutrel H13 TPMS supports dual charging methods: solar power for continuous charging during driving and USB charging for faster power replenishment.
5.2 Sensor Installation
The external sensors are designed for quick and easy installation.
- Unscrew the original valve cap from the tire valve stem.
- Screw on the anti-theft nut onto the valve stem.
- Screw the corresponding sensor (labeled 1-6) onto the valve stem until it is hand-tight.
- Use the provided spanner tool to tighten the anti-theft nut counter-clockwise against the sensor to secure it. This prevents accidental loosening and theft.
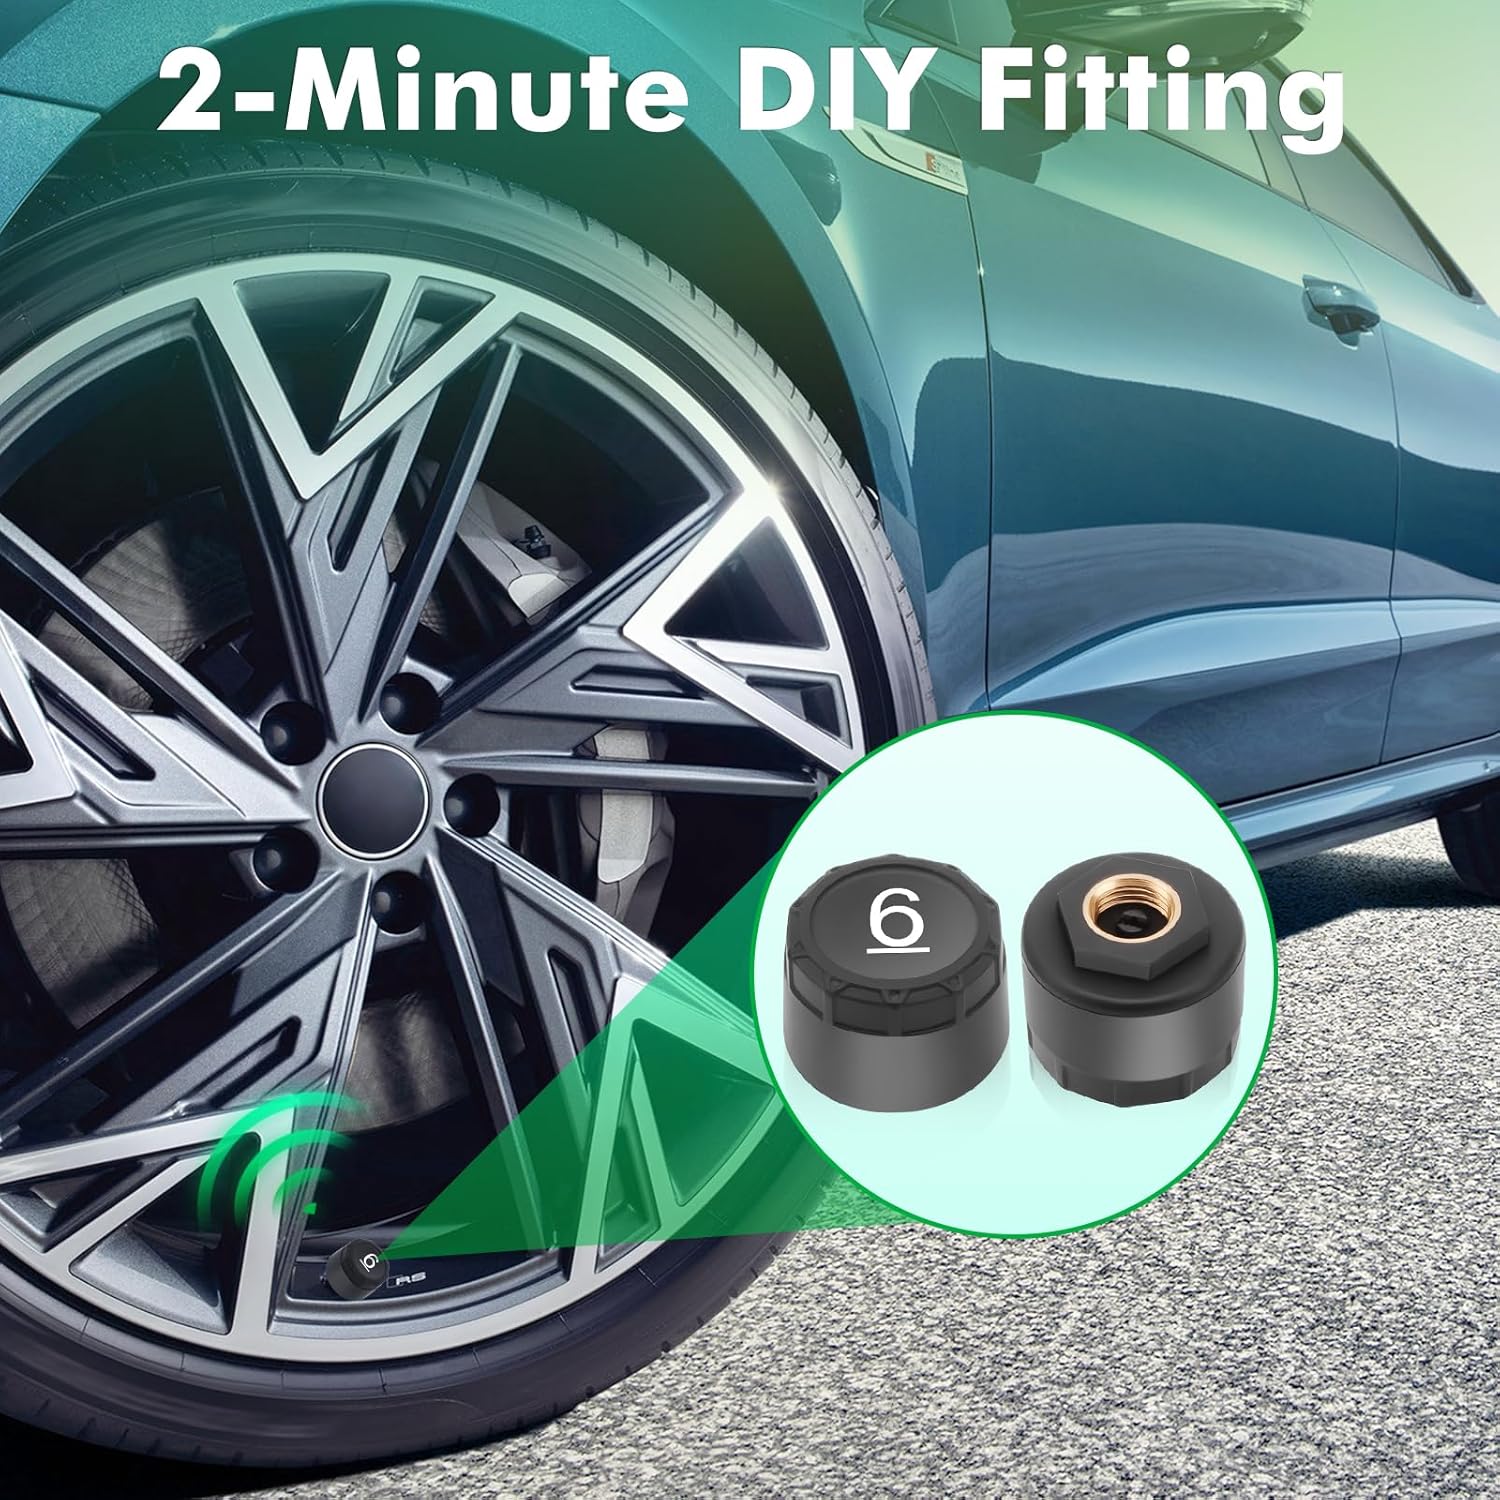
Image: Step-by-step visual of installing an external sensor onto a tire valve stem, highlighting the simple DIY process.
5.3 Monitor Mounting
The monitor offers flexible mounting options to suit your vehicle's interior.
- Dashboard Mount: Use the adhesive pad to secure the monitor base to a flat surface on your dashboard.
- Windshield Mount: Attach the monitor to the windshield using the suction cup mount (if included, or a compatible accessory).
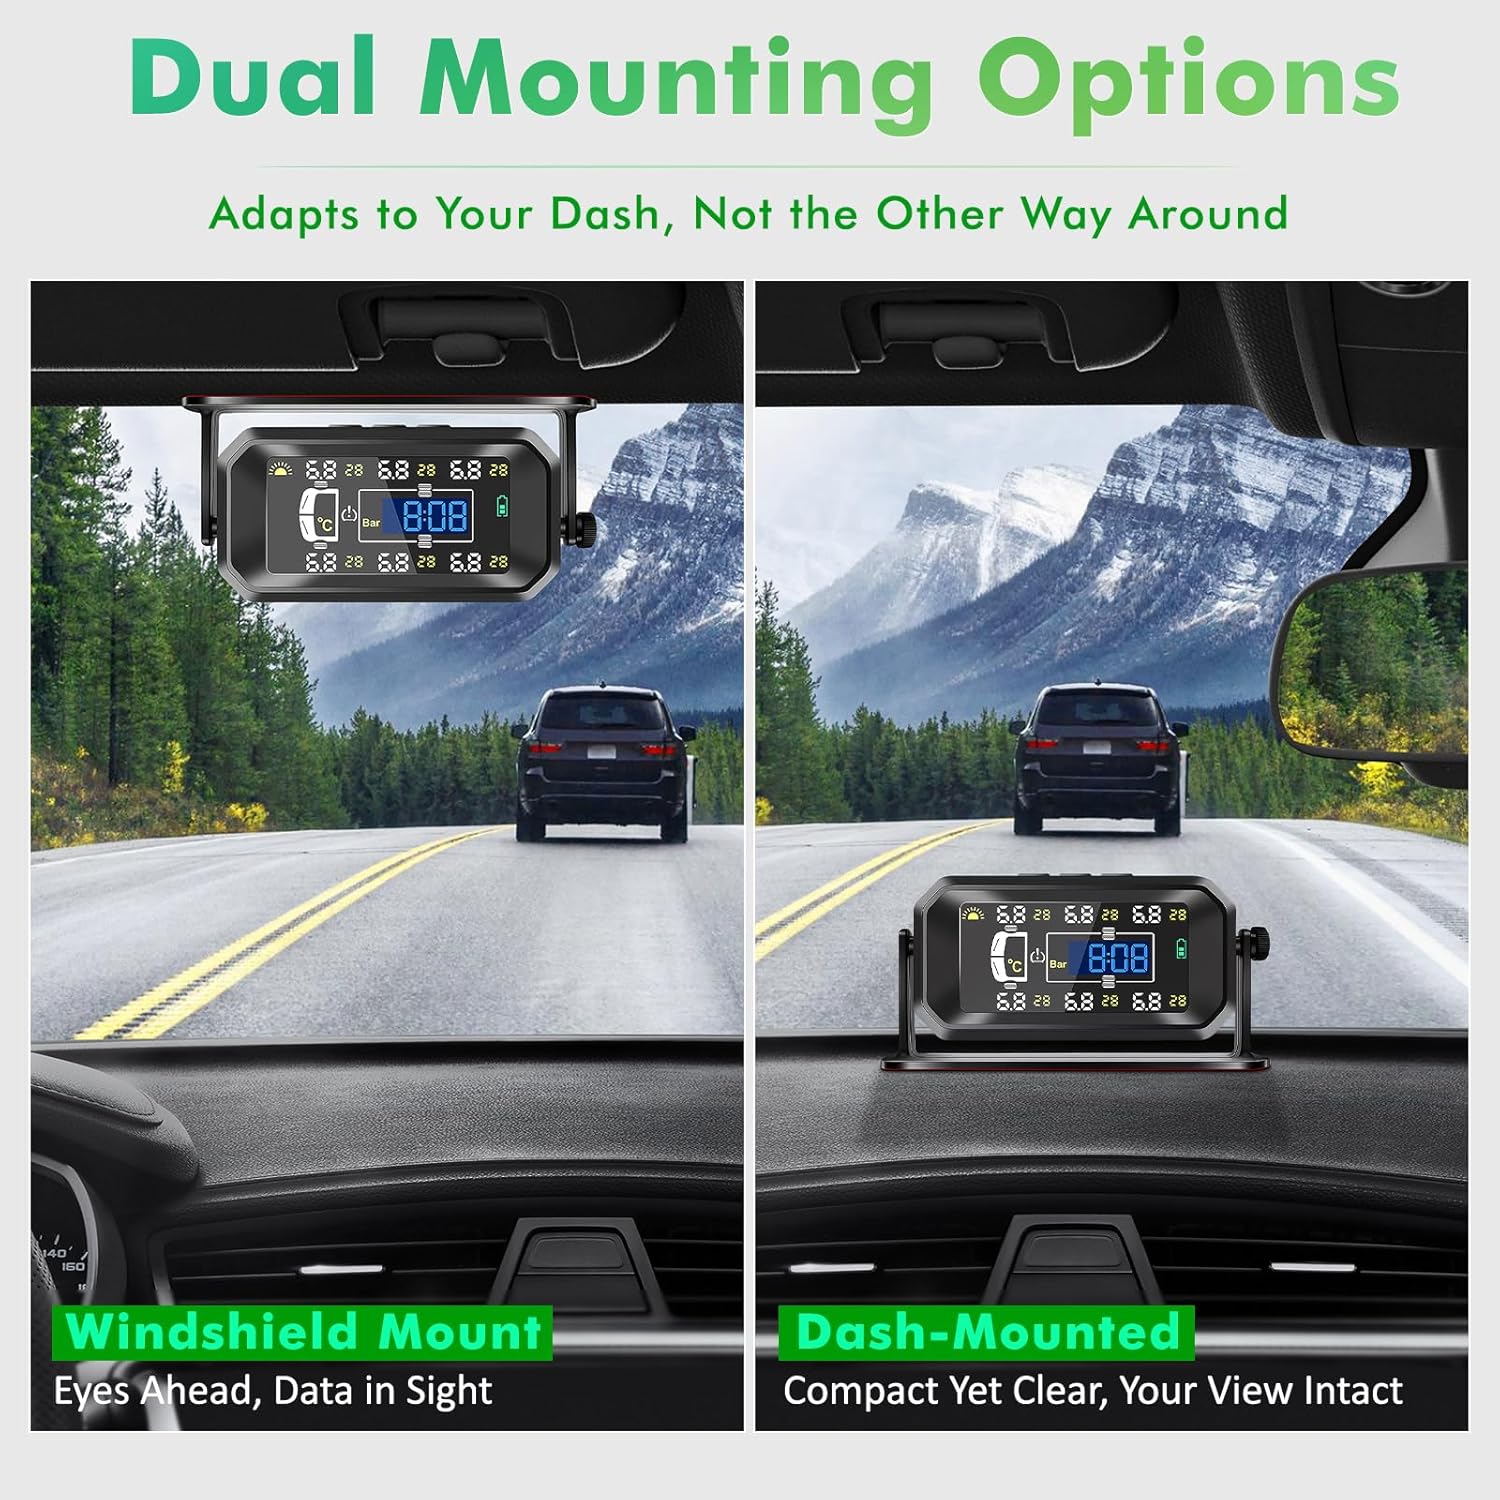
Image: The Avutrel H13 TPMS monitor can be mounted on the windshield or dashboard, adapting to user preference and vehicle layout.
5.4 Video Guide: Sensor Installation and Settings
Video: This video demonstrates the process of installing the external sensors onto tire valve stems and how to adjust the display settings (e.g., pressure units, temperature units) on the TPMS monitor.
6. Operating Instructions
6.1 Power On/Off
- The monitor automatically powers on when it detects vibration (e.g., when the vehicle starts moving).
- It enters auto-sleep mode after 5 minutes of inactivity to conserve energy.
- To manually power on/off, press and hold the power button (usually the 'M' key) for 3 seconds.
6.2 Display Information
The monitor displays the following information for each tire:
- Tire Pressure (in PSI or Bar)
- Tire Temperature (in °C or °F)
- Sensor Battery Status
- Monitor Battery Status
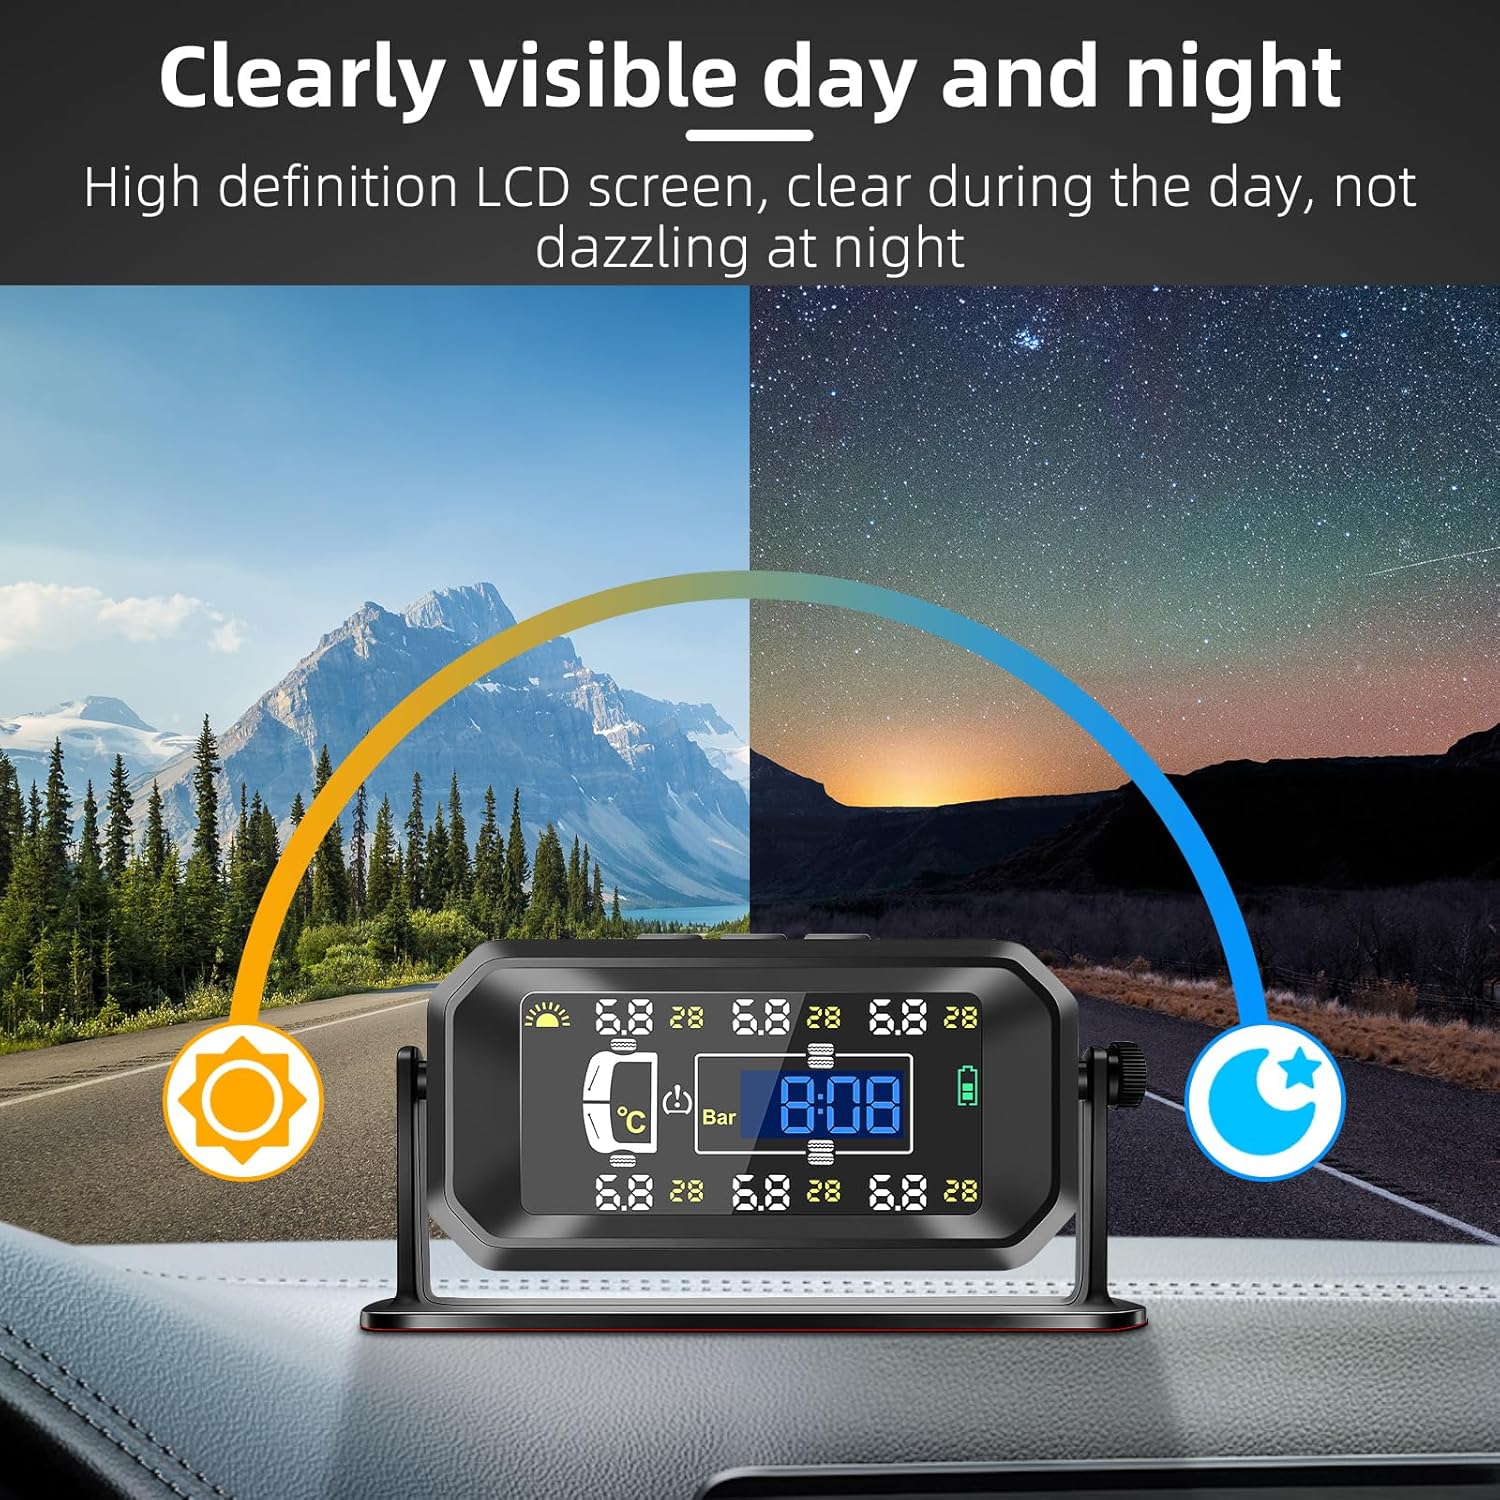
Image: The high-definition LCD screen ensures clear visibility of tire data day and night.
6.3 Setting Parameters (Pressure/Temperature Units)
To adjust display units:
- Press and hold the 'M' key for 3 seconds to enter setting mode.
- When the pressure unit (Bar or PSI) flashes, use the left and right arrow keys to switch between the two display modes.
- Press the 'M' key again. When the temperature unit (°C or °F) flashes, use the left and right arrow keys to switch between the two display modes.
- After completing all settings, press and hold the 'M' key for 3 seconds to save and exit setting mode.
6.4 Alarm Functions
The system provides visual and audible warnings for various tire conditions:
- High/Low Pressure Alarm: Alerts when tire pressure exceeds or falls below preset thresholds.
- High Temperature Alarm: Warns if a tire's temperature becomes excessively high.
- Air Leakage Alarm: Detects rapid air loss from a tire.
- Monitor Low Battery Alarm: Indicates the monitor's internal battery is low.
- Sensor Low Battery Alarm: Indicates a specific sensor's battery is low.
- Signal Loss Alarm: Alerts if communication with a sensor is lost.
7. Maintenance
7.1 Sensor Battery Replacement
The external sensors use replaceable batteries. When a 'Sensor Low Battery' alarm appears, replace the battery:
- Use the spanner tool to loosen and remove the anti-theft nut and then unscrew the sensor from the valve stem.
- Carefully open the sensor casing.
- Replace the old battery with a new CR1632 lithium coin cell battery, ensuring correct polarity.
- Close the sensor casing and reinstall the sensor onto the tire valve stem, securing it with the anti-theft nut.
7.2 Cleaning
Wipe the monitor and sensors with a soft, dry cloth. Do not use abrasive cleaners or solvents.
7.3 Storage
When not in use for extended periods, store the monitor and sensors in a cool, dry place. Ensure the monitor's battery is charged periodically to maintain its lifespan.
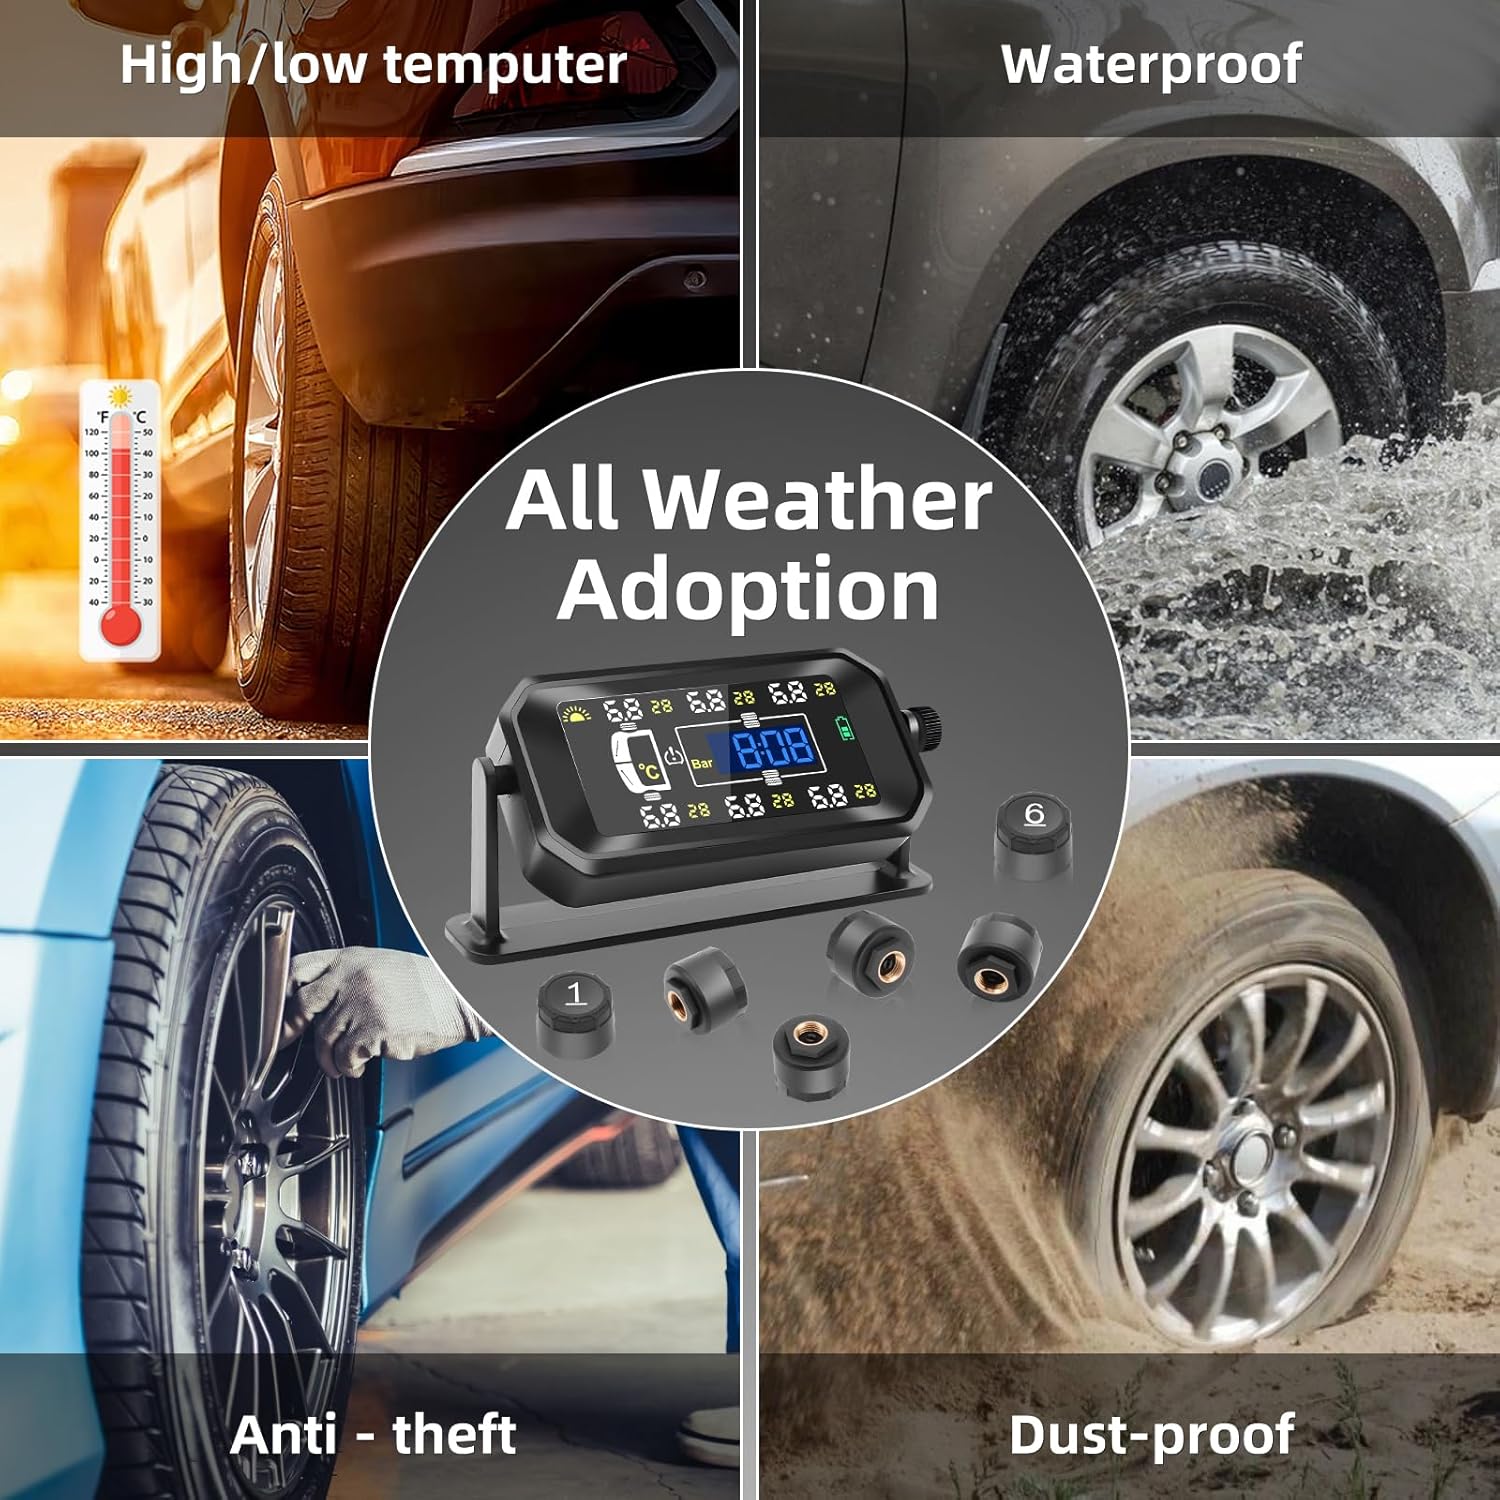
Image: The Avutrel H13 TPMS sensors are designed to be durable, waterproof, dustproof, and resistant to extreme temperatures.
8. Troubleshooting
| Problem | Possible Cause | Solution |
|---|---|---|
| Monitor not turning on | Low battery; not detecting vibration | Charge the monitor via USB or place in direct sunlight. Press and hold 'M' key for 3 seconds to manually power on. |
| No tire data displayed | Sensors not installed; sensors out of range; sensor battery low; pairing issue | Ensure sensors are correctly installed. Move vehicle closer to monitor. Replace sensor battery. Re-pair sensors if necessary (refer to advanced settings in full manual). |
| Inaccurate pressure/temperature | Sensor not fully tightened; sensor faulty | Re-tighten sensor with anti-theft nut. If issue persists, contact support for sensor replacement. |
| Alarm sounds frequently | Tire pressure/temperature outside set limits | Check tire pressure and temperature. Adjust tire pressure to recommended levels. Review alarm thresholds in settings. |
9. Specifications
| Feature | Detail |
|---|---|
| Model | H13 Tire Pressure Monitoring System |
| Brand | Avutrel |
| Monitoring Capacity | 6 Tires |
| Pressure Range | 0-144 PSI (0-8 Bar) |
| Pressure Accuracy | ±2 PSI |
| Temperature Accuracy | ±3 °C |
| Operating Frequency | 433.92MHz |
| Monitor Charging | Solar / USB Type-C |
| Sensor Battery Type | CR1632 (replaceable) |
| Operating Temperature | -20°C to 80°C (Monitor), -40°C to 105°C (Sensors) |
| Waterproof Rating | IP67 (Sensors) |
| Product Dimensions (Monitor) | 17.68 x 11.99 x 6.02 cm |
| Item Weight | 280 g |
10. Warranty and Support
Avutrel products are designed for reliability and performance. For warranty information, technical support, or any questions regarding your Avutrel H13 TPMS, please refer to the contact information provided with your purchase or visit the official Avutrel website. Please have your model number (H13) and purchase details ready when contacting support.