
1. Introduction
This document provides essential information and instructions for the installation, operation, and maintenance of your new Generic Replacement Lint Screen Filter. This part is designed to be compatible with the Maytag MLG27PDBWW0 dryer model. Please read this manual thoroughly before installation and use to ensure proper function and safety.
2. Safety Information
- Always unplug the dryer from the power outlet before attempting any installation, removal, or maintenance of the lint screen filter.
- Ensure the dryer has cooled down completely if it has been recently in use.
- Handle the lint screen filter carefully to avoid damage to the screen mesh.
- Keep small children and pets away from the appliance during installation.
- If you are unsure about any step, consult a qualified technician.
3. Package Contents
Verify that all items are present and undamaged upon opening the package.
- 1 x Generic Replacement Lint Screen Filter (Part #lint#p5309015)
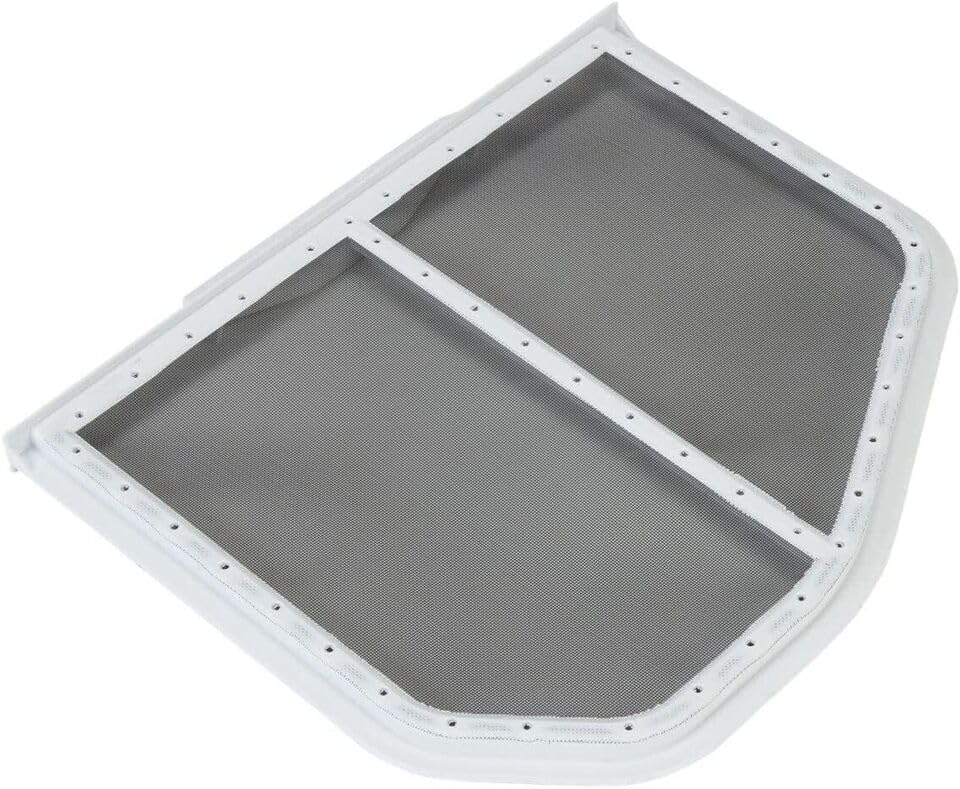
Image 1: The replacement lint screen filter, featuring a white frame and fine mesh.
4. Setup and Installation
Follow these steps to replace the lint screen filter in your Maytag MLG27PDBWW0 dryer.
- Disconnect Power: Unplug the dryer from its electrical outlet to prevent electric shock.
- Locate Existing Lint Screen: The lint screen is typically located in a slot near the dryer door opening or on the top panel of the dryer.
- Remove Old Lint Screen: Grasp the handle of the existing lint screen and pull it straight out of its housing. Dispose of the old screen responsibly.
- Inspect Housing: Before inserting the new screen, inspect the lint screen housing for any accumulated lint or debris and clean it thoroughly.
- Insert New Lint Screen: Carefully slide the new Generic Replacement Lint Screen Filter into the housing. Ensure it is fully seated and fits snugly without any gaps. Do not force the screen into place.
- Reconnect Power: Once the new lint screen is securely in place, plug the dryer back into the electrical outlet.

Image 2: The replacement lint screen filter, ready for installation.
5. Operating Instructions
The lint screen filter is an integral part of your dryer's safe and efficient operation. Always ensure the lint screen is properly installed before starting a drying cycle.
- Before each load of laundry, pull out the lint screen and remove any accumulated lint.
- Reinsert the clean lint screen firmly into its slot before operating the dryer.
- Operating the dryer without a lint screen, or with a clogged lint screen, can reduce drying efficiency and pose a fire hazard.
6. Maintenance
Regular cleaning of the lint screen is crucial for optimal dryer performance and safety.
- After Every Load: Remove the lint screen and pull off any lint accumulated on the mesh.
- Periodic Deep Cleaning (Every 6 months or as needed): If fabric softener sheets are used, a waxy buildup may occur on the lint screen, which can reduce airflow. To remove this buildup:
- Remove the lint screen.
- Wet both sides of the screen with hot water.
- Scrub the screen with a nylon brush and liquid detergent to remove any residue.
- Rinse thoroughly with hot water.
- Allow the screen to air dry completely before reinserting it into the dryer.

Image 3: The lint screen filter, showing the mesh surface that collects lint.
7. Troubleshooting
If you encounter issues related to the lint screen, consider the following:
- Lint Screen Does Not Fit: Double-check the compatibility with your dryer model (Maytag MLG27PDBWW0). Ensure the screen is oriented correctly and inserted without obstruction.
- Dryer Not Drying Effectively: Ensure the lint screen is clean and free of lint or waxy buildup. A clogged screen restricts airflow, leading to longer drying times.
- Excessive Lint on Clothes: Verify the lint screen is properly seated in its housing. If lint is still excessive, inspect the dryer's exhaust vent for blockages.
8. Specifications
| Attribute | Detail |
|---|---|
| Manufacturer | Generic |
| Part Number | lint#p5309015 |
| Compatible Dryer Model | Maytag MLG27PDBWW0 |
| Item Package Quantity | 1 |
| ASIN | B0F33XGKTZ |
| Date First Available | March 31, 2025 |
9. Warranty Information
As a replacement part, this product typically adheres to the return and exchange policies of the retailer from which it was purchased. Specific warranty details, if any, are provided by the seller. Please refer to your purchase documentation or contact the seller directly for information regarding returns, replacements, or warranty coverage.
10. Support
For further assistance, questions regarding installation, or troubleshooting that is not covered in this manual, please contact the seller or retailer where you purchased this replacement part. Ensure you have your purchase details and the part number (lint#p5309015) available when seeking support.