1. Introduction
This manual provides essential information for setting up, operating, and maintaining your Philips Ambilight 42OLED820 4K OLED Smart TV. Please read this manual thoroughly before using your television to ensure proper and safe operation. Keep this manual for future reference.
2. Safety Information
Always follow basic safety precautions when using this television to reduce the risk of fire, electric shock, and injury.
- Do not expose the TV to rain or moisture.
- Do not open the TV casing; refer all servicing to qualified personnel.
- Ensure proper ventilation around the TV.
- Use only the power cord supplied with the TV.
- Keep the TV away from direct sunlight, heat sources, and strong magnetic fields.
- Unplug the TV during lightning storms or when unused for long periods.
3. What's in the Box
Carefully unpack the box and ensure all items are present:
- TV Unit
- Power Cable
- Remote Control with rechargeable lithium battery
- Stand
- User Manual and Warranty Card
4. Setup
4.1 Physical Setup
Stand Assembly: Attach the provided stand to the TV unit according to the instructions in the quick start guide. Ensure all screws are securely fastened.
Wall Mounting: If wall-mounting, use a VESA-compatible wall mount (sold separately) and follow the wall mount manufacturer's instructions. Ensure the wall can support the weight of the TV.

Image: Front view of the Philips Ambilight 42OLED820 TV with its stand.
4.2 Connections
Connect your devices to the TV using the appropriate ports. Refer to the diagrams below for port locations.

Image: Rear view of the TV showing HDMI, USB, and Triple Tuner connections.

Image: Detailed diagram of side and bottom ports for the 42-inch model, including USB, HDMI, Satellite, TV Antenna, Digital Audio Out, and Network.
- HDMI: Connect external devices like Blu-ray players, game consoles, or set-top boxes. This model features HDMI 2.1 with 4K 120Hz support and ARC/eARC on HDMI 2.
- USB: Connect USB storage devices for media playback or software updates.
- Network (Ethernet/Wi-Fi): Connect to your home network for internet access and smart TV features.
- TV Antenna/Satellite: Connect your antenna or satellite dish for broadcast television.
- Digital Audio Out: Connect to an external sound system for enhanced audio.
4.3 Initial Power On and First-Time Setup
After connecting all cables, plug the TV into a power outlet. Press the power button on the remote control or the TV. Follow the on-screen instructions to complete the initial setup, which includes:
- Language selection
- Network connection (Wi-Fi or Ethernet)
- Google TV account setup
- Channel scanning
5. Operating the TV
5.1 Remote Control
The TV comes with a sleek, rechargeable remote control. It features dedicated buttons for popular streaming services and voice assistant activation.
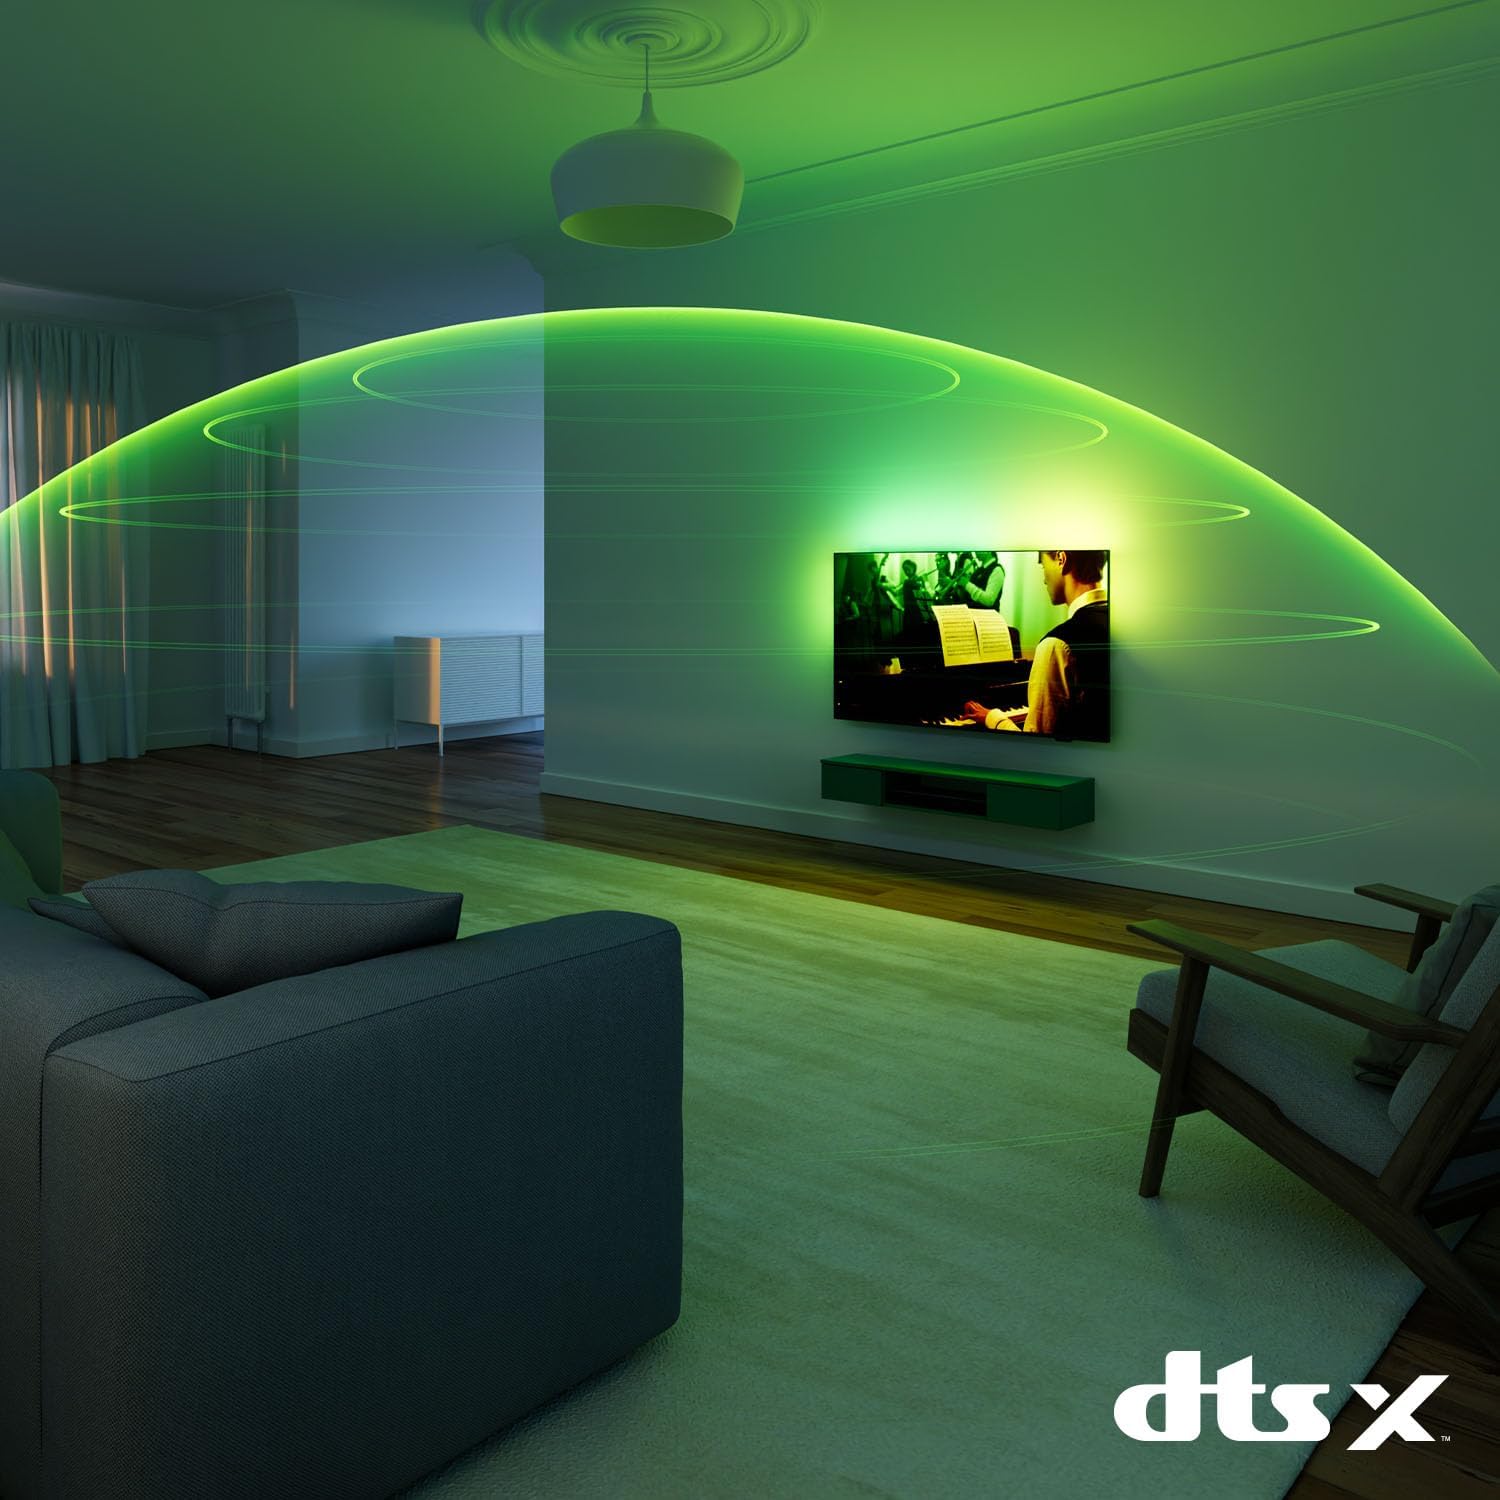
Image: The Philips TV remote control, featuring a minimalist design and dedicated buttons for streaming services.
To charge the remote, connect it to a USB power source using the provided cable.
5.2 Ambilight Features
Ambilight technology projects a halo of light from the back of the TV onto the surrounding wall, matching the colors on screen. This enhances the viewing experience and makes the screen appear larger.

Image: A Philips Ambilight TV displaying reactive LED lights on the wall behind it, matching the on-screen content.
You can customize Ambilight settings in the TV menu, including modes for video, audio, and static colors.
5.3 Picture Settings
Your Philips OLED TV delivers realistic images with deep blacks and vibrant colors, even from wide viewing angles. The P5 AI Perfect Picture Engine processes images with deep learning AI to achieve rich color and smooth motion.
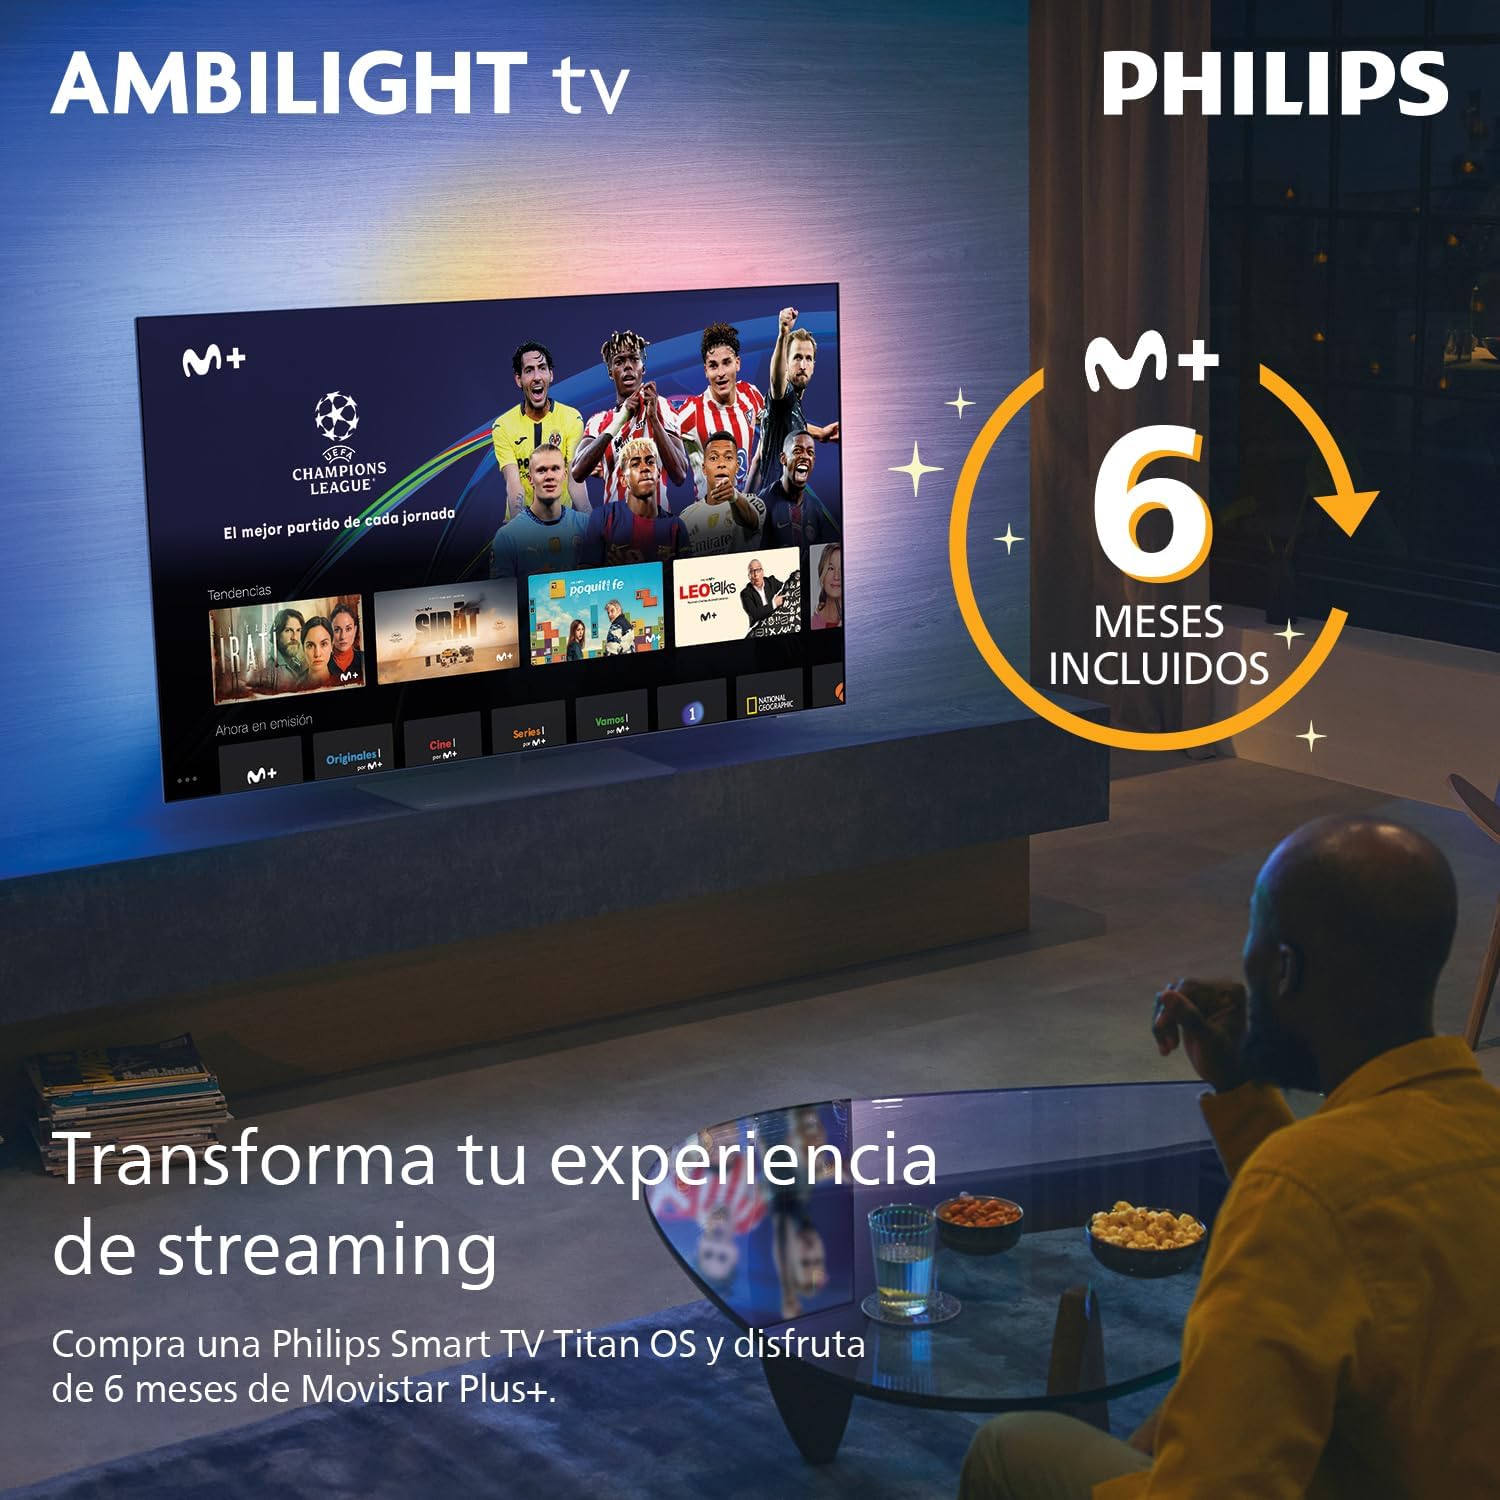
Image: Diagram illustrating the layers of OLED display technology, highlighting deep blacks and vibrant colors.

Image: A stylized representation of the Philips P5 AI Intelligent Picture Engine chip, emphasizing its advanced processing capabilities.
The TV supports major HDR formats, including Dolby Vision, ensuring optimal contrast and color reproduction for compatible content.
5.4 Sound Settings
Experience immersive audio with Dolby Atmos, which provides multi-dimensional sound that flows around and above you. The TV also supports DTS:X for enhanced sound quality.

Image: An illustration depicting the immersive, spherical sound field created by Dolby Atmos technology in a living room setting.
Adjust sound modes and equalizer settings in the audio menu to suit your preferences.
5.5 Smart TV Features (Google TV)
Your Philips TV runs on Google TV, which organizes movies, shows, and more from your apps and subscriptions. It provides personalized recommendations based on your viewing habits.

Image: The Google TV interface displaying various streaming applications like YouTube, Prime Video, Netflix, Disney+, and Max.
You can also use the Google TV app on your phone to manage your watchlist.
5.6 Voice Assistants
The TV supports both Google Assistant and Alexa. Use your voice to control the TV, search for content, or get information.

Image: Illustrations showing interaction with Google Assistant (via Google Home device) and Alexa (via Echo Dot) to control the Philips TV.
Activate Google Assistant using the dedicated button on your remote or by saying "Hey Google." For Alexa, you can use compatible Alexa devices or the remote if it has a built-in microphone for Alexa.
5.7 Gaming Features
This TV is designed for an optimal gaming experience, featuring up to 144Hz refresh rate, Variable Refresh Rate (VRR), AMD FreeSync Premium, and NVIDIA G-SYNC compatibility. These technologies ensure smooth, tear-free gameplay with low input lag.

Image: A Philips TV displaying a racing game, highlighting features like 144Hz, VRR, AMD FreeSync, and NVIDIA G-SYNC for an enhanced gaming experience.
The Ambilight Gaming mode further immerses you in the action by extending the game's colors onto your wall.
6. Maintenance
6.1 Cleaning
- Always unplug the TV before cleaning.
- Use a soft, lint-free cloth to gently wipe the screen and TV casing.
- For stubborn marks, dampen the cloth with a small amount of water or a mild, non-abrasive screen cleaner.
- Never spray cleaner directly onto the screen or TV.
6.2 Software Updates
Periodically check for software updates to ensure your TV has the latest features and performance improvements. You can usually find this option in the TV's settings menu under "System" or "About."
7. Troubleshooting
If you encounter issues with your TV, try the following common troubleshooting steps:
- No Power: Ensure the power cable is securely plugged into both the TV and the wall outlet. Try a different outlet.
- No Picture/Sound: Check all cable connections (HDMI, antenna). Ensure the correct input source is selected.
- Poor Picture Quality: Check antenna/cable connections. Adjust picture settings. Ensure the content source is high quality.
- Remote Control Not Working: Ensure the remote is charged. Point the remote directly at the TV.
- Network Connection Issues: Restart your router. Check Wi-Fi password. Try connecting via Ethernet.
For more detailed troubleshooting, refer to the comprehensive help section within your TV's settings or visit the Philips support website.
8. Specifications
| Brand | Philips |
| Model Number | 42OLED820/12 |
| Screen Size | 42 Inches |
| Display Technology | OLED |
| Resolution | 4K (UHD) |
| Refresh Rate | 120 Hz (up to 144 Hz for gaming) |
| Special Features | AMD FreeSync, Ambilight, Gaming Mode, Automatic Volume Leveler, Ambient Light Sensor, Google TV, Dolby Vision, Dolby Atmos, Works with Alexa, Google Assistant |
| Connectivity Technology | Bluetooth, Ethernet, HDMI, USB, Wi-Fi |
| Aspect Ratio | 16:9 |
| Product Dimensions (with stand) | 111.1 cm (width) x 67 cm (height) x 25.6 cm (depth) |
| Weight (with stand) | 15.24 kg |
| Batteries | 1 Lithium Ion (included, for remote) |
9. Warranty and Support
For warranty information, please refer to the warranty card included in your product packaging or visit the official Philips support website. You can also find additional support resources, FAQs, and contact information there.
Online Support: www.philips.com/support