1. Introduction
The R & D PT180 and PT181 are advanced digital protractors and inclinometers designed for precise angle measurement. These compact and versatile tools are ideal for various applications in home improvement, construction, woodworking, and industrial settings. Featuring a clear digital display, Type-C charging, and robust construction, they provide reliable and accurate readings for both absolute and relative measurements.

Image: The PT181 model displaying an angle of 30.00 degrees, highlighting its digital interface and compact design.
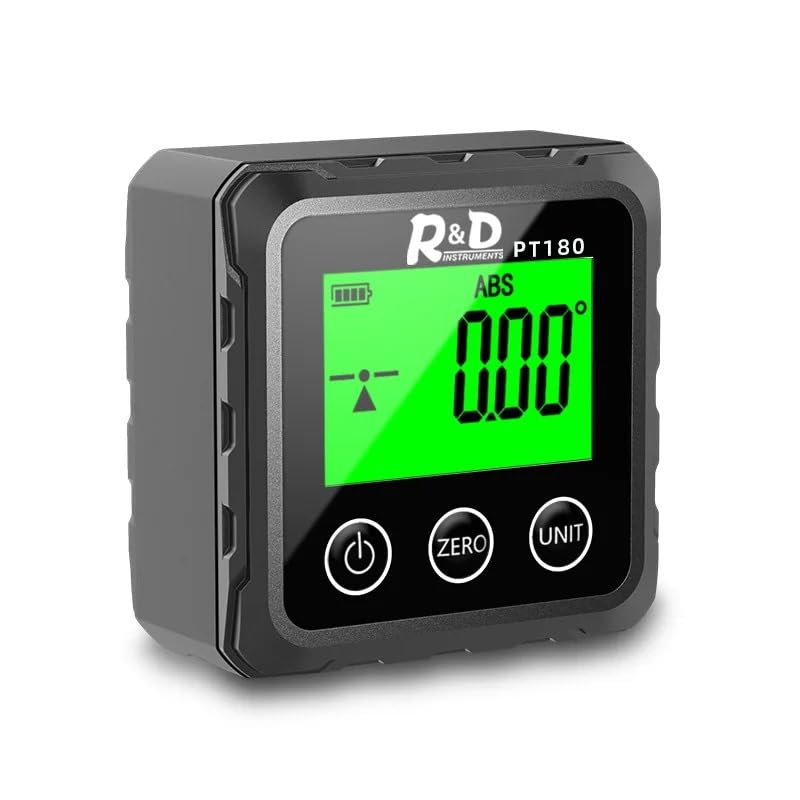
Image: The PT180 model displaying a 0.00 degree angle, indicating its readiness for measurement.
2. Product Features
- High-Quality Electronic Components: Constructed with top-of-the-line electronics for reliable and long-lasting performance.
- User-Friendly Design: Easy to install and operate with clear instructions.
- Versatile Applications: Suitable for industrial, automotive, and household electronic measurement tasks.
- Digital Display: Clear and precise angle readings.
- Absolute/Relative Measurement Modes: Switch between absolute and relative angle measurements.
- Multiple Units: Supports angle (degrees), slope (%), imperial slope (in/ft), and metric slope (mm/m).
- Type-C Charging: Convenient and modern charging interface.
- Strong Magnetism: Magnetic base on five sides for secure attachment to metal surfaces (PT181).
- Dual-Sided Laser: Integrated laser for extended measurement range and accuracy (PT181).
- Backlight Function: Ensures visibility in low-light conditions.

Image: Key features of the PT181 model, including Type-C direct charging, strong magnetism on five sides, dual-sided laser, and a built-in 320 mAh battery.
3. Safety Information
Please read and understand all safety instructions before operating the device. Failure to follow these instructions may result in injury or damage to the product.
- Do not expose the device to extreme temperatures, humidity, or direct sunlight.
- Avoid dropping the device or subjecting it to strong impacts.
- Keep the device away from strong magnetic fields, except for its intended magnetic base.
- Clean the device with a soft, dry cloth. Do not use abrasive cleaners or solvents.
- Laser Safety (PT181 only): This product contains a Class II laser. Do not stare directly into the laser beam. Avoid direct eye exposure. Do not aim the laser at people or animals.
- Do not attempt to disassemble or modify the device. Repairs should only be performed by qualified personnel.
- Dispose of the device and its battery according to local regulations.
4. Product Components and Display Description
Familiarize yourself with the main components and display indicators of your digital protractor.

Image: Detailed diagram of the PT181's digital display, showing various indicators and their functions.
- Battery Indicator: Shows the current battery level.
- Relative Mode REF: Indicates when the device is in relative measurement mode.
- Absolute Mode ABS: Indicates when the device is in absolute measurement mode.
- Laser On Indication: (PT181 only) Shows if the left laser, right laser, or both lasers are active.
- Four Kinds of Unit Switching: Displays the currently selected unit: degrees (°), feet/inches (in/ft), millimeters/meters (mm/m), or percentage (%).
- Measurement Value Display: Shows the current angle or slope measurement. Displays "Erro" if the current angle measurement is not supported.
- Tilt Direction Icon: Indicates the direction of tilt (left tilt, right tilt, or horizontal).
5. Setup
Before first use, ensure the device is fully charged.
- Charging: Connect the provided Type-C charging cable to the device's charging port and to a standard USB power adapter (not included). The battery indicator will show charging status. A full charge typically takes a few hours.
- Power On: Press the Power button () to turn on the device. The display will light up.
- Initial Calibration: For best accuracy, place the device on a flat, level surface. Press the ZERO/CAL button to set the current position as the reference zero.
6. Operating Instructions
6.1 Power On/Off
- Press the Power button to turn the device ON.
- Press and hold the Power button for 3 seconds to turn the device OFF.
6.2 Zero Calibration
- To set a new zero reference point, place the device on the desired surface.
- Press the ZERO/CAL button. The display will show 0.00°, indicating the new reference.
6.3 Absolute/Relative Measurement Mode
The device supports two measurement modes:
- Absolute (ABS) Mode: Measures the angle relative to a true horizontal plane (gravity). This is the default mode.
- Relative (REF) Mode: Measures the angle relative to a user-defined zero point.
To switch between modes, briefly press the ZERO/CAL button. The display will show either "ABS" or "REF" to indicate the current mode.

Image: Visual representation of how absolute and relative measurement modes function, demonstrating their different reference points.
6.4 Unit Switching
The device can display measurements in four different units:
- Degrees (°)
- Percentage Slope (%)
- Imperial Slope (in/ft)
- Metric Slope (mm/m)
To switch between units, long-press the UNIT button. The display will cycle through the available units.

Image: Illustration of the four different measurement units available on the device: degrees, percentage slope, imperial slope (in/ft), and metric slope (mm/m).
6.5 Laser Function (PT181 only)
The PT181 model features a dual-sided laser for extended measurement capabilities.
- To activate the laser, press the Laser button (often integrated with the UNIT button or a separate button depending on specific model variant).
- Subsequent presses may cycle through left laser, right laser, both lasers, and off. Refer to the laser indicator on the display.

Image: Multiple PT181 units in use, showcasing their laser lines for precise alignment and measurement.
7. Charging
The device is equipped with a built-in 320 mAh battery and supports Type-C charging.
- When the battery indicator shows low power, connect the device to a power source using the Type-C USB cable.
- The battery indicator on the display will animate to show that charging is in progress.
- Once fully charged, the battery indicator will show a full battery icon.
- Avoid overcharging the device. Disconnect the charger once charging is complete.
8. Maintenance
- Cleaning: Use a soft, dry, lint-free cloth to clean the device's surface and display. Do not use liquid cleaners, aerosols, or solvents.
- Storage: When not in use for extended periods, store the device in a cool, dry place, away from direct sunlight and extreme temperatures. Ensure the battery is partially charged (around 50%) before long-term storage to preserve battery life.
- Avoid Contaminants: Keep the device free from dust, dirt, and moisture, which can affect its performance.
9. Troubleshooting
| Problem | Possible Cause | Solution |
|---|---|---|
| Device does not power on. | Low battery. | Charge the device using the Type-C cable. |
| Display shows "Erro". | Measurement out of range or unsupported angle. | Ensure the device is within its operational angle range. Re-position the device. |
| Inaccurate readings. | Needs calibration; device not on a stable surface; external interference. | Perform zero calibration on a stable, level surface. Ensure no strong vibrations or magnetic fields are present. |
| Laser not working (PT181). | Laser function not activated; low battery. | Press the Laser button to activate. Charge the device if battery is low. |
10. Specifications
- Model: PT180, PT181
- Measurement Range: Typically 0-360° (check specific model for exact range)
- Accuracy: High precision (refer to product packaging for specific tolerance)
- Units: Degrees (°), Percentage Slope (%), Imperial Slope (in/ft), Metric Slope (mm/m)
- Battery: Built-in 320 mAh rechargeable battery
- Charging Port: Type-C USB
- Laser: Dual-sided (PT181 only), Class II
- Magnetic Base: Yes, on five sides (PT181)
- Manufacturer: CHIWENTHAG
- First Available: March 31, 2025
11. Warranty and Support
CHIWENTHAG is committed to providing high-quality products and exceptional customer support.
- Money-Back Guarantee: We offer a money-back guarantee, reflecting our confidence in the quality and performance of our products.
- Customer Support: Our knowledgeable team is available to answer any questions or concerns you may have regarding your R & D Digital Protractor.
For support, please contact your retailer or visit the official CHIWENTHAG website for contact information.