
1. Introduction
Thank you for choosing the NinPeen Manicure Table Nail Desk. This manual provides essential information for the safe assembly, operation, and maintenance of your new manicure table. Please read these instructions carefully before use and retain them for future reference.
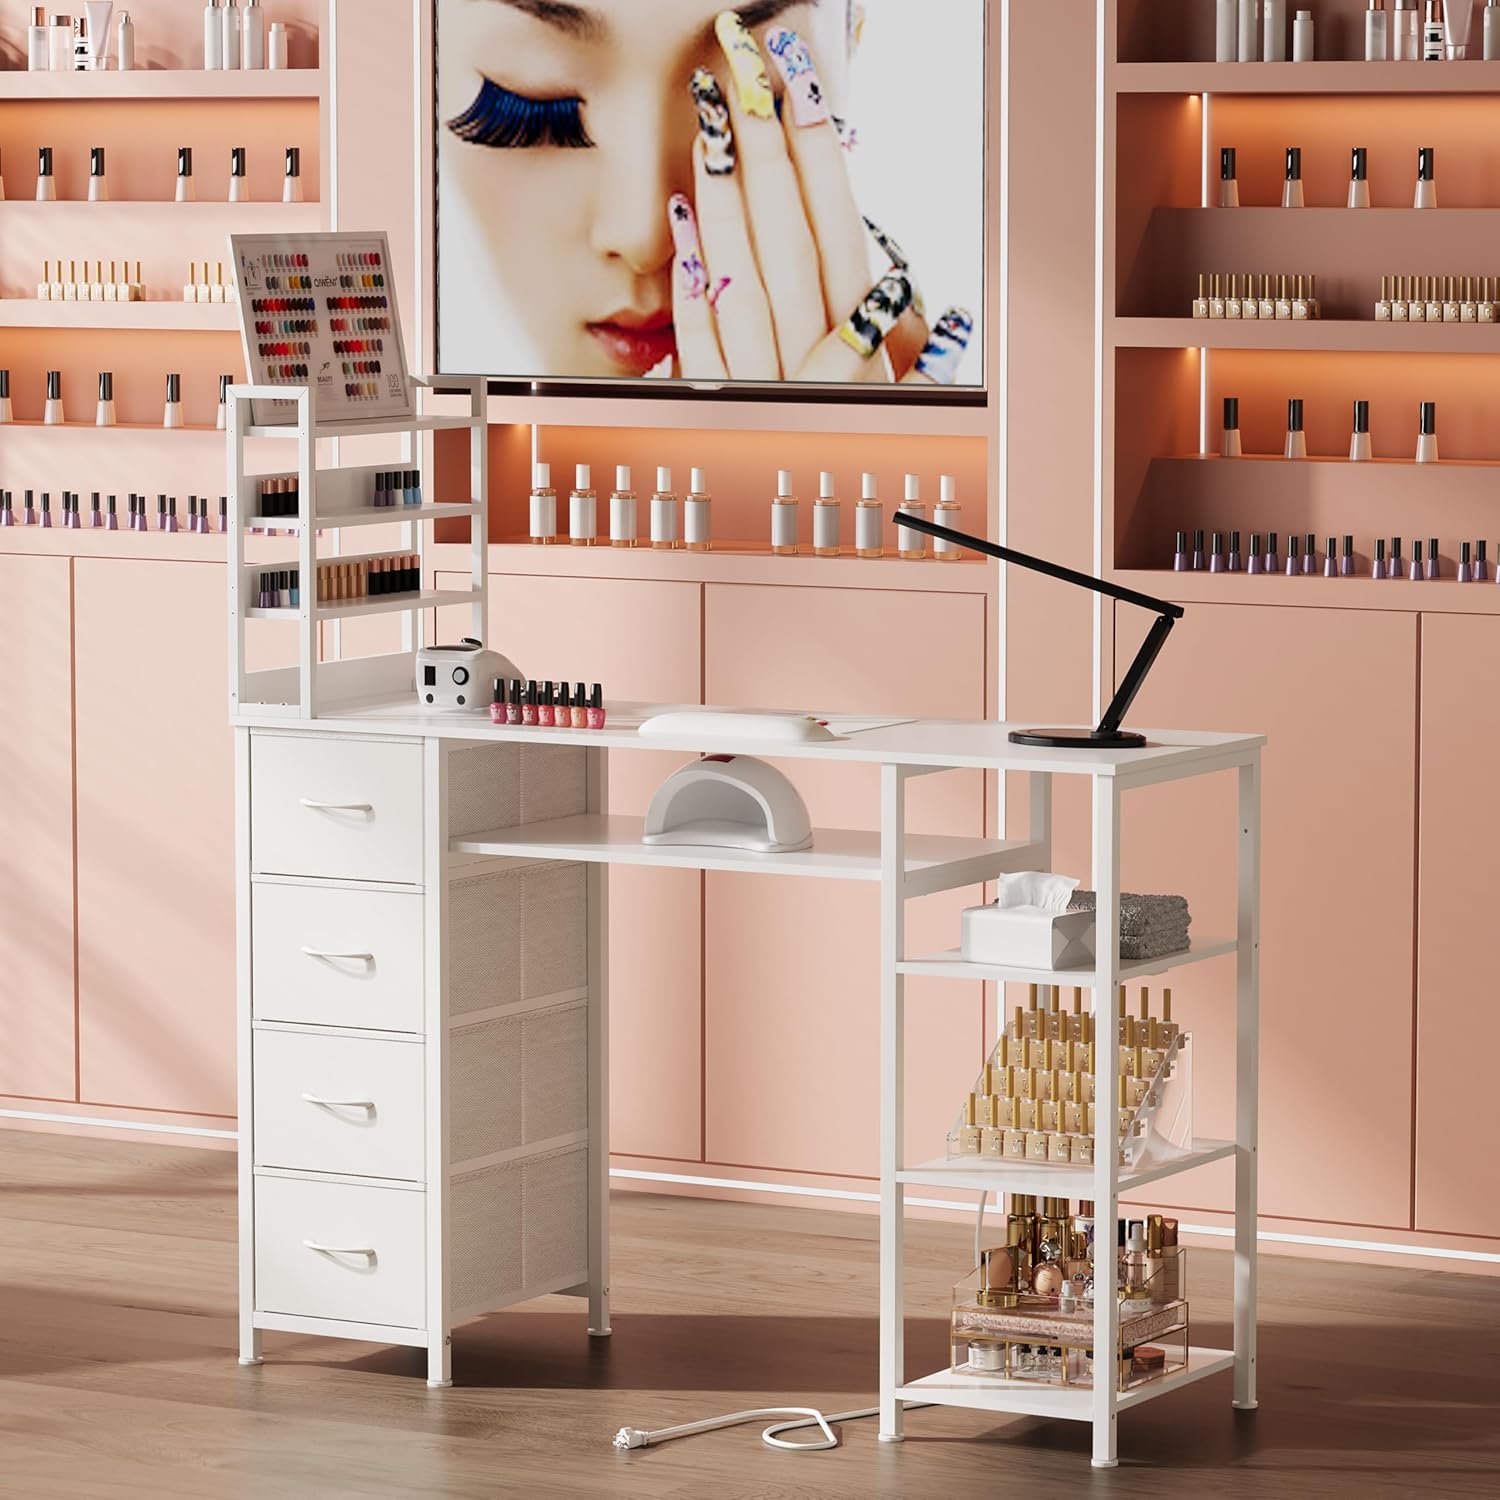
Image 1.1: The NinPeen Manicure Table Nail Desk in a professional setting.
2. Safety Information
Important Safety Precautions:
- Always assemble the desk according to the included instructions.
- Keep electrical components away from water and ensure proper ventilation.
- Do not overload the desk with items heavier than the recommended weight limit.
- Ensure all connections for the power outlet are secure before use.
- Place the desk on a stable, level surface to prevent tipping.
3. Product Features
The NinPeen Manicure Table Nail Desk is designed for functionality and convenience, featuring multiple storage options and an integrated power solution.
3.1 Diversified Storage Options
The table includes 4 fabric storage drawers and multiple open shelves, providing ample space for organizing nail polish, tools, and other essentials. The tabletop also features 4-tier shelves for commonly used items, ensuring a tidy and efficient workspace.

Image 3.1: Detailed view of the storage compartments.
3.2 Electric Charging Design
A built-in charging station is located under the table, equipped with 2 AC outlets (120V/12V) and 2 USB ports (5V/2A). This allows for convenient charging of devices while working.

Image 3.2: Built-in power strip and waterproof surface.
4. Setup and Assembly
The NinPeen Manicure Table is designed for straightforward assembly. Please follow the included assembly instructions carefully. Tools for assembly are not included.
4.1 Component Identification and Dimensions
Before starting assembly, identify all components and familiarize yourself with their dimensions. Refer to the diagram below for a visual guide.

Image 4.1: Product dimensions and component layout.
4.2 Reversible Configuration
The table can be assembled with the storage unit on either the left or right side, offering flexibility to suit your workspace layout.
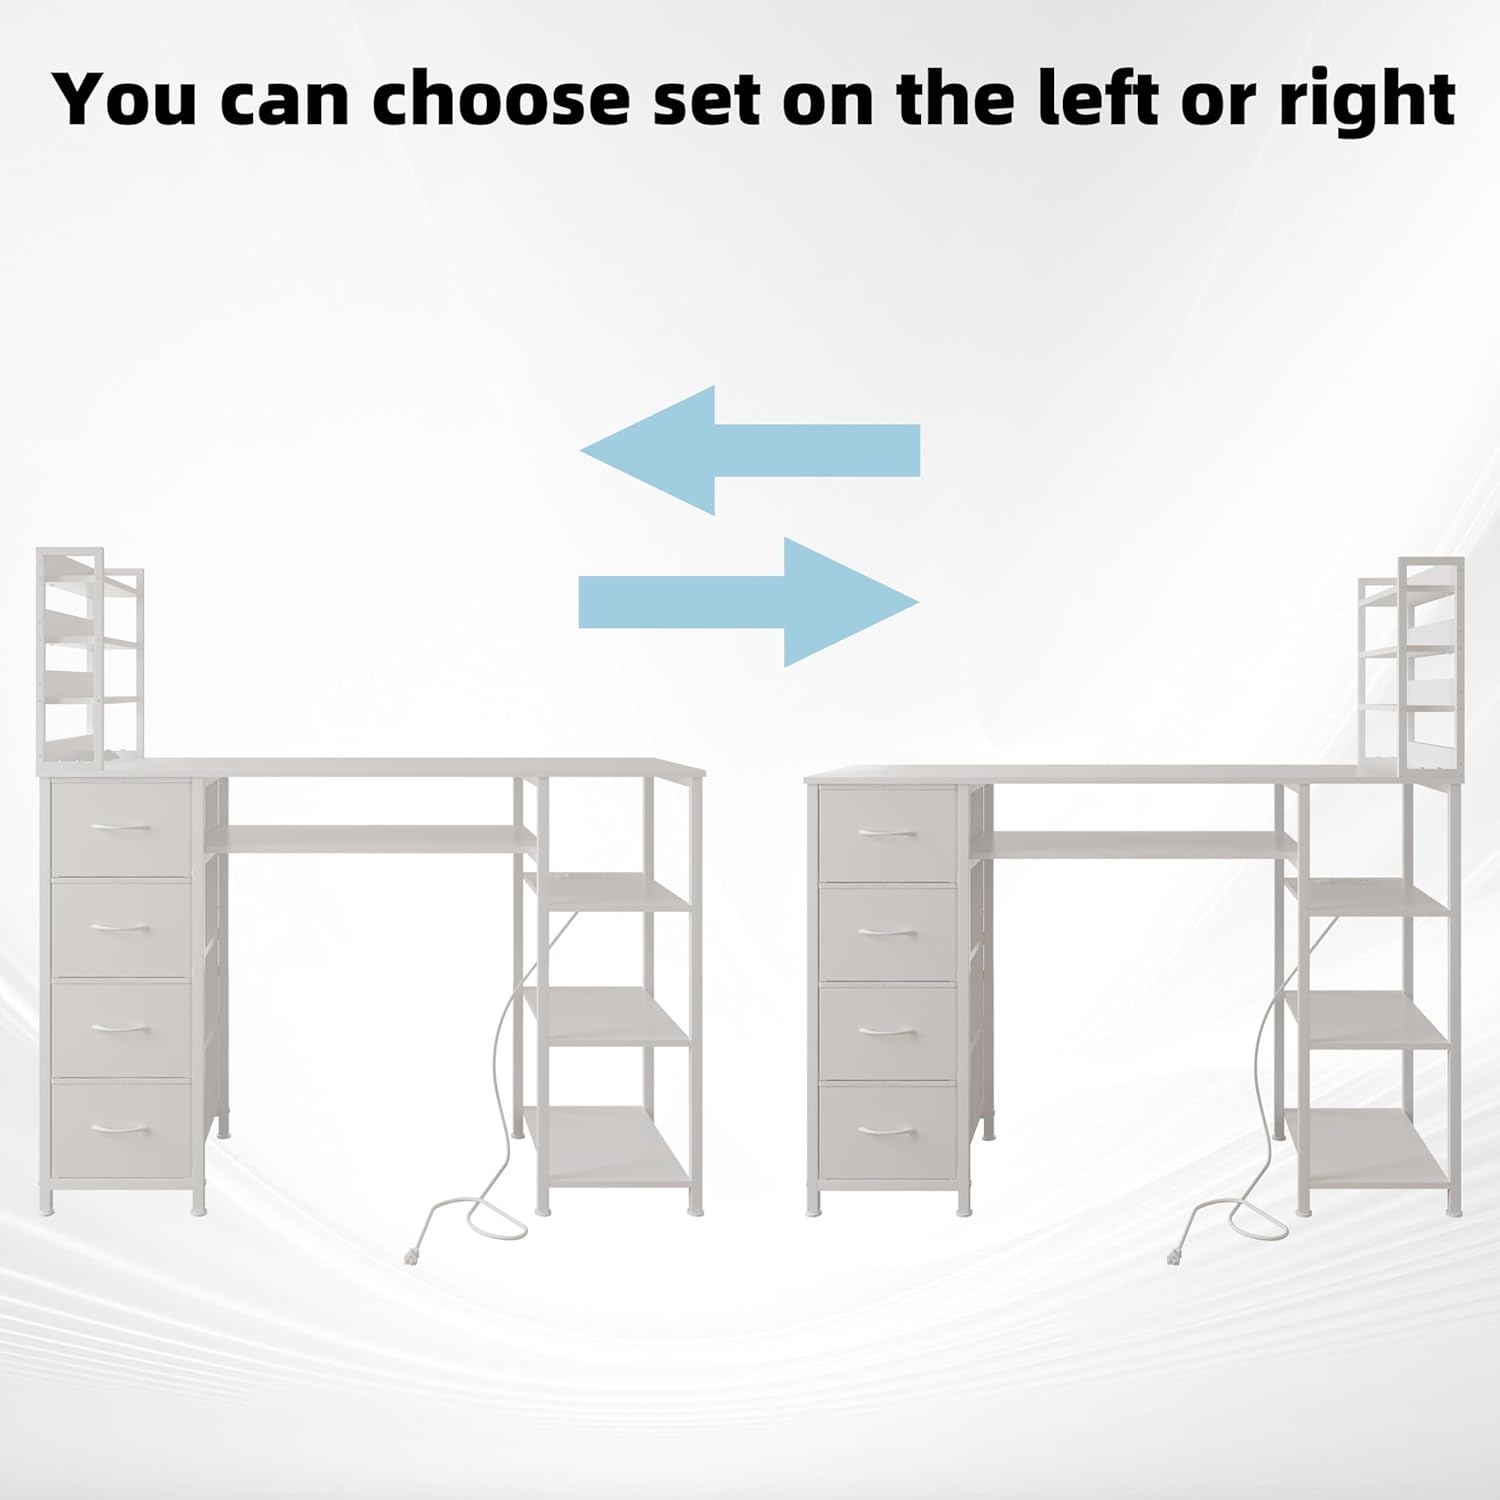
Image 4.2: Reversible design for left or right-side storage.
4.3 Assembly Video Guide
For a visual guide on assembly and setup, please refer to the video below. This video demonstrates the process and provides tips for organization.
Video 4.3: Assembly, Setup, and Organization Guide for the Manicure Table.
5. Operating Instructions
5.1 Using the Power Outlet
To use the built-in power outlet, simply plug the table's power cord into a standard wall outlet. You can then connect your nail lamps, drills, or other electronic devices to the AC outlets or charge your mobile devices using the USB ports.
- Ensure the total power consumption of connected devices does not exceed the table's capacity.
- Avoid spilling liquids near the power outlets.
5.2 Organizing Your Workspace
Utilize the 4 fabric drawers for storing larger items or supplies you wish to keep out of sight. The open shelves are ideal for frequently accessed tools, nail polish bottles, or decorative items. The 4-tier desktop display stand is perfect for showcasing nail polish colors or small accessories.
6. Maintenance and Care
6.1 Cleaning
The table surface is designed to be water-resistant. For general cleaning, wipe the surfaces with a soft, damp cloth. For stubborn stains, a mild, non-abrasive cleaner can be used. Avoid harsh chemicals or abrasive materials that could damage the finish.
- Immediately wipe up any spills to prevent water damage, especially near electrical components.
- Clean the fabric drawers with a damp cloth and allow them to air dry completely before returning them to the unit.
6.2 General Care
To maintain the longevity and appearance of your manicure table:
- Avoid placing extremely hot or cold items directly on the surface without protection.
- Do not drag heavy objects across the tabletop to prevent scratches.
- Periodically check all screws and fasteners to ensure they are tight.
7. Troubleshooting
If you encounter any issues with your NinPeen Manicure Table, please refer to the following common troubleshooting tips:
- Stability Issues: Ensure all screws are tightened correctly. Verify the table is placed on a flat, even surface.
- Power Outlet Not Working: Check if the table's power cord is securely plugged into a functional wall outlet. Test the wall outlet with another device. Ensure the power strip's switch (if any) is in the 'on' position.
- Damaged Components: If any part arrives damaged or breaks during normal use, please contact customer support for assistance.
8. Specifications
| Feature | Detail |
|---|---|
| Brand | NinPeen |
| Model Number | NP004 |
| Product Dimensions (D x W x H) | 15.75" x 47.24" x 47.24" |
| Item Weight | 39.35 Pounds |
| Color | White |
| Material Type | Engineered Wood |
| Frame Material Type | Iron |
| Number of Drawers | 4 (fabric) |
| Number of Shelves | 4 (open) |
| Special Feature | Built-in Power Outlet (2 AC, 2 USB) |
| Required Assembly | Yes |
| Assembly Tools Included | No |
9. Warranty and Support
NinPeen products are designed for durability and quality. If you encounter any issues with your manicure table or require assistance with assembly or operation, please contact our customer support team. We are committed to providing a timely and helpful response to ensure your satisfaction.
Please refer to your purchase documentation for specific warranty details and contact information.