1. Introduction
This manual provides instructions for the installation and care of the Generic replacement handle for Hoover Steam Vac Dual V Clean Water Tanks. This part is designed to restore the functionality of your Hoover steam cleaner's water tank handle, ensuring proper operation and ease of use.
2. Safety Information
- Always unplug your Hoover steam cleaner from the power outlet before attempting any installation or maintenance.
- Ensure the steam cleaner and water tank are empty and cool before handling.
- Wear appropriate personal protective equipment, such as gloves, if necessary.
- Keep small parts away from children.
- If you are unsure about any step, consult a qualified technician.
3. Package Contents
Verify that your package contains the following item:
- 1 x Generic Hoover Steam Vac Dual V Clean Water Tank Handle Replacement (Gray)
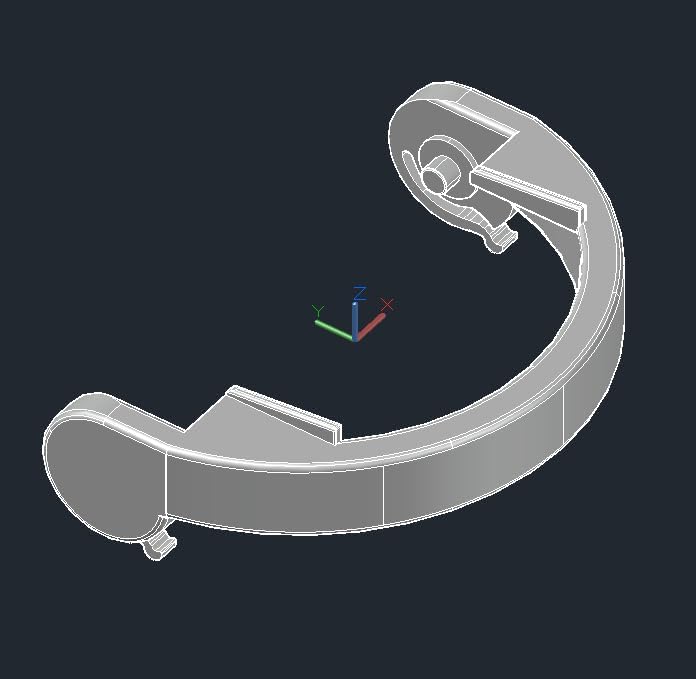
Image: CAD rendering of the replacement handle, showing its structural design.
4. Compatibility
This replacement handle is compatible with Hoover Dual V SteamVac Models, Max Extract All Terrain, and Steam Vac All Terrain water/solution tanks. It fits all versions of the Dual V and All Terrain Solution Tanks. It is compatible with Hoover tank repair kits 12002549 and older solution tanks 42272137 and 42272142.
Specifically, it fits the following Hoover models:
- F7222-900 SteamVac Dual V
- F7227-900 SteamVac Dual V
- F7411-900 SteamVac Dual V
- F7412-900 SteamVac Dual V
- F7428-900 SteamVac Dual V
- F7429-900 SteamVac Dual V
- F7452-900 SteamVac All Terrain
- FH50040 SteamVac Dual V
- F7450-100 Max Extract Dual V Steam Vacuum
- FH50039 Max Extract Dual V Steam Vacuum
- FH50050 Max Extract Dual V Steam Vacuum
- F7431-900 Steam Vacuum
- F7431-950 Steam Vacuum
- F7425900 Steam Vacuum
- F7226900 SteamVac
- F7426900 Power Steamer
- F7220900 SteamVac Dual V
- F7205960 SteamVac Dual V
- F7205-900, F7205-910, F7205-960, F7205-970, F7210-900, F7220-900, F7221-900, F7225-900, F7226-900, F7425-900, F7426-900, F7430-900, F7431-900, F7440-980, F7441-980, F7443-940, F7458-900
5. Installation Instructions (Setup)
Follow these steps to replace the handle on your Hoover Steam Vac Dual V Clean Water Tank:
- Prepare the Tank: Ensure your Hoover Steam Vac is unplugged. Remove the clean water tank from the steam cleaner. Empty any remaining water or solution from the tank.
- Remove Old Handle (if applicable): If an old handle is present and broken, carefully remove any remaining pieces. Note how the old handle was attached to understand the connection points.
- Attach New Handle: Align the pivot points of the new handle with the corresponding slots on the clean water tank. Gently press the handle into place until it clicks securely. Ensure both sides are firmly seated.

Image: The replacement handle securely attached to the top of a clear Hoover water tank, viewed from above.

Image: A detailed view showing how the handle's pivot mechanism connects to the water tank, ensuring a snug fit.

Image: A side close-up illustrating the secure connection of the handle to the water tank, highlighting the pivot point.
- Test Handle Functionality: Once attached, gently lift the tank by the new handle to ensure it is securely fastened and can support the weight of a full tank.
- Reinstall Tank: Place the clean water tank back into your Hoover steam cleaner according to the cleaner's original instructions.
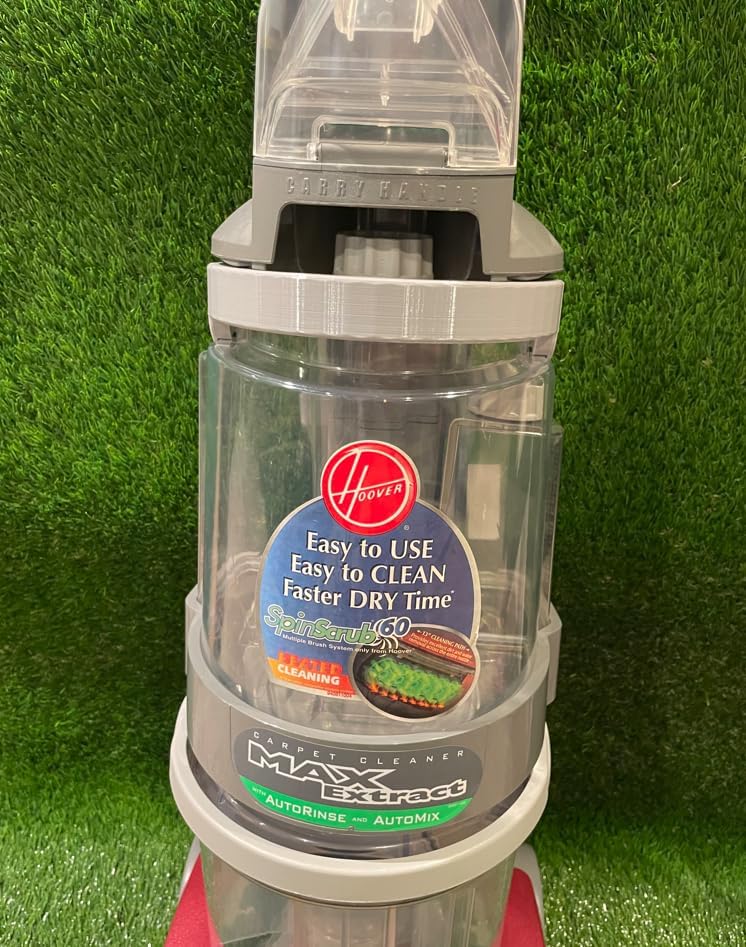
Image: The Hoover water tank with the replacement handle fully installed, showing the complete assembly.
6. Usage (Operating)
The replacement handle functions identically to the original handle. It allows for easy removal, carrying, and reinstallation of the clean water tank on your Hoover Steam Vac. Always ensure the handle is fully engaged before lifting a filled tank to prevent spills or damage.
7. Care and Maintenance
- Clean the handle periodically with a damp cloth to remove any dirt or residue.
- Avoid using harsh chemicals or abrasive cleaners, as these may damage the plastic material.
- Inspect the handle for any signs of wear or damage regularly. If cracks or significant wear are observed, consider replacing the handle to maintain safety and functionality.
8. Troubleshooting
- Handle does not fit: Double-check the compatibility list in Section 4 to ensure your Hoover model is supported. Verify that you are attempting to install the handle on the correct clean water tank.
- Handle feels loose: Ensure both pivot points are fully engaged and clicked into place. Remove and re-attach the handle, applying firm, even pressure.
- Handle breaks shortly after installation: Inspect for any manufacturing defects. If the part appears faulty, contact the seller for assistance.
9. Specifications
- Model Number: AM3D004
- Material: Plastic
- Color: Gray
- Item Package Quantity: 1
- Manufacturer: Air Mills LLC
- UPC: 199284802476
10. Warranty and Support
For any questions regarding installation, compatibility, or product defects, please contact the seller directly through your purchase platform. Specific warranty details may vary by seller.