1. Introduction
This manual provides essential information for the safe and efficient operation, maintenance, and troubleshooting of your CUSHYBITE PCL733B-STM504 18V Cordless 1 Gallon Wet/Dry Vacuum. This versatile tool is designed for both wet and dry debris cleanup, offering cordless convenience for various environments including homes, garages, vehicles, and workshops. It features an integrated storage system for accessories and includes LINK Wall Rails for organized storage.
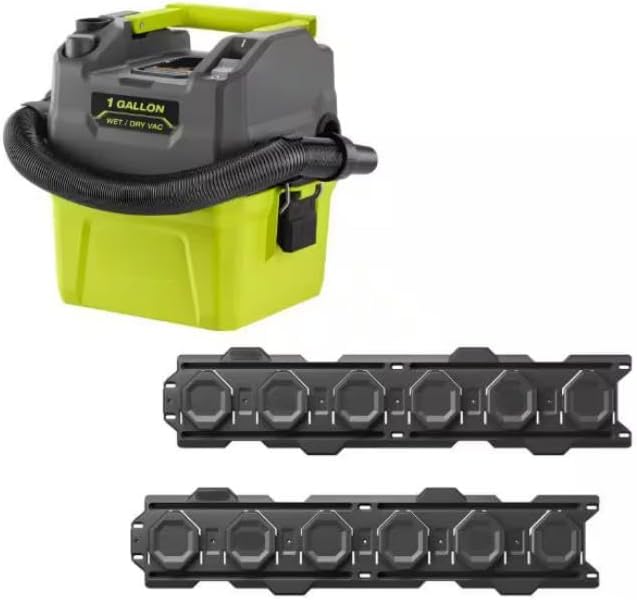
Image 1.1: The CUSHYBITE 18V Cordless 1 Gallon Wet/Dry Vacuum shown alongside two LINK Wall Rails. The vacuum is compact, featuring a green base and a gray top with a black hose wrapped around it. The LINK Wall Rails are black, modular storage units.
2. Safety Information
Always observe basic safety precautions when using electrical appliances to reduce the risk of fire, electric shock, and personal injury.
- Read all instructions before using the vacuum.
- Do not leave the appliance when plugged in or with a battery installed. Unplug from outlet or remove battery when not in use and before servicing.
- Do not use outdoors or on wet surfaces.
- Do not allow to be used as a toy. Close attention is necessary when used by or near children.
- Use only as described in this manual. Use only manufacturer’s recommended attachments.
- Do not handle plug or appliance with wet hands.
- Do not put any object into openings. Do not use with any opening blocked; keep free of dust, lint, hair, and anything that may reduce air flow.
- Keep hair, loose clothing, fingers, and all parts of body away from openings and moving parts.
- Do not pick up anything that is burning or smoking, such as cigarettes, matches, or hot ashes.
- Do not use to pick up flammable or combustible liquids, such as gasoline, or use in areas where they may be present.
- Do not pick up toxic material, such as chlorine bleach, ammonia, or drain cleaner.
- Use extra care when cleaning on stairs.
- Do not use without filter in place.
- Prevent unintentional starting. Ensure the switch is in the off-position before inserting battery pack, picking up or carrying the appliance.
- Recharge only with the charger specified by the manufacturer.
3. Package Contents
Verify that all items listed below are present and in good condition upon unpacking:
- CUSHYBITE PCL733B-STM504 18V Cordless 1 Gallon Wet/Dry Vacuum (Tool Only)
- 5-foot Hose
- Crevice Tool
- LINK Wall Rails (2-Pack)
- Operator's Manual (this document)
Note: Battery and charger are sold separately and are required for operation.
4. Setup
4.1 Battery Installation and Removal
- Ensure the vacuum's power switch is in the OFF position.
- Align the battery pack with the battery port on the vacuum.
- Slide the battery pack into the port until it clicks securely into place.
- To remove, press the battery release latch and slide the battery pack out.
4.2 Hose and Accessory Attachment
- Locate the suction port on the front of the vacuum.
- Insert the larger end of the 5-foot hose into the suction port and twist clockwise to secure.
- Attach desired accessories, such as the crevice tool, to the smaller end of the hose by pushing them firmly into place.

Image 4.1: A close-up view of the CUSHYBITE 18V Cordless 1 Gallon Wet/Dry Vacuum, showing the hose securely attached to the suction port on the side. The integrated handle and control panel are visible on the top.
4.3 LINK Wall Rail Installation
The included LINK Wall Rails allow for convenient storage of your vacuum and other compatible tools.
- Choose a suitable wall location, ensuring it is sturdy enough to support the weight of the rails and stored items.
- Using appropriate fasteners (not included), secure the LINK Wall Rails to the wall through the designated mounting holes. Ensure they are level and spaced as desired.
- The vacuum is compatible with LINK Wall Storage and can be mounted directly onto the rails for space-saving organization.
5. Operating Instructions
5.1 Powering On/Off
Once the battery is installed, press the power switch located on the top of the vacuum to turn it ON. Press again to turn OFF.
5.2 Wet Vacuuming
- Ensure the filter is suitable for wet applications or removed if specified by filter instructions.
- Position the vacuum near the liquid spill.
- Turn the vacuum ON and guide the hose nozzle over the liquid to be collected.
- Monitor the canister level to prevent overfilling.
5.3 Dry Vacuuming
- Ensure the appropriate dry filter is securely in place.
- Turn the vacuum ON and move the hose nozzle over dry debris.
- The powerful suction is effective for dust, dirt, and small particles.

Image 5.1: A person is shown using the CUSHYBITE 18V Cordless 1 Gallon Wet/Dry Vacuum to clean the interior of a car. The vacuum's compact size and portability are highlighted, demonstrating its suitability for vehicle cleaning.
5.4 Blower Function
The vacuum can also function as a blower for clearing debris.
- Locate the blower port on the vacuum.
- Detach the hose from the suction port.
- Attach the hose to the blower port.
- Turn the vacuum ON to activate the blower function.
5.5 Accessory Use (Crevice Tool)
The crevice tool is designed for reaching tight spaces and corners.
- Attach the crevice tool directly to the end of the hose.
- Use it for cleaning between car seats, along baseboards, or in other confined areas.

Image 5.2: A person is operating the CUSHYBITE 18V Cordless 1 Gallon Wet/Dry Vacuum on a workbench, demonstrating its compact design and portability for quick cleanups in a workshop setting.
6. Maintenance
6.1 Emptying the Canister
Regularly empty the 1-gallon canister to maintain optimal suction performance.
- Ensure the vacuum is turned OFF and the battery is removed.
- Unlatch the sturdy latches on the sides of the vacuum to separate the motor head from the canister.
- Carefully lift the motor head and dispose of collected debris or liquids.
- Clean the inside of the canister with a damp cloth if necessary.
- Reattach the motor head, ensuring the latches are securely fastened.
6.2 Filter Cleaning and Replacement
The filter should be cleaned periodically and replaced when damaged or excessively dirty to ensure efficient operation.
- Remove the motor head as described in section 6.1.
- Carefully remove the filter from its housing.
- For dry filters, tap off loose debris or use a brush to clean. For washable filters, rinse under water and allow to air dry completely before reinstallation.
- Replace the filter if it shows signs of wear, tears, or significant clogging. A variety of filters are available online.
- Reinstall the clean or new filter and reassemble the vacuum.
6.3 General Cleaning
Wipe the exterior of the vacuum with a soft, damp cloth. Do not use harsh chemicals or abrasive cleaners.
7. Troubleshooting
| Problem | Possible Cause | Solution |
|---|---|---|
| Vacuum does not turn on | Battery not installed correctly; Battery discharged; Power switch faulty. | Ensure battery is fully seated; Recharge battery; Contact customer support. |
| Loss of suction | Canister full; Filter clogged; Hose or nozzle blocked; Motor head not sealed properly. | Empty canister; Clean or replace filter; Clear blockage; Re-secure motor head latches. |
| Water leaking (wet vacuuming) | Canister overfilled; Seals damaged. | Do not overfill canister; Inspect and replace seals if damaged. |
8. Specifications
- Manufacturer: CUSHYBITE
- Model Number: PCL733B-STM504
- ASIN: B0F2YVH4FL
- Capacity: 1 Gallon
- Power Source: 18V Battery (not included)
- Hose Length: 5 feet
- Features: Wet/Dry capability, Blower port, Integrated accessory storage, LINK Wall Storage compatible
9. Warranty and Support
For warranty information or technical support, please refer to the documentation included with your purchase or contact CUSHYBITE customer service. Keep your proof of purchase for warranty claims.
Manufacturer: CUSHYBITE
Date First Available: January 22, 2025