1. Introduction
Thank you for choosing the KUIIYER Pet Microchip Scanner W91A. This device is designed to efficiently read 15-digit EMID and FDX-B (ISO 11784/11785) international standard microchips, commonly used for animal identification. It features an intuitive LCD screen, data storage capabilities, and a rechargeable battery for portable use. This manual provides essential information for the proper setup, operation, and maintenance of your scanner.
Important Note: This scanner supports EMID and FDX-B (ISO 11784/11785) 15-digit microchips only. It does NOT support AVID or FDX-A microchips. Please confirm the radio frequency (134.2Khz / 125Khz) and protocol of the pet chips before use.
2. Product Components
The package includes the following items:
- 1 x KUIIYER Pet Microchip Scanner
- 1 x USB-Type C Cable
- 1 x User Manual
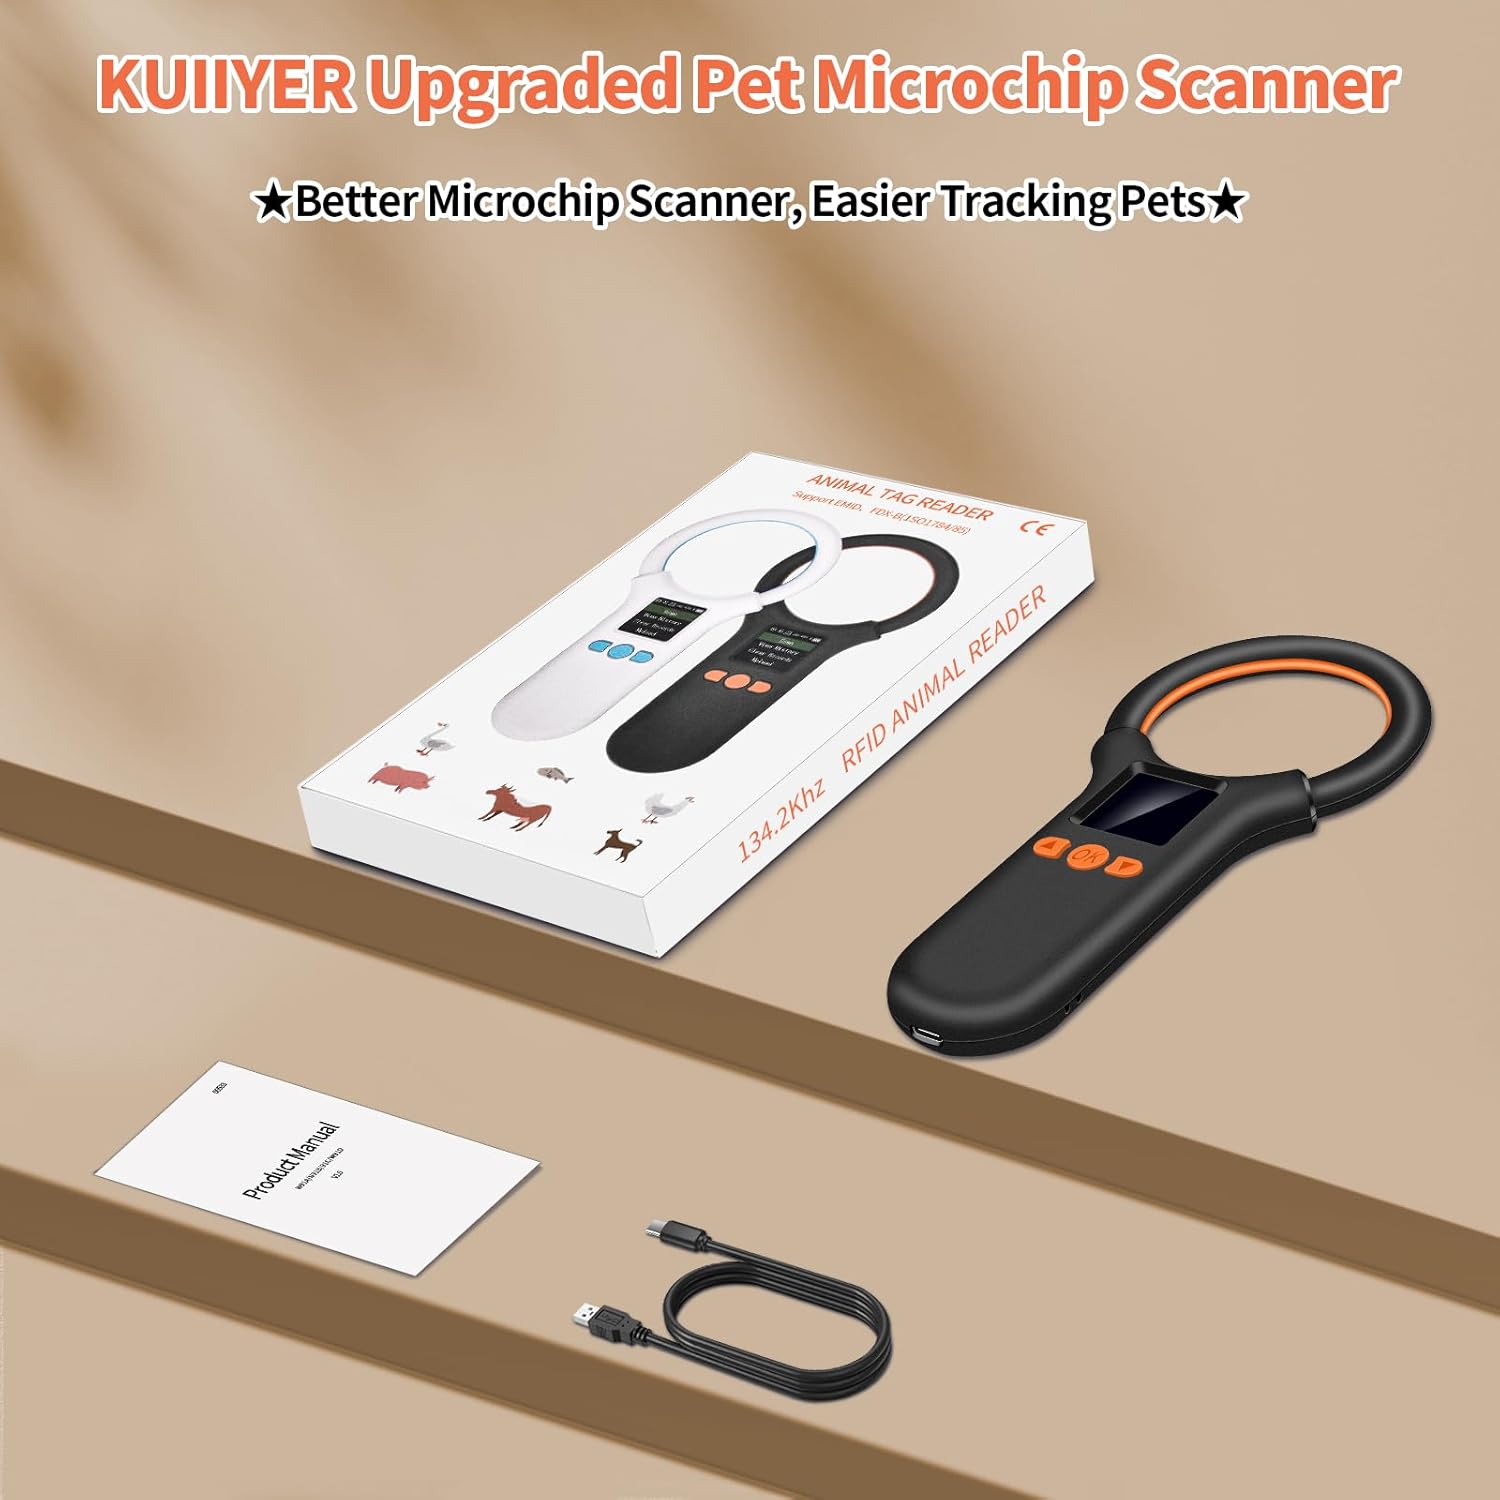
Figure 2.1: Package Contents
3. Specifications
| Feature | Description |
|---|---|
| Model Number | W91A |
| Supported Microchips | EMID / FDX-B (ISO 11784 / ISO 11785) 15-digit |
| Display | 1.44 Inch LCD Screen |
| Reading Distance | 2-12mm glass tube label > 8mm, 30mm animal ear mark > 20mm |
| Reading Time | < 100ms |
| Data Storage | Up to 500 records |
| Battery | 800mAh Rechargeable Lithium Ion |
| Charging Time | Approximately 2 hours |
| Continuous Working Time | Approximately 10 hours |
| Standby Time | Approximately 30 days |
| Connectivity | USB Type-C for charging and data upload |
| Product Dimensions | 7.17 x 3.23 x 0.69 inches (18.2 x 8.2 x 1.75 cm) |
| Item Weight | 4.6 ounces (71g) |
4. Setup
4.1 Charging the Device
Before first use, fully charge the scanner. Connect the provided USB-Type C cable to the charging port on the scanner and plug the other end into a compatible USB power source (e.g., laptop, USB wall adapter, power bank). The battery indicator on the LCD screen will show charging status. A full charge takes approximately 2 hours.

Figure 4.1: Charging the Scanner
4.2 Powering On/Off
To power on the scanner, press and hold the OK button until the LCD screen illuminates. To power off, navigate to the 'Shut down' option in the main menu and confirm, or press and hold the OK button again.
5. Operating Instructions
5.1 Menu Navigation
The scanner features a 1.44-inch LCD display and a settable menu. Use the Up and Down arrow buttons to navigate through menu options. Press the OK button to select an option or confirm a setting.

Figure 5.1: Main Menu and Settings Menu
5.2 Scanning a Microchip
- Power on the scanner.
- From the main menu, select 'Scan' and press OK.
- Hold the scanner close to the animal's body where the microchip is typically implanted (e.g., between the shoulder blades). Move the scanner slowly over the area.
- The scanner will emit a sound and display the 15-digit microchip ID on the screen if a compatible chip is detected. The reading time is typically less than 100ms.
- The scanned ID will be automatically saved to the device's memory.

Figure 5.2: Scanning Process and Supported Chip Types
5.3 Viewing History
The scanner can store up to 500 microchip ID records. To view previously scanned IDs:
- From the main menu, select 'View History' and press OK.
- Use the Up and Down buttons to scroll through the stored records.
5.4 Uploading Data to PC
You can upload the stored microchip IDs to a computer for record-keeping. This feature is compatible with PCs, computers, and laptops only. It does NOT support iPads, Google tablets, smartphones, or other mobile devices.
- Connect the scanner to your computer using the provided USB-Type C cable.
- From the scanner's main menu, select 'Upload' and press OK.
- On your computer, open a text editor (e.g., Notepad, Word) or a spreadsheet program (e.g., Excel). Alternatively, you can place your cursor in a data input field on a website (e.g., a pet registry).
- The scanner will automatically input the stored microchip IDs into the active text field or document.

Figure 5.3: Uploading Data to PC
5.5 Settings Menu
Access the 'Settings' menu from the main screen to customize various parameters:
- Data Mode: This setting is crucial. To view or upload microchip numbers in a standard decimal format, ensure this is set to 'Decimal Mode'. The default 'Hexadecimal Mode' may display data in a format not commonly recognized for pet IDs.
- Prefix/Suffix: Configure optional prefixes or suffixes for scanned data.
- Brightness: Adjust screen brightness.
- Time: Set the device's internal clock.
- Volume: Adjust the sound level for alerts.
- Language: Select the display language.
- Dormancy: Set the auto-shutdown time to conserve battery.
- Restore Default: Reset all settings to factory defaults.
- Version: View firmware information.
6. Maintenance
6.1 Cleaning
To clean the scanner, gently wipe the surface with a soft, dry cloth. For stubborn dirt, a slightly damp cloth can be used. Avoid using harsh chemicals, abrasive cleaners, or excessive moisture, as these can damage the device.
6.2 Battery Care
The scanner is equipped with a built-in rechargeable lithium-ion battery. To prolong battery life:
- Avoid fully discharging the battery frequently.
- Charge the device regularly, even if not in frequent use.
- Store the scanner in a cool, dry place when not in use.
7. Troubleshooting
- Issue: "No chip detected" message appears.
Possible Causes & Solutions:
- Incompatible Microchip: Ensure the microchip is a 15-digit EMID or FDX-B (ISO 11784/11785) standard. The scanner does not support AVID or FDX-A chips.
- Incorrect Scanning Technique: Hold the scanner directly over the microchip's location and move it slowly. The reading distance for glass tube labels is >8mm and for ear tags >20mm.
- Microchip Location: Microchips can sometimes migrate. Try scanning a wider area around the typical implantation site.
- Low Battery: Ensure the scanner has sufficient battery charge.
- Issue: Cannot upload data to PC.
Possible Causes & Solutions:
- Incorrect Device: Data upload is only supported for PCs, computers, and laptops. Mobile devices like iPads or smartphones are not supported.
- No Active Input Field: Ensure a text editor, spreadsheet, or an active input field on a webpage is open on your computer when attempting to upload.
- Data Mode Setting: Verify that the 'Data Mode' in the scanner's settings is set to 'Decimal Mode' for standard numerical output.
- General Note:
The scanner provides the microchip ID code. For more detailed information about the pet associated with the microchip, you will need to use the ID code to look up local or national pet registry websites.
8. Warranty and Support
KUIIYER offers a 90-day unconditional return policy and a 24-month promise for any quality-related issues. For technical assistance, troubleshooting, or warranty claims, please contact the KUIIYER professional customer support team. They are committed to handling your issues and providing assistance within 12 hours.
For more information or to contact support, please visit the official KUIIYER store on Amazon: KUIIYER Store