1. Introduction
This manual provides essential instructions for the safe and effective use of your new Generic replacement power adapter. This charger is designed specifically for BSNAW X8-Pro, N504, N505, and Y5 cordless vacuum cleaners that utilize a 22.2V li-ion battery. Please read this manual thoroughly before use and retain it for future reference.
2. Product Overview
The Generic vacuum charger is a replacement power adapter designed to provide reliable charging for compatible cordless vacuum cleaners. It features built-in safety protections to ensure secure operation.
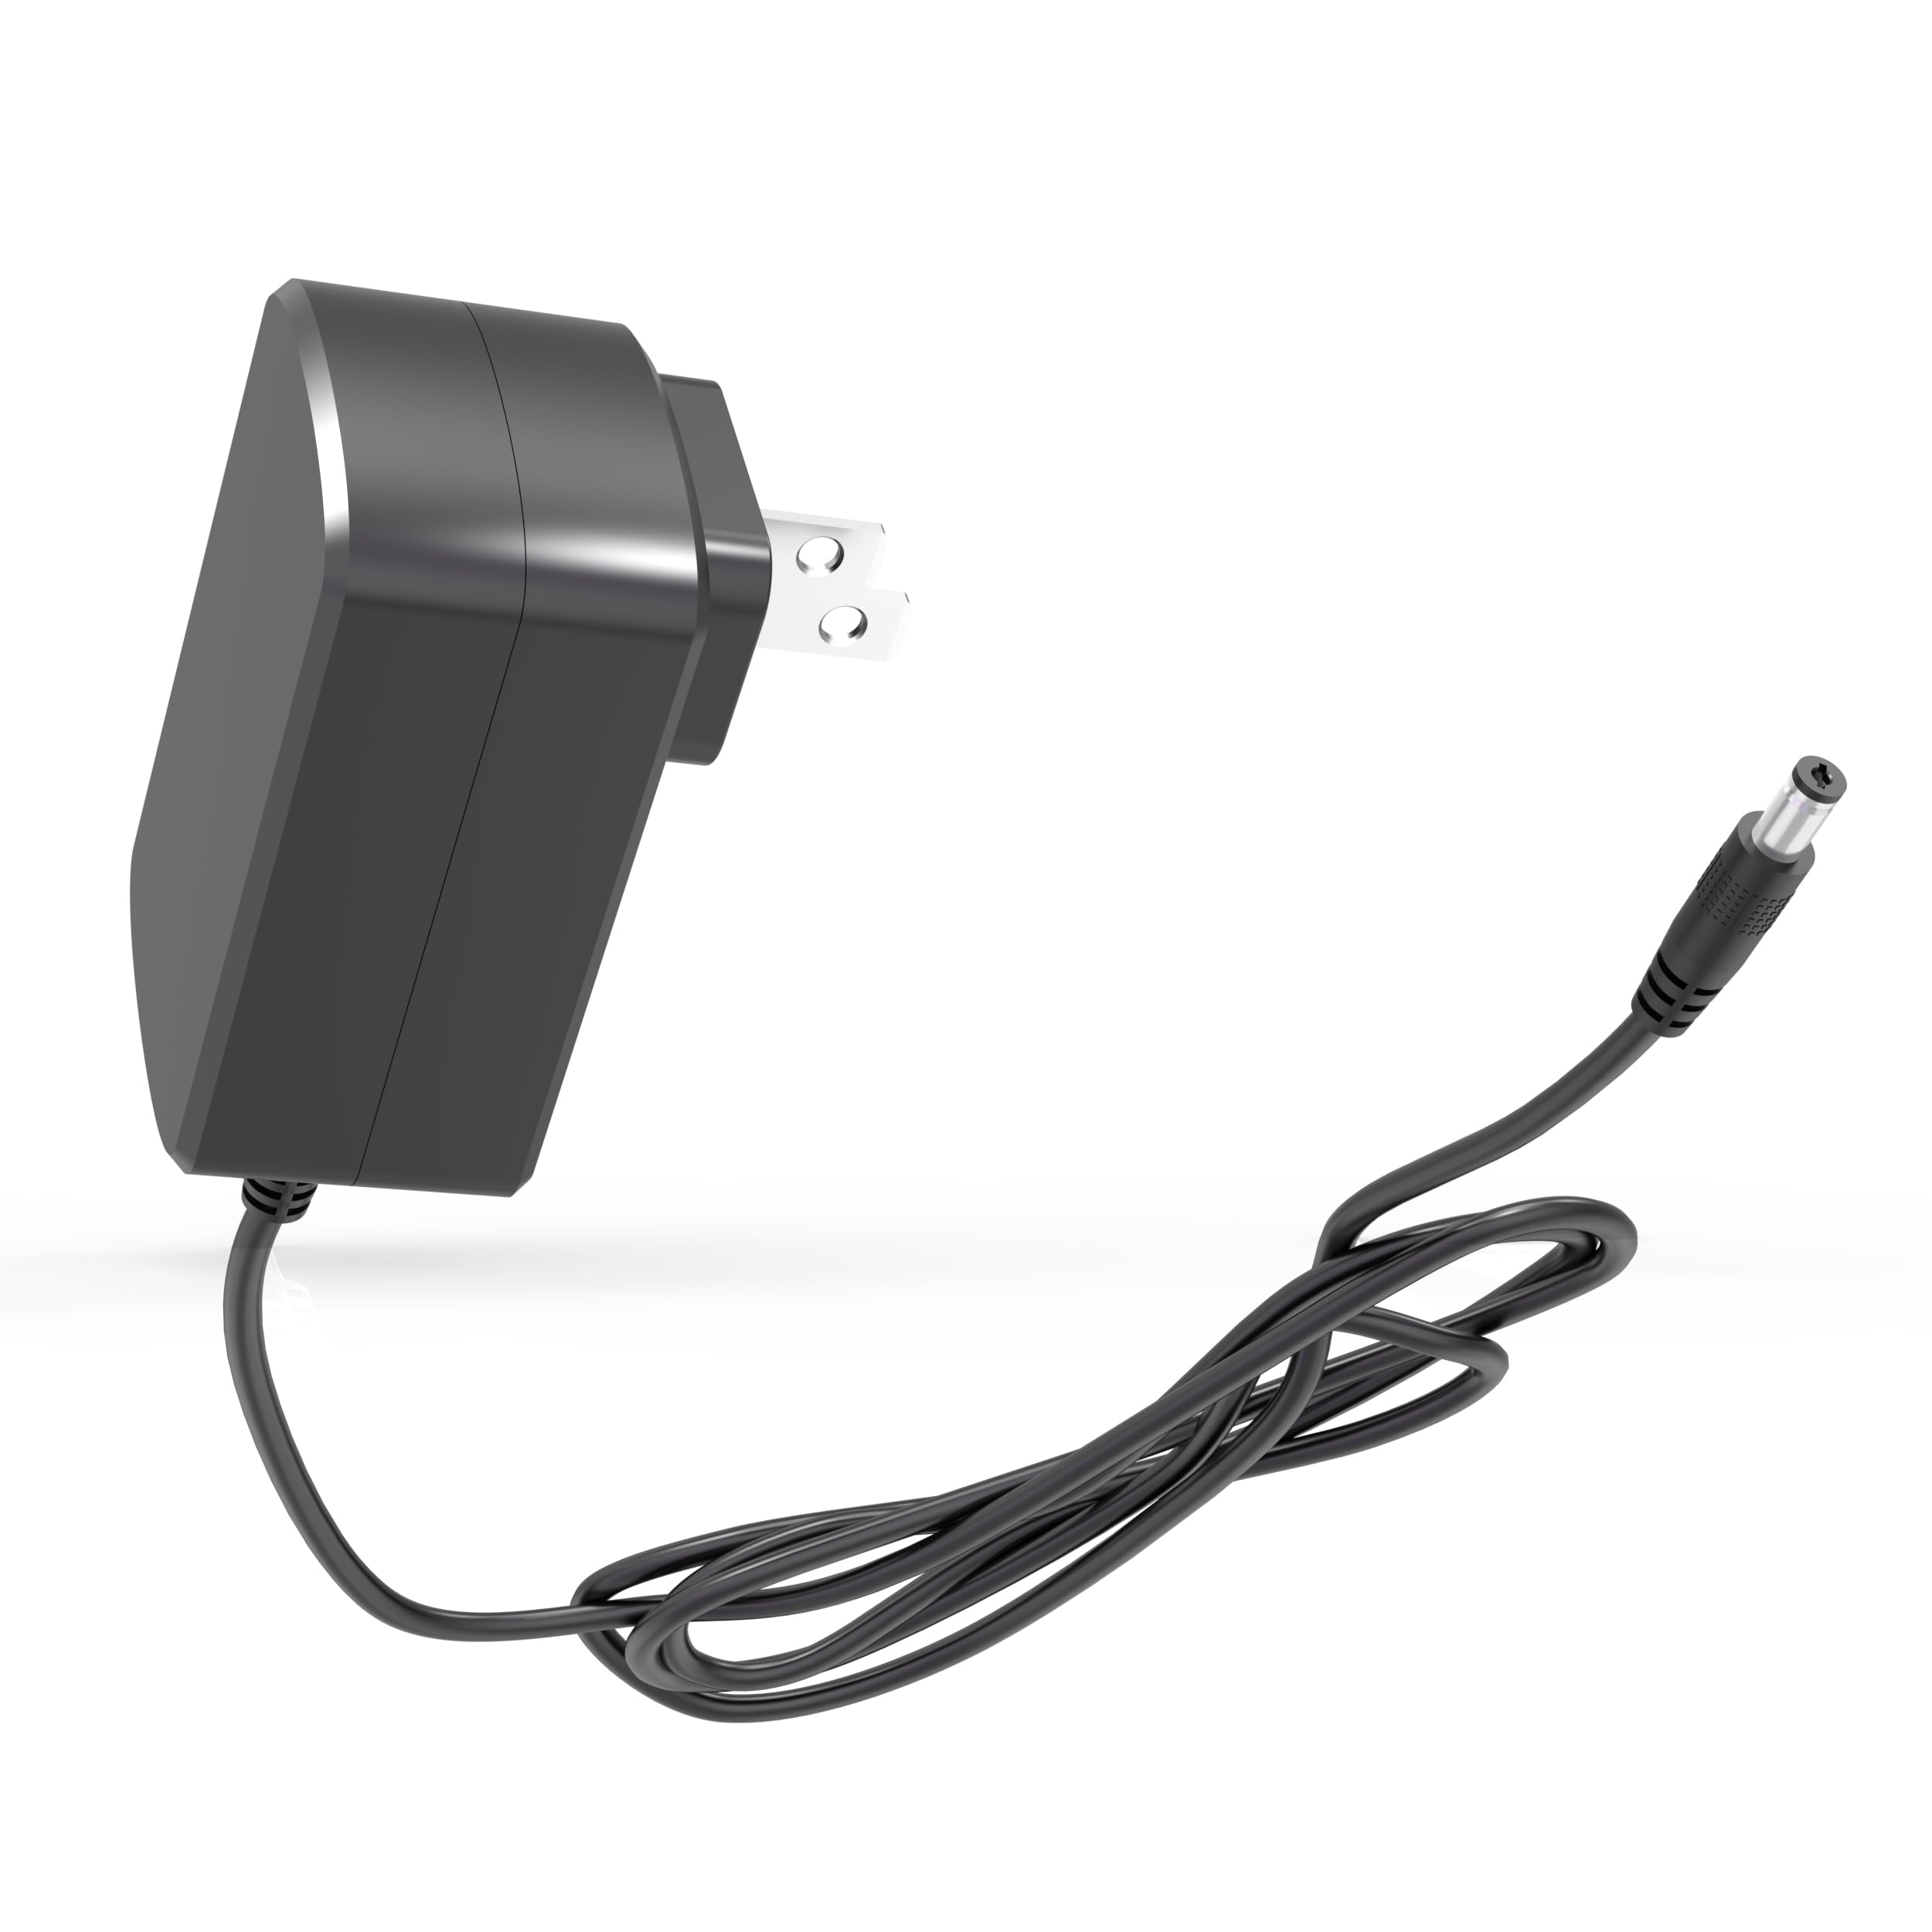
Image 1: The Generic vacuum charger, showing its compact design and power plug.
3. Compatibility
It is crucial to verify the compatibility of this charger with your vacuum cleaner before use. Incorrect voltage or connector type can damage your device.
3.1 Compatible Models and Battery Types
- Compatible with: BSNAW X8-Pro, N504, N505, Y5 cordless vacuum cleaners.
- Battery Type: Specifically designed for 22.2V li-ion batteries (6-cell configuration).

Image 2: Visual guide indicating compatibility with 21.6V / 22.2V 6-cell li-ion batteries and incompatibility with 25.2V / 25.9V / 29.6V li-ion batteries. Always check your vacuum's battery label for details.
3.2 Power Output Specifications
This charger provides a specific output voltage. Please check the power specifications on your original charger label or vacuum cleaner's manual to ensure a match.
- Input: 100-240V ~ 50/60Hz
- Output: 27V (compatible with 26V) at 0.5A

Image 3: Diagram showing compatible output voltages (27V, 26.5V, 26V at 0.5A) and incompatible voltages (30/31V, 36V, 19V). Verify your device's power requirements.
3.3 Incompatibility
This charger is NOT compatible with BSNAW K5 Y501 25.9V li-ion cordless vacuums that require a 30V charger.
4. Specifications
| Feature | Detail |
|---|---|
| Input Voltage | 100-240V AC, 50/60Hz |
| Output Voltage | 27V (Compatible with 26V) |
| Current Rating | 0.5 Amps |
| Connector Type | Barrel Connector |
| Cable Length | 5.9 ft (approximately 1.8 meters) |
| Product Dimensions | 2.8"D x 1.8"W x 2"H (Adapter body) |
| Item Weight | 3.52 ounces |
| Safety Certification | FCC |

Image 4: Diagram illustrating the physical dimensions of the adapter body and the cable length.

Image 5: Cross-section view of the charging cable, highlighting the flexible PVC jacket and copper wire construction.
5. Safety Protection Features
This charger incorporates an intelligent chip to provide multiple layers of safety protection during operation:
- Over Voltage Protection: Prevents damage from excessive voltage.
- Over Current Protection: Safeguards against excessive current flow.
- Over Charge Protection: Protects the battery from being overcharged.
- Short Circuit Protection: Automatically shuts off in case of a short circuit.
- Over Loading Protection: Prevents damage from excessive load.
- Over Heating Protection: Monitors and prevents overheating.

Image 6: Icons representing the various safety protection features integrated into the charger.
6. Setup and Connection
- Verify Compatibility: Before connecting, re-confirm that your vacuum cleaner model (BSNAW X8-Pro, N504, N505, Y5) and battery type (22.2V li-ion) match the charger's specifications.
- Connect to Vacuum: Insert the barrel connector of the charger firmly into the charging port of your cordless vacuum cleaner.
- Connect to Power Outlet: Plug the charger's AC plug into a standard 100-240V wall outlet.
- Charging Indicator: Observe the charging indicator light on your vacuum cleaner (if available) to confirm that charging has begun.
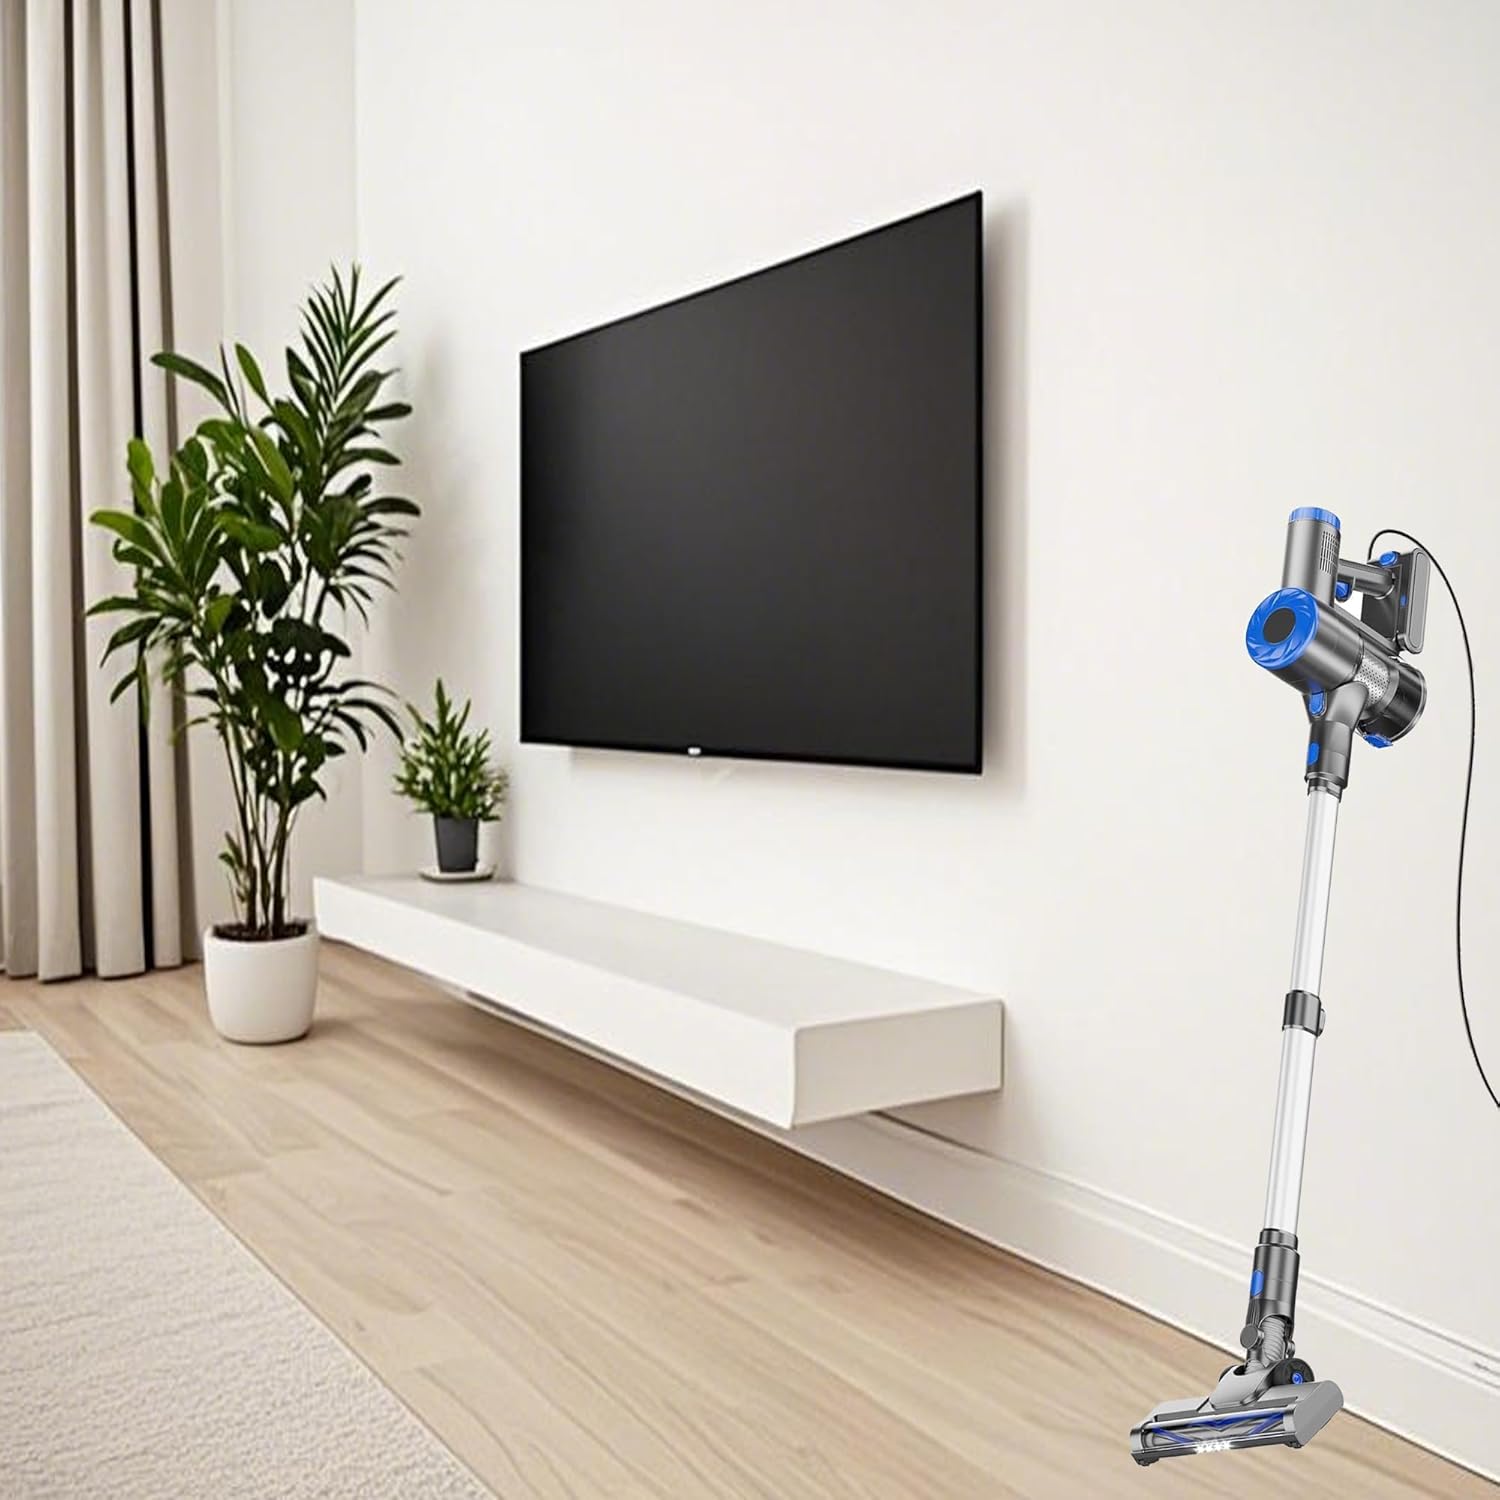
Image 7: A cordless vacuum cleaner connected to a wall outlet via the charger, illustrating the typical charging setup.
7. Operating Instructions
Once connected, the charger will automatically begin charging the vacuum's battery. The charging time will vary depending on the battery's current charge level and capacity. Refer to your vacuum cleaner's original manual for specific charging duration guidelines.
- Do not use the charger if the cable or connector is damaged.
- Ensure the charger is placed in a well-ventilated area during charging.
- Unplug the charger from the wall outlet when not in use or when the battery is fully charged.
8. Maintenance
- Keep the charger clean and dry. Avoid exposure to moisture or extreme temperatures.
- Do not attempt to open or repair the charger. Refer to qualified service personnel if issues arise.
- Store the charger in a cool, dry place when not in use.
9. Troubleshooting
9.1 Vacuum Not Charging
- Check Connections: Ensure the charger is securely plugged into both the vacuum and the wall outlet.
- Verify Power Outlet: Test the wall outlet with another device to confirm it is functional.
- Inspect Charger: Check the charger cable and connector for any visible damage. Do not use if damaged.
- Battery Condition: Rechargeable batteries typically last 1-3 years. If your vacuum's battery no longer holds a charge, it may indicate natural battery depletion rather than a charger malfunction. A voltage tester can help diagnose if it's a battery aging issue or a device failure.
9.2 Charger Overheating
- Unplug the charger immediately.
- Ensure the charger is in a well-ventilated area, away from direct sunlight or heat sources.
- If overheating persists, discontinue use and contact support.
10. Warranty and Support
This product comes with a 1-Year Manufacturer Warranty. For warranty claims or technical support, please contact the seller or manufacturer directly. Please retain your proof of purchase for warranty validation.
For further assistance, refer to the contact information provided with your purchase or visit the manufacturer's official website.