1. Introduction
This manual provides detailed instructions for the installation, operation, and maintenance of your MAHVEC Car Stereo Radio. Designed specifically for Lexus RX300, RX350, RX330, and RX400H models from 2004 to 2009, this unit integrates advanced features such as a Snapdragon 8-Core processor, Android 13 operating system, wireless CarPlay/Android Auto, and DSP Hi-Res Audio. Please read this manual thoroughly before installation and use to ensure proper functionality and safety.
2. Safety Information
- Always consult a professional for installation if you are unsure about any steps. Incorrect installation can damage the vehicle's electrical system or the stereo unit.
- Do not operate the device in a way that distracts you from driving. Always prioritize road safety.
- Avoid exposing the unit to extreme temperatures, direct sunlight for prolonged periods, or excessive moisture.
- Use only approved accessories and wiring harnesses provided with the unit or recommended by MAHVEC.
- Ensure all connections are secure to prevent short circuits or malfunctions.
3. Package Contents
Verify that all items listed below are present in your package:
- MAHVEC Car Stereo Head Unit (Model MAHVEC-LX-RX-13)
- AHD Backup Camera
- Power Cable
- RCA Cables
- GPS Antenna
- USB Cables (Dual USB input)
- Microphone (MIC)
- Rear Camera Input Cable
- Air Conditioning Adapter Cable
- Canbus Decoder (if applicable for your vehicle)
- Installation Tool
- User Manual (this document)
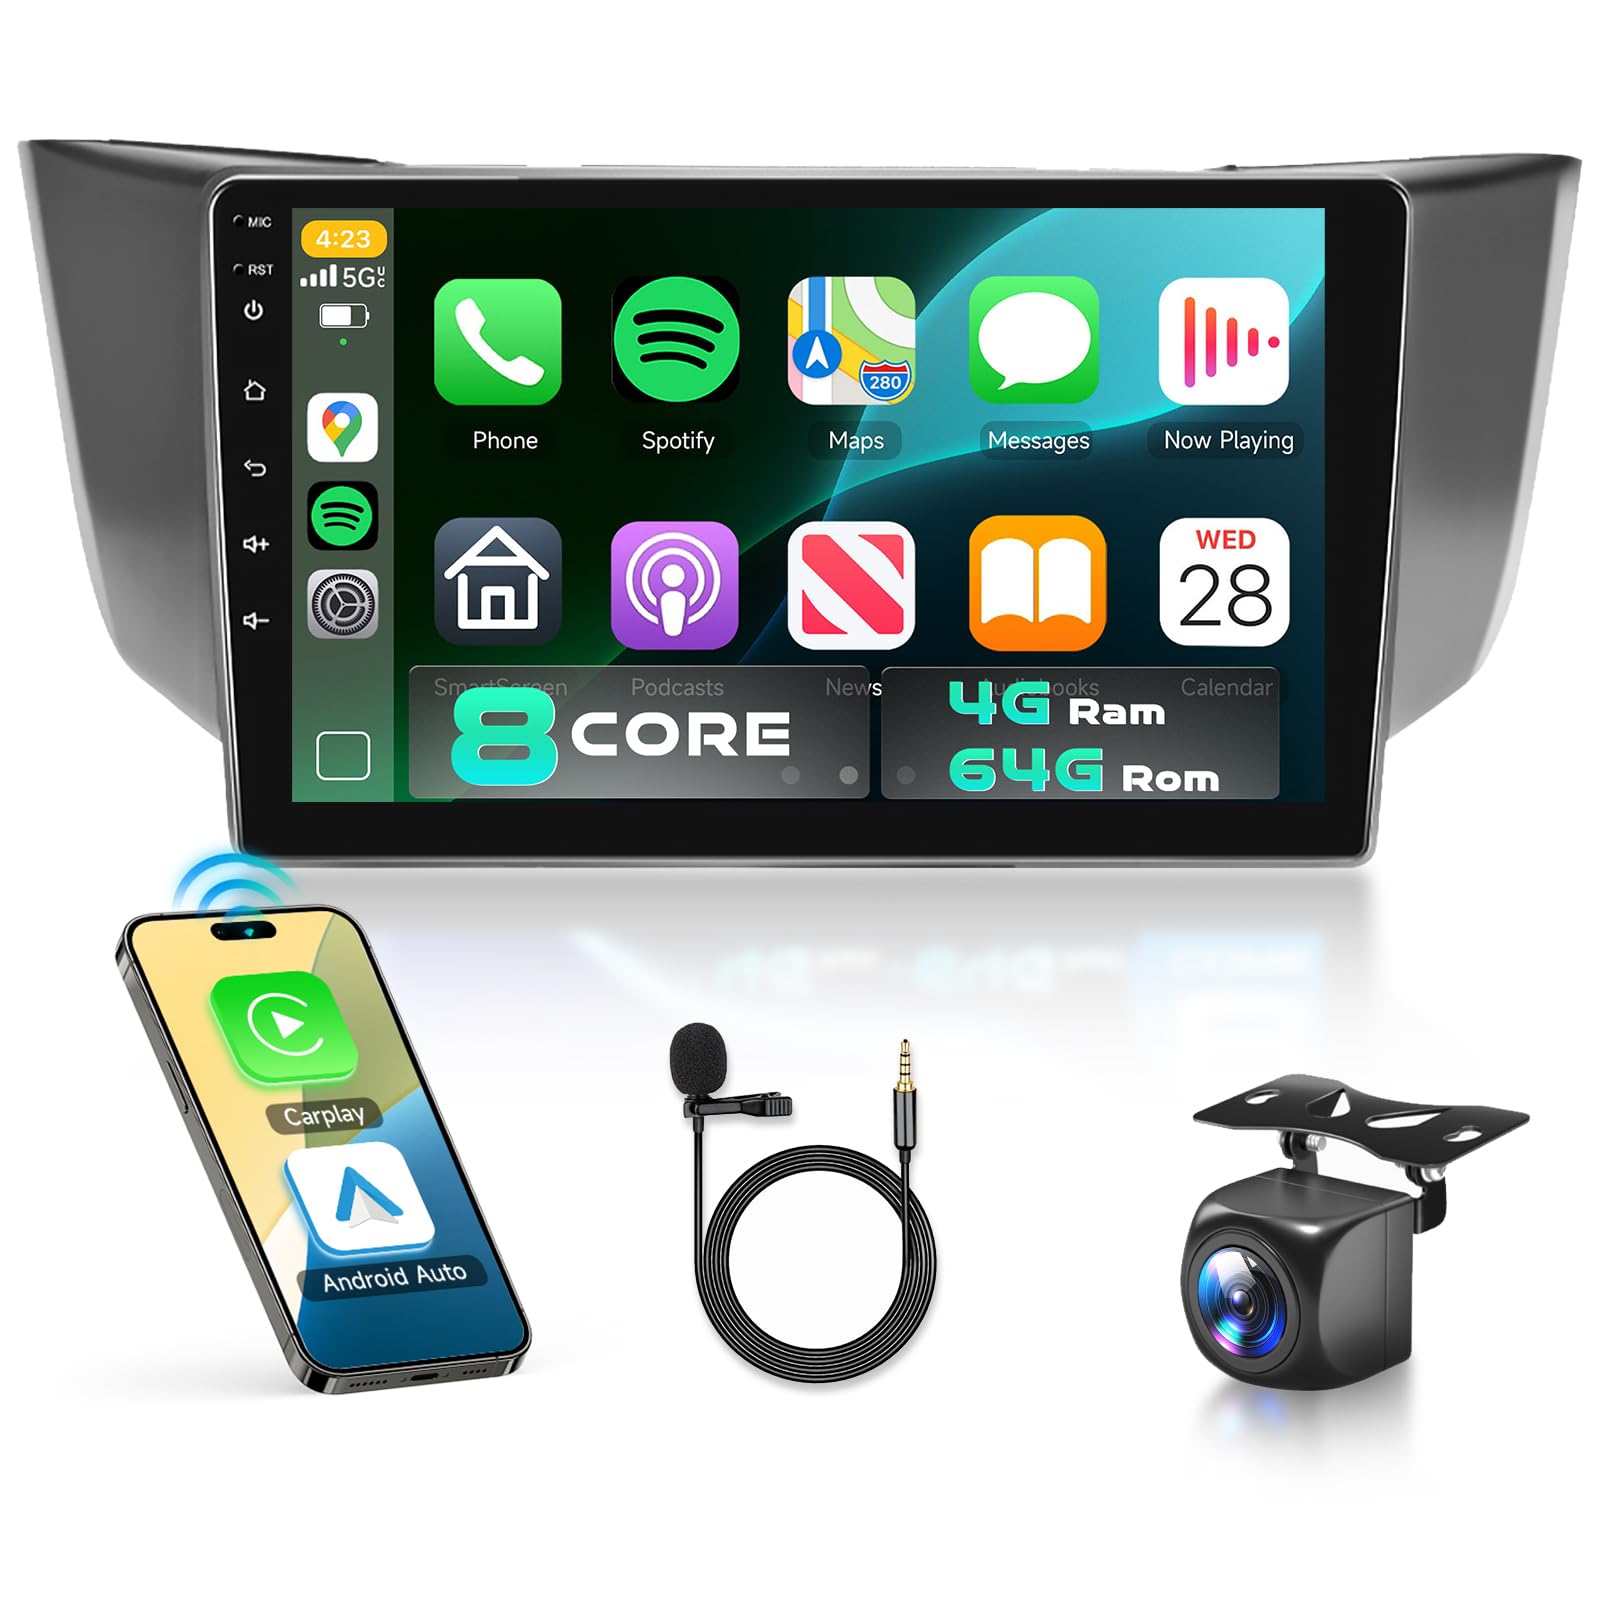
Image: Overview of the MAHVEC Car Stereo Radio unit and its various included accessories, such as cables, antennas, and the backup camera.
4. Compatibility
This MAHVEC Car Stereo Radio is designed for direct compatibility with the following Lexus models:
- Lexus RX300 (2004-2009)
- Lexus RX350 (2004-2009)
- Lexus RX330 (2004-2009)
- Lexus RX400H (2004-2009)
The unit features a plug-and-play wiring harness for these models. Before purchasing or installing, it is recommended to verify your car's model year and dashboard shape. If you are uncertain about compatibility, please consult MAHVEC customer support with a photo of your dashboard.
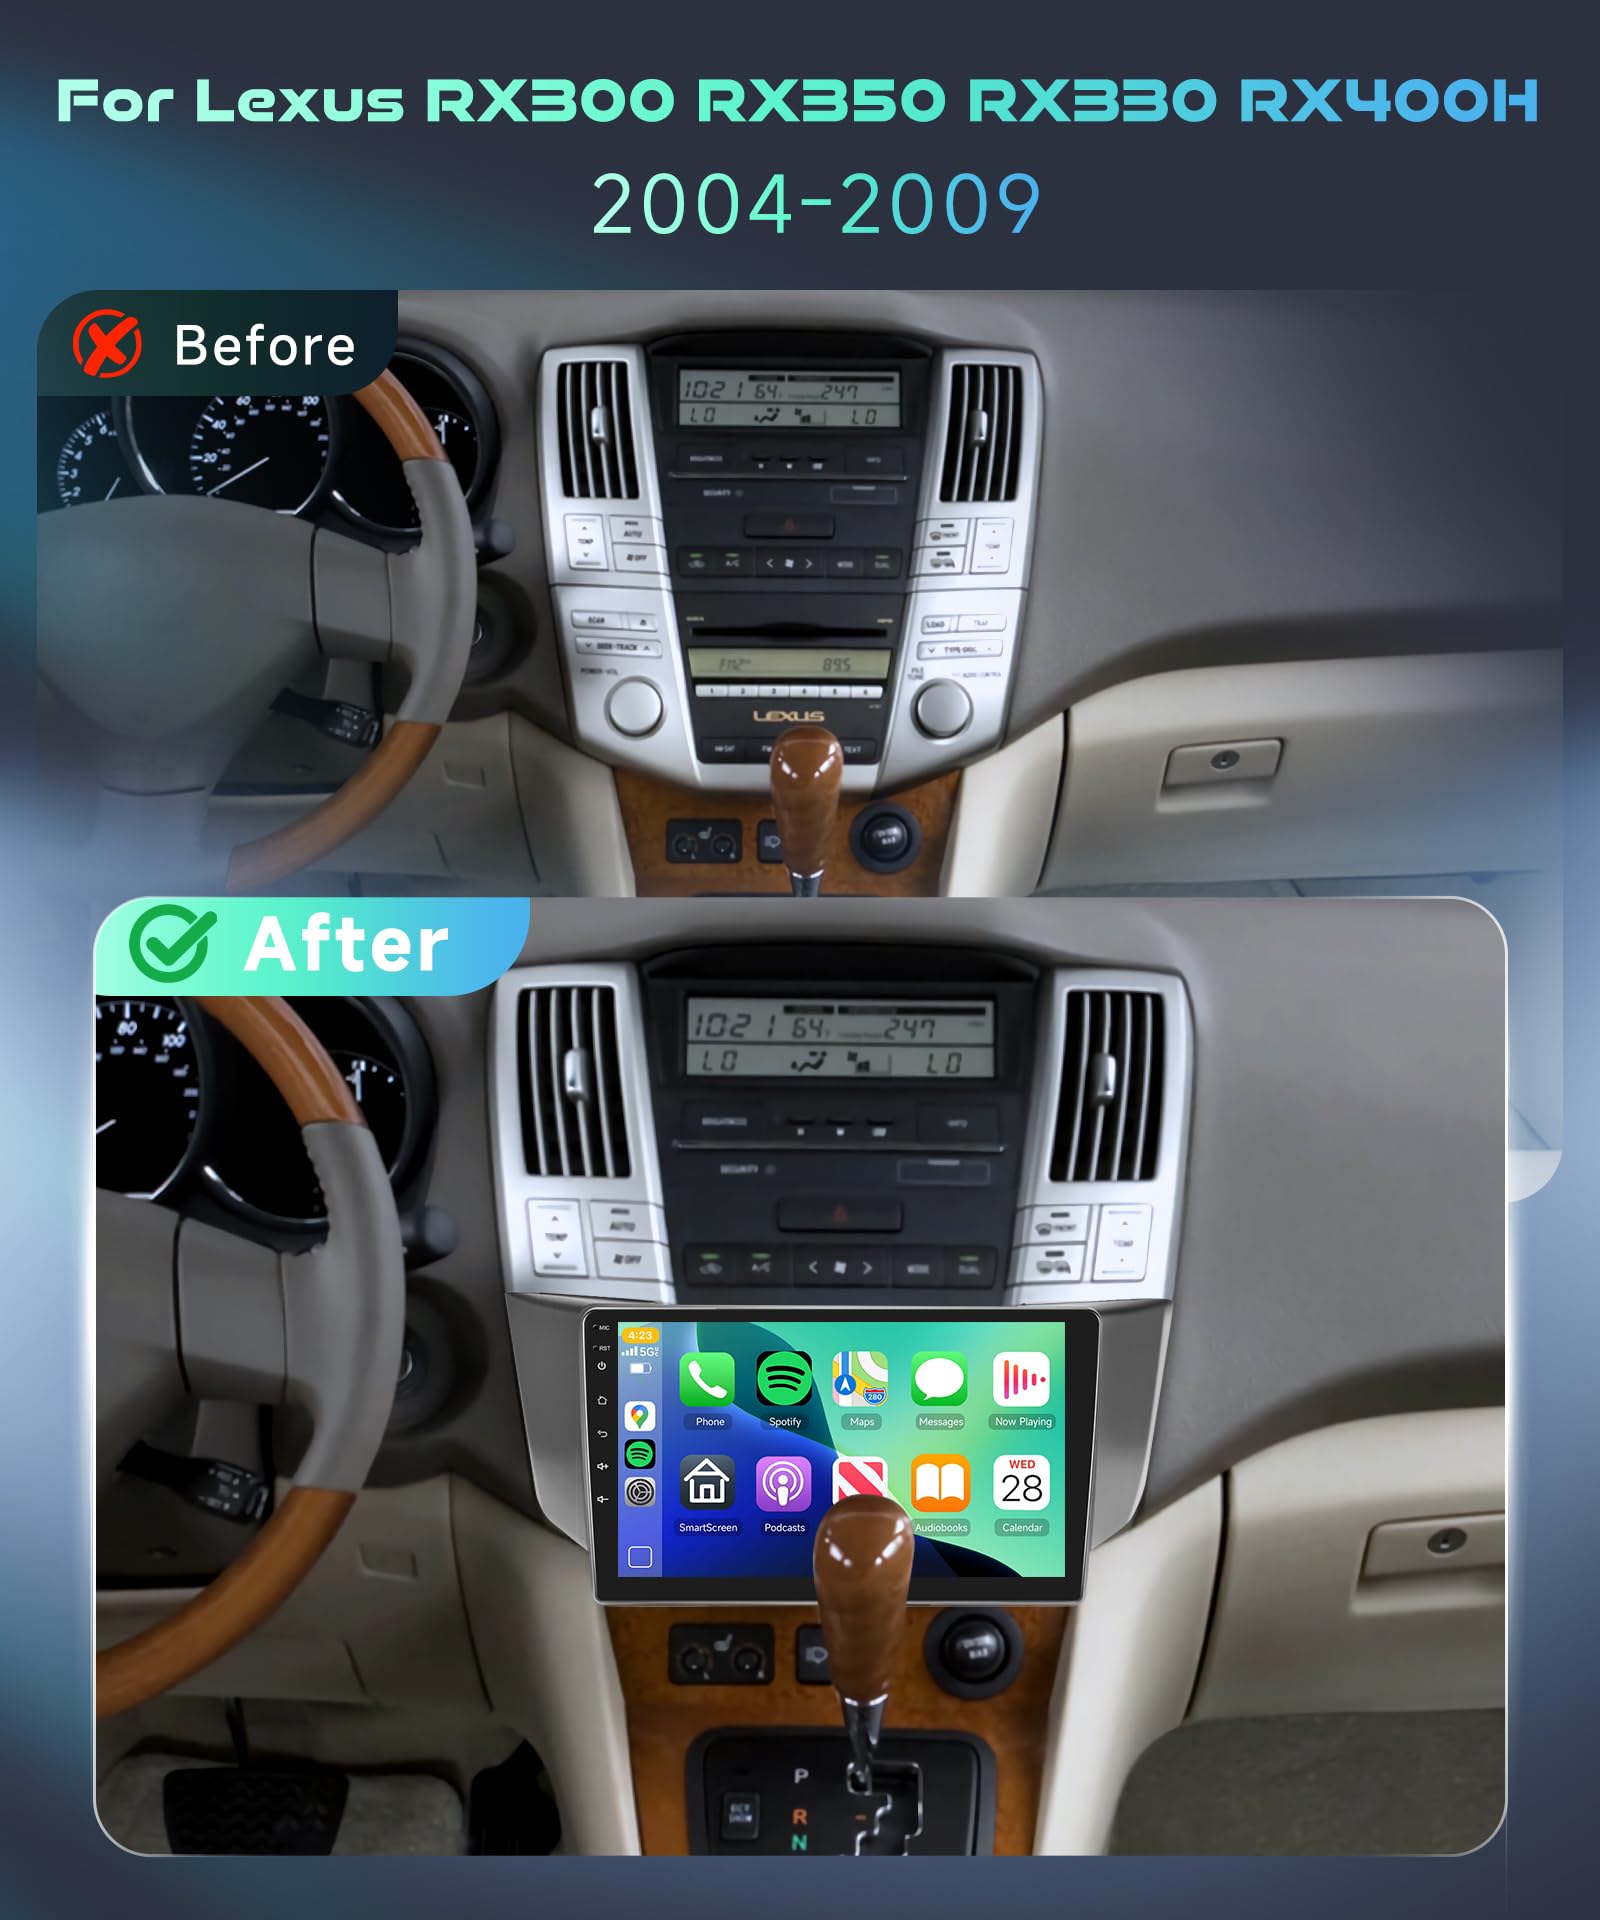
Image: Comparison of a Lexus RX dashboard before and after the installation of the MAHVEC Car Stereo Radio, demonstrating the integrated fit.
5. Setup and Installation
5.1 Pre-Installation Checklist
- Ensure the vehicle's ignition is off and the battery is disconnected before starting any electrical work.
- Gather all necessary tools (e.g., screwdrivers, trim removal tools, wire cutters/strippers).
- Familiarize yourself with your vehicle's dashboard removal process.
5.2 Wiring Connections
Refer to the wiring diagram provided with your unit and the image below for typical connections. The unit features a plug-and-play design, but some auxiliary connections may require specific routing.

Image: Detailed view of the rear panel of the MAHVEC Car Stereo, highlighting various input/output ports including Rear Camera Input, Power Cable, RCA Cable, GPS Antenna, and USB Cable connections, along with a visual list of included accessories.
- Power Cable: Connect the main power harness to the vehicle's corresponding connector.
- RCA Cables: Connect for audio output (e.g., subwoofer) or auxiliary input.
- GPS Antenna: Mount the GPS antenna in a location with a clear view of the sky, typically on the dashboard or under the windshield. Connect the cable to the designated GPS port.
- USB Cables: Route the USB extension cables to a convenient location (e.g., glove compartment) for connecting USB devices.
- Microphone (MIC): Connect the external microphone for improved call quality and voice commands. Position it near the driver for optimal performance.
- Rear Camera Input Cable: Connect the included AHD backup camera to this input. Ensure proper routing of the camera cable to the rear of the vehicle.
- Air Conditioning Adapter Cable: Connect this cable if your vehicle requires it for climate control integration.
- Canbus Decoder: If your vehicle has a CAN-BUS system, connect the decoder to enable steering wheel controls and other vehicle data integration.
5.3 Mounting the Unit
- Carefully insert the head unit into the dashboard opening, ensuring all cables are not pinched.
- Secure the unit using the vehicle's original mounting brackets or the provided installation tools.
- Reassemble the dashboard trim panels.
- Reconnect the vehicle battery.
6. Operating Instructions
6.1 Power On/Off and Initial Setup
- Power On: Turn the vehicle ignition to the ACC or ON position. The unit should power on automatically.
- Initial Setup: Follow the on-screen prompts to select language, time zone, and connect to Wi-Fi.
6.2 Touchscreen Interface and Android 13
The 9-inch IPS touchscreen provides a clear and responsive interface. Navigate through applications and settings similar to a smartphone or tablet running Android 13.
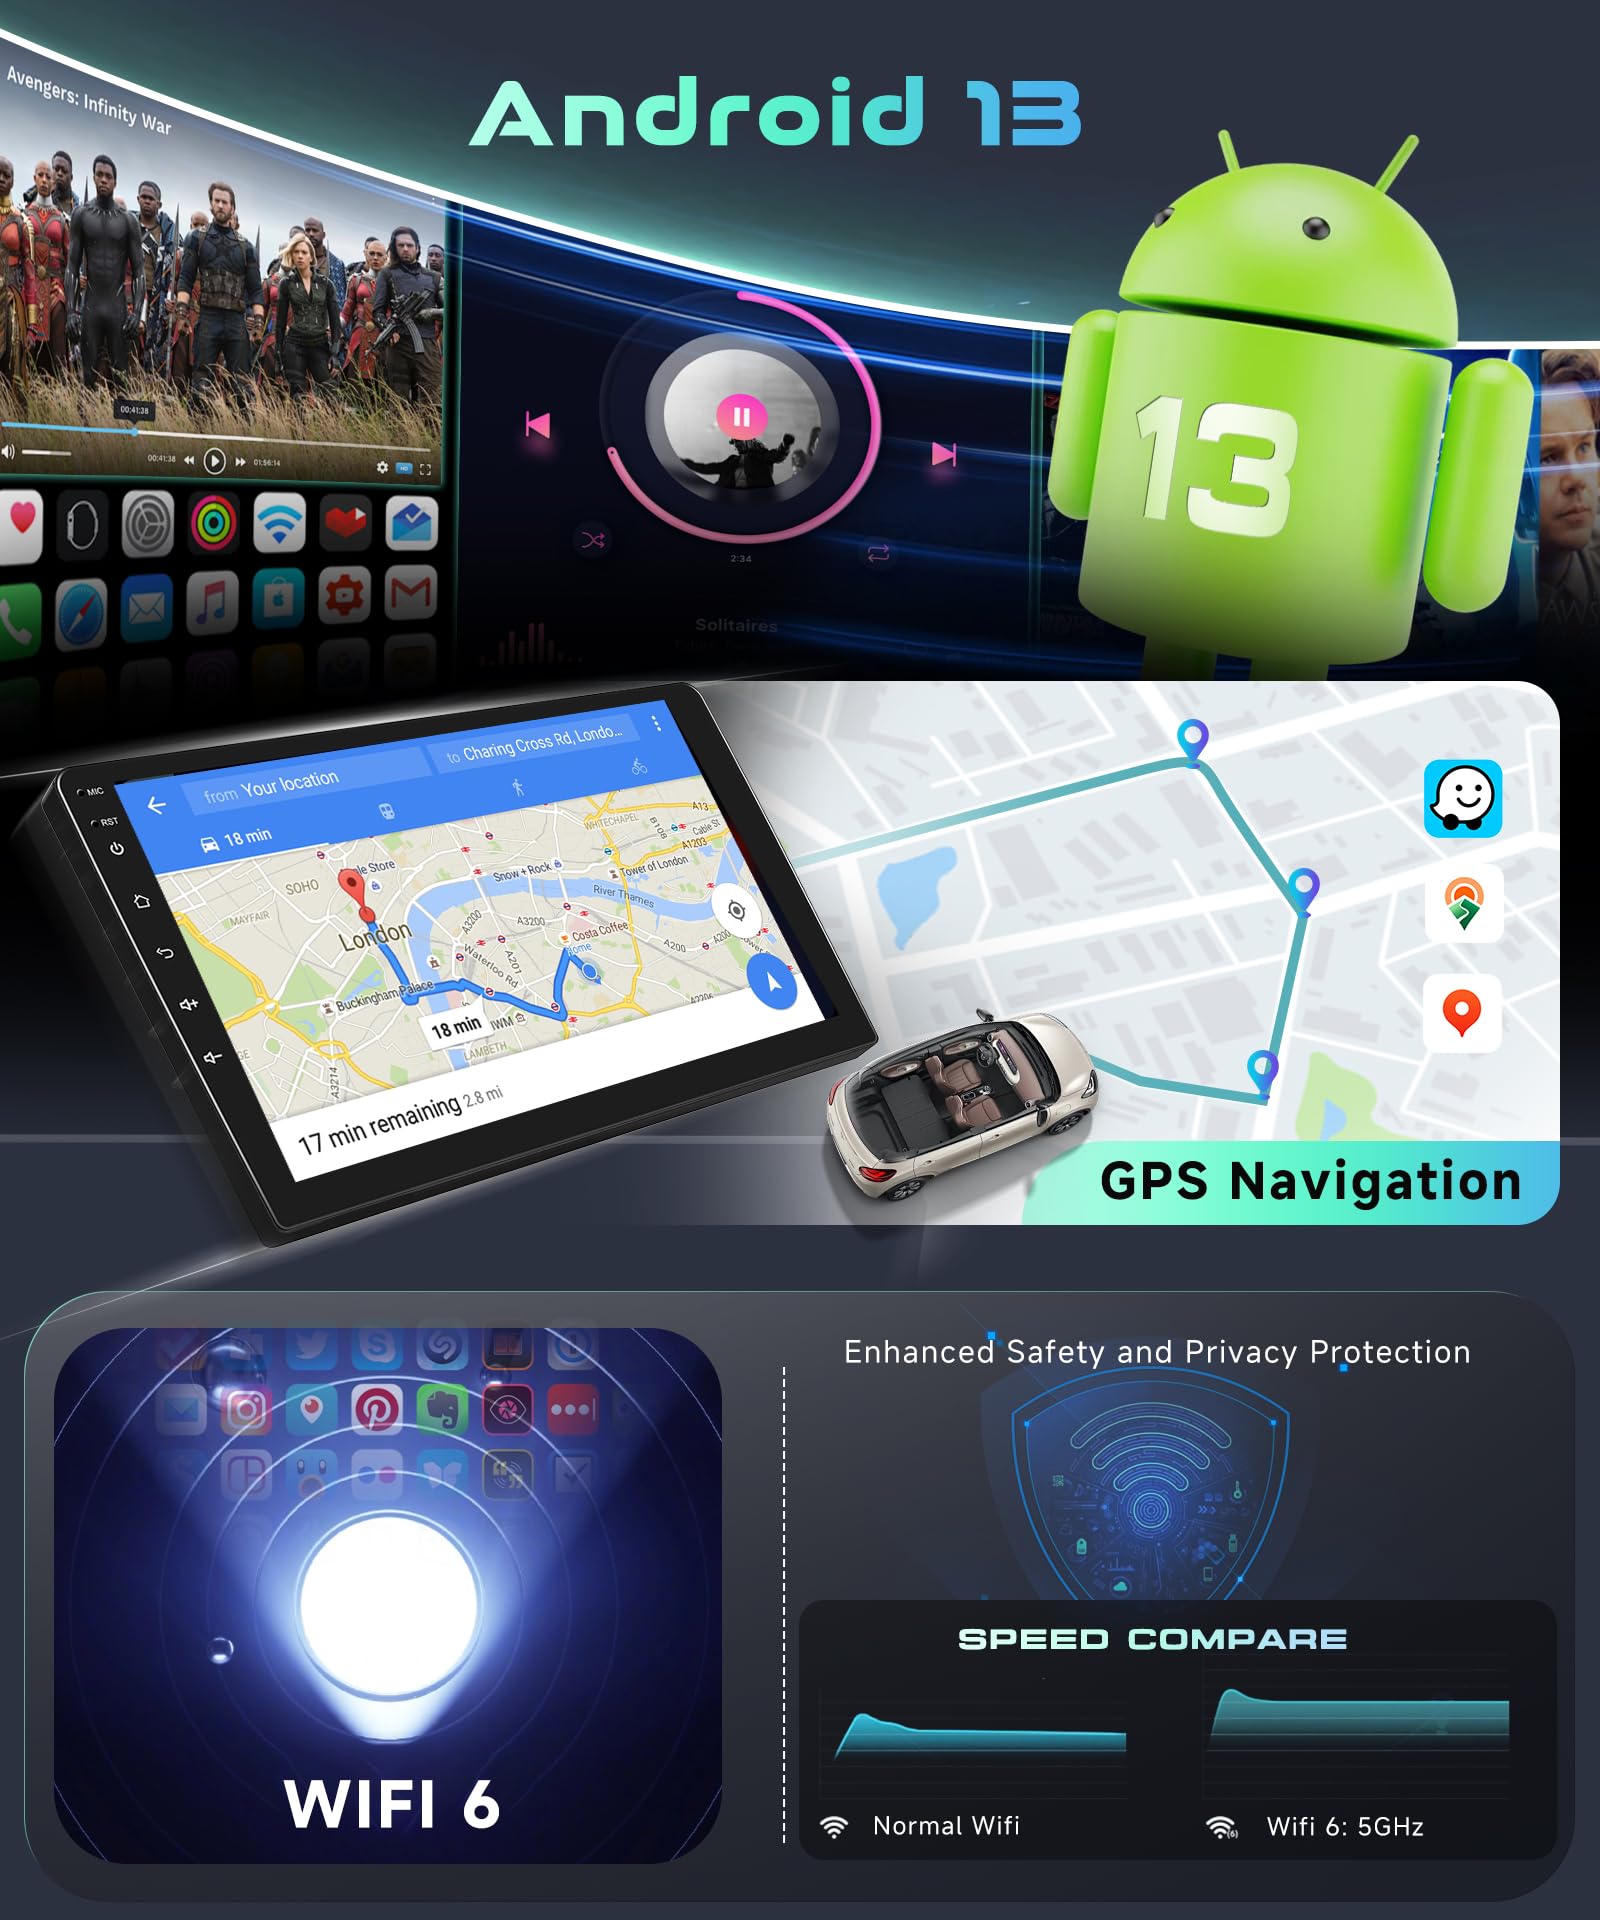
Image: Display showing the Android 13 operating system interface, integrated GPS navigation, and a comparison illustrating the speed benefits of Wi-Fi 6.
6.3 Wireless CarPlay & Android Auto
Connect your smartphone wirelessly to access CarPlay or Android Auto features.
- Ensure Bluetooth and Wi-Fi are enabled on your smartphone.
- On the car stereo, open the CarPlay or Android Auto application.
- Follow the on-screen instructions to pair your phone.
- Once connected, you can use voice commands (e.g., "Hey Siri" or "OK Google") for navigation, music, calls, and messages.
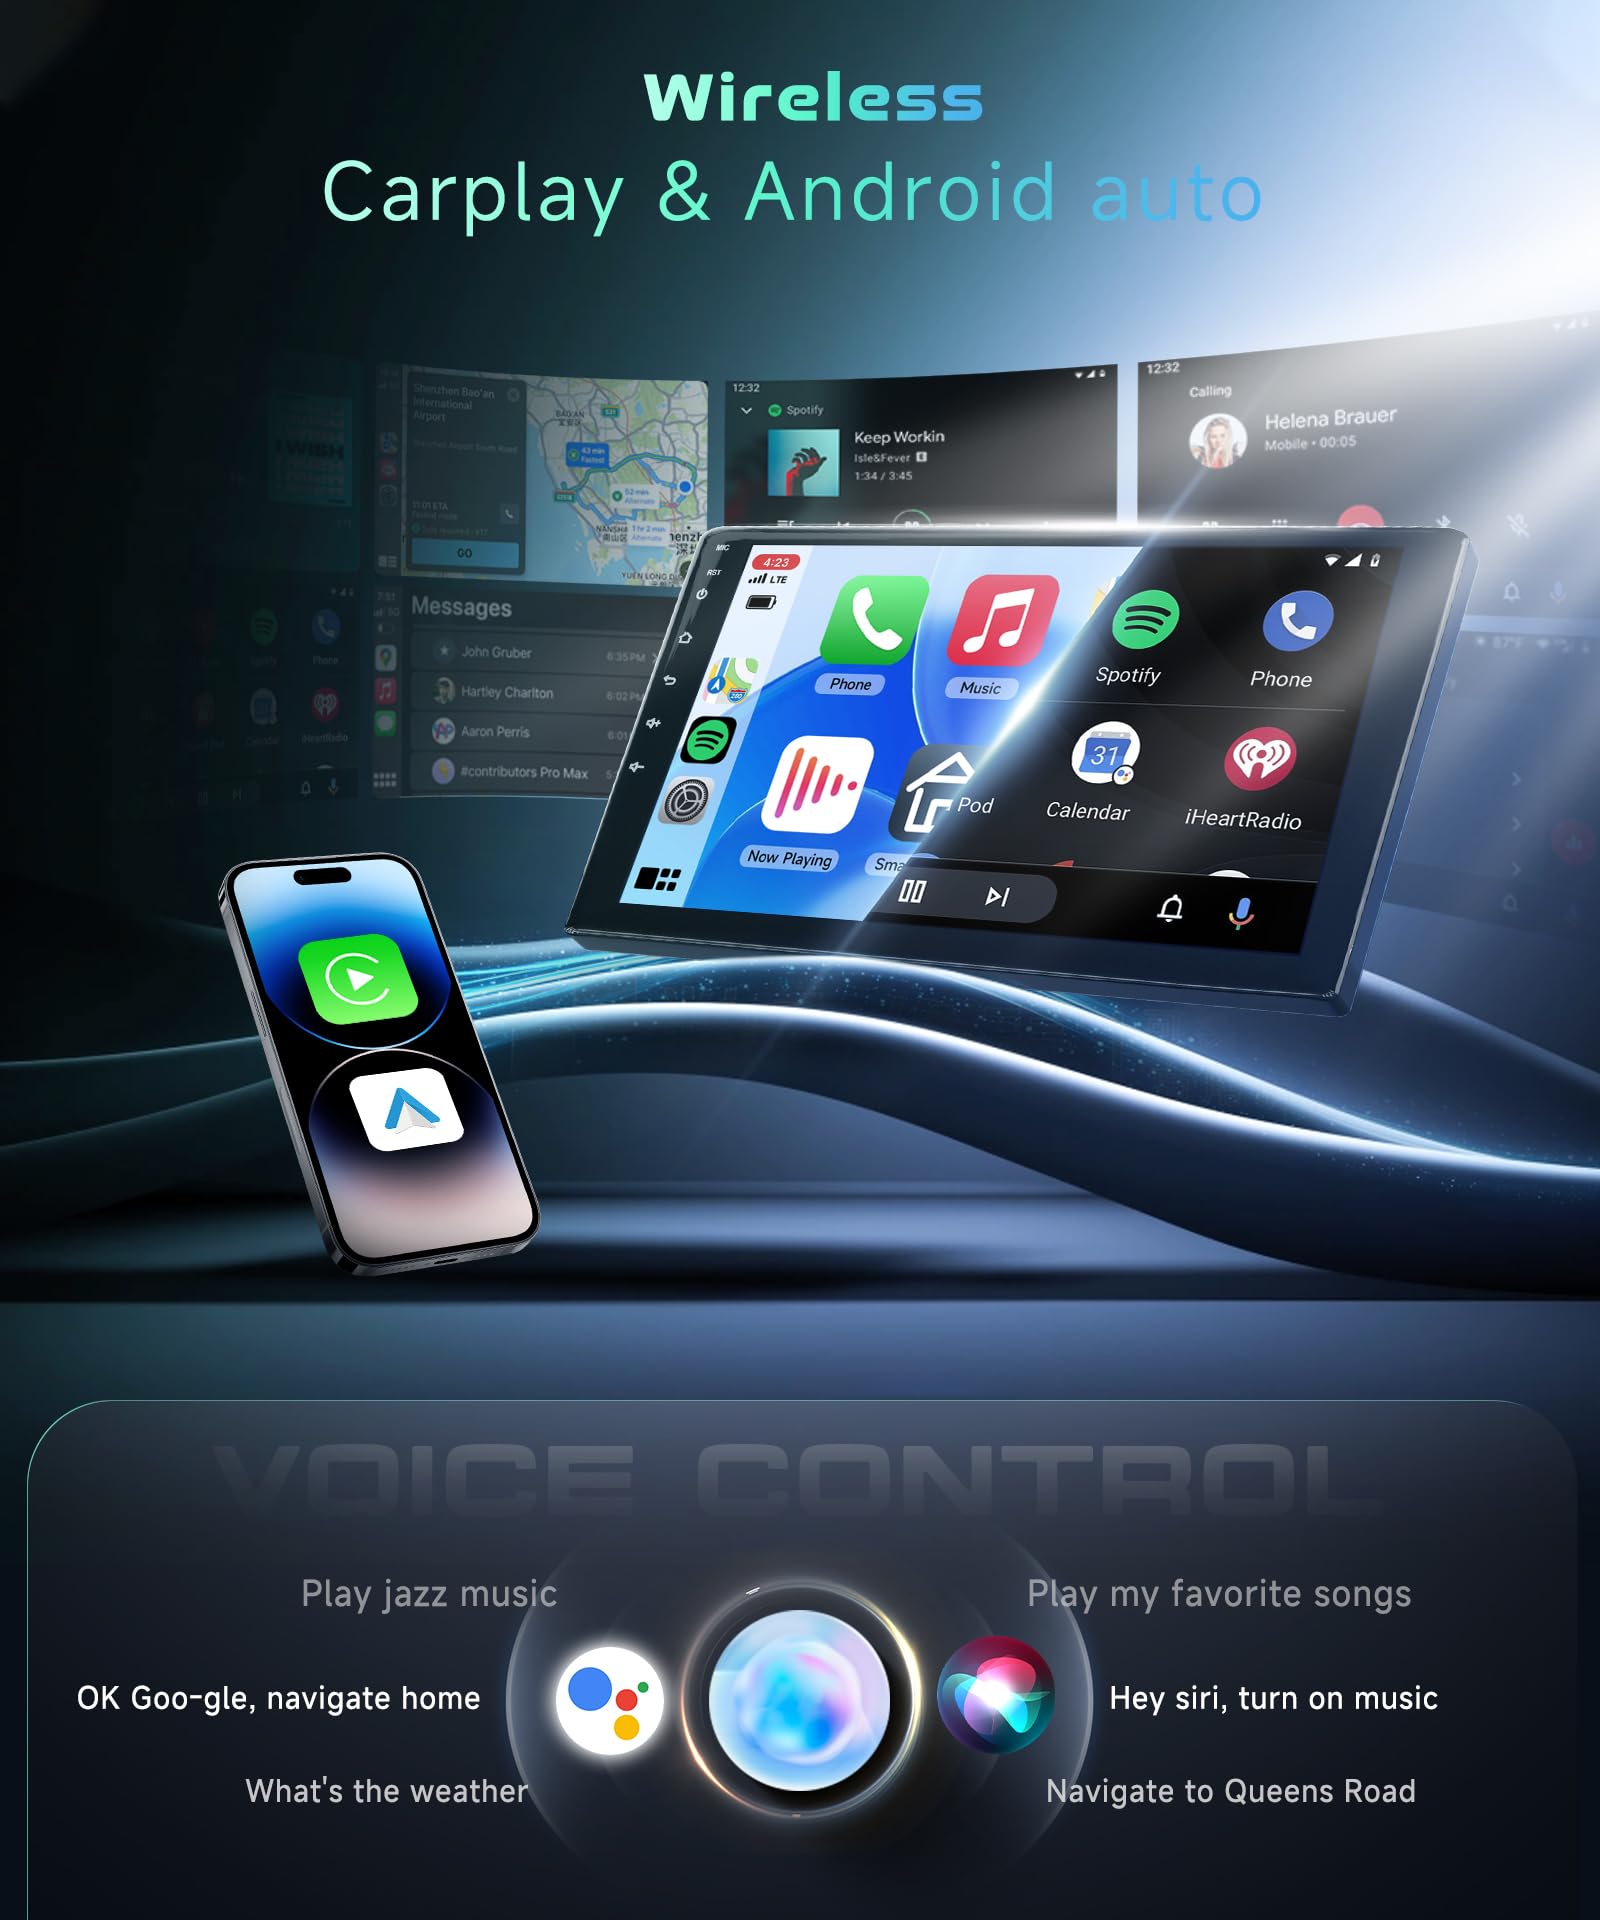
Image: The car stereo display showing the Wireless CarPlay and Android Auto interfaces, along with icons representing voice control functionalities for navigation and music playback.
6.4 GPS Navigation
The unit supports both online and offline GPS navigation. Pre-installed maps may be available, or you can download your preferred navigation apps from the Google Play Store.
- Ensure the GPS antenna is properly installed and has a clear signal.
- Open your chosen navigation application.
- Enter your destination and follow the voice-guided directions.
6.5 Bluetooth 5.1
For hands-free calling and audio streaming.
- Go to the Bluetooth settings on the car stereo.
- Enable Bluetooth on your smartphone and search for available devices.
- Select the car stereo (e.g., "MAHVEC-LX-RX-13") from your phone's list and pair.
- Once paired, you can make/receive calls and stream audio.
6.6 FM/RDS Radio
Access local radio stations with RDS (Radio Data System) information.
- Open the "Radio" application.
- Use the scan function to find available stations or manually tune to a frequency.
- Save your favorite stations for quick access.
6.7 DSP Hi-Res Audio
Utilize the Digital Sound Processor (DSP) to customize your audio experience.
- Access the "DSP" or "Sound Settings" menu.
- Adjust equalizer settings, balance, fader, and subwoofer output to your preference.
- Experiment with different sound profiles for optimal listening.
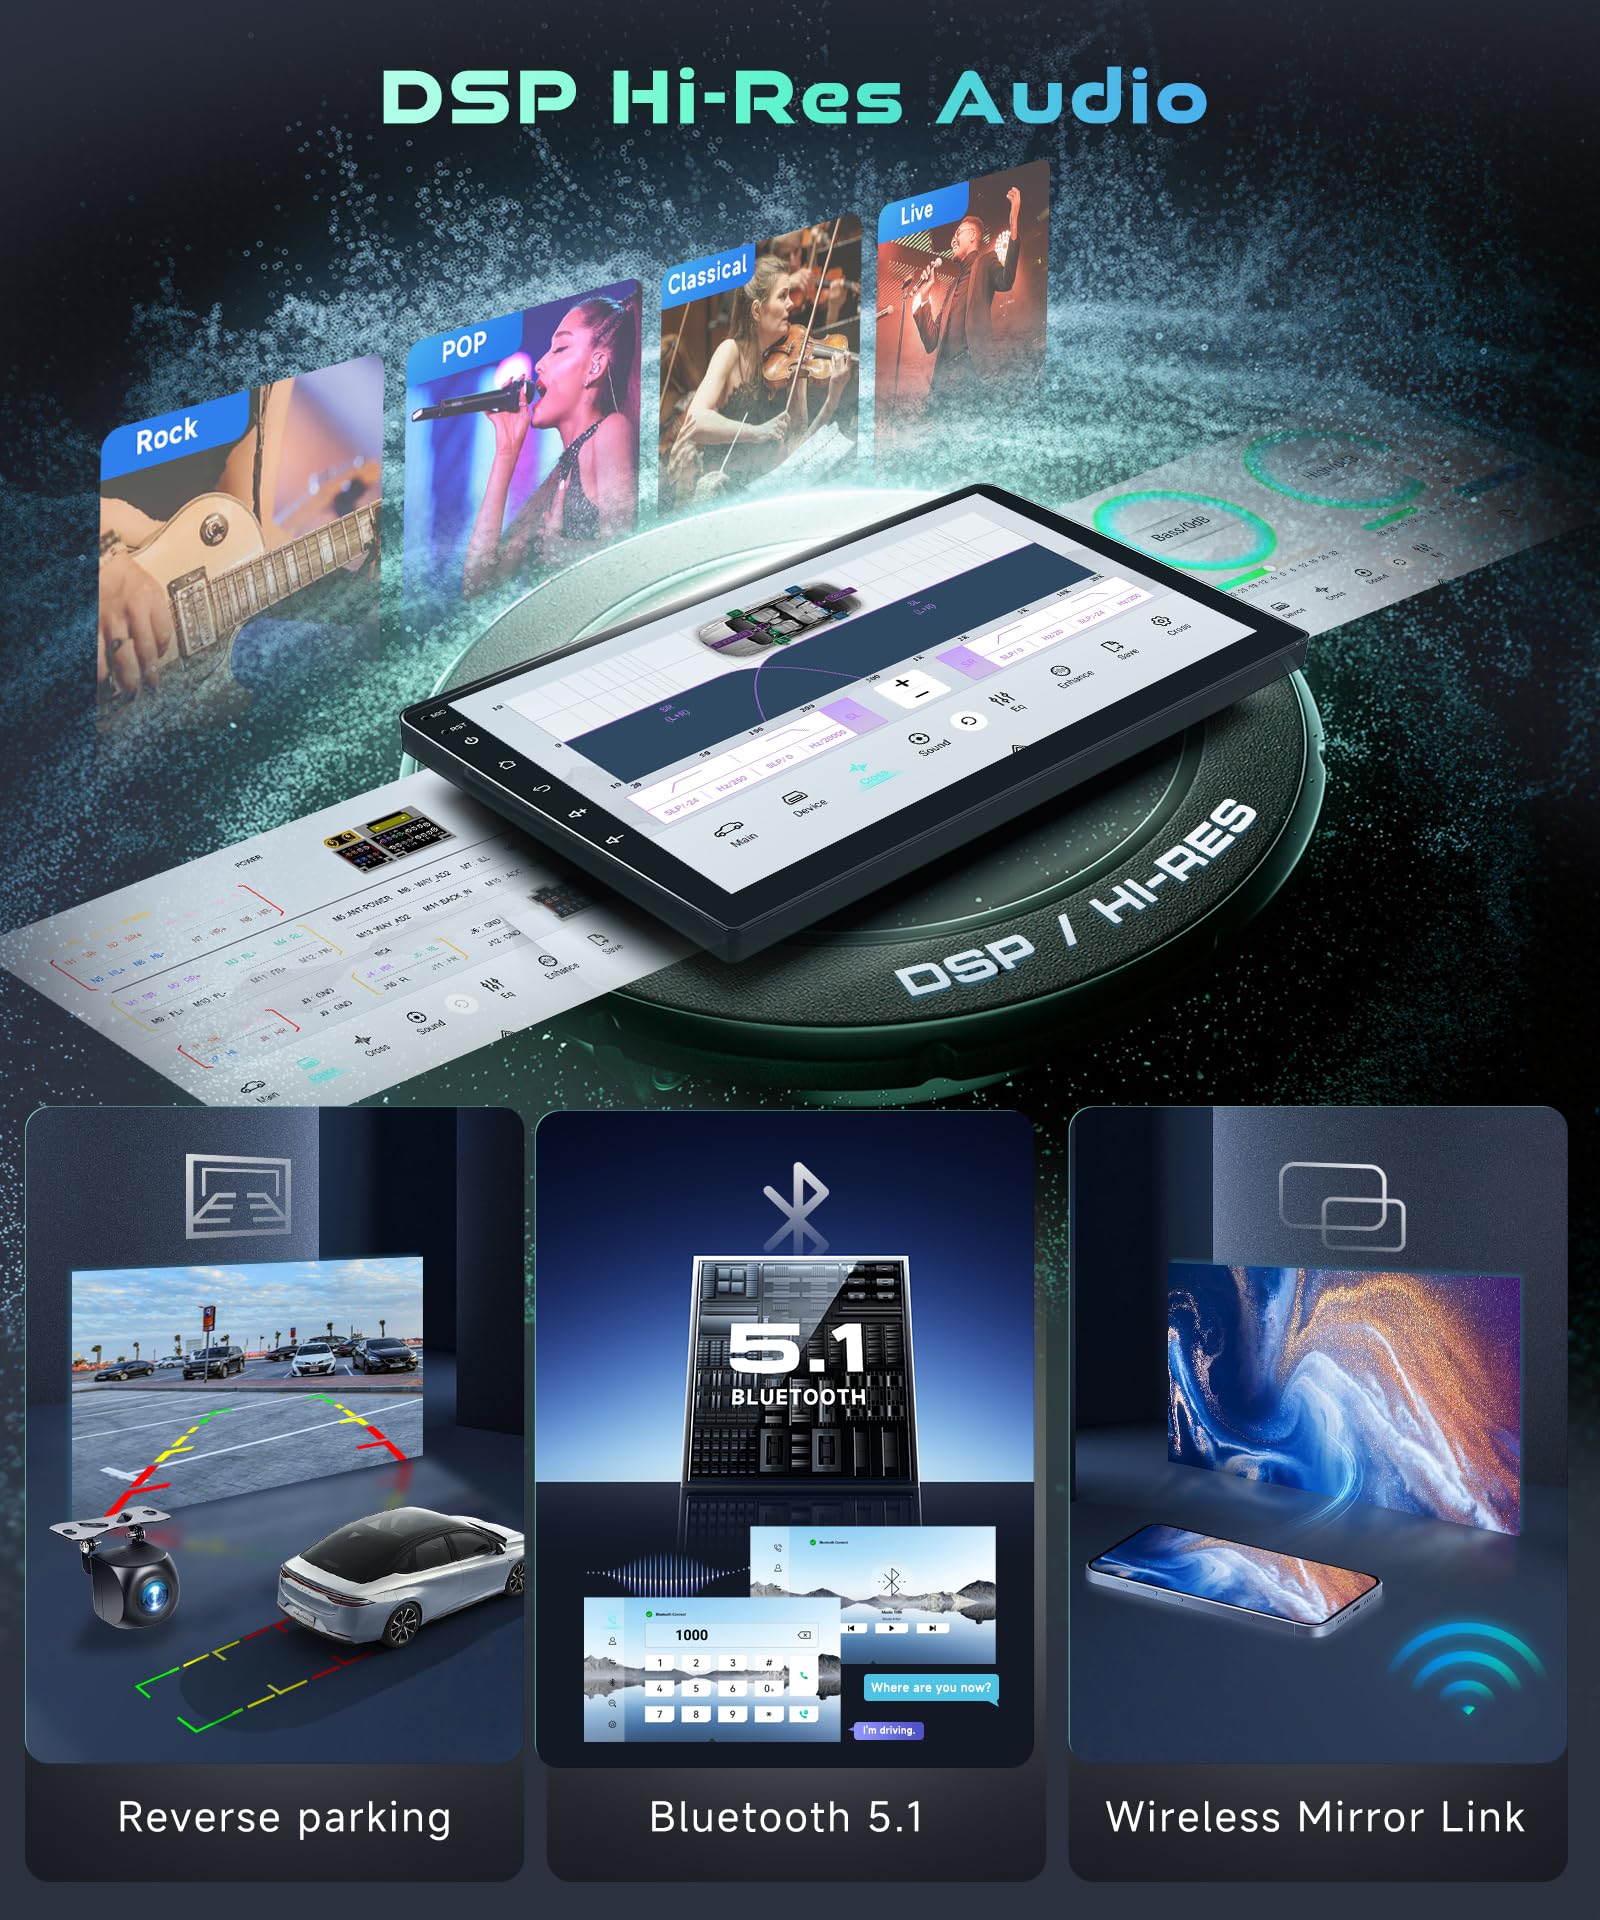
Image: The DSP Hi-Res Audio interface showing detailed sound customization options, alongside visual representations of reverse parking camera functionality, Bluetooth 5.1 connectivity, and wireless mirror link capabilities.
6.8 Steering Wheel Controls (SWC)
If your vehicle supports it and the Canbus decoder is connected, you can map your steering wheel buttons to control the stereo functions.
- Go to "Settings" > "Steering Wheel Controls".
- Follow the on-screen instructions to program each button.
6.9 Mirror Link
Mirror your smartphone screen onto the car stereo display.
- Open the "Mirror Link" application on the stereo.
- Follow the instructions to connect your Android or iOS device.
6.10 AHD Backup Camera
The included AHD backup camera automatically displays the rear view when the vehicle is in reverse gear.
- Ensure the camera is properly installed and connected to the "Rear Camera Input" port.
- When shifting into reverse, the display will automatically switch to the camera view.
6.11 UI Customization
Personalize the user interface with various themes and dynamic effects.
- 3D Dynamic Car Effects: Access settings to choose body colors and rotate a 3D car model on the display.
- ShaderLab Options: Customize UI and font colors.
- Day/Night Modes: Switch between display modes for optimal visibility in different lighting conditions.
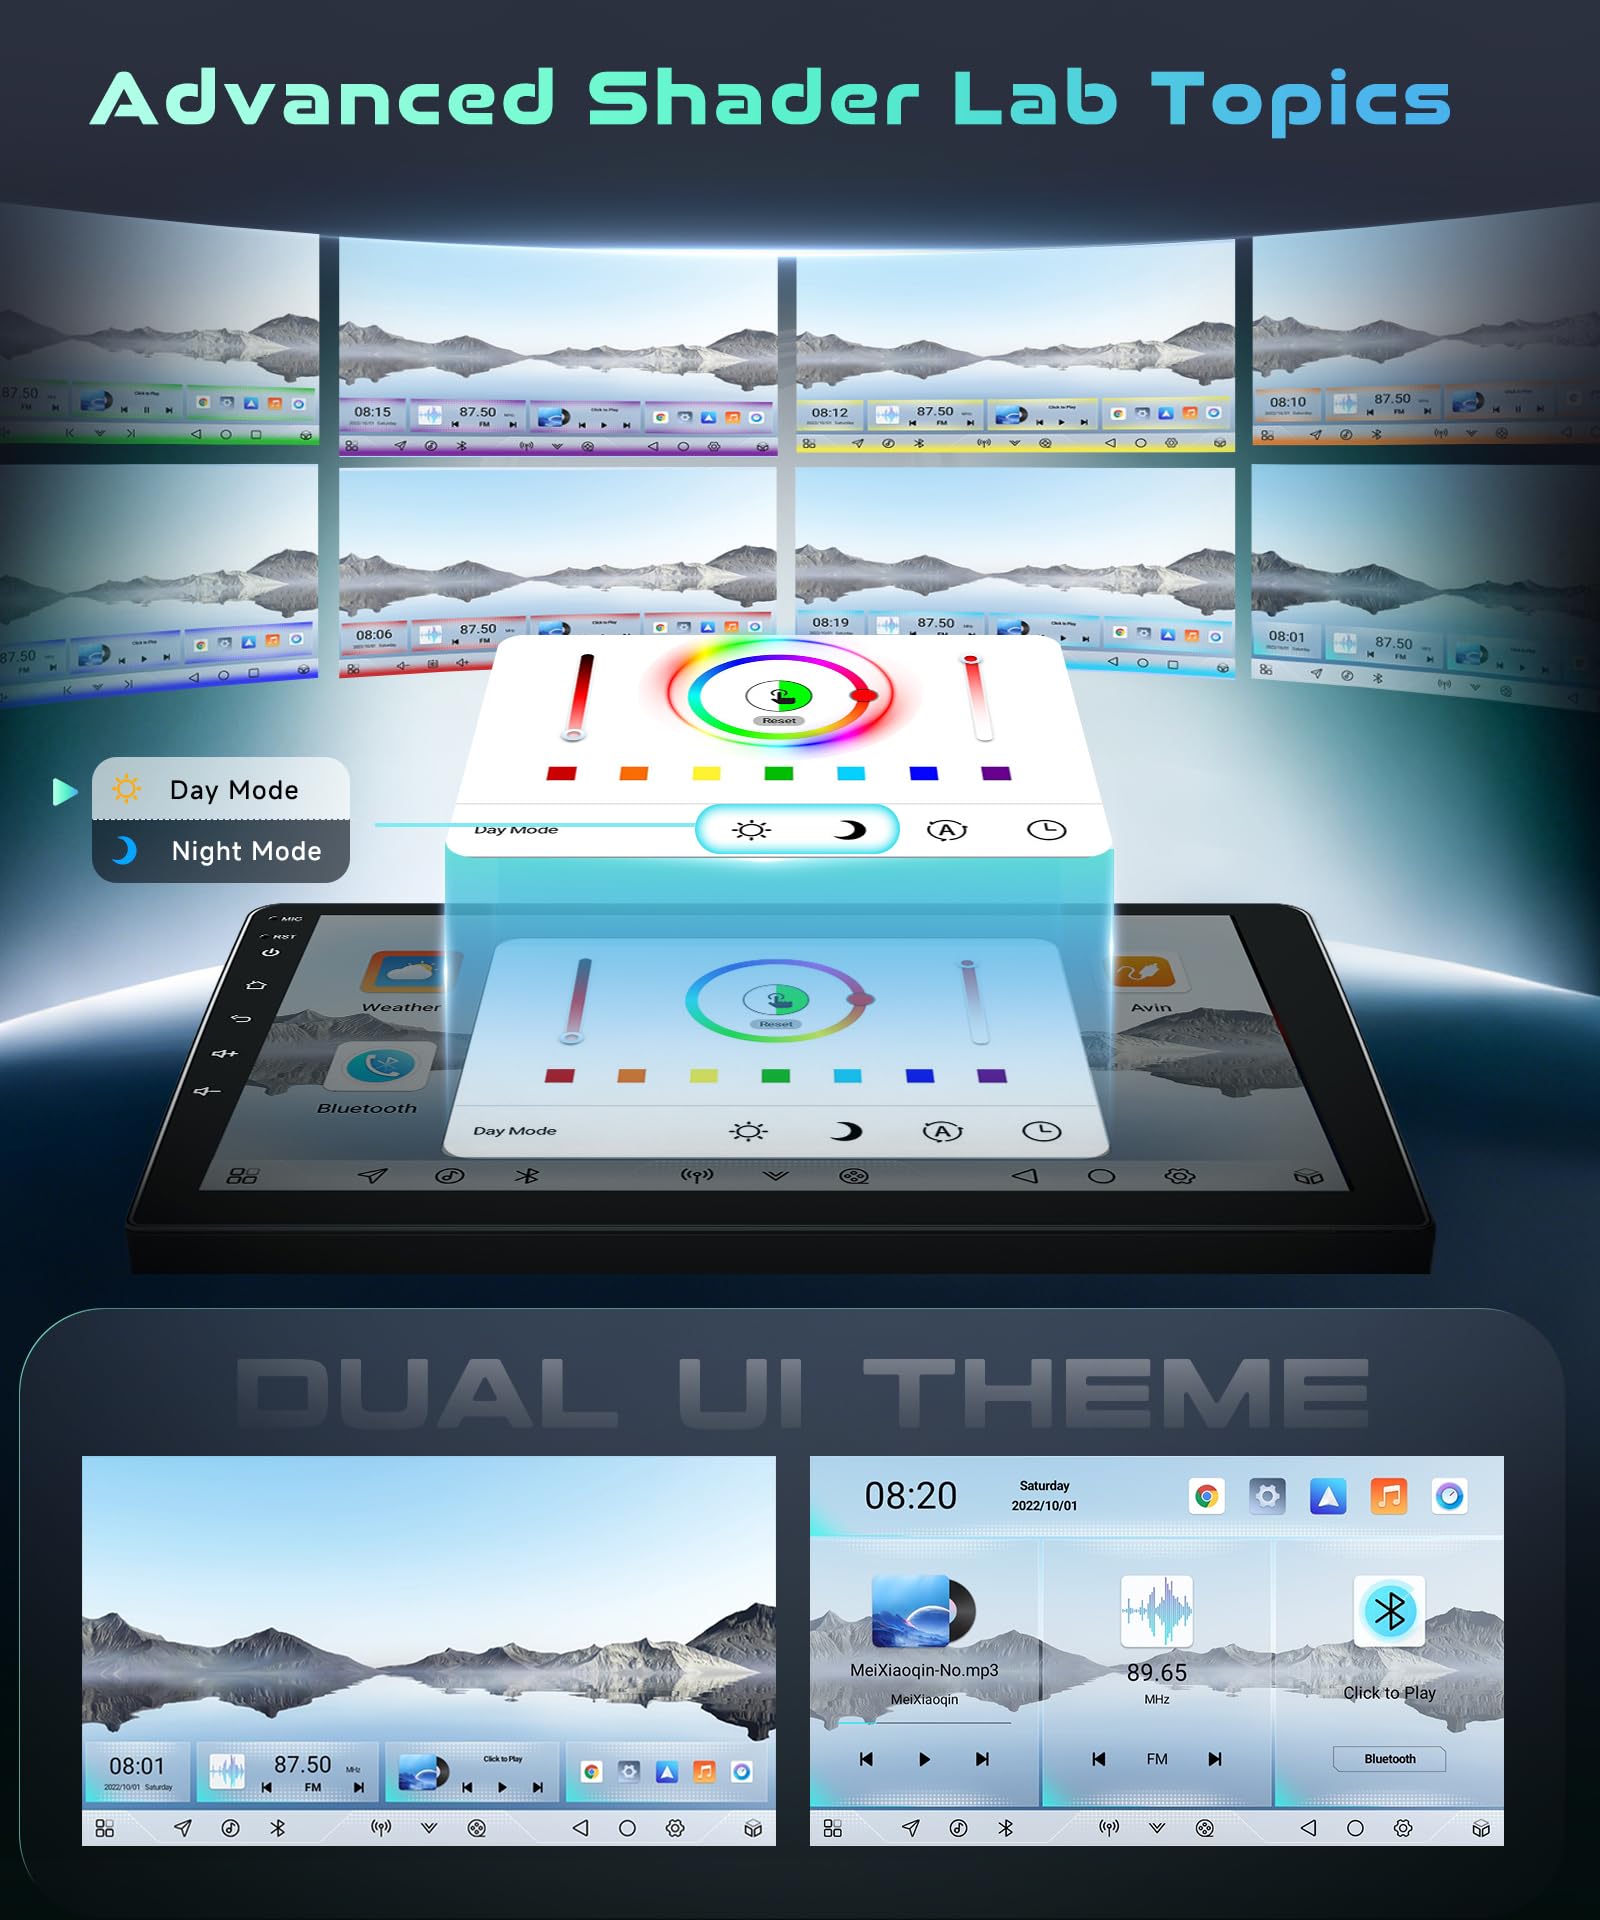
Image: The car stereo display showcasing advanced Shader Lab options for customizing UI and font colors, along with the ability to switch between Day and Night modes and select dual UI themes.
6.12 OTA Updates
The unit supports Over-The-Air (OTA) updates to receive the latest software versions, enhancing performance and adding features.
- Ensure the unit is connected to a stable Wi-Fi network.
- Go to "Settings" > "About Device" > "System Update".
- Follow the on-screen prompts to check for and install updates. Do not power off the unit during an update.
7. Maintenance
- Cleaning: Use a soft, dry cloth to clean the touchscreen and unit exterior. Avoid abrasive cleaners or solvents.
- Software Updates: Regularly check for and install OTA updates to ensure optimal performance and access to new features.
- Data Backup: Periodically back up important data or settings if applicable.
8. Troubleshooting
If you encounter issues, refer to the following common troubleshooting steps:
- No Power:
- Check all power connections and fuses.
- Ensure the vehicle's ignition is on.
- No Sound:
- Verify volume levels are not muted or set too low.
- Check speaker wire connections.
- Ensure the correct audio source is selected.
- GPS Not Working / Poor Signal:
- Ensure the GPS antenna is properly connected and mounted in a location with a clear view of the sky.
- Check GPS settings in the unit.
- Bluetooth/CarPlay/Android Auto Connectivity Issues:
- Ensure Bluetooth and Wi-Fi are enabled on both the stereo and your smartphone.
- Delete previous pairings and attempt to re-pair the devices.
- Restart both the stereo and your smartphone.
- Backup Camera Not Displaying:
- Check the camera's power and video signal connections.
- Ensure the vehicle is in reverse gear.
- Unit Freezes or Responds Slowly:
- Restart the unit by turning off the vehicle ignition and then turning it back on.
- Close unnecessary background applications.
- Perform a factory reset (note: this will erase all user data and settings).
If the issue persists after attempting these steps, please contact MAHVEC customer support.
9. Specifications
| Feature | Detail |
|---|---|
| Model Number | MAHVEC-LX-RX-13 |
| Applicable Vehicles | Lexus RX300, RX350, RX330, RX400H (2004-2009) |
| Operating System | Android 13 |
| Processor | Qualcomm Snapdragon 8-Core |
| RAM | 4GB |
| ROM | 64GB |
| Display Size | 9 Inches |
| Display Resolution | 1280*720 IPS Touchscreen |
| Connectivity | Wireless CarPlay, Wireless Android Auto, Bluetooth 5.1, Wi-Fi (5/6Ghz), USB |
| Audio Features | DSP Hi-Res Audio, Subwoofer output, 2.1 Surround Sound Channel Configuration |
| Radio | FM/RDS Radio |
| Navigation | Online/Offline GPS Navigation |
| Special Features | Steering Wheel Controls, Mirror Link, Split Screen, 3D Dynamic Car Effects, OTA Update, AHD Backup Camera included |
| Item Weight | 2.64 pounds (1.2 Kilograms) |
| Package Dimensions | 13.39 x 6.5 x 4.53 inches |
10. Warranty Information
The MAHVEC Car Stereo Radio (Model MAHVEC-LX-RX-13) comes with a 2-Year Warranty from the date of purchase. This warranty covers manufacturing defects and malfunctions under normal use. Please retain your proof of purchase for warranty claims.
For warranty service or inquiries, please contact MAHVEC customer support.
11. Customer Support
For any questions, technical assistance, or support regarding your MAHVEC Car Stereo Radio, please contact our customer service team.
- Online Support: Visit the MAHVEC Store on Amazon or the official MAHVEC website for FAQs and support resources.
- Direct Inquiry: If you have a question for MAHVEC, you can typically find an "Ask a question" link on the product page where you purchased the item.
- Response Time: MAHVEC aims to provide customer service replies within 24 hours.

Image: MAHVEC's commitment to customer service, including product research, 24-hour customer service reply, 30-day free return and exchange, and 3 years warranty repair.


