YSVQHHDV BN41-02528A
TV Motherboard Instruction Manual
Brand: YSVQHHDV | Model: BN41-02528A
1. Introduction
This manual provides essential information for the installation, operation, maintenance, and troubleshooting of the YSVQHHDV TV Motherboard, model BN41-02528A. This component is designed as a replacement part for compatible Samsung television models, aiming to restore or improve TV functionality.
The motherboard is a critical component responsible for processing video and audio signals, managing power distribution, and controlling various TV functions. Proper handling and installation are crucial for its optimal performance and longevity.
2. Compatibility
This TV motherboard is compatible with the following Samsung TV models:
- BN41-02528A
- UN55KU6500FXZA
- UE55KU6072U
- UE55KU6072
- UE50KU6075U
- UA55KU6300J
- UA55KU6300JXXZ
Please verify your TV's model number before purchasing or installing this replacement part to ensure compatibility.
3. Key Features and Benefits
The YSVQHHDV TV Motherboard offers several advantages for restoring and enhancing your television's performance:
- Display Fault Resolution: Addresses common display issues such as blurred screens, black screens, flickering, vertical lines, and color shifts, restoring clear image quality.
- Cost-Effective Repair: If other TV components (screen, power supply) are functional and only the motherboard is damaged, replacing this part can significantly reduce repair costs compared to purchasing a new television.
- Extended Lifespan: A malfunctioning motherboard can lead to damage in other TV components. Replacing it promptly can extend the overall operational life of your television and prevent complete system failure.
- Improved Performance: A new motherboard can potentially enhance image processing capabilities and reduce response times, contributing to an improved viewing experience.
4. Setup and Installation
Warning: Installation of a TV motherboard requires technical expertise and should only be performed by qualified professionals. Improper installation can lead to damage to the TV or personal injury. Always disconnect the TV from the power source before beginning any installation or repair work.
- Preparation:
- Ensure the TV is unplugged from all power outlets.
- Place the TV face down on a soft, clean surface to protect the screen.
- Gather necessary tools, including screwdrivers, anti-static wrist strap, and a clean workspace.
- Accessing the Motherboard:
- Carefully remove the back panel of the TV by unscrewing all retaining screws.
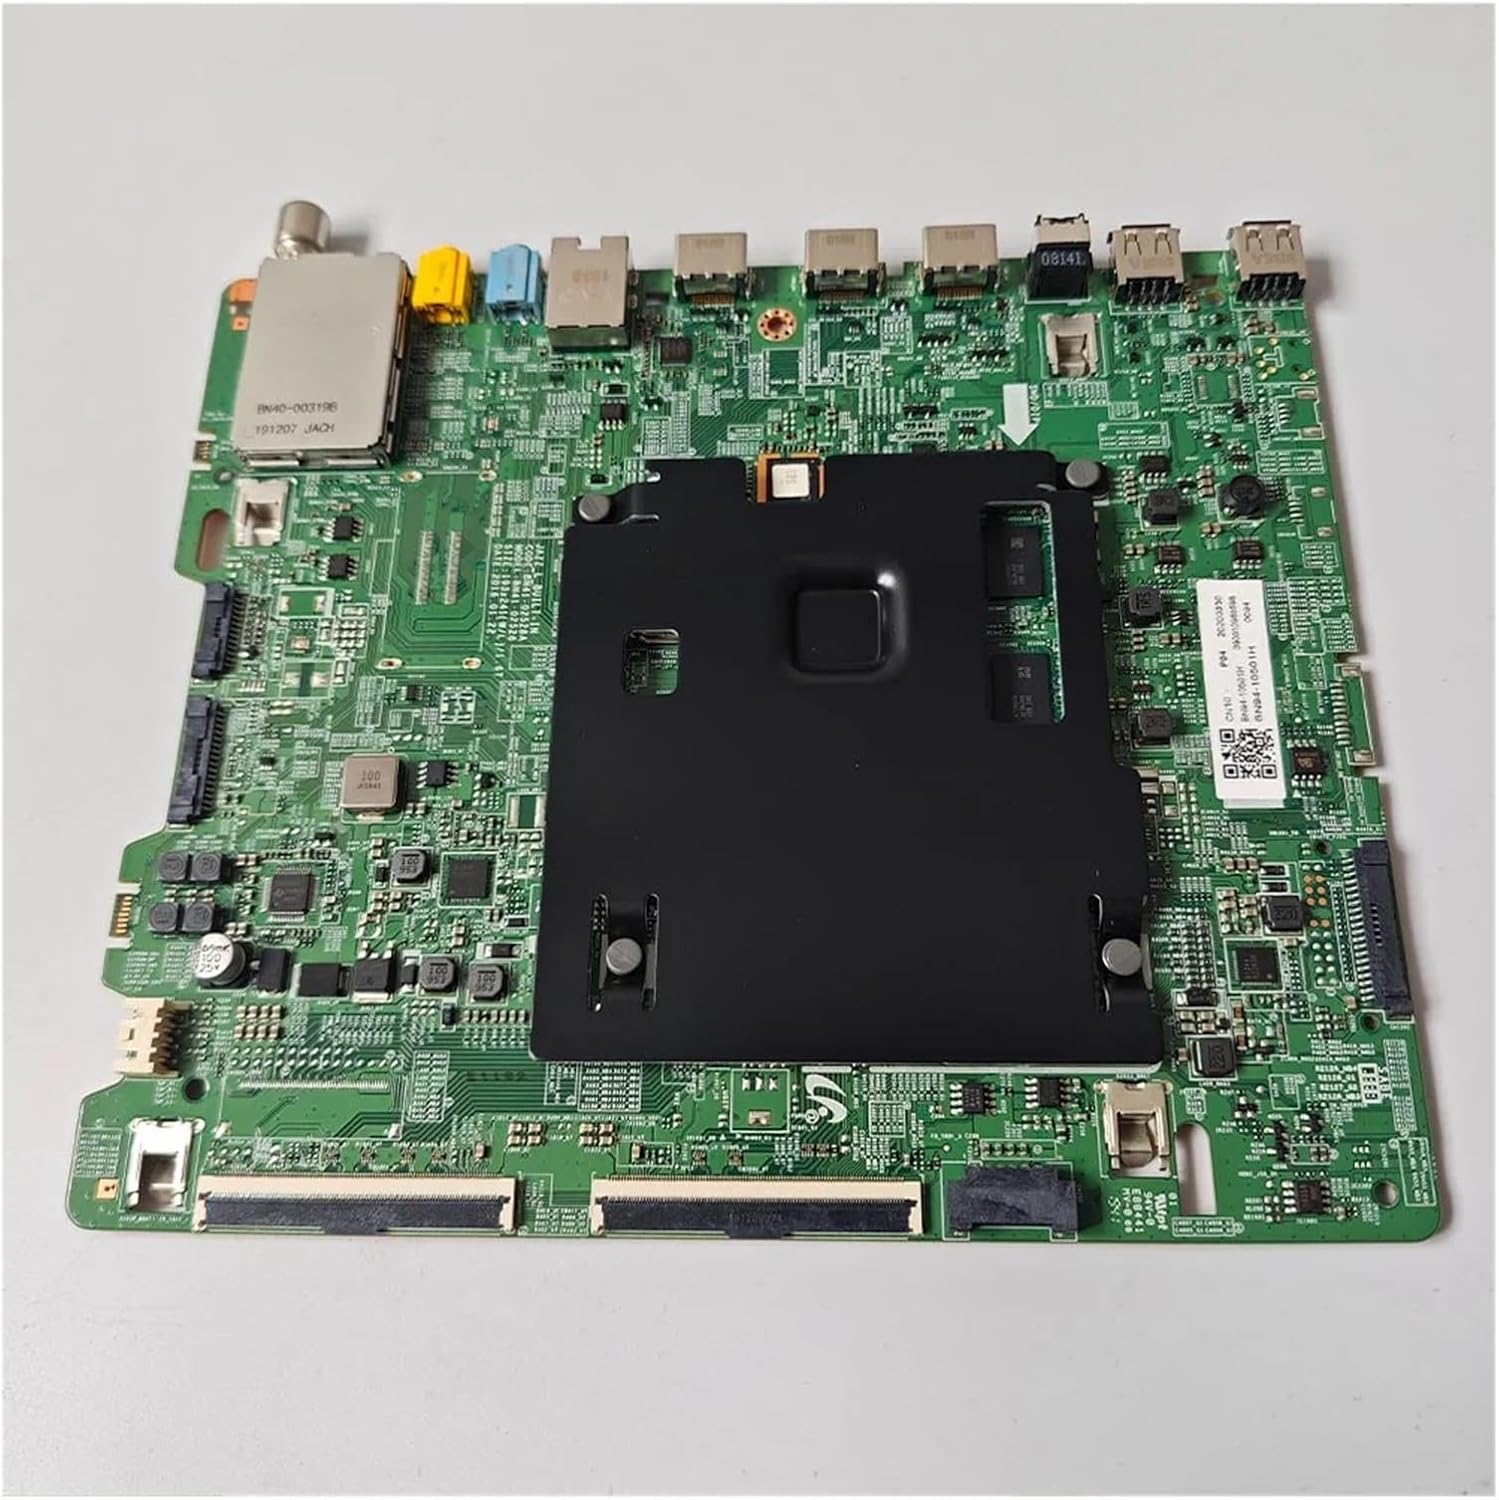
- Locate the existing motherboard. It is typically the largest circuit board with numerous ports (HDMI, USB, etc.).
- Disconnection:
- Systematically disconnect all cables and connectors from the old motherboard. Take photos or make notes of the connections for reassembly.
- Pay attention to ribbon cables and delicate connectors.
- Removal of Old Motherboard:
- Unscrew the mounting screws holding the old motherboard in place.
- Carefully lift and remove the old motherboard.
- Installation of New Motherboard:
- Align the new YSVQHHDV motherboard with the mounting holes in the TV chassis.
- Secure the new motherboard with the screws removed earlier. Do not overtighten.
- Reconnect all cables and connectors to their corresponding ports on the new motherboard, referring to your notes or photos. Ensure all connections are firm and correctly seated.
- Testing and Reassembly:
- Before fully reassembling the TV, temporarily connect the power cable and perform a brief test to ensure the TV powers on and displays an image.
- If the test is successful, disconnect power again and reattach the TV's back panel, securing all screws.
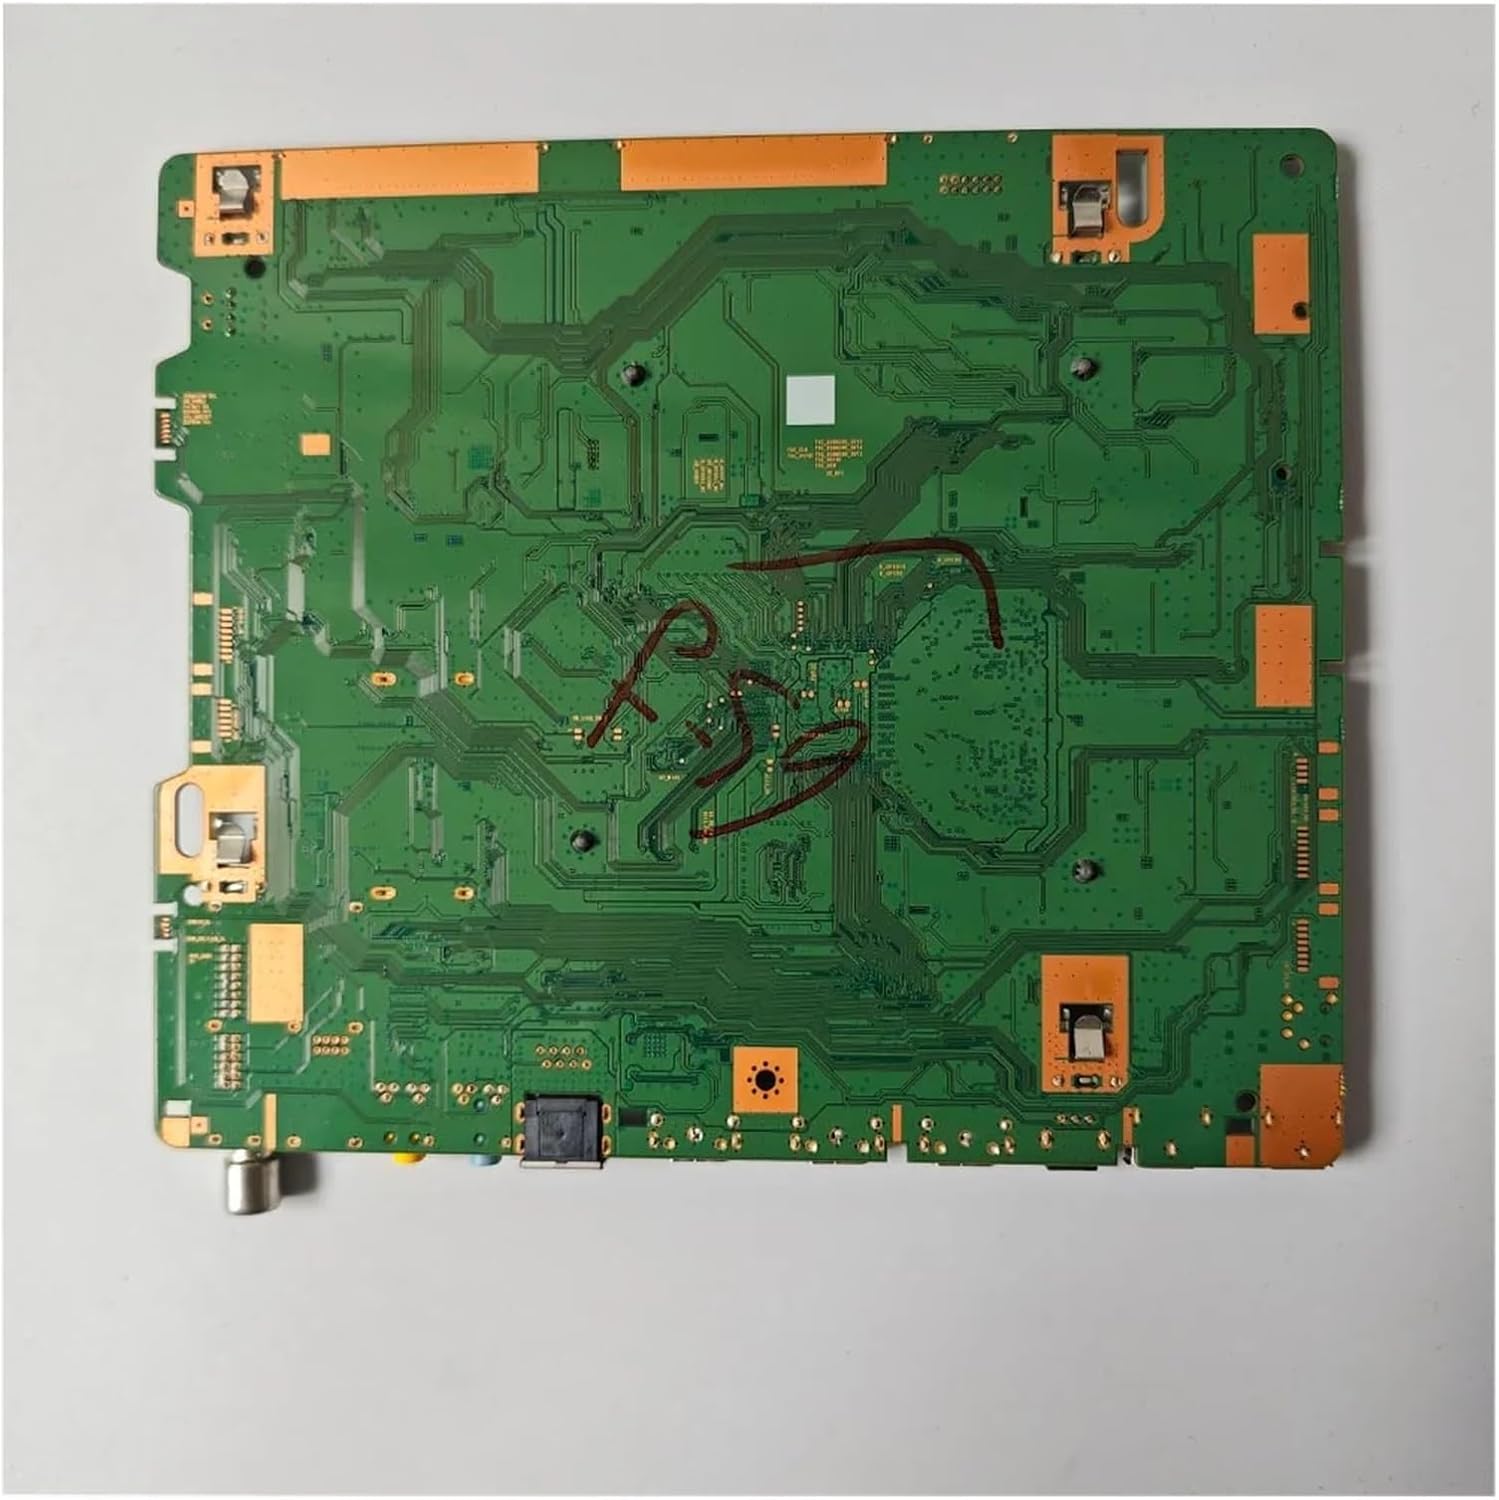
For visual reference, observe the images of the motherboard:

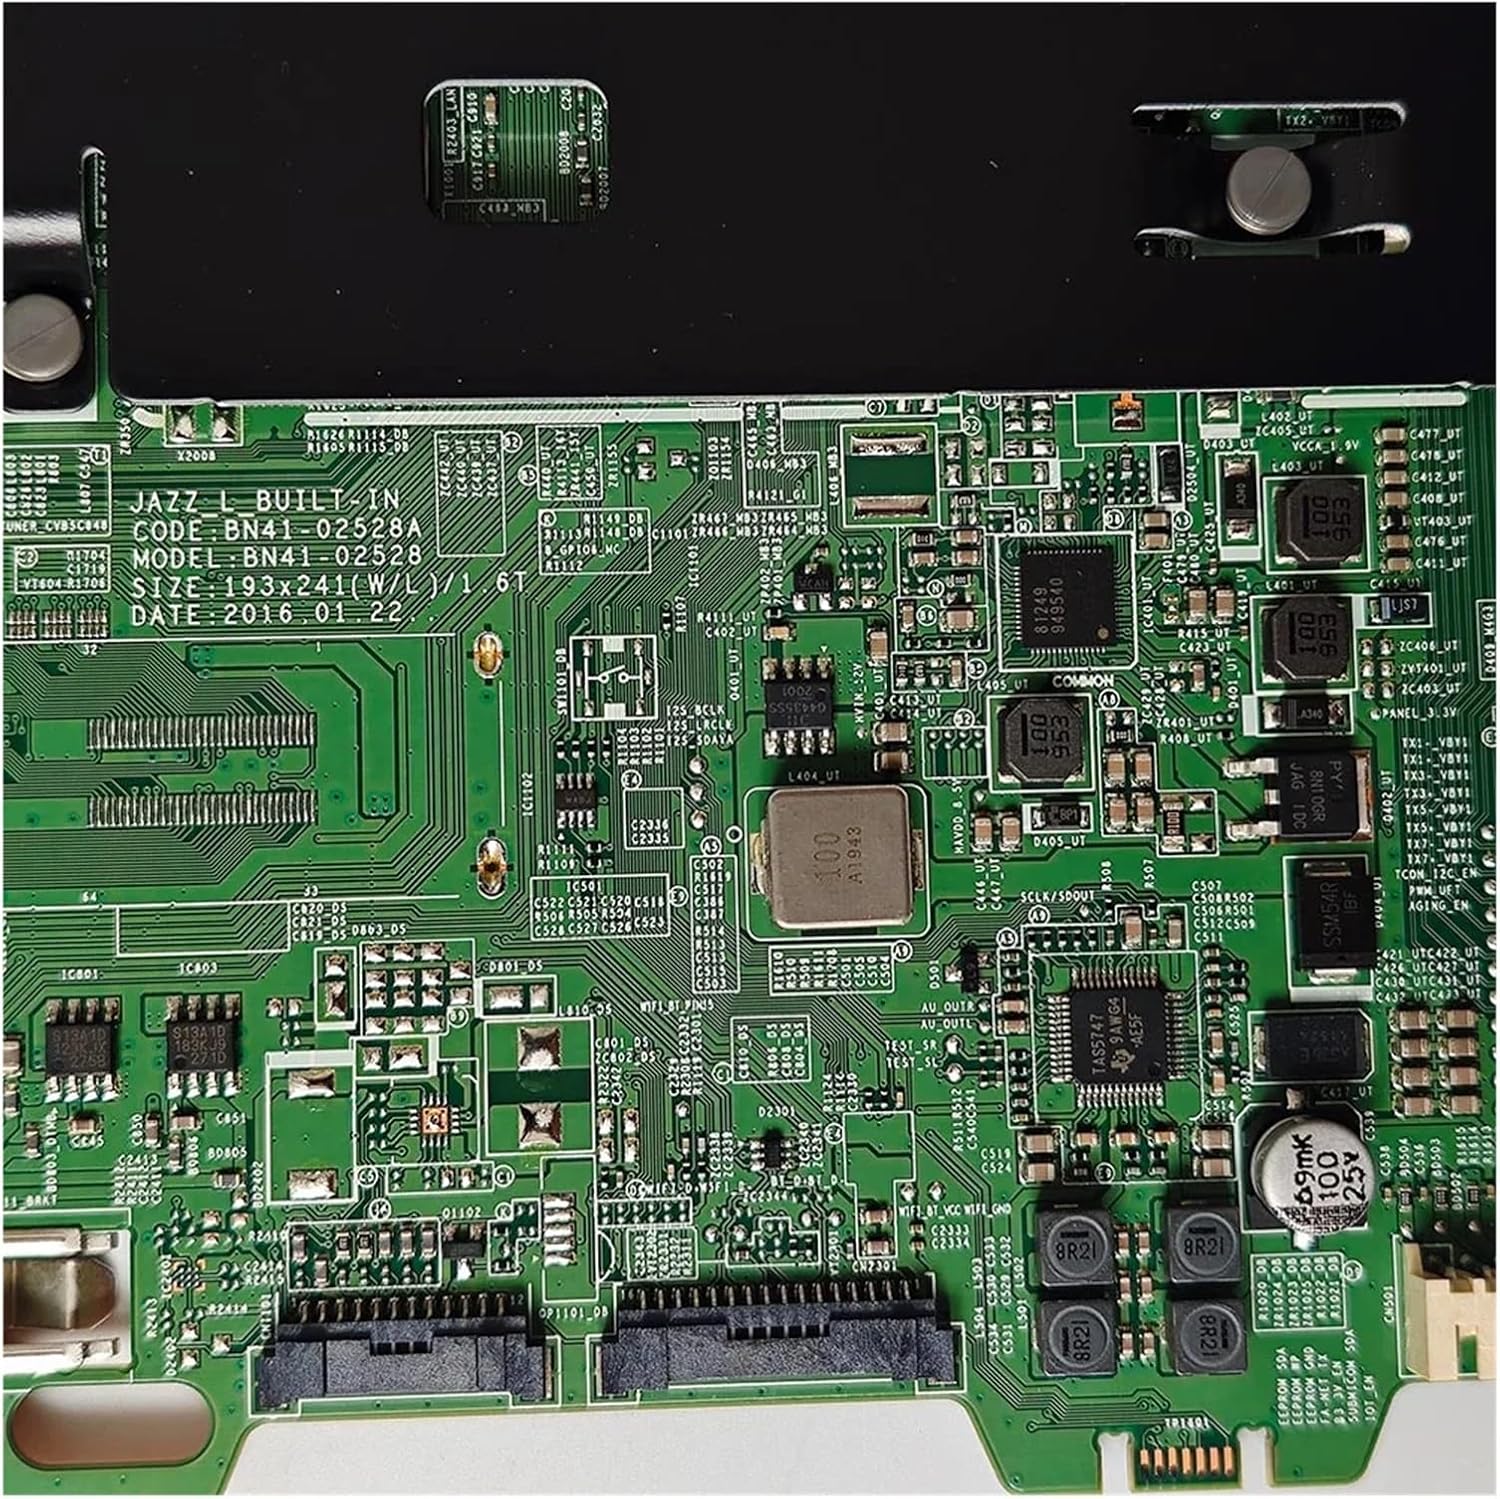


A relevant link extracted from the image for reference: CN10BN9410501HA416N3Y0094
5. Operation
Once correctly installed, the YSVQHHDV TV Motherboard operates as the central processing unit for your television. It manages all input signals from external devices (e.g., HDMI, USB), processes them, and sends the output to the display panel and audio system.
The user interaction with the TV (e.g., changing channels, adjusting volume, navigating menus) is facilitated by the motherboard's firmware and hardware. No direct operation of the motherboard itself is required by the end-user; its function is integrated into the TV's overall system.
6. Maintenance and Care
The YSVQHHDV TV Motherboard is designed for long-term reliability with minimal maintenance. However, adhering to general electronic device care practices can help prolong its lifespan:
- Dust Prevention: Ensure the TV's ventilation openings are clear of dust and debris to prevent overheating, which can degrade electronic components. Periodically clean the TV's exterior with a soft, dry cloth.
- Environmental Conditions: Operate the TV in a stable environment, avoiding extreme temperatures, high humidity, or direct sunlight.
- Power Stability: Use a surge protector to shield the TV from power fluctuations and electrical surges, which can damage sensitive electronic components like the motherboard.
- Professional Service: Do not attempt to clean or repair the internal components of the TV or motherboard yourself unless you are a qualified technician. Refer to professional service for any internal issues.
7. Troubleshooting
If you encounter issues after installing the new motherboard, consider the following common troubleshooting steps. Remember, complex issues may require professional diagnosis and repair.
| Problem | Possible Cause | Solution |
|---|---|---|
| No Power / TV Does Not Turn On | Loose power connection, faulty power supply unit (PSU), incorrect motherboard installation. |
|
| No Picture / Black Screen | Loose display panel cable, incorrect input source, faulty T-Con board or display panel. |
|
| Blurred, Flickering, or Distorted Picture | Loose internal cables, damaged display panel, or software/firmware issues. |
|
| No Audio | Loose speaker connections, incorrect audio settings, faulty audio output. |
|
If these steps do not resolve the issue, it is recommended to seek assistance from a certified television repair technician.
8. Product Specifications
| Attribute | Detail |
|---|---|
| Brand | YSVQHHDV |
| Model Name | congyili (Internal Manufacturer Model) |
| Compatible Part Number | BN41-02528A |
| Package Dimensions | 1.18 x 0.79 x 0.39 inches |
| Item Weight | 1.76 ounces |
| Manufacturer | congyili |
| ASIN | B0F2SZ3QH5 |
| Date First Available | March 28, 2025 |
9. Warranty and Support
For information regarding product warranty, returns, or technical support, please refer to the seller's policy on the platform where the product was purchased. It is recommended to retain your proof of purchase for any warranty claims.
For additional assistance or inquiries about compatible models not listed, please contact the manufacturer or seller directly.
Ask a question about this manual
Ask about setup, troubleshooting, compatibility, parts, safety, or missing instructions. Manuals+ will review the question and use this page’s manual context to help answer it.