1. Product Overview
The Kestanlora Smoke Detector Hidden Camera is a sophisticated 1080P wireless camera designed for discreet indoor surveillance. It integrates advanced features such as motion detection, enhanced night vision, and flexible connectivity options to provide comprehensive monitoring for your home or office. This device is engineered to blend seamlessly into its environment, appearing as a standard smoke detector.
Important Note: This device is designed to resemble a smoke detector but does not function as a smoke detector and will not detect smoke or fire.

Figure 1: Kestanlora Smoke Detector Hidden Camera with a simulated live view on a smartphone.
2. What's in the Box
Upon opening the package, please verify that all the following components are included:
- Kestanlora Smoke Detector Hidden Camera Unit
- Camera Charging Cable (USB)
- Instruction Manual (this document)
- Mounting Screws
- Reset Pin

Figure 2: Product dimensions and key features diagram.
3. Setup and Installation
3.1 Initial Charging
Before first use, fully charge the camera using the provided USB charging cable. A full charge provides approximately 130 minutes of continuous working time. For 24-hour continuous operation, keep the camera connected to a USB power source.
3.2 Micro SD Card Installation (Optional)
The camera supports up to a 128GB Micro SD card (not included) for local video storage. Locate the Micro SD card slot on the device and insert the card gently until it clicks into place. Ensure the card is inserted correctly to avoid damage.
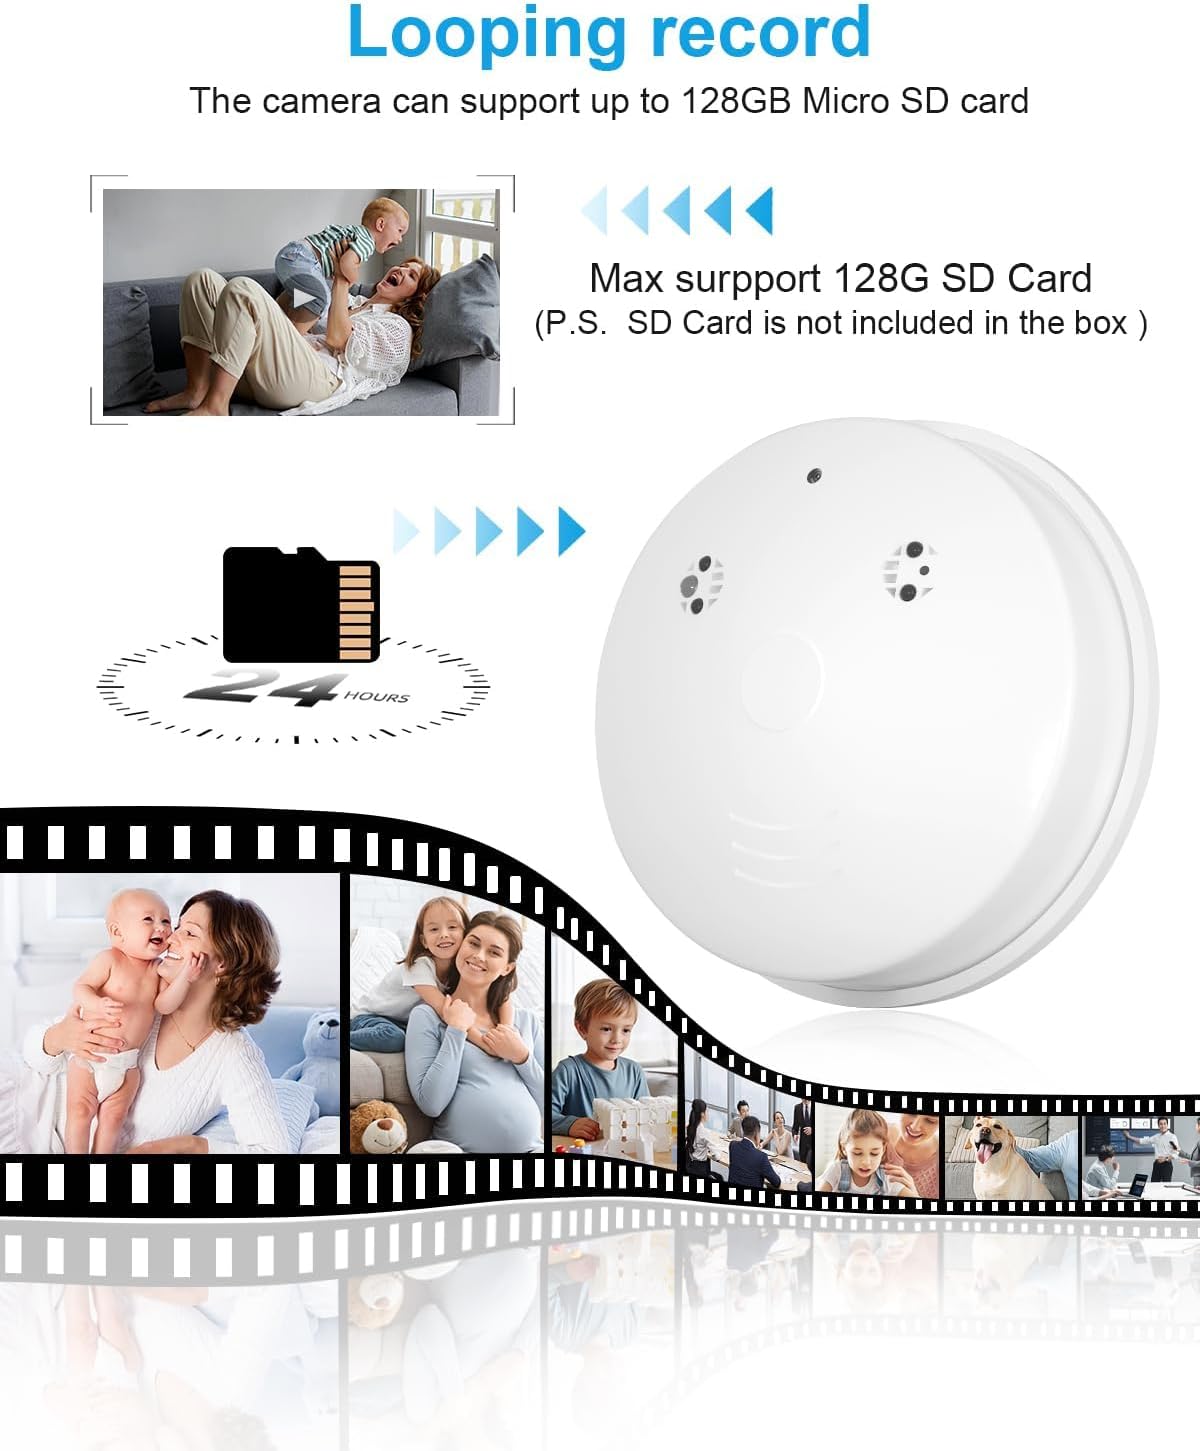
Figure 3: Micro SD card support for continuous loop recording.
3.3 Mounting the Camera
The camera can be mounted on a wall or ceiling using the provided mounting screws. Choose a location that offers the desired viewing angle and is within range of your Wi-Fi network if using P2P mode.
- Identify the mounting plate on the camera unit.
- Mark the desired screw positions on the wall or ceiling.
- Drill pilot holes if necessary and insert wall anchors.
- Secure the mounting plate using the provided screws.
- Attach the camera unit to the mounted plate by twisting it into place.

Figure 4: Remote access via the mobile application.
3.4 Connecting to the App
To operate the camera, you will need to download the companion mobile application. The name of the app is typically provided in the included user guide or on the product packaging. Once downloaded, follow the in-app instructions for connecting your camera.
There are two primary connection methods:
3.4.1 AP Mode (Direct Connection)
In AP (Access Point) mode, you can connect your smartphone directly to the camera's Wi-Fi signal. This mode does not require an external Wi-Fi network and is suitable for local, real-time viewing within a range of approximately 49.2 feet (15 meters) from the camera.
- Power on the camera.
- On your smartphone, go to Wi-Fi settings and connect to the camera's unique Wi-Fi hotspot (usually starts with a specific prefix, check the user guide).
- Open the app, and the camera should automatically be detected for live viewing.
3.4.2 P2P Mode (Remote Connection via 2.4GHz WiFi)
P2P mode allows you to remotely monitor the camera from anywhere in the world, provided the camera is connected to a 2.4GHz Wi-Fi network. This camera only supports 2.4GHz Wi-Fi routers.
- Ensure the camera is powered on and within range of your 2.4GHz Wi-Fi router.
- Open the app and follow the instructions to add a new device.
- Select the P2P connection method and enter your 2.4GHz Wi-Fi network name (SSID) and password when prompted.
- Once connected, you can access the live feed and recordings remotely via the app.
4. Operation
4.1 Live View and Recording
Once connected, open the app to access the live video feed. You can initiate manual recordings or rely on the camera's automatic recording features.

Figure 5: Example of 1080P video quality from the hidden camera.
4.2 Motion Detection & Alert Push
The camera is equipped with motion sensing capabilities. When motion is detected, the camera will automatically send a push notification to your smartphone with an accompanying image. You can then log into the app to view the live feed or review recorded events.
To configure motion detection settings, navigate to the settings menu within the mobile application.
4.3 Continuous Loop Video Recording
When a Micro SD card is installed, the camera supports continuous loop recording. This means that when the memory card is full, the newest recordings will automatically overwrite the oldest files, ensuring continuous operation without manual intervention.
4.4 Night Vision
The camera features 4 infrared lights to enhance night vision, allowing for clear viewing even in low-light conditions. The night vision range is up to 10 meters.

Figure 6: Wide-angle view and night vision illustration.
5. Specifications
| Feature | Detail |
|---|---|
| Model Name | J-kes-yg |
| Video Capture Resolution | 1080p |
| Connectivity Technology | Wireless (Wi-Fi) |
| Wi-Fi Frequency | 2.4GHz only |
| Power Source | Battery Powered (USB rechargeable) |
| Battery Life (Continuous) | Approx. 130 minutes (can operate 24/7 when plugged in) |
| Storage | Max 128GB Micro SD Card (not included) |
| Viewing Angle | 150 Degrees |
| Night Vision Range | 10 Meters |
| Motion Detection | Yes, with alert push notifications |
| Indoor/Outdoor Usage | Indoor |
| Dimensions (L x W x H) | 4 x 4 x 4 inches |
| Item Weight | 6.4 ounces |
| Material | Acrylonitrile Butadiene Styrene (ABS) |
6. Troubleshooting
- Camera not powering on: Ensure the camera is fully charged or connected to a continuous power source via the USB cable.
- Cannot connect to Wi-Fi:
- Verify that your Wi-Fi network is 2.4GHz. This camera does not support 5GHz networks.
- Ensure the camera is within range of your Wi-Fi router.
- Double-check the Wi-Fi password entered in the app.
- Try resetting the camera using the provided reset pin (refer to the specific reset procedure in the included user guide).
- No recording to SD card:
- Ensure the Micro SD card is inserted correctly and fully.
- Verify the SD card is formatted correctly (usually FAT32). Format it via the app settings if available, or on a computer.
- Check if the SD card is faulty or has reached its maximum capacity (though loop recording should overwrite old files).
- Poor video quality or night vision:
- Ensure the camera lens is clean and free from dust or smudges.
- For night vision, ensure there are no obstructions blocking the infrared lights.
- Check your internet connection speed if experiencing lag in live view.
- Motion alerts not received:
- Verify motion detection is enabled in the app settings.
- Check your phone's notification settings to ensure the app is allowed to send push notifications.
- Ensure the camera has a stable internet connection.
7. Maintenance
- Cleaning: Use a soft, dry cloth to clean the camera's exterior. Do not use liquid cleaners or abrasive materials.
- Battery Care: If operating on battery, ensure regular charging to maintain battery health. For continuous operation, keep the camera plugged into a power source.
- Software Updates: Periodically check the mobile application for any available firmware updates for the camera to ensure optimal performance and security.
- Storage Management: If not using loop recording, regularly back up important footage from the Micro SD card and format the card to free up space.