1. Introduction
This manual provides instructions for the installation, operation, and maintenance of the Replacement Driving Wheel Gear Box Module Set. This module is designed to restore the mobility of your compatible Ecovacs Deebot robot vacuum cleaner by replacing a worn or damaged driving wheel assembly.
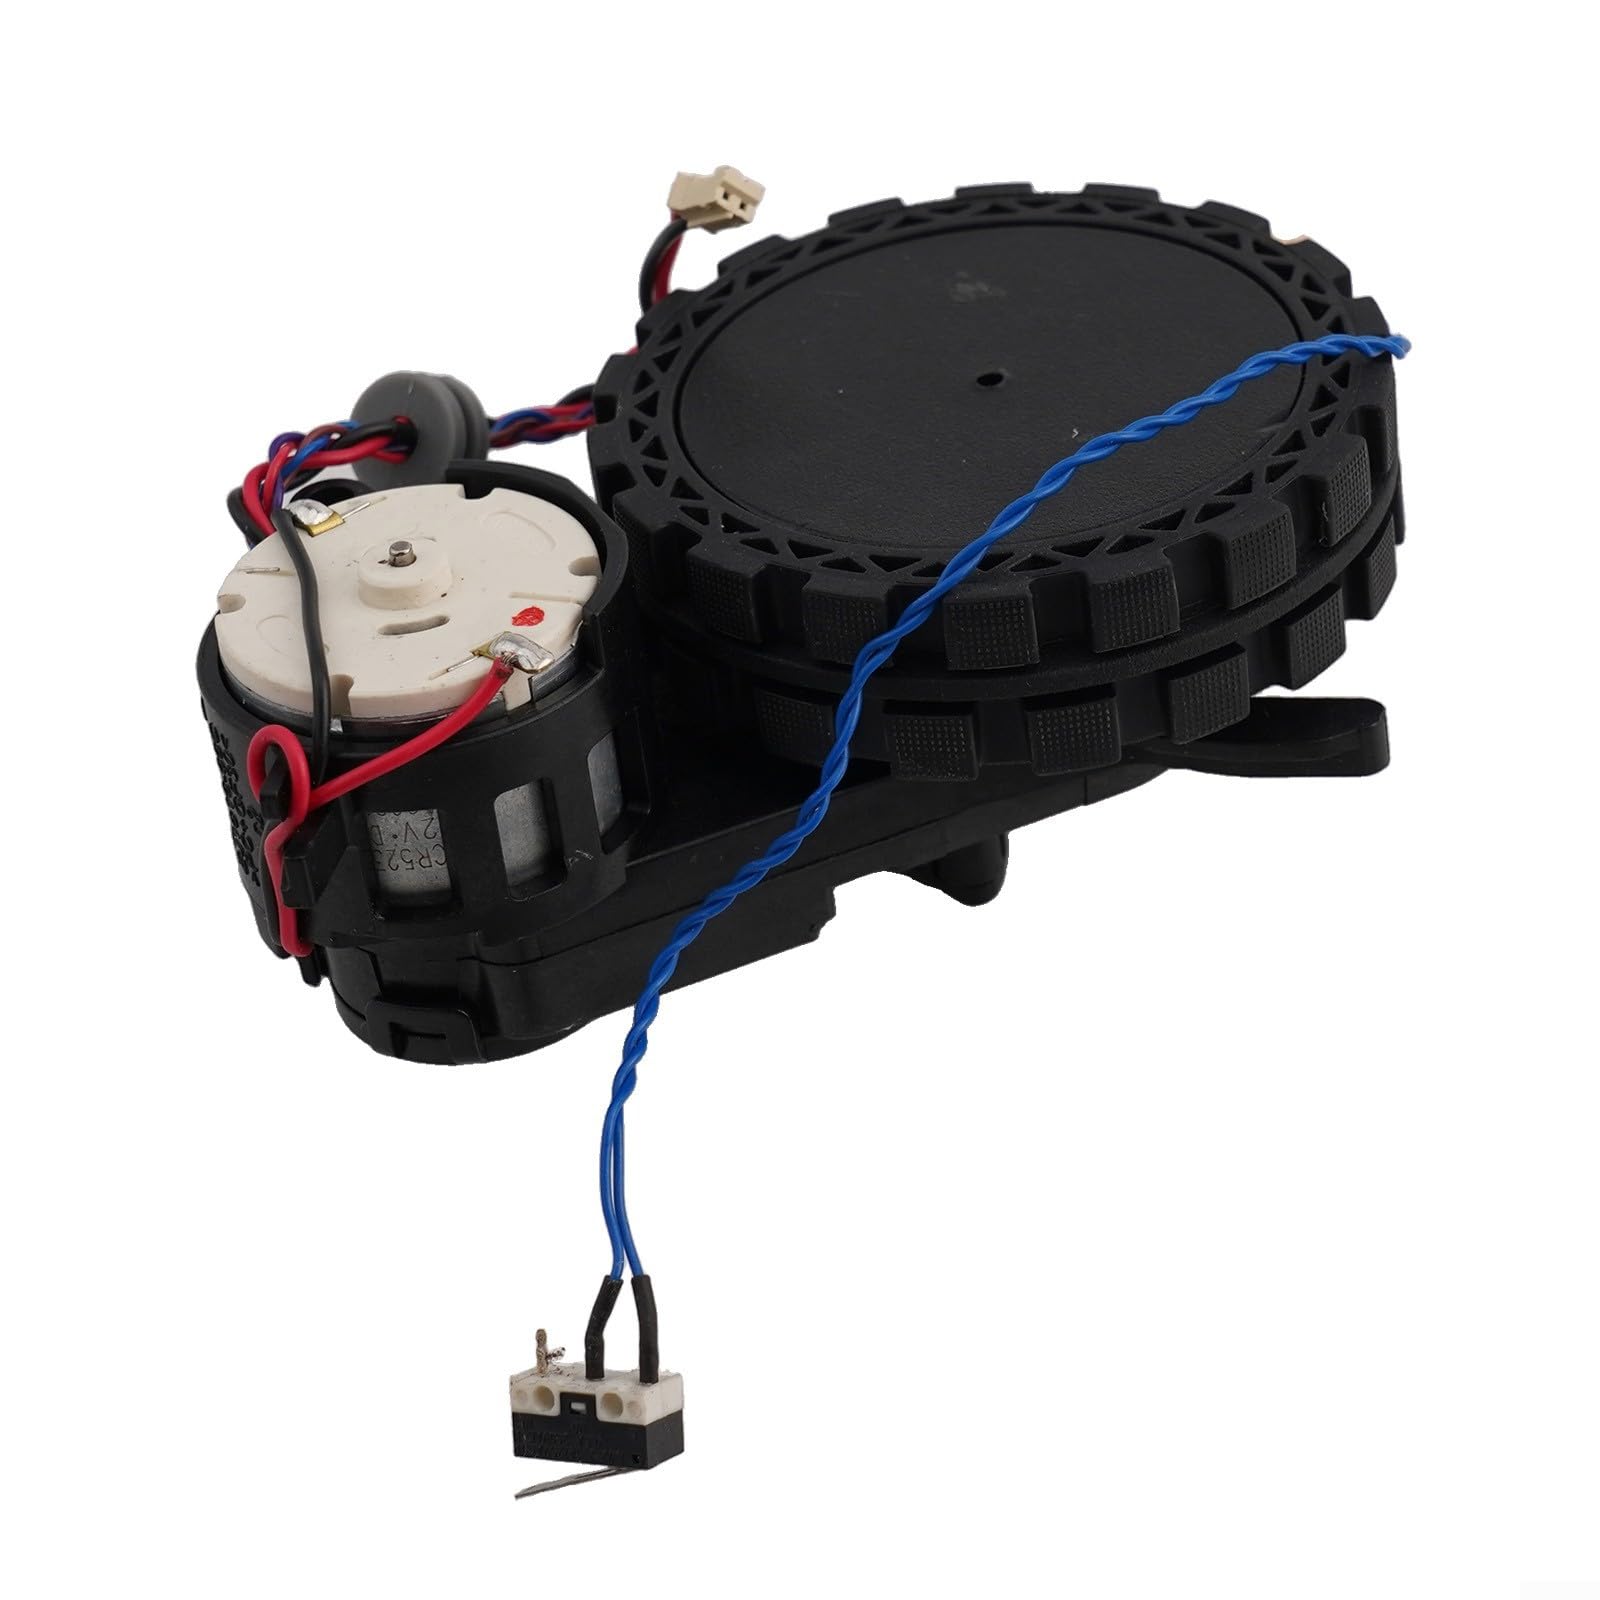
Figure 1: Overview of the Replacement Driving Wheel Gear Box Module. This image displays the complete driving wheel gear box module, showing the wheel, motor, and connecting wires.
2. Compatibility
This Replacement Driving Wheel Gear Box Module Set is compatible with the following Ecovacs Deebot robot vacuum cleaner models:
- Ecovacs Deebot OZMO 920
- Ecovacs Deebot OZMO 950
- Ecovacs Deebot N8
- Ecovacs Deebot N8 PRO
- Ecovacs Deebot N8 PLUS
- Ecovacs Deebot T9
- Ecovacs Deebot T9+
It is also compatible with Ecovacs part numbers 201-1921-0027 and 201-1921-0026.
3. Installation Instructions
Important: Before beginning any installation, ensure your robot vacuum cleaner is powered off and disconnected from its charging base. For detailed disassembly instructions specific to your robot model, please refer to your robot's original service manual or manufacturer's guidelines.
- Prepare the Robot: Place the robot vacuum upside down on a clean, soft surface to prevent scratches.
- Access the Wheel Module: Locate the screws or clips securing the bottom cover and the existing wheel module. Carefully remove them to gain access to the internal components.
- Disconnect Old Module: Gently disconnect the wiring harness from the old wheel module. Note the orientation and connection points for reassembly.
- Remove Old Module: Unscrew or unclip the old wheel module from its housing and remove it.
- Install New Module: Position the new driving wheel gear box module into the designated slot. Ensure it fits securely.
- Connect Wiring: Carefully connect the wiring harness to the new module. Ensure all connections are firm and correctly oriented.
- Secure Module: Fasten the new wheel module with the screws or clips previously removed.
- Reassemble Robot: Reattach the bottom cover and secure it with its screws or clips.
- Test Functionality: Place the robot back on its wheels and perform a test run to ensure the new wheel module operates correctly.

Figure 2: New Driving Wheel Module with Wiring. A detailed view of the driving wheel module, highlighting the electrical connections and the motor assembly.
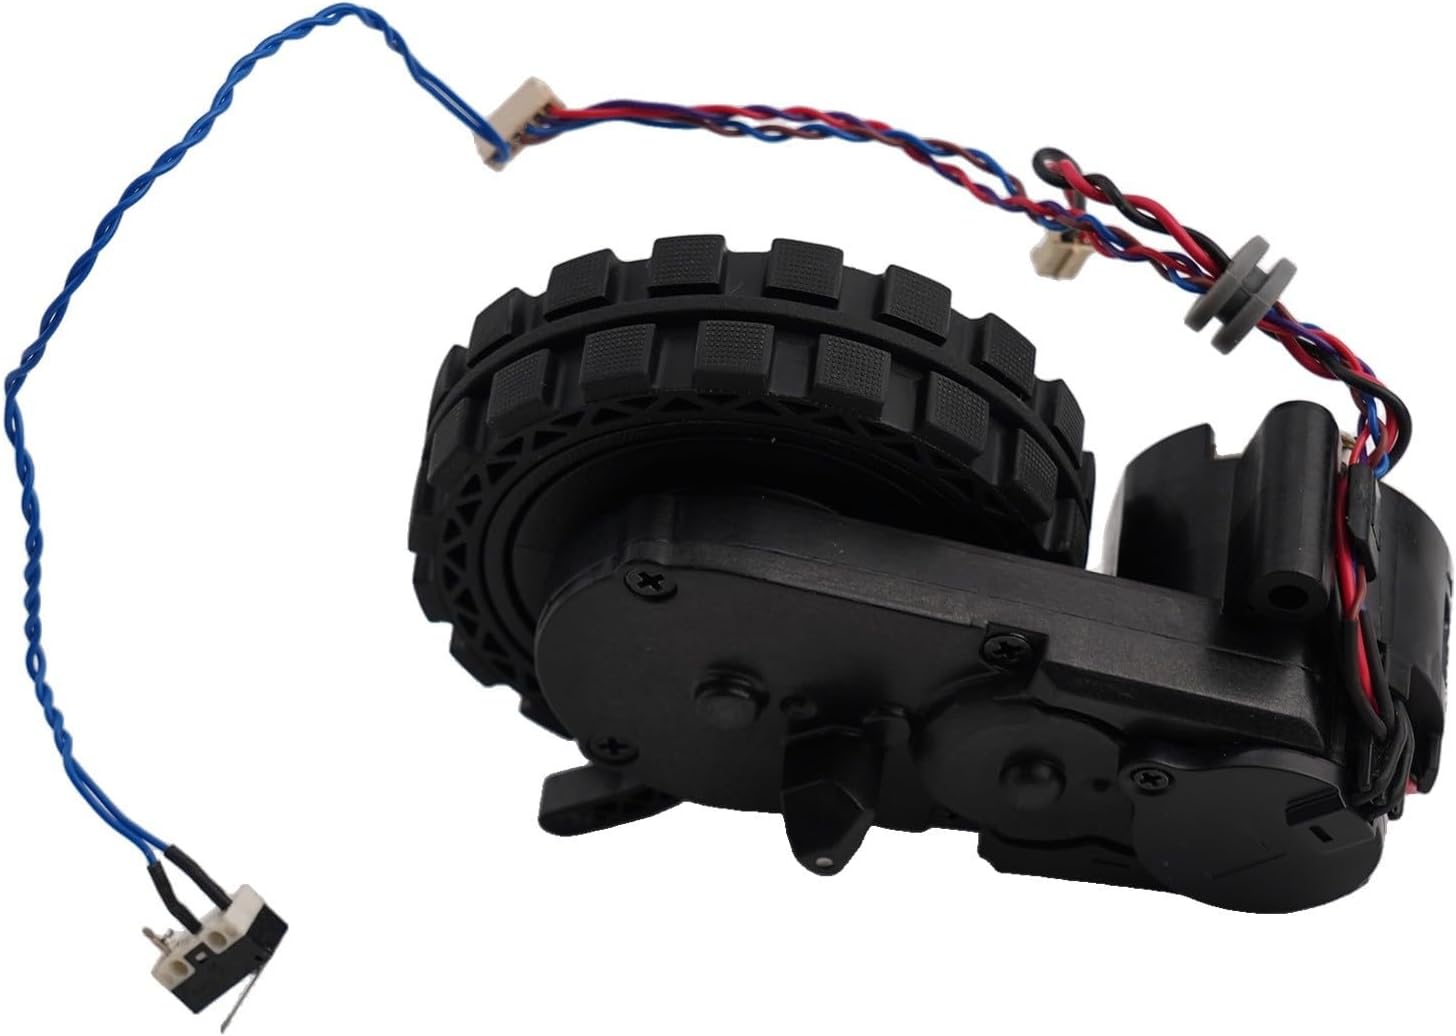
Figure 3: Side View of the Driving Wheel Module. This image provides a side perspective of the driving wheel module, showing the gear housing and wheel tread.

Figure 4: Left and Right Driving Wheel Modules. This image shows two wheel modules, one potentially for the left side and one for the right, demonstrating their similar yet distinct configurations.
4. Operation
Once correctly installed, the driving wheel gear box module functions automatically as part of your robot vacuum cleaner's navigation and movement system. It provides the necessary traction and propulsion for the robot to move across various surfaces and perform its cleaning tasks. No specific user interaction is required for the module itself after installation.
5. Maintenance
To ensure the longevity and optimal performance of your robot vacuum's driving wheel module, consider the following maintenance tips:
- Regular Cleaning: Periodically inspect the wheels for tangled hair, dust, or debris. Use a small brush or cloth to clean the wheel treads and axle area.
- Check for Obstructions: Ensure no foreign objects are lodged around the wheel mechanism, which could impede movement or cause damage.
- Avoid Harsh Chemicals: Do not use strong cleaning agents or solvents on the wheel module, as these can damage the plastic or rubber components.
- Inspect for Wear: Over time, the wheel treads may wear down. If you notice significant wear or reduced traction, consider replacing the module.
6. Troubleshooting
If your robot vacuum experiences issues related to movement after installing the new wheel module, consider these common troubleshooting steps:
- Robot Not Moving:
- Ensure the wheel module is correctly installed and all electrical connections are secure.
- Check for any obstructions preventing the wheel from turning freely.
- Verify that the robot's battery is charged.
- Uneven Movement or Turning in Circles:
- Confirm that both left and right wheel modules (if applicable) are functioning correctly.
- Inspect for debris or hair caught in one of the wheels, causing uneven resistance.
- Ensure the wheel module is fully seated and not loose.
- Unusual Noises from Wheel:
- Check for any foreign objects caught in the wheel or gear mechanism.
- If the noise persists, the internal gears may be damaged, requiring further inspection or replacement.
If issues persist after troubleshooting, consult the robot vacuum's original user manual or contact the robot manufacturer's support.
7. Specifications
| Product Name | Replacement Driving Wheel Gear Box Module Set |
| Brand | Generic |
| Model Number | 3DJ8N7KX2YNA66G8467O |
| Product Dimensions | 4.33 x 3.15 x 1.18 inches (11 x 8 x 3 cm) |
| Item Weight | 6.3 ounces (179 grams) |
| Color | Black (As Picture Show) |
| Batteries Included | No |
| Manufacturer | FANG |
8. Warranty and Support
This product is a replacement part. For specific warranty information, please refer to the retailer or manufacturer from whom you purchased this module. For technical support regarding the installation or function of this replacement part, please contact the seller directly. For issues related to your Ecovacs Deebot robot vacuum cleaner's overall operation, please consult the original manufacturer's support channels.