Bosch 06019N40F1
BOSCH GWS 18V-11 S Cordless Angle Grinder Kit User Manual
Brand: Bosch | Model: 06019N40F1
Product Overview
The BOSCH GWS 18V-11 S Angle Grinder is a versatile powerhouse, delivering 1100W of equivalent corded power for a wide range of light-to-medium applications. It ensures precision and efficiency for tasks such as deburring, rust removal, line maintenance, and repairs.
Key features include an intuitive 6-speed dial wheel for seamless speed adjustments, an anti-vibration handle, and a slim ergonomic grip designed to reduce fatigue during extended use. Built-in safety features like kickback control, restart protection, and overload protection enhance user safety. The durable brushless motor and optimized overload capacity contribute to long-lasting performance.

Image: The complete BOSCH GWS 18V-11 S Cordless Angle Grinder Kit, including the angle grinder, a battery, a charger, and a blue carrying case.
Setup and Assembly
1. Unpacking the Kit
Carefully remove all components from the packaging. Ensure all items listed below are present:
- 1 x GWS 18V-11S - 100mm Cordless Angle Grinder
- Battery (if included in kit)
- Charger (if included in kit)
- Carrying Case
- Auxiliary Handle
- Protective Guard
- Flange Nut and Backing Flange
- Spanner Wrench
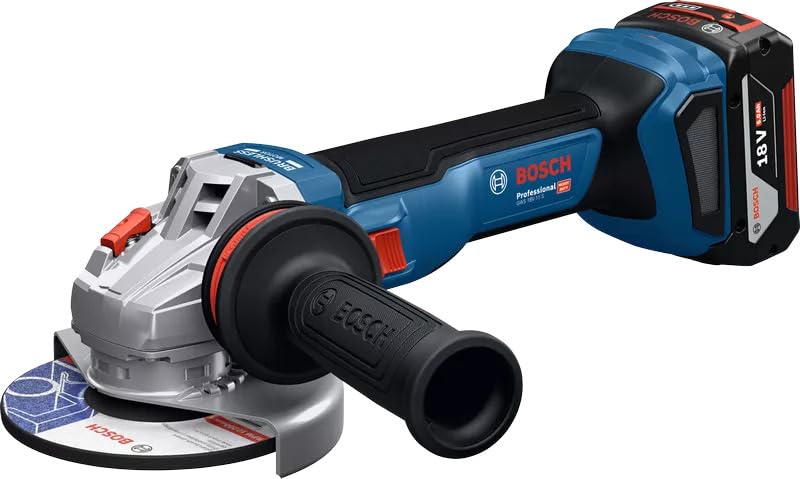
Image: A detailed view of the BOSCH GWS 18V-11 S Cordless Angle Grinder, showing the main body, handle, and attached 18V battery.
2. Battery Charging and Installation
- If the battery is not fully charged, connect it to the charger according to the charger's instructions. Allow the battery to charge completely before first use.
- To install the battery, slide it into the battery slot on the grinder until it clicks securely into place. Ensure it is firmly seated to prevent accidental dislodgement during operation.
- To remove the battery, press the release button (if present) and slide the battery out.
3. Attaching the Auxiliary Handle
The auxiliary handle can be screwed into one of the designated threaded holes on the gear head, depending on the desired working position and user preference. Ensure it is tightened securely.
4. Mounting the Protective Guard
Position the protective guard over the spindle collar. Rotate it to ensure it covers the grinding or cutting disc adequately and provides maximum protection. Secure it firmly using the locking mechanism.
5. Installing Grinding/Cutting Discs
- Ensure the grinder is switched off and the battery is removed.
- Place the backing flange onto the spindle.
- Position the desired grinding or cutting disc onto the backing flange, ensuring it sits flat.
- Screw the flange nut onto the spindle and tighten it firmly using the spanner wrench provided.
- Always use discs appropriate for the material and application.
Operating Instructions
1. Safety Precautions
Always wear appropriate personal protective equipment (PPE) including safety glasses, hearing protection, gloves, and a dust mask. Ensure your work area is clear of obstructions and well-ventilated. Never operate the grinder without the protective guard properly installed.
2. Powering On and Off
- To switch on: Slide the ON/OFF switch to the "ON" position.
- To switch off: Slide the ON/OFF switch to the "OFF" position.
- The grinder features restart protection, preventing it from automatically restarting after a power interruption if the switch is still in the "ON" position.
3. Speed Control
The intuitive 6-speed dial wheel allows you to adjust the rotational speed of the disc to match the material and application. Lower speeds are suitable for delicate work or softer materials, while higher speeds are for aggressive cutting or grinding on harder materials. Adjust the speed before starting the operation.
4. Grinding and Cutting Techniques
Hold the grinder firmly with both hands. Apply steady, even pressure. For cutting, allow the disc to do the work; do not force it. For grinding, move the grinder smoothly across the surface. Be aware of kickback control, which automatically shuts down the tool if it jams.

Image: A worker wearing safety gear, including a hard hat and face shield, using the BOSCH GWS 18V-11 S angle grinder to cut a metal component on a railway track, generating sparks.

Image: A worker in safety attire using the BOSCH GWS 18V-11 S angle grinder to cut rebar on a concrete surface at a construction site, with sparks visible.

Image: A worker wearing a hard hat and respirator mask using the BOSCH GWS 18V-11 S angle grinder to smooth or deburr a large, curved white surface, creating dust.
Maintenance
1. Cleaning
Regularly clean the ventilation slots of the grinder to prevent overheating. Use a soft brush or compressed air to remove dust and debris. Do not use water or solvents. Keep the handle and grip surfaces clean and dry.
2. Disc Replacement
Replace worn or damaged grinding/cutting discs immediately. Always ensure the replacement disc is compatible with the grinder's specifications (diameter, bore size, maximum RPM).
3. Storage
Store the angle grinder and its accessories in a dry, secure place, away from direct sunlight and extreme temperatures. Use the provided carrying case for protection during storage and transport.
4. Battery Care
Store batteries in a cool, dry place. Do not expose them to extreme heat or cold. For long-term storage, it is recommended to store batteries at a partial charge (e.g., 50%).
Troubleshooting
| Problem | Possible Cause | Solution |
|---|---|---|
| Grinder does not start. | Battery not charged or improperly installed. Restart protection activated. Overload protection activated. | Ensure battery is fully charged and securely installed. Switch the tool off and then on again. Allow the tool to cool down. Reduce load. |
| Reduced power or performance. | Low battery charge. Worn or incorrect disc. Overheating. | Recharge the battery. Replace the disc with a new, appropriate one. Allow the tool to cool down. Clean ventilation slots. |
| Excessive vibration. | Disc improperly installed or damaged. Loose auxiliary handle. | Check disc installation; replace if damaged. Tighten the auxiliary handle. |
| Tool stops unexpectedly (Kickback Control). | Disc jammed in workpiece. | Remove the tool from the workpiece. Switch off, then on again. Avoid forcing the tool. |
Product Specifications
| Feature | Detail |
|---|---|
| Brand | Bosch |
| Model Number | 06019N40F1 |
| Power Source | Battery Powered (18V) |
| Equivalent Corded Power | 1100 Watts |
| Speed Control | 6-Speed Dial Wheel |
| Item Weight | 1.7 Kilograms (1 kg 700 g) |
| Product Dimensions | 32.5L x 26.5W x 11.8H Centimeters |
| Material | Metal, Plastic, Rubber, Electrical Components |
| Motor Type | Brushless Motor |
| Safety Features | Kickback Control, Restart Protection, Overload Protection |
| Included Components | 1 x GWS 18V-11S - 100mm Kit (includes grinder, battery, charger, case) |
| Country of Origin | China |

Image: An illustration showing the AMPShare battery system, highlighting its compatibility with a wide range of professional tools from various brands, including Bosch Professional.
Warranty Information
The warranty for this BOSCH product is valid for 1 year from the invoice date. An invoice copy is required for all warranty claims.
For extended warranty and rewards, please refer to the BOSCH BeConnected App mentioned on the product packaging.
Customer Support
For any queries, technical assistance, or warranty claims, please contact BOSCH Power Tools customer service:
- India Toll-Free Customer Service Number: 18004258665
- Manufacturer (China): BOSCH Power Tools (China) Ltd, No. 567 Binkang Road, Binjiang District, Hangzhou, China, 310052. Phone: 400-826-8484
- Importer/Packer (India): BOSCH Limited (Power Tools), Bosch Ltd., Post Box No: 3000, Hosur Road, Adugodi, Bangalore - 560030, India.
You can also visit the official Bosch store on Amazon for more information: Bosch Store on Amazon.in