Introduction
Thank you for choosing the Generic WiFi Video Peephole Doorbell Viewer Camera. This device provides enhanced home security by allowing you to monitor your doorstep, communicate with visitors, and record events directly from your smartphone or the integrated display. This manual will guide you through the installation, operation, and maintenance of your new peephole doorbell system.
Safety Information
- Do not expose the device to extreme temperatures, direct sunlight, or excessive moisture.
- Use only the specified power supply and charging methods.
- Keep the device out of reach of children.
- Do not attempt to disassemble or repair the device yourself. Contact qualified personnel for service.
- Ensure proper ventilation around the device during operation.
Package Contents
Please check the package contents to ensure all items are present:
- Peephole Doorbell Camera (Outdoor Unit)
- 4.3-inch TFT Color LCD Screen (Indoor Unit)
- Mounting Bracket
- Screws and Fasteners
- USB Charging Cable
- User Manual (this document)
- Optional: Micro SD Card (if purchased with the device)
Product Overview
Familiarize yourself with the components of your WiFi Video Peephole Doorbell Viewer Camera.
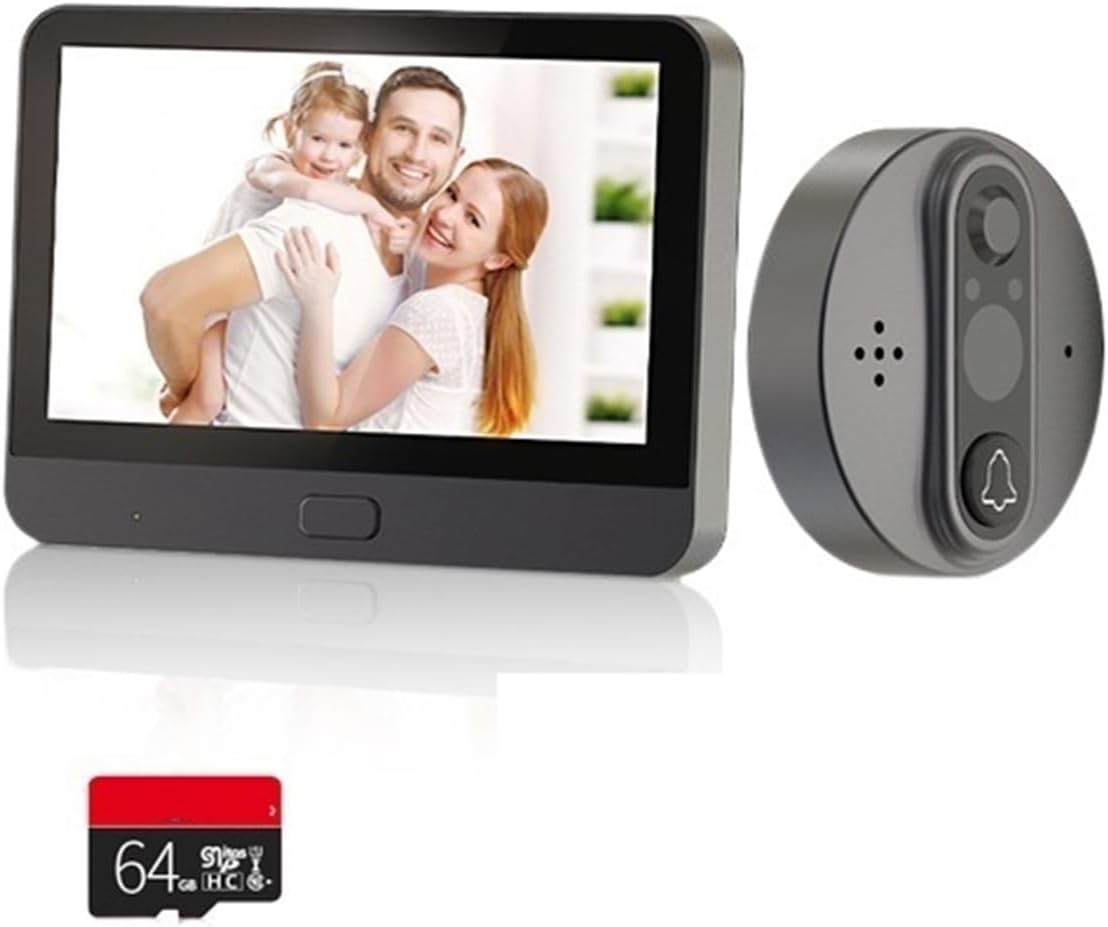
Image: The complete WiFi Video Peephole Doorbell system, showing the outdoor camera unit, the indoor display monitor, and an optional 64GB Micro SD card.

Image: An illustrative diagram highlighting key features such as 2-way audio, low power consumption, video recording, automatic wake-up, HD imaging, motion detection, and night vision capabilities.
Indoor Unit (Monitor)
- 4.3-inch TFT LCD Screen: Displays live view from the outdoor camera.
- Power Button: Turns the device on/off and wakes up the screen.
- Micro SD Card Slot: For local storage of recorded videos and photos (supports up to 128GB).
- Charging Port: USB port for charging the built-in 5000mAh lithium-ion battery.
Outdoor Unit (Camera)
- HD Camera Lens: Captures video and images (1 Million/2 Million pixels, 120-degree wide angle).
- PIR Motion Sensor: Detects movement outside the door.
- Infrared (IR) Lights: For night vision functionality.
- Doorbell Button: Activates the indoor monitor and sends notifications.
- Microphone & Speaker: For two-way audio communication.
Setup and Installation
1. Pre-Installation Checks
- Door Thickness: Ensure your door thickness is between 35mm and 130mm.
- Peephole Diameter: Ensure your existing peephole diameter is between 15mm and 60mm.
- Charge Battery: Fully charge the indoor unit's built-in battery before installation.

Image: Detailed dimensions of both the indoor display unit (132.80mm x 95.00mm x 17.00mm) and the outdoor camera unit (58.00mm x 58.00mm x 20.00mm), crucial for installation planning.
2. Physical Installation
- Remove your existing peephole from the door.
- Insert the outdoor camera unit through the peephole from the outside of the door. Ensure the camera is facing straight forward.
- From the inside of the door, attach the mounting bracket to the outdoor unit's threaded tube. Secure it firmly with the provided screws.
- Connect the cable from the outdoor unit to the corresponding port on the indoor monitor unit.
- Align the indoor monitor unit with the mounting bracket and slide it down to secure it in place.
3. App Installation and Pairing
The device supports "Watch Home" or "Tuya Smart" APP. Download one of these apps from your smartphone's app store (Google Play Store for Android, Apple App Store for iOS).
- Open the chosen app and register for an account if you don't have one.
- Follow the in-app instructions to add a new device. Select "Video Doorbell" or "Smart Camera" category.
- Power on the indoor monitor unit. The device will enter pairing mode (usually indicated by a flashing light or prompt on the screen).
- Connect your smartphone to a 2.4GHz Wi-Fi network (5GHz networks are not supported).
- Enter your Wi-Fi password in the app. The app will generate a QR code.
- Hold your smartphone with the QR code in front of the outdoor camera lens until you hear a confirmation sound from the doorbell.
- Once paired, you can name your device in the app and begin using its smart features.
Operating Instructions
1. Basic Operation
- Live View: Press the power button on the indoor unit to wake up the screen and view live footage from the outdoor camera. You can also access live view via the mobile app.
- Two-Way Intercom: When a visitor presses the doorbell button, the indoor unit will ring, and your smartphone will receive a notification. You can answer the call from either the indoor unit or the app to speak with the visitor.
- Photo/Video Recording: The device automatically records video when motion is detected or the doorbell is pressed. You can also manually capture photos or record videos from the live view interface on the indoor unit or app. Recordings are saved to the Micro SD card (if installed) or cloud service (if subscribed).
2. Motion Detection
The built-in PIR motion sensor detects movement outside your door. When motion is detected, the device will:
- Automatically record a video clip.
- Send an alarm notification to your linked mobile app.
You can adjust the motion sensor sensitivity (low, middle, high) within the mobile app settings to minimize false alarms.

Image: Illustrates the 24-hour Wi-Fi connection monitoring capability, showing an alarm notification on a smartphone, indicating enhanced security and real-time alerts.
3. Night Vision
The device is equipped with infrared (IR) lights that automatically activate in low-light conditions, providing clear black-and-white video footage even in complete darkness.

Image: A visual comparison demonstrating the doorbell's 120-degree wide-angle view during both day and night, alongside a smartphone display showing a visitor notification.
4. Sharing Device Access
You can share access to your doorbell with up to 4 other mobile app users, allowing family members to view the outdoor situation and receive notifications.
- In the mobile app, navigate to the device settings.
- Look for the "Share Device" or "Device Sharing" option.
- Enter the account details (e.g., email or phone number) of the person you wish to share with. They must also have an account on the same app.
- The invited user will receive a notification and can accept the invitation to gain access.

Image: Depicts various individuals and families simultaneously viewing the doorbell's live feed on their mobile phones, showcasing the convenient device sharing functionality.
Maintenance
1. Battery Charging
The indoor unit has a built-in 5000mAh rechargeable lithium-ion battery. Under normal use (3-5 times a day), it provides approximately 30 days of standby time. The mobile app will provide real-time reminders when the battery power is less than 5%, indicating it's time to recharge.
- Connect the provided USB charging cable to the charging port on the indoor unit.
- Connect the other end of the USB cable to a standard USB power adapter (not included) or a computer USB port.
- The charging indicator light (if present) will show charging status.
2. Cleaning
To ensure optimal performance, periodically clean the camera lens and the display screen.
- Use a soft, dry, lint-free cloth to gently wipe the camera lens and screen.
- Do not use liquid cleaners, aerosols, or abrasive solvents.
Troubleshooting
| Problem | Possible Cause | Solution |
|---|---|---|
| Device won't power on. | Low battery. | Charge the indoor unit's battery for several hours. |
| Cannot connect to Wi-Fi. | Incorrect Wi-Fi password; 5GHz Wi-Fi network; too far from router. | Ensure correct 2.4GHz Wi-Fi password. Move closer to router. Restart router and device. |
| No motion detection alerts. | Motion detection disabled; sensitivity too low; network issues. | Enable motion detection in app settings. Increase sensitivity. Check Wi-Fi connection. |
| Poor video quality. | Dirty camera lens; poor lighting; weak Wi-Fi signal. | Clean the camera lens. Ensure adequate lighting. Improve Wi-Fi signal strength. |
| App cannot link device (low battery). | Battery power is critically low (less than 5%). | Immediately charge the indoor unit. The app will regain connection once sufficient power is restored. |
Specifications
| Power Supply | Rechargeable 5000mAh lithium-ion battery (built-in) |
| Camera Resolution | HD 1 Million pixels / FHD 2 Million pixels |
| Display Resolution | 1280 x 720 |
| Camera View Angle | 120 degrees |
| Display Screen | 4.3 inch TFT color LCD screen |
| Compatible APP | Watch Home / Tuya Smart |
| Motion Sensor Reaction Time | 1 to 3 seconds delay (high sensitivity) |
| Photo Format | JPG |
| Video Format | .avi (requires TF card or cloud service) |
| Memory Card Support | Up to 128GB (Micro SD) |
| Motion Sensor Detect Distance | Approximately 2 meters |
| Door Thickness Compatibility | 35mm - 130mm |
| Peephole Diameter Compatibility | 15mm - 60mm |
| Working Temperature | -20°C to 55°C (-4°F to 131°F) |
| Model Color | R10 |
| Manufacturer | YUD5DAS |
| Country of Origin | China |
Warranty and Support
Warranty Information
This product comes with a 3-month warranty from the date of purchase. The warranty covers manufacturing defects and malfunctions under normal use. It does not cover damage caused by misuse, accidents, unauthorized modifications, or improper installation.
Customer Support
If you encounter any issues or have questions regarding your WiFi Video Peephole Doorbell Viewer Camera, please contact your retailer or the manufacturer's customer support. Please have your product model (R10) and purchase details ready when contacting support.
For further assistance, you may refer to the official website of the "Watch Home" or "Tuya Smart" app for FAQs and community support.


