1. Introduction
This manual provides essential information for the safe and efficient use of your CANDY Smart Inverter Washer Dryer, model CSWS496TWMRRE/FR. Please read these instructions carefully before installing, operating, or performing maintenance on the appliance. Keep this manual for future reference.
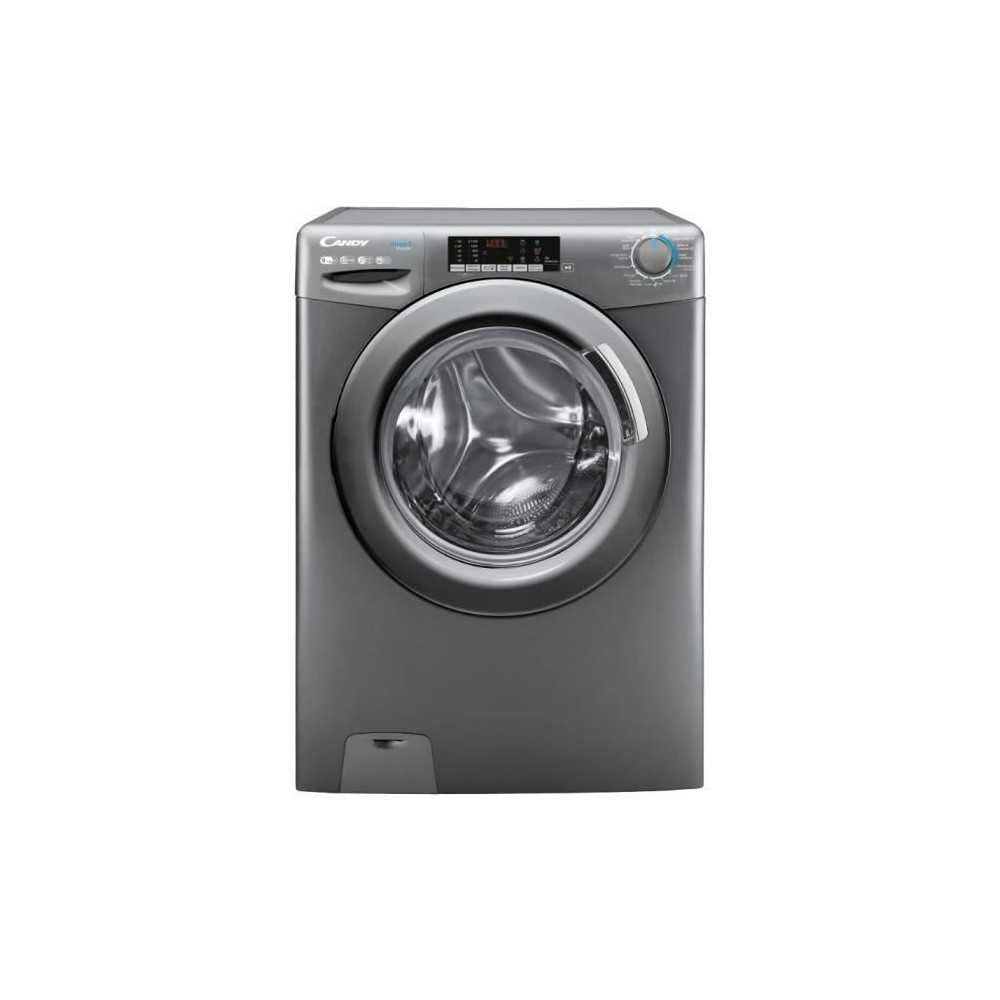
Image 1.1: Front view of the CANDY Smart Inverter Washer Dryer.
2. Safety Information
Always follow basic safety precautions when using electrical appliances to reduce the risk of fire, electric shock, and injury to persons. This appliance is intended for domestic use only.
- Ensure the appliance is properly grounded.
- Do not allow children to play with or operate the appliance.
- Do not touch the appliance with wet hands.
- Unplug the appliance before cleaning or performing any maintenance.
- Do not wash or dry articles that have been cleaned in, washed in, soaked in, or spotted with combustible or explosive substances.
- Keep the area around the exhaust opening free from the accumulation of lint, dust, and dirt.
3. Product Overview
3.1. Components
- Control Panel: Features a program selector dial, digital display, and touch buttons for various functions.
- Detergent Drawer: Located on the top left, for adding detergent and fabric softener.
- Drum: Stainless steel interior for washing and drying clothes.
- Door: Front-loading door with a secure latch.
- Filter: Located at the bottom front, for collecting lint and foreign objects.
3.2. Control Panel

Image 3.1: Detailed view of the control panel.
The control panel allows you to select wash and dry programs, adjust settings, and monitor the cycle status. Key elements include:
- Program Selector Dial: Used to choose from 15 available wash and dry programs.
- Digital Display: Shows remaining time, error codes, and selected options.
- Temperature Selection: Adjusts wash water temperature.
- Spin Speed Selection: Modifies the spin cycle speed up to 1400 rpm.
- Delay Start: Sets a delayed start time for the cycle (1-24 hours).
- Options Buttons: Activates special functions like Steam, Mix Power System, and quick cycles.
3.3. Detergent Drawer
The detergent drawer has compartments for pre-wash detergent, main wash detergent, and fabric softener. Refer to the markings on the drawer for correct placement.
3.4. Drum Interior

Image 3.2: Interior of the washer dryer drum.
The stainless steel drum is designed for effective washing and drying. Ensure no foreign objects are left inside before starting a cycle.
4. Installation
4.1. Unpacking
- Remove all packaging materials, including the polystyrene base and any inserts in the drum.
- Remove the transport bolts from the rear of the appliance. Keep these bolts for future transport.
4.2. Positioning
- Place the appliance on a firm, level floor.
- Adjust the feet to ensure the machine is stable and level.
- Ensure there is adequate space around the appliance for ventilation.

Image 4.1: Example of washer dryer placement in a domestic environment.
4.3. Water and Electrical Connections
- Connect the water inlet hose to a cold water tap.
- Position the drain hose into a standpipe or sink, ensuring it is securely fixed to prevent displacement during operation.
- Plug the power cord into a grounded electrical outlet (230 Volts).
5. Operating Instructions
5.1. Before First Use
Run a short wash cycle without laundry and detergent to clean the drum and remove any manufacturing residues.
5.2. Loading Laundry
- Open the door and load laundry into the drum, ensuring not to overload (max 9 kg for wash, 6 kg for dry).
- Close the door firmly.
5.3. Adding Detergent and Softener
Pull out the detergent drawer and add appropriate amounts of detergent and fabric softener to their respective compartments. Close the drawer.
5.4. Program Selection
- Turn the program selector dial to choose the desired wash or dry program. The appliance offers 15 programs, including 7 quick cycles.
- The digital display will show the default settings for the selected program.
5.5. Adjusting Settings and Special Functions
- Temperature: Press the temperature button to adjust the wash temperature (e.g., 20°, 30°, 40°, 60°, 90°).
- Spin Speed: Press the spin speed button to select the desired spin speed (e.g., 400, 800, 1000, 1400 rpm).
- Delay Start: Press the delay start button repeatedly to set a delay from 1 to 24 hours.
- Steam Function: Activates the steam option to reduce wrinkles and refresh clothes.
- Mix Power System: Ensures thorough cleaning by pre-mixing water and detergent.
- Quick Cycles: Select one of the 7 rapid cycles, including a full load program in 59 minutes.
5.6. Starting the Cycle
Press the Start/Pause button to begin the selected program. The display will show the remaining time.
5.7. End of Cycle
At the end of the cycle, the appliance will signal with an audible alert and/or a message on the display. Open the door and remove the laundry.
6. Maintenance
6.1. Cleaning the Detergent Drawer
Regularly clean the detergent drawer to prevent residue buildup. Remove the drawer, rinse it under running water, and clean any stubborn deposits with a brush. Reinsert the drawer.
6.2. Cleaning the Drum
Use the dedicated 'Drum Cleaning' program (if available) or run an empty hot wash cycle with a descaling agent or white vinegar to maintain drum hygiene.
6.3. Cleaning the Filter
Periodically clean the drain pump filter to ensure proper drainage. Place a shallow container under the filter cover, unscrew the filter, remove any lint or debris, and then securely replace it.
6.4. Exterior Cleaning
Wipe the exterior surfaces of the appliance with a soft, damp cloth. Do not use abrasive cleaners or solvents.
7. Troubleshooting
If you encounter issues with your appliance, consult the table below for common problems and solutions. If the problem persists, contact customer support.
| Problem | Possible Cause | Solution |
|---|---|---|
| Appliance does not start | Power cord unplugged; door not closed; program not selected; Start/Pause button not pressed. | Check power connection; ensure door is latched; select a program; press Start/Pause. |
| No water intake | Water tap closed; water inlet hose kinked; water filter blocked. | Open water tap; straighten hose; clean water inlet filter. |
| Water not draining | Drain hose kinked or blocked; drain pump filter blocked. | Straighten or clear drain hose; clean drain pump filter. |
| Excessive vibration | Appliance not level; transport bolts not removed; uneven load. | Adjust leveling feet; remove transport bolts; redistribute laundry. |
| Clothes not drying properly | Overloaded; incorrect drying program; lint filter blocked. | Reduce load; select appropriate drying program; clean lint filter. |
8. Specifications
| Feature | Specification |
|---|---|
| Model Name | C SWS496TWMRRE/FR |
| Brand | CANDY |
| Product Dimensions (D x W x H) | 54P x 60l x 86H cm |
| Wash Capacity | 9 Kilograms |
| Dry Capacity | 6 Kilograms |
| Max Spin Speed | 1400 rpm |
| Number of Programs | 15 |
| Energy Class (Wash) | A |
| Noise Level | 76 dB |
| Voltage | 230 Volts |
| Material (Drum) | Stainless Steel |
| Weight | 65 Kilograms |
| Installation Type | Freestanding |
| Control Type | Touch |
9. Warranty and Support
9.1. Warranty Information
This CANDY appliance comes with a 2-year manufacturer's warranty. Please retain your proof of purchase for warranty claims. The warranty covers defects in materials and workmanship under normal domestic use.
9.2. Customer Support
For technical assistance, spare parts, or to schedule a service appointment, please contact CANDY customer support. Refer to the contact information provided in the separate warranty card or on the official CANDY website.
The user manual is included with the product for detailed instructions and further support.