1. Introduction
This manual provides essential instructions for the safe and efficient operation of your Asixxsix MC2420N10 MPPT Solar Charge Controller. This device is designed to manage power flow from your solar panels to your battery bank, ensuring optimal charging and protection for your solar power system. Please read this manual thoroughly before installation and use.
2. Safety Information
- Ensure all connections are correct and secure before applying power.
- Do not expose the controller to water or excessive moisture.
- Install in a well-ventilated area to prevent overheating.
- Disconnect all power sources before performing any maintenance or adjustments.
- This device operates with electrical current; exercise caution to avoid electric shock.
3. Product Overview
The Asixxsix MC2420N10 is an advanced MPPT (Maximum Power Point Tracking) solar charge controller designed for 12V and 24V solar power systems. It features automatic focusing MPPT tracking for premium charging efficiency and includes multiple protection mechanisms to safeguard your system.
Key Features:
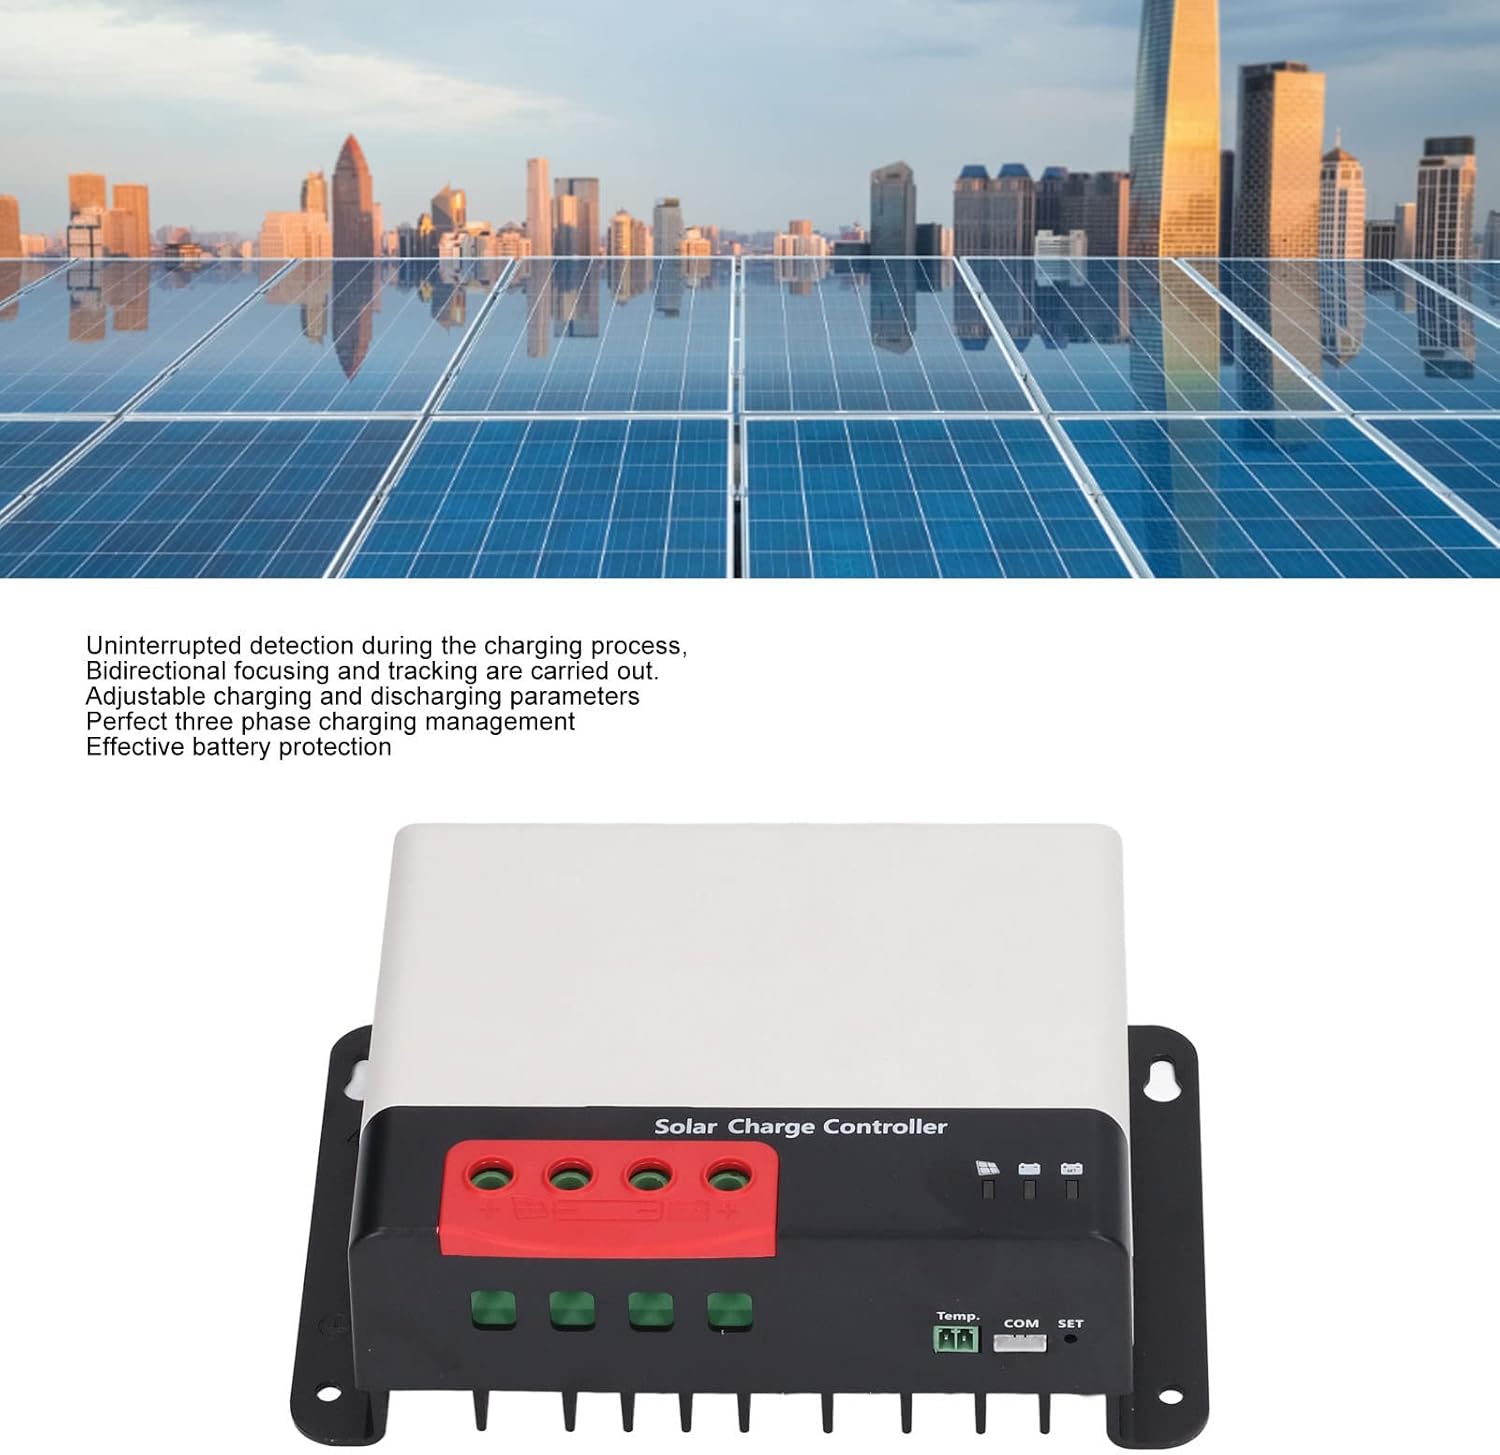
- MPPT Tracking Charging: Automatic focusing MPPT tracking ensures high charging efficiency with uninterrupted detection and bidirectional focusing.
- Adjustable Parameters: Charging parameters can be adjusted to match specific battery characteristics.
- Multi-Protection: Built-in protection against overheat, overcurrent, short circuit, open circuit, and reverse connection. The controller automatically recovers after fault elimination.
- Three-Phase Charging Management: Provides effective battery defense and extends battery lifespan.
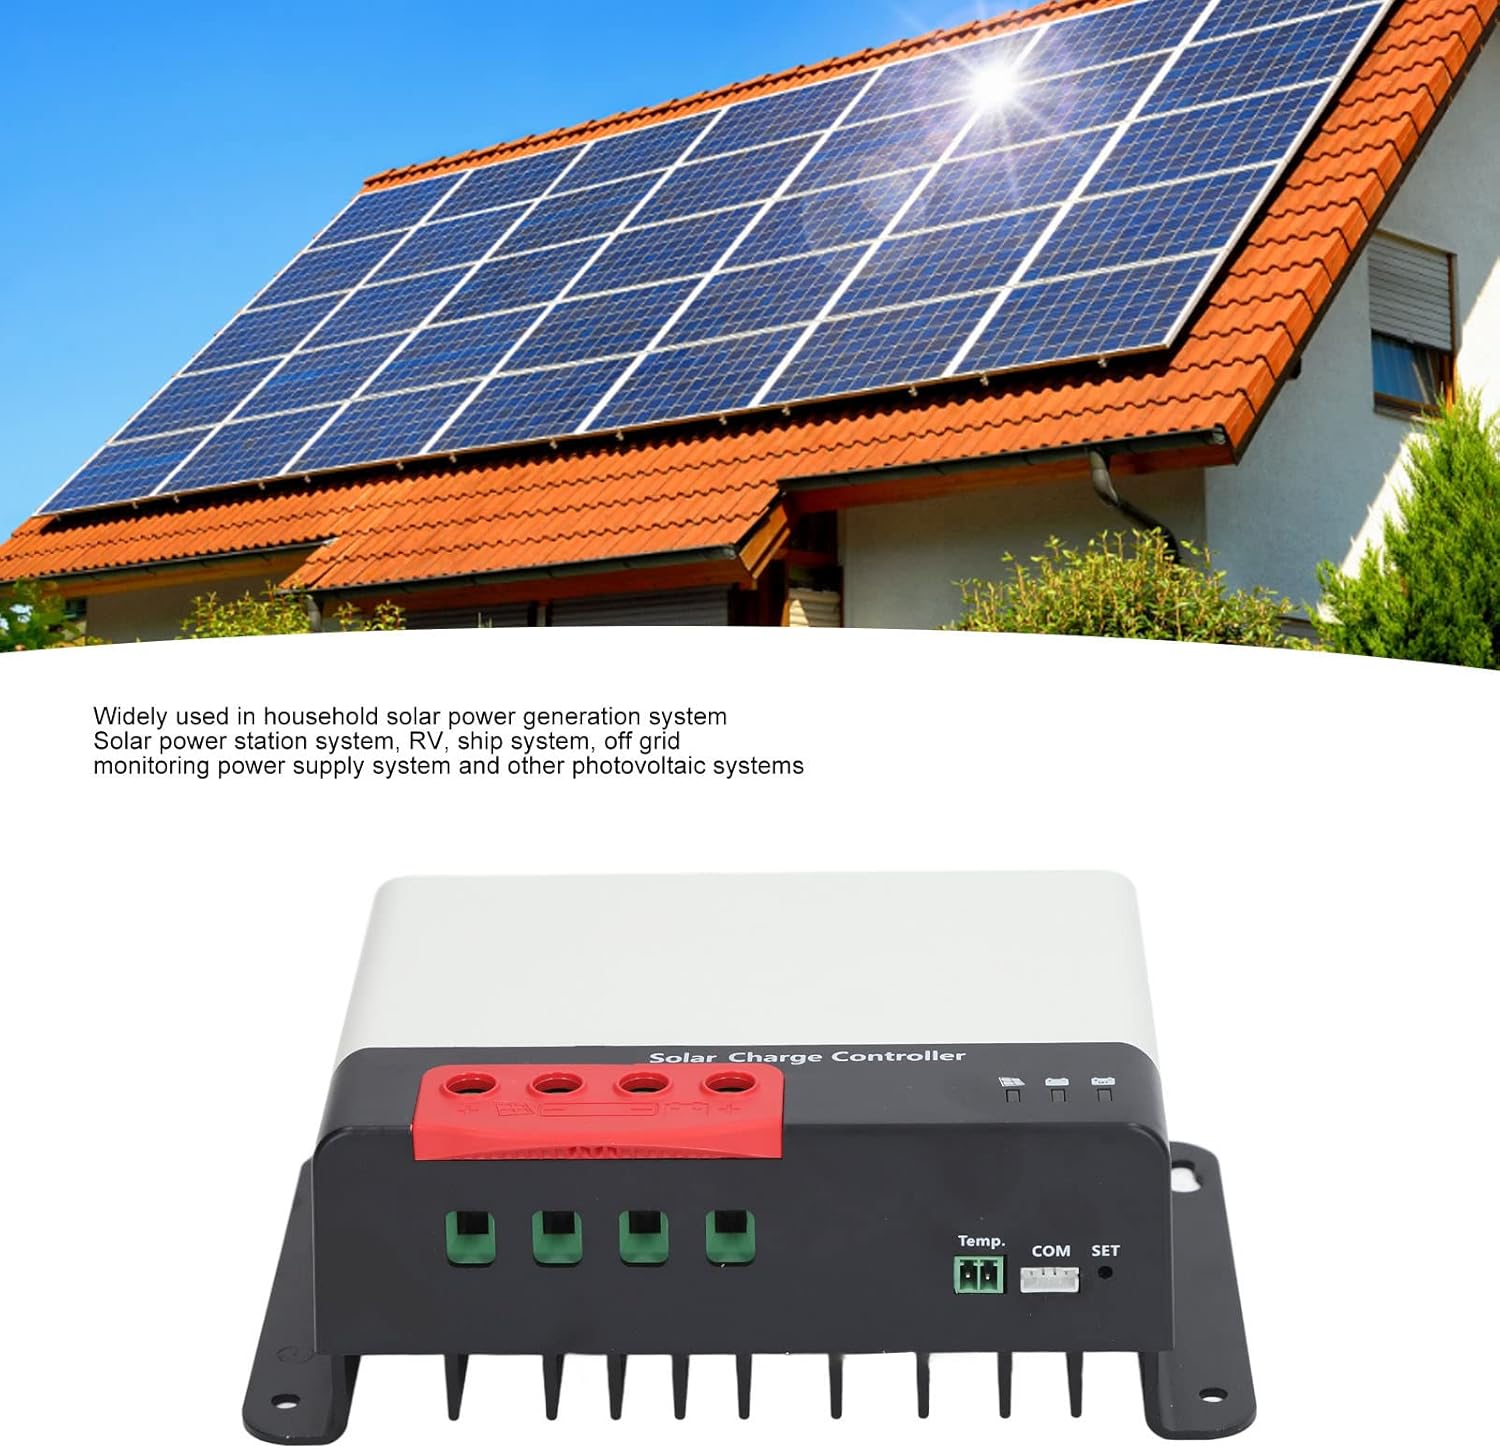
- Wide Application: Suitable for home solar power generation systems, solar power stations, RVs, ships, off-grid monitoring power supply systems, and other photovoltaic systems.

4. Package Contents
Upon opening the package, verify that all items are present and undamaged:
- 1 x Asixxsix MC2420N10 Solar Charge Controller
- 1 x User Manual
5. Installation and Setup
Follow these steps for proper installation of your solar charge controller:
- Mounting: Choose a dry, well-ventilated location, away from direct sunlight and heat sources. Ensure adequate space around the controller for air circulation. Use appropriate screws to secure the controller to a flat surface.
- Battery Connection: Connect the battery to the controller's battery terminals (marked with '+' and '-'). Ensure correct polarity. Connect the battery first to allow the controller to detect system voltage.
- Solar Panel Connection: Connect the solar panels to the controller's solar panel terminals (marked with '+' and '-'). Ensure correct polarity. Do not exceed the maximum PV open circuit voltage of 92V (at 25°C) or 100V (at minimum ambient temperature).
- Load Connection (if applicable): If your controller supports a load output, connect your DC loads to the designated load terminals. Ensure the load current does not exceed the controller's rating.
6. Operating Instructions
Initial Power-Up:
Once all connections are made, the controller will automatically detect the battery voltage (12V or 24V) and begin the charging process. The display (if present) or indicator lights will show the current status.
Parameter Adjustment:
The controller allows for adjustment of charging parameters. Refer to the specific instructions provided with your controller for accessing and modifying these settings. It is crucial to understand your battery's specifications before making any changes to avoid damage.
Charging Process:
The MPPT technology continuously tracks the maximum power point of your solar panels to extract the most power possible, optimizing charging efficiency. The three-phase charging management system ensures the battery is charged safely and effectively, prolonging its lifespan.
7. Maintenance
Regular maintenance ensures the longevity and optimal performance of your solar charge controller:
- Inspect Connections: Periodically check all wiring connections for tightness and corrosion.
- Cleanliness: Keep the controller clean and free from dust and debris. Use a dry cloth for cleaning.
- Ventilation: Ensure that the ventilation openings are not obstructed to prevent overheating.
- Environmental Check: Verify that the operating environment remains within the specified temperature and humidity ranges.
8. Troubleshooting
If you encounter issues with your controller, refer to the following common problems and solutions:
| Problem | Possible Cause | Solution |
|---|---|---|
| No charging | Incorrect wiring, low solar input, battery deeply discharged. | Check all connections for correct polarity and tightness. Ensure sufficient sunlight on solar panels. Check battery voltage. |
| Overheating | Poor ventilation, excessive load. | Ensure adequate airflow around the controller. Reduce connected load if necessary. |
| Error indicator light on | System fault (e.g., short circuit, reverse polarity). | Identify and correct the fault. The controller should automatically recover. |
9. Specifications
- Model: MC2420N10
- Voltage: 12V, 24V (Automatic Detection)
- Maximum PV Open Circuit Voltage: 92V (at 25°C); 100V (at minimum ambient temperature)
- Operating Temperature: -35°C to +45°C
- Altitude: ≤ 3000m / 9842.5ft
- Dimensions: Approximately 8.27 x 5.91 x 3.15 inches (Package Dimensions)
- Item Weight: Approximately 2.62 pounds

10. Warranty and Support
For warranty information or technical support, please contact Asixxsix customer service. Refer to your purchase documentation for specific warranty terms and contact details.
You can also visit the Asixxsix Store on Amazon for more product information.