Olakids TS10250
Olakids Kids Bike User Manual
Brand: Olakids | Model: TS10250
Introduction
The Olakids Kids Bike is designed for toddlers and children, offering a safe and enjoyable riding experience. This bicycle features detachable training wheels, an adjustable handlebar and seat to accommodate your child's growth, and a dual braking system for enhanced safety. Constructed with a durable steel frame, it provides stability and reliability. This manual provides essential information for assembly, operation, maintenance, and troubleshooting to ensure optimal performance and safety.

Image: A child enjoying a ride on the Olakids Kids Bike, showcasing its design and suitability for young riders.
Setup Guide
Your Olakids Kids Bike comes 85% pre-assembled, making the final setup quick and straightforward. Please follow these steps carefully to ensure proper assembly. Tools required for assembly are included in the package.

Image: Overview of the bike components and included tools for assembly.
Assembly Steps:
- Step 1: Install the Front Wheel
Carefully attach the front wheel to the bike's fork. Ensure the wheel is centered and the nuts are securely tightened using the provided wrench. This step ensures the bike's stability and steering functionality.
- Step 2: Install Training Wheels (if applicable)
For beginning riders, attach the detachable training wheels to the rear axle. Make sure they are firmly secured and provide adequate balance. These can be removed as your child gains confidence.
- Step 3: Install Pedals
Identify the left (L) and right (R) pedals. Thread them into the corresponding crank arms. Note that the left pedal threads counter-clockwise. Tighten them securely to prevent loosening during use.
- Step 4: Install and Adjust the Seat
Insert the seat post into the bike's frame. Adjust the seat height to an appropriate level for the rider, ensuring their feet can comfortably touch the ground. Secure the quick-release lever firmly.
- Step 5: Install and Adjust the Handlebar
Insert the handlebar stem into the fork tube. Align the handlebars straight with the front wheel and tighten the stem bolt. Adjust the front brake cable tension for proper braking performance. Attach any reflectors as needed.
Assembly Video:
Video: A detailed guide on how to install the various components of the Olakids Kids Bike, including the front wheel, training wheels, pedals, seat, and handlebars, as well as brake adjustments.
Operating Instructions
Understanding how to properly operate the Olakids Kids Bike ensures a safe and enjoyable ride for your child.
- Riding Position: Ensure the child can comfortably reach the handlebars and pedals. The seat height should allow the child's feet to touch the ground for stability, especially when using training wheels.
- Braking System: The bike is equipped with both a front caliper handbrake and a rear coaster brake.
- Handbrake: Located on the handlebar, this brake controls the front wheel. Teach your child to gently squeeze the lever to slow down.
- Coaster Brake: This brake is activated by pedaling backward. It provides an intuitive and reliable stopping mechanism for young riders.

Image: Illustration of the dual braking system, highlighting the handbrake and coaster brake.
- Steering: Guide your child to steer by gently turning the handlebars in the desired direction. Practice in an open, safe area.
- Training Wheels: For beginners, the training wheels provide stability. As the child gains balance, they can be adjusted higher or removed entirely.
- Safety Bell: The bike includes a safety bell on the handlebar. Teach your child to use it to alert others when approaching.
Maintenance
Regular maintenance ensures the longevity and safe operation of your Olakids Kids Bike.
- Tire Pressure: Check tire pressure regularly. Maintain the recommended PSI (pounds per square inch) indicated on the tire sidewall for optimal performance and safety.
- Chain Lubrication: Periodically lubricate the chain to ensure smooth pedaling and prevent rust. Use a bicycle-specific chain lubricant.
- Brake Check: Regularly inspect both the handbrake and coaster brake for proper function. Ensure brake levers are easy to squeeze and the brakes engage effectively. Adjust tension if necessary.
- Nut and Bolt Tightness: Over time, nuts and bolts can loosen. Periodically check all fasteners, especially on the wheels, handlebars, seat, and pedals, and tighten them as needed.
- Cleaning: Clean the bike with a damp cloth and mild soap. Avoid using high-pressure water sprays directly on bearings or electrical components (if any). Dry thoroughly after cleaning.
- Storage: Store the bike in a dry, covered area to protect it from weather elements, which can cause rust and wear.
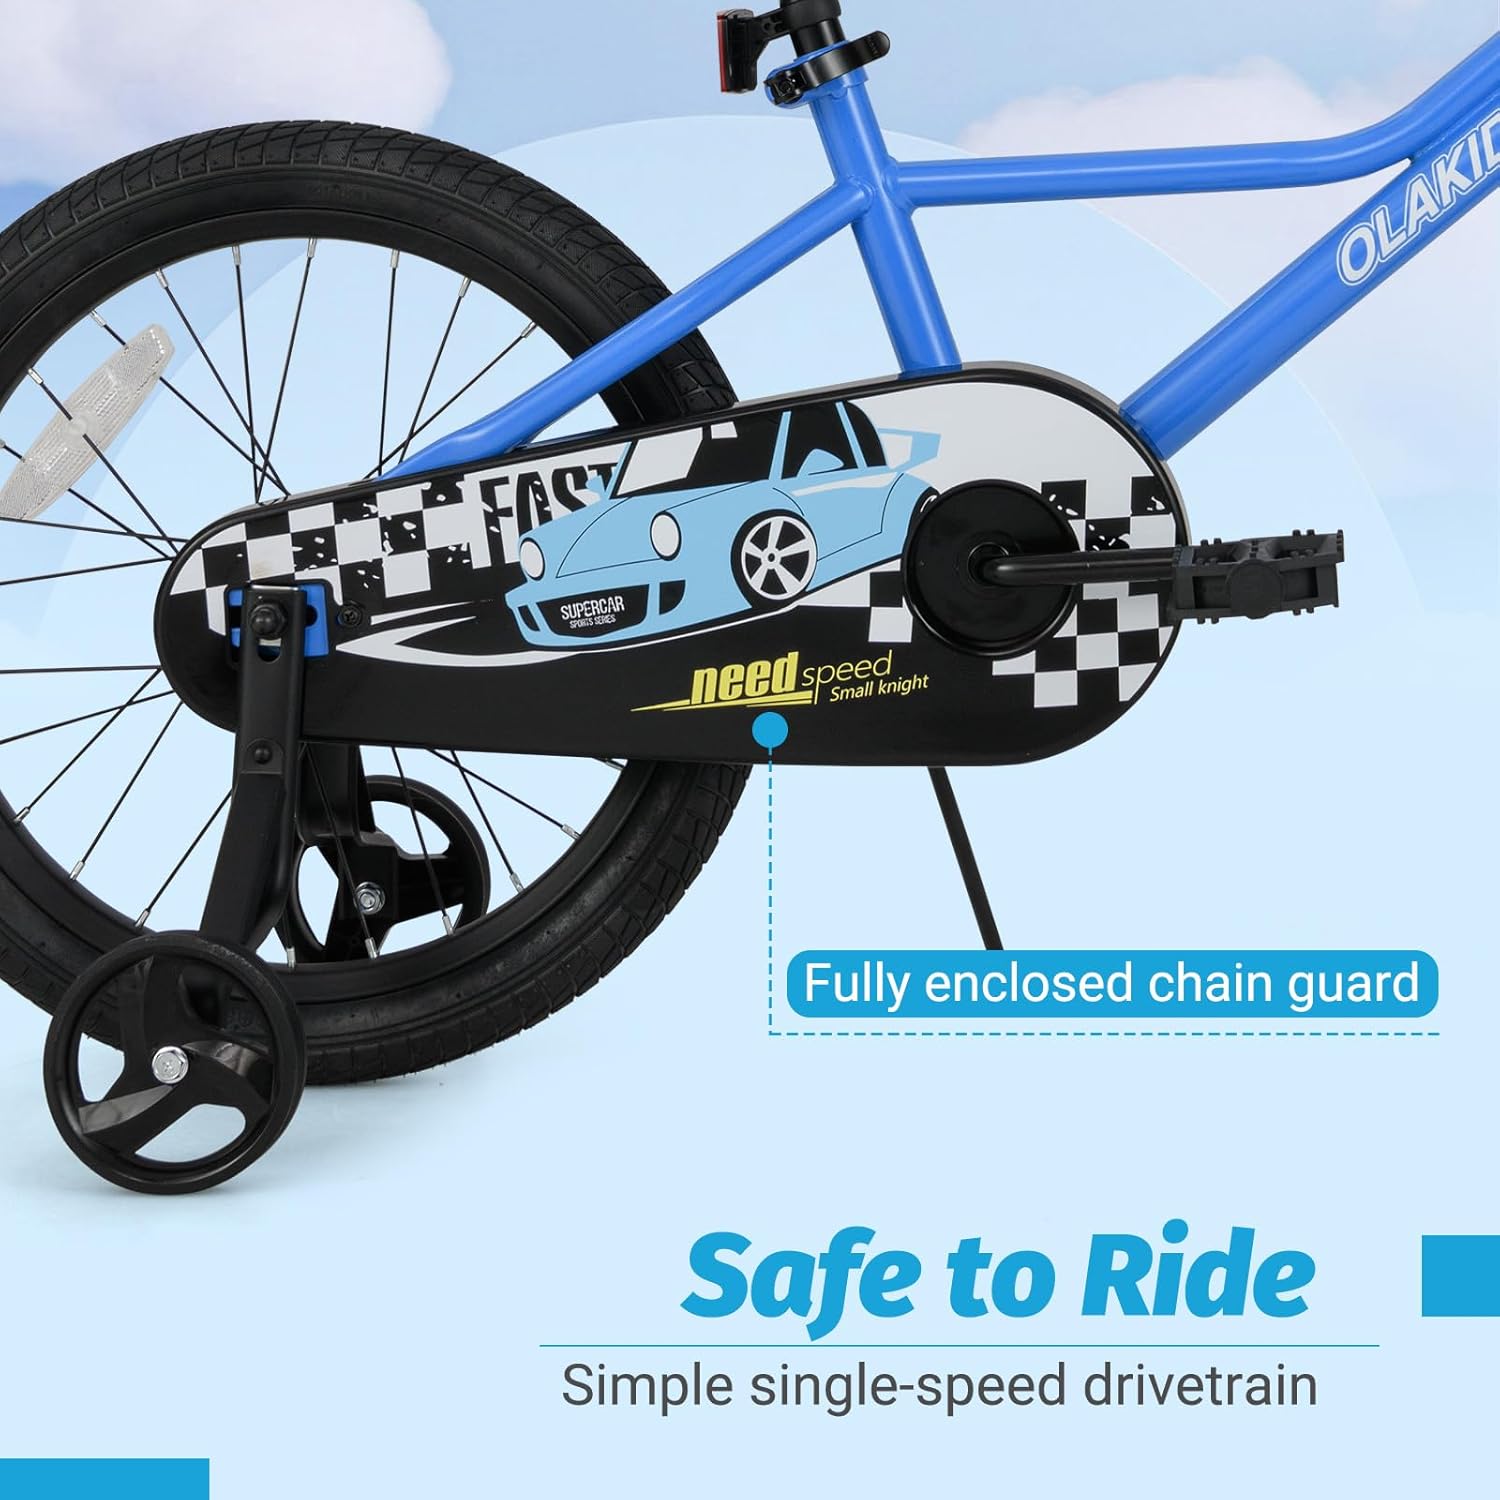
Image: The fully enclosed chain guard helps protect the chain from dirt and reduces maintenance needs.
Troubleshooting
Here are some common issues and their potential solutions:
| Problem | Possible Cause | Solution |
|---|---|---|
| Pedals are loose or fall off. | Not tightened correctly during assembly; incorrect left/right pedal installation. | Ensure pedals are threaded correctly (left pedal is reverse threaded) and tightened firmly with a wrench. |
| Brakes are not effective. | Brake cable too loose; brake pads worn; pads not aligned. | Adjust brake cable tension. Check brake pads for wear and replace if necessary. Ensure pads are aligned with the wheel rim. |
| Tires are flat or lose air quickly. | Low tire pressure; puncture in inner tube; faulty valve stem. | Inflate tires to recommended PSI. Inspect tires for punctures and repair/replace inner tube if needed. Check valve stem for leaks. |
| Squeaking or grinding noises. | Lack of lubrication on chain; loose components; dirt in moving parts. | Lubricate the chain. Check and tighten all bolts and nuts. Clean the bike, especially around the chain and wheels. |
Specifications
Key specifications for the Olakids Kids Bike (18 Inch model):
- Bike Type: Kids Bike
- Age Range (Description): Toddler (Recommended for Ages: 3+ Years)
- Wheel Size: 18 Inches (also available in 12, 14, 16 inches)
- Frame Material: Carbon Steel
- Max Weight Capacity: 143 lbs
- Brake Style: Front Caliper Brake and Rear Coaster Brake
- Special Feature: Adjustable Handlebars, Detachable Training Wheels
- Included Components: 1 x Kids Bike, 1 x User Guide, 1 x Wrench
- Assembly Required: Yes (85% pre-installed)
- Safety Certification: Certified by ASTM, Compliant with US. CPSIA and ASTM Requirements

Image: The bike's adjustable features allow it to grow with your child, including removable training wheels, adjustable seat, and adjustable handlebars.

Image: Key design details include an easy-grip handle with a bell, a comfortable padded seat, and multiple reflectors for enhanced visibility.
Warranty Information
The Olakids Kids Bike comes with a 6-month warranty from the date of purchase. This warranty covers manufacturing defects and material flaws under normal use. Please retain your proof of purchase for any warranty claims. For detailed warranty terms and conditions, please refer to the documentation included with your product or contact customer support.
Customer Support
For any questions, concerns, or assistance with your Olakids Kids Bike, please contact the seller directly through the platform where you made your purchase. They will be able to provide the most accurate and timely support regarding your product.
Related Documents - TS10250
 |
Olakids Kids Climbing Dome with Slide (NP10794) Assembly and Safety Manual Comprehensive assembly, safety, and maintenance instructions for the Olakids Kids Climbing Dome with Slide (Model NP10794). Ensure safe installation and usage. |
 |
Olakids Jeep Ride-On Toy Assembly and Safety Manual Comprehensive safety warnings, battery handling instructions, component list, and assembly guide for the Olakids Jeep ride-on toy. Ensure safe play for children aged 18-36 months. |
 |
Olakids Kids Ride-on Train TQ10108US-GN User Manual User manual and assembly instructions for the Olakids Kids Ride-on Train (Model TQ10108US-GN). Includes specifications, installation steps, and safety precautions. |
 |
Olakids TS10074 Triangle Climbing Toys Assembly Instructions Comprehensive assembly guide for the Olakids TS10074 Triangle Climbing Toys set. This manual provides a detailed parts list and step-by-step instructions with textual descriptions of diagrams to help users build their children's playground equipment safely and correctly. |
 |
Olakids Kids Ride On Bulldozer Truck TQ10149 User Manual and Assembly Guide Comprehensive user manual and assembly guide for the Olakids TQ10149 Kids Ride On Bulldozer Truck. Includes safety warnings, specifications, assembly steps, operating instructions, troubleshooting, and FCC statements. |
 |
olakids TQ10130 Ride-On Car: Assembly, Operation & Safety Manual Comprehensive user manual for the olakids TQ10130 Kids Ride-On Car. Includes assembly instructions, safety guidelines, operating procedures, troubleshooting tips, and maintenance advice. |
Ask a question about this manual
Ask about setup, troubleshooting, compatibility, parts, safety, or missing instructions. Manuals+ will review the question and use this page’s manual context to help answer it.