1. Introduction
This manual provides detailed instructions for the installation, operation, and maintenance of your EVERSECU 2K Outdoor UPS WiFi Bullet Camera (Model TS5). Please read this manual thoroughly before using the product to ensure proper functionality and safety. This camera is designed for both indoor and outdoor surveillance, featuring a built-in battery for continuous operation during power outages, 2K resolution, human detection, and various night vision modes.
2. Safety Information
- Ensure the camera is installed in a stable location to prevent falling.
- Use only the provided power adapter to avoid damage to the device.
- Do not expose the camera to extreme temperatures or humidity beyond its operating range.
- Keep the camera away from strong magnetic fields.
- Do not attempt to disassemble or repair the camera yourself. Contact customer support for assistance.
- Ensure the battery switch is in the "ON" position (next to the power port) to enable battery power for backup operation.
3. Package Contents
Verify that all items are present in the package:
- EVERSECU 2K Outdoor UPS WiFi Bullet Camera
- Screws for mounting
- Power supply
- User manual

Image: Contents of the product package, including the camera, mounting screws, power adapter, and user manual.
4. Product Overview and Setup
4.1 Camera Components

Image: Detailed diagram highlighting the camera's components, including the dual core lamp, lens, microphone, TF card slot, reset button, power switch, Type-C interface, and speaker.
- Dual Core Lamp: Provides illumination for night vision.
- Lens: Captures video footage.
- MIC: Built-in microphone for audio input.
- TF Card Slot: For local storage using a microSD card.
- Reset Button: Used to reset the camera to factory settings.
- Switch: Power switch for the built-in battery. Ensure it is in the "ON" position for battery backup.
- Type-C Interface: Power input port.
- Speaker: For two-way audio communication and alerts.
4.2 Initial Setup
- Charge the Camera: Connect the camera to the power supply using the Type-C interface. Ensure the battery switch (next to the power port) is in the "ON" position to charge the built-in 5200mAh battery.
- Download the App: Search for the "O-Kam" app in your mobile device's app store (iOS or Android) and install it.
- Create an Account: Open the O-Kam app and follow the on-screen instructions to create a new user account.
- Add Camera: In the app, select to add a new device and follow the pairing instructions. This typically involves scanning a QR code on the camera or manually entering its ID.
- Connect to Wi-Fi: During the app setup, connect the camera to your 2.4GHz Wi-Fi network. Ensure the camera is within range of your Wi-Fi router for a stable connection.
4.3 Physical Installation
The camera features a wall mount design for easy installation.

Image: Illustrations demonstrating how to manually adjust the camera angle and the simple wall mount design for installation.
- Choose a Location: Select a suitable indoor or outdoor location that provides the desired viewing angle and is within Wi-Fi range. The camera is IP66 waterproof, suitable for various weather conditions.
- Mount the Bracket: Use the provided screws to securely attach the mounting bracket to a wall or ceiling.
- Attach the Camera: Slide the camera onto the mounted bracket.
- Adjust Angle: Manually adjust the camera's angle to cover the desired surveillance area.
5. Operating Instructions
5.1 Continuous Surveillance and Battery Backup
The camera is equipped with a built-in 5200mAh battery, providing continuous power during outages. When plugged in, it operates normally while charging the battery. In case of a power failure, the camera automatically switches to battery power, ensuring uninterrupted recording for at least 12 hours.
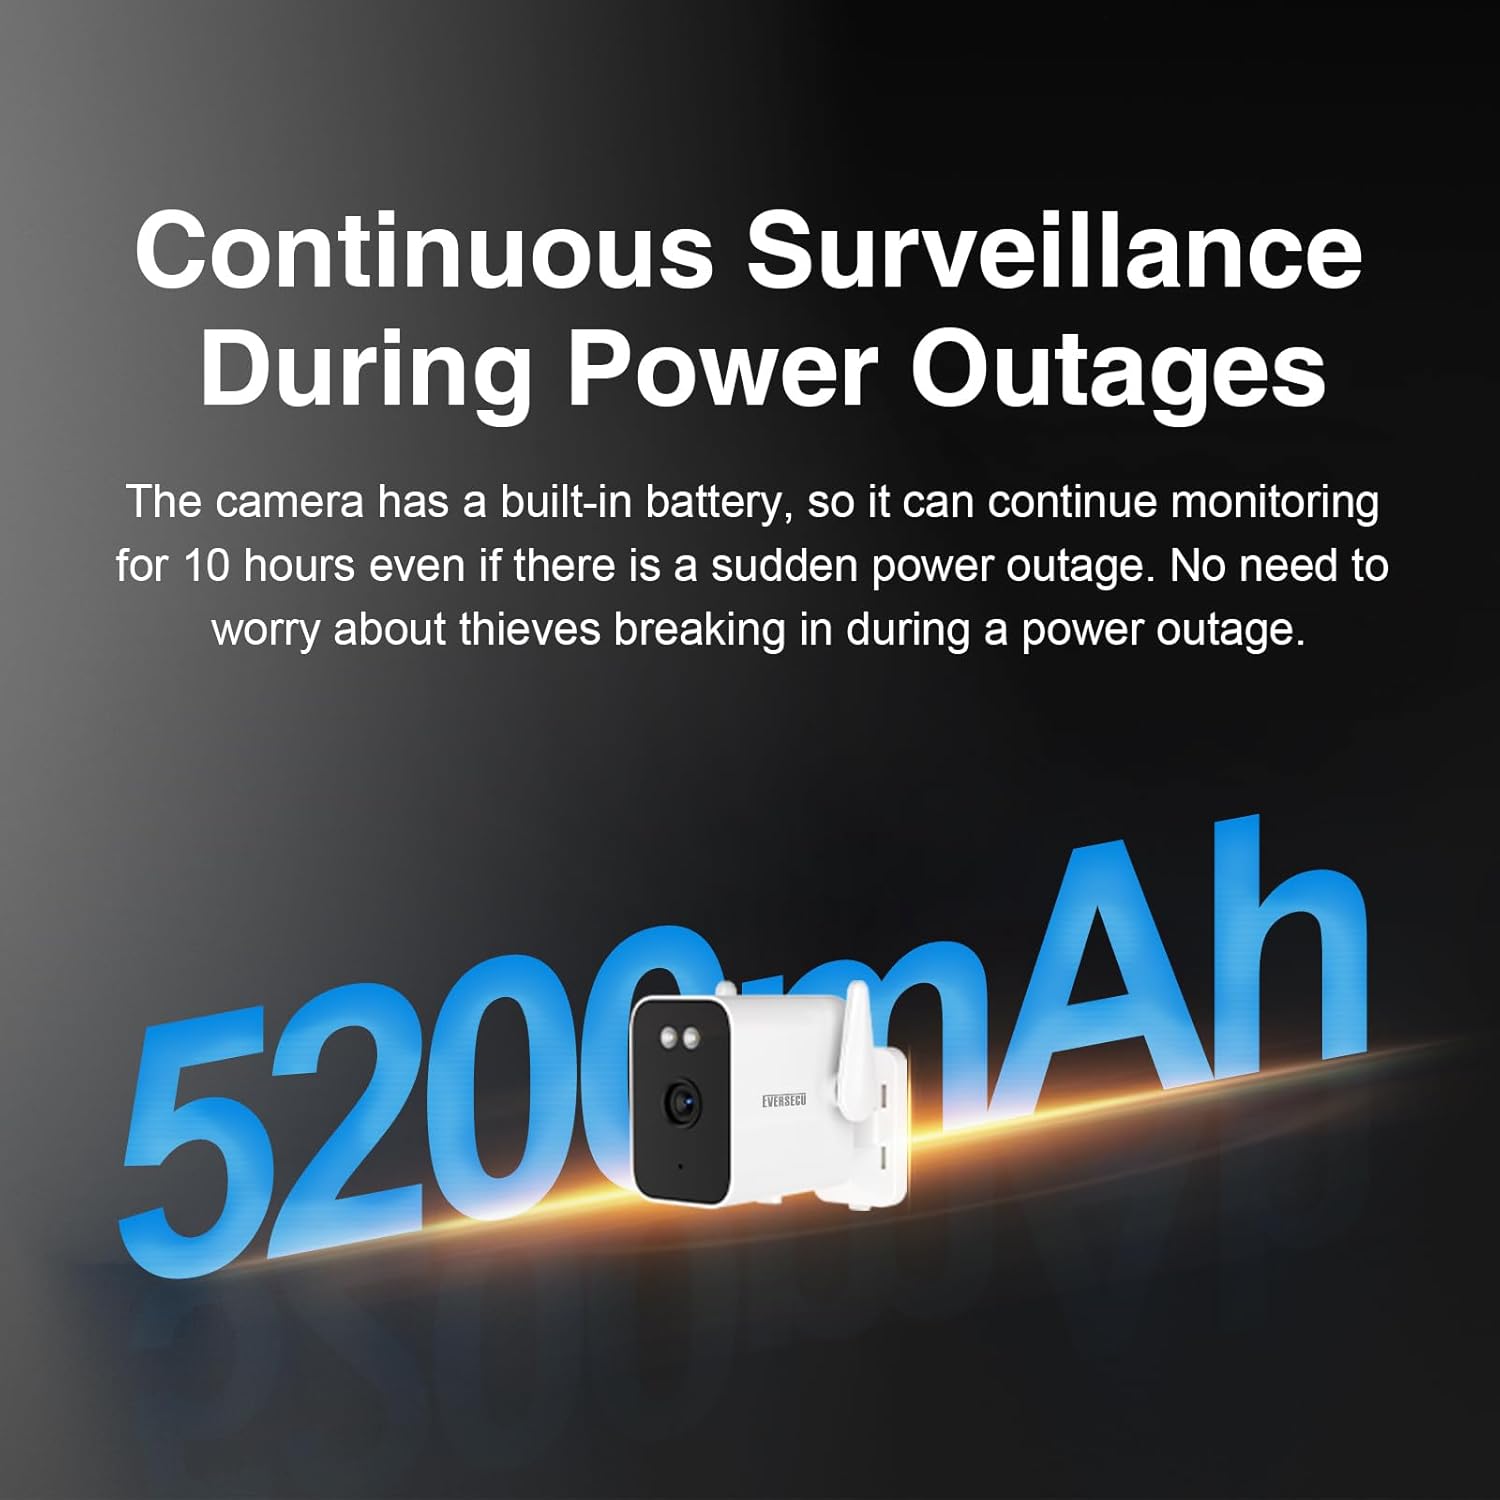
Image: The camera highlighting its 5200mAh battery capacity, ensuring continuous operation even during power outages.
5.2 Night Vision Modes
The camera offers multiple night vision options for clear visibility in low-light conditions, thanks to its F2.0 ultra-large aperture lens and ISP image processing technology.

Image: A visual comparison of the camera's Full Color Night Vision, Infrared Night Vision, and Smart Night Vision capabilities in different lighting scenarios.
- Full Color Night Vision: Provides vivid, colorful images in dim environments.
- Infrared Night Vision: Offers clear monochrome (black and white) images in complete darkness.
- Smart Night Vision: Automatically switches between infrared and full-color modes based on detected motion or lighting conditions.
5.3 Human Detection and Alerts
The camera can detect human movement and send instant alarm notifications to your mobile device, allowing for timely action.
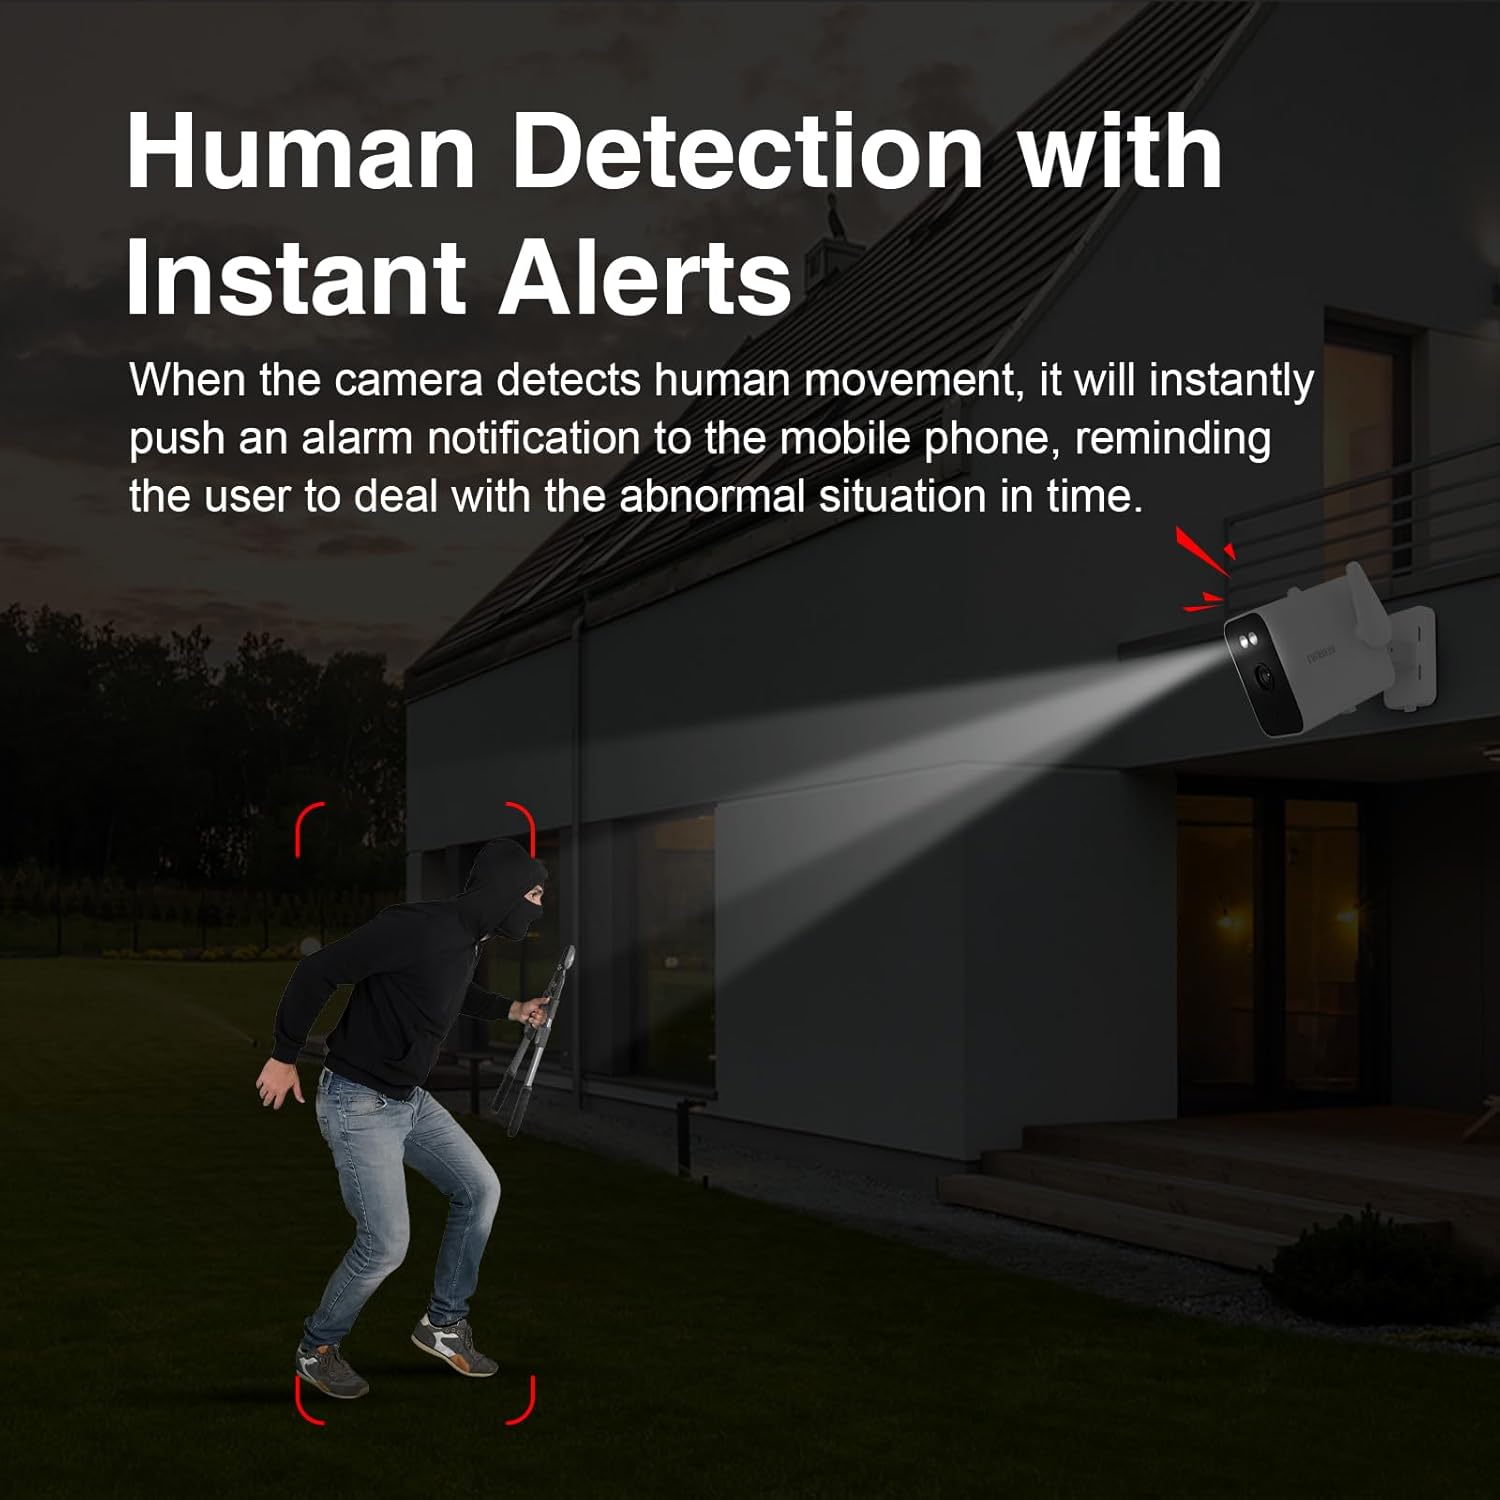
Image: An illustration of the camera's human detection feature, showing an alert being triggered by a person in the surveillance area.
5.4 Setting Detection Zones
Customize specific areas within the camera's view for motion detection. This helps focus security on key zones and reduces unnecessary alerts.

Image: A smartphone screen displaying the camera's interface for defining and setting a custom detection zone.
5.5 Two-Way Communication
Utilize the built-in microphone and speaker for two-way audio communication. This allows you to speak to individuals near the camera and hear their responses.

Image: A scenario depicting two-way communication through the camera, with speech bubbles indicating dialogue between a person and the camera user.
5.6 Device Sharing
Share access to your camera with family members or trusted individuals through the app. After initial setup on the main account, others can view live feeds and receive alerts on their own devices.

Image: A diagram illustrating the device sharing feature, where multiple users can access and monitor the camera feed.
5.7 Storage Options
The camera supports both local and cloud storage for your recordings.

Image: A table detailing the estimated recording days for 2K resolution based on different TF card capacities (64GB, 128GB, 256GB).
- TF Card Storage: Insert a microSD card (up to 256GB, not included) into the TF card slot for continuous 24/7 recording.
- Cloud Storage: Optional cloud storage services are available through the O-Kam app for remote playback and secure backup.
5.8 NVR Integration (ONVIF/RTSP)
The EVERSECU camera is ONVIF compatible, allowing integration with existing Network Video Recorder (NVR) systems for centralized surveillance management.

Image: A monitor displaying multiple camera feeds, illustrating the camera's compatibility with NVR systems for 24/7 recording.
Video: Instructions on how to add EVERSECU cameras to an NVR system. This video demonstrates setting a password in the app to enable ONVIF, searching for the camera's IP address on the NVR, and adding the camera using its username and password.
To integrate with an NVR:
- Set ONVIF Password: In the O-Kam app, navigate to the camera settings and set a password to enable the ONVIF feature.
- Connect NVR: Ensure your NVR is connected to the same network as the camera.
- Search for Camera: On your NVR interface, use the ONVIF protocol to search for the camera's IP address.
- Add Camera: Add the camera to the NVR system using the username and password you set in the app.
6. Maintenance
- Cleaning: Gently wipe the camera lens and body with a soft, dry cloth. Avoid using harsh chemicals or abrasive materials.
- Battery Care: For optimal battery life, avoid fully discharging the battery frequently. If storing the camera for an extended period, ensure it is partially charged.
- Firmware Updates: Regularly check the O-Kam app for available firmware updates to ensure your camera has the latest features and security enhancements.
7. Troubleshooting
| Problem | Possible Cause | Solution |
|---|---|---|
| Camera does not power on. | Battery depleted; power adapter not connected or faulty; battery switch off. | Connect the power adapter and ensure the battery switch is in the "ON" position. Allow time for charging. |
| Wi-Fi disconnection. | Weak Wi-Fi signal; router issues; camera too far from router. | Relocate the camera closer to the router or use a Wi-Fi extender. Check router settings. Reconnect Wi-Fi via the app. |
| Lost programming after battery depletion. | Internal battery fully discharged, leading to configuration loss. | Avoid complete battery depletion. If it occurs, perform a full reset and reconfigure the camera through the app. Ensure the battery switch is always ON when connected to power. |
| No alerts received. | Human detection off; notification settings disabled in app/phone; detection zone not set correctly. | Enable human detection in the app. Check app and phone notification settings. Verify detection zones are configured. |
| Cannot connect to NVR. | ONVIF password not set; incorrect IP address; network issues. | Ensure an ONVIF password is set in the camera app. Verify camera and NVR are on the same network. Double-check IP address and credentials. |
8. Specifications
| Feature | Detail |
|---|---|
| Model Name | UPS Security Camera (TS5) |
| Video Capture Resolution | 2K (1296p) |
| Connectivity Technology | Wired, Wireless (Wi-Fi) |
| Power Source | Corded Electric, Built-in 5200mAh rechargeable battery |
| Indoor/Outdoor Usage | Indoor, Outdoor (IP66 Waterproof) |
| Special Features | Night Vision (Full Color, Infrared, Smart), ONVIF compatible, Human Detection, Two-Way Communication, Device Sharing, Uninterruptible Power Supply |
| Compatible Devices | Desktop, Laptop, NVR, Smartphone (O-Kam app) |
| Controller Type | Amazon Alexa |
| Item Dimensions | 4 x 4 x 8.7 inches |
| Item Weight | 1.69 Kilograms |
9. Warranty and Support
For warranty information and technical support, please refer to the official EVERSECU website or contact their customer service directly. Keep your purchase receipt as proof of purchase for warranty claims.