1. Introduction
This manual provides essential information for the proper setup, operation, and maintenance of your AOKER D1 FHD 24-inch Portable Monitor. Please read these instructions carefully before using the product to ensure optimal performance and longevity.
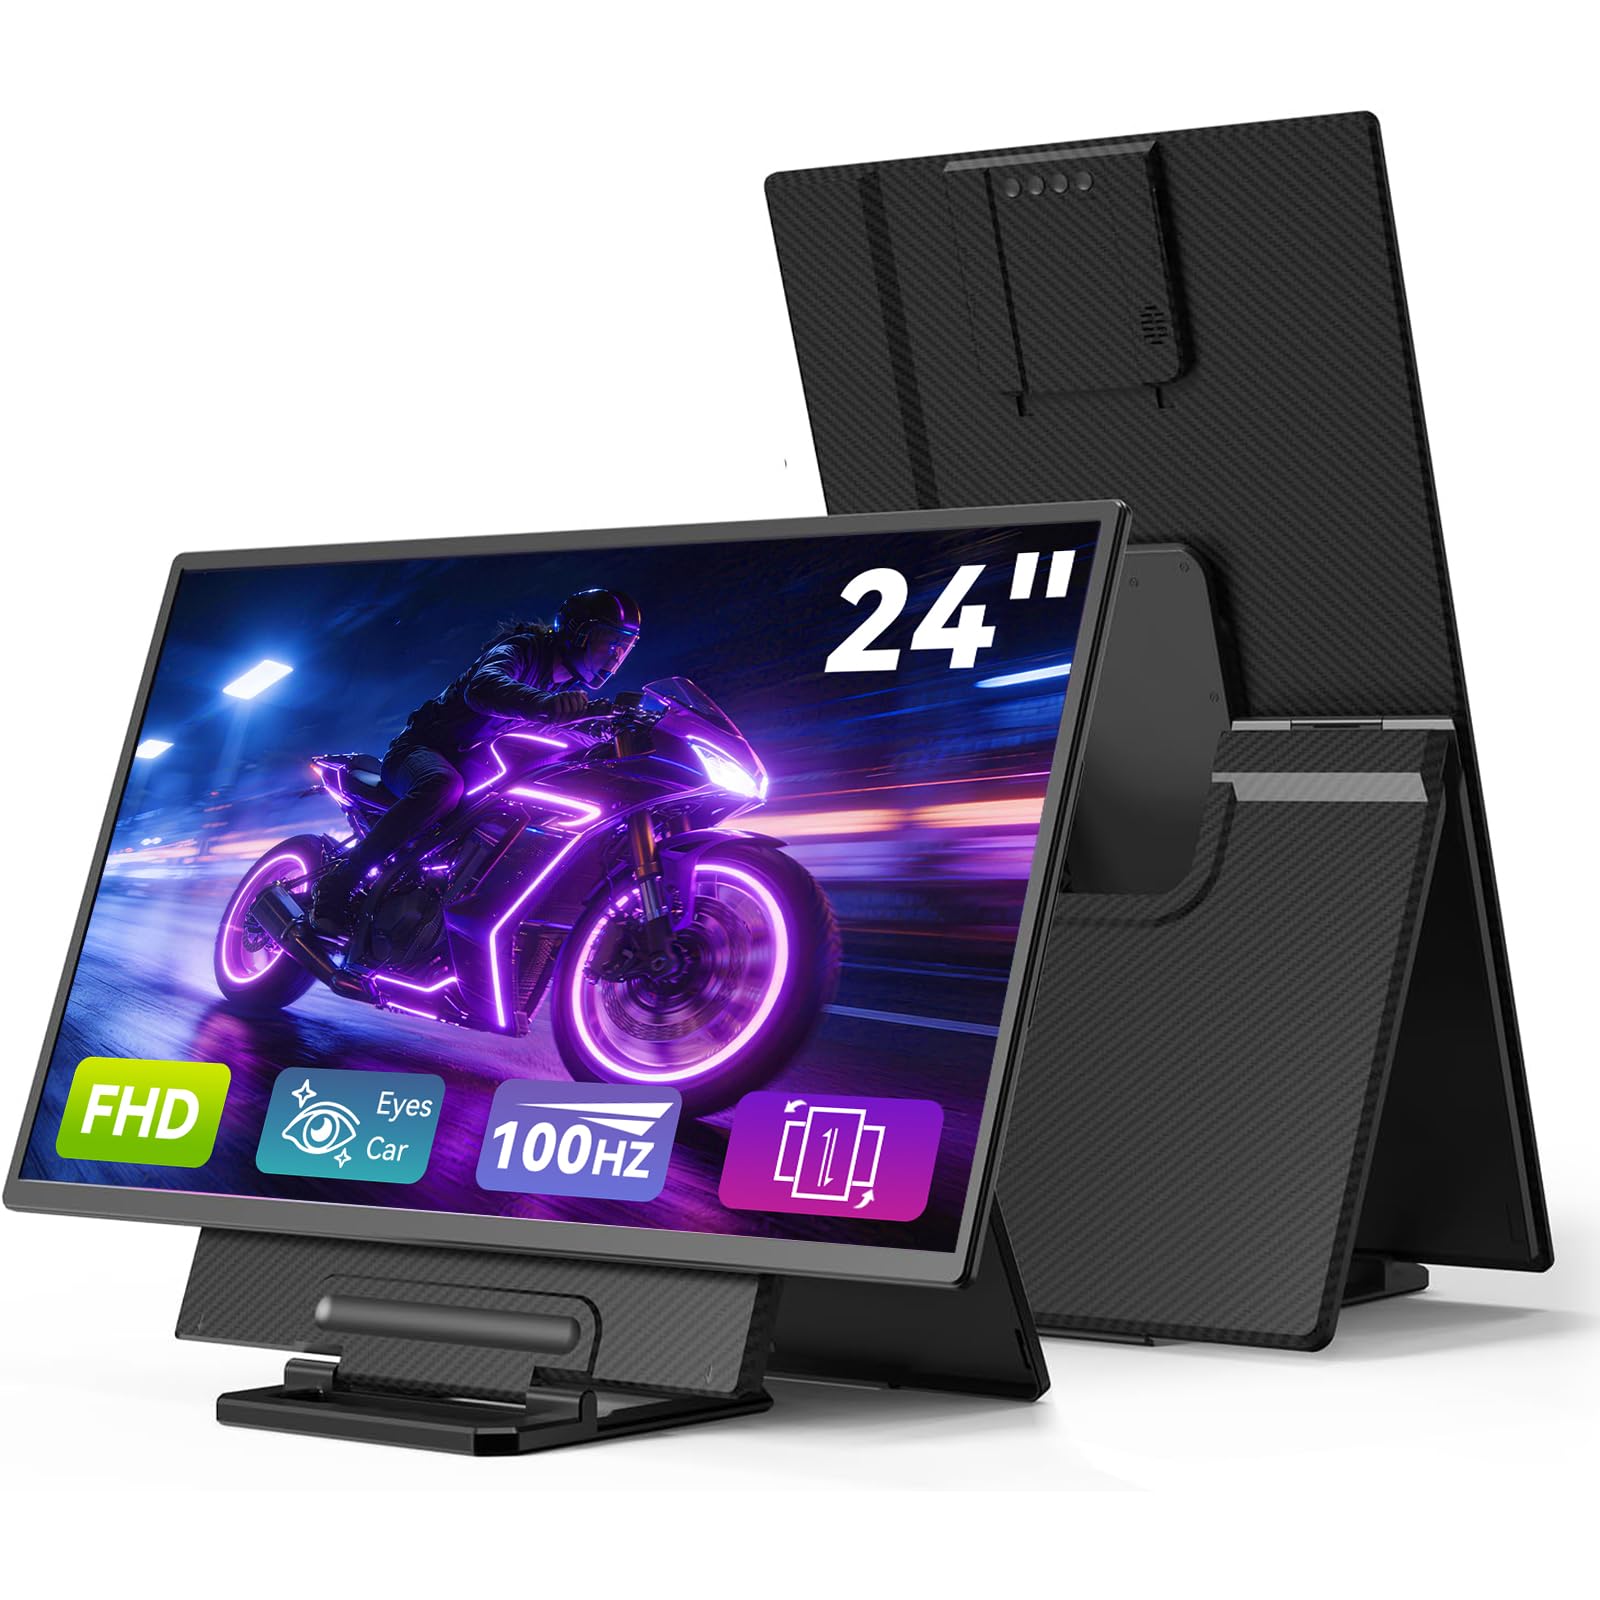
Image: The AOKER D1 FHD 24-inch Portable Monitor, showcasing its sleek design.
2. Product Overview
2.1 Key Features
- 24-inch FHD (1920x1080) Display: Provides a large viewing area with clear visuals.
- 100Hz Refresh Rate: Ensures smooth motion for various applications.
- 10-bit Color Depth & 125% sRGB: Delivers accurate and vibrant colors.
- IPS Panel with 178° Wide Viewing Angle: Offers consistent image quality from different perspectives.
- Detachable Magnetic Stand: Allows for height adjustment and 90° rotation for portrait mode.
- VESA Compatible (75x75mm): Supports various mounting options.
- Multiple Connectivity Options: Includes USB-C and Mini HDMI ports.
- Integrated USB-A Ports (x2): For connecting peripherals like a mouse or keyboard.
- 3.5mm Audio Jack: For private listening with headphones.
- Low Blue Light Mode: Designed to reduce eye strain during extended use.
2.2 Package Contents
Verify that all items are present in the package:

Image: Diagram showing the monitor, user manual, USB-C to USB-C cable, HDMI to Mini HDMI cable, USB-A male to USB-A female adapter (x2), USB-C to USB-C (power only) cable, USB-A to USB-C cable, and power adapter.
- AOKER D1 FHD Portable Monitor
- User Manual
- USB-C to USB-C Cable
- HDMI to Mini HDMI Cable
- USB-A Male to USB-A Female Adapter (x2)
- USB-C to USB-C Cable (Power Only)
- USB-A to USB-C Cable
- Power Adapter
3. Setup Instructions
3.1 Assembling the Stand
The monitor features a detachable magnetic stand that also functions as a protective cover. Follow these steps to set up the stand:
- Gently break the handle upwards from the monitor's back cover.
- Remove the screen from the stand/cover.
- Flatten the handle and fold the stand to the desired angle for viewing.
- Align the magnetic part of the screen with the magnetic part of the stand to mount the screen securely.
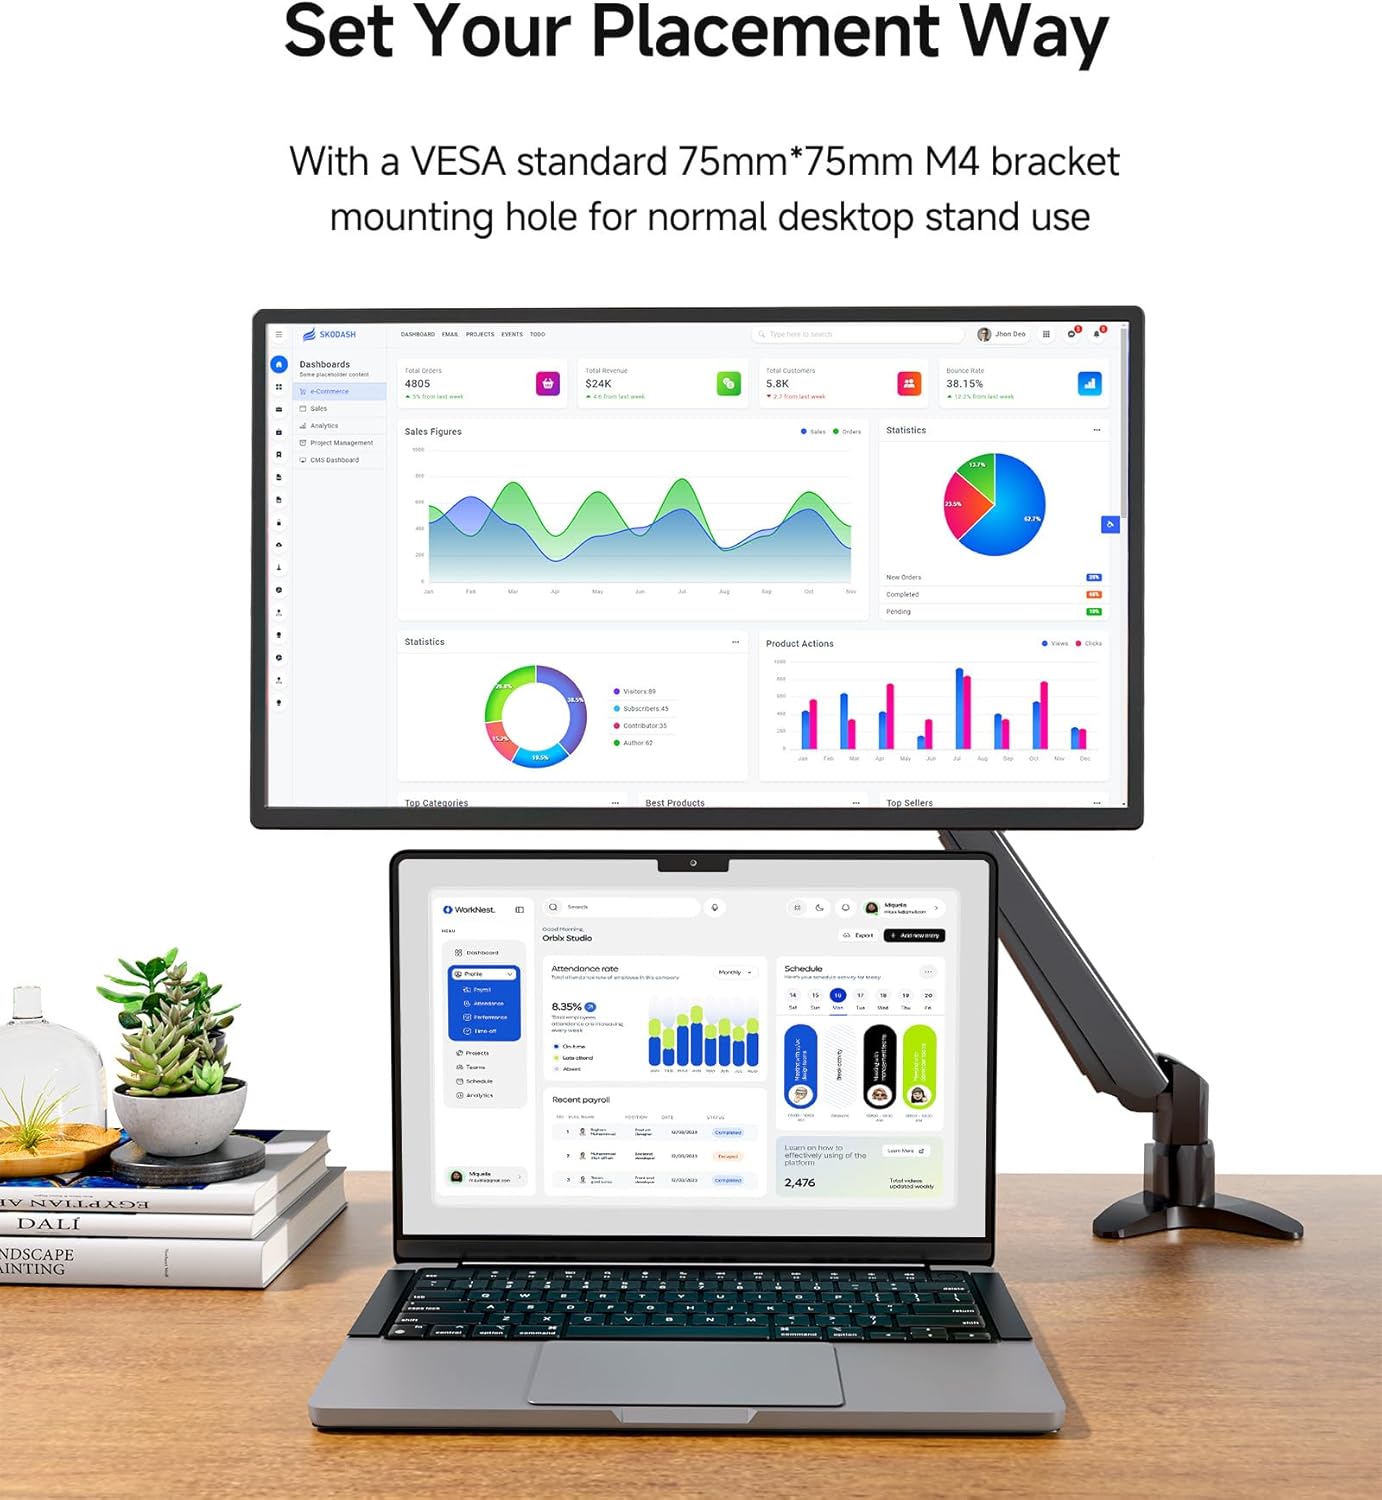
Image: Visual guide for attaching the monitor to its magnetic stand.
3.2 Powering the Monitor
The monitor requires external power. Use the included power adapter and USB-C cable (power only) to connect the monitor to a power outlet.
3.3 Connecting to Devices
The AOKER D1 FHD monitor supports various devices and connection methods:
- For devices with a full-function USB-C port (video and power): Connect directly using the USB-C to USB-C cable. The monitor can draw power and receive video signal through this single connection.
- For devices with USB-A/USB-C and HDMI ports: Use the HDMI to Mini HDMI cable for video and a USB-C to USB-A cable for power, or a separate power adapter.
- For Mac Mini or computer hosts: Connect via USB-C or HDMI as appropriate.
- For game consoles (PS5, Xbox, Switch) and smartphones: Connect to the Type-C port. Ensure you use a charger with at least 60W power to power the screen, as it can reverse-charge to the phone/game console.

Image: Illustration of connecting the monitor to a laptop using USB-C cables.

Image: Illustration of connecting the monitor to a game console or smartphone via USB-C.
4. Operating Instructions
4.1 Adjusting Viewing Options
The magnetic stand allows for flexible positioning:
- Height Adjustment: The stand can adjust the screen height by approximately 4.72 inches (12 cm) to suit your sitting or standing preference.
- Portrait Mode: Rotate the monitor 90 degrees to use it in portrait orientation, ideal for coding or reading documents.
- Stand Angle Adjustment: The stand offers a 90-degree adjustment range for optimal viewing angles.
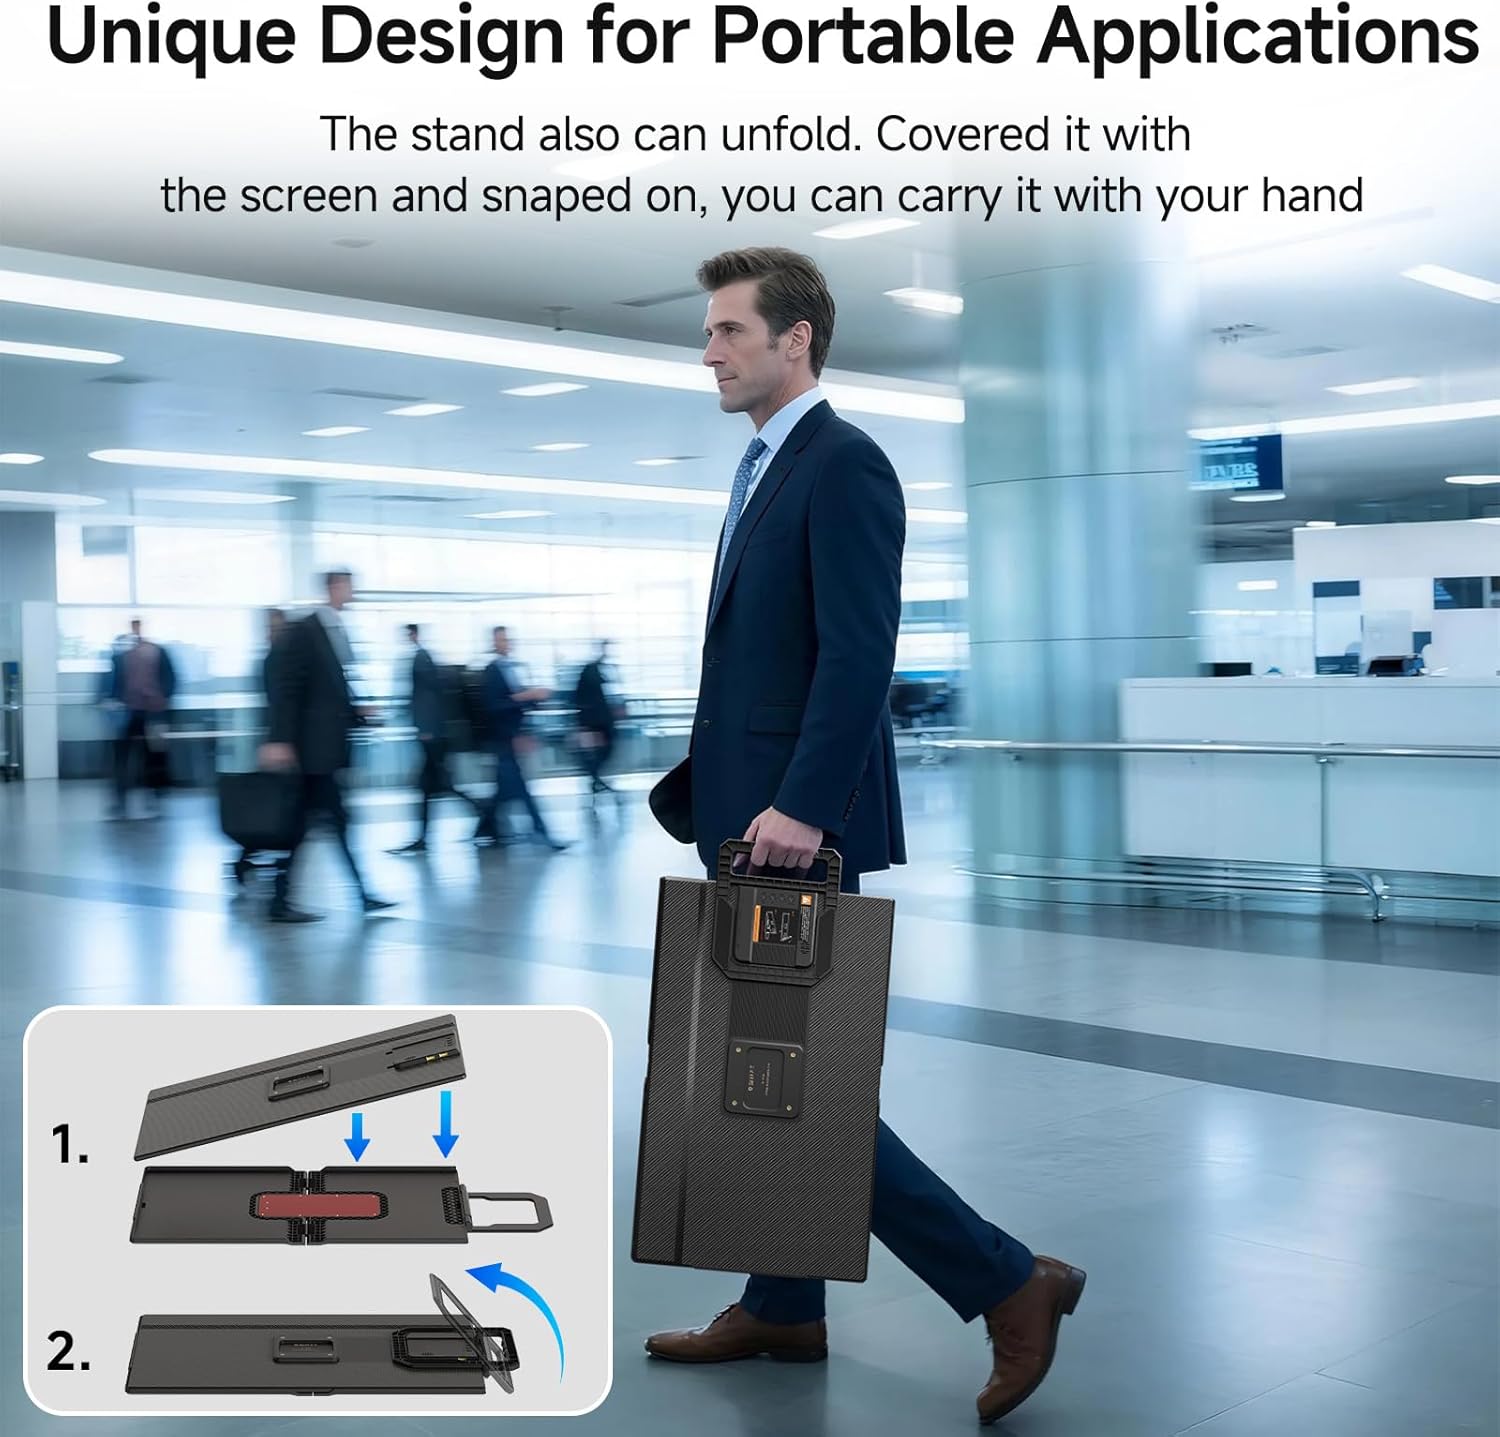
Image: Demonstrates the 90-degree rotation for portrait mode, stand angle adjustment, and height adjustment capabilities.
4.2 VESA Mounting
The monitor supports VESA mounting with a 75x75mm M4 bracket. This allows for integration with various desktop stands or wall mounts for a customized workspace.

Image: The monitor attached to a VESA-compatible arm, extending a laptop display.
4.3 Connecting Peripherals
The monitor includes two USB-A ports (USB-A1, USB-A2) for connecting external devices:
- Connect a mouse, keyboard, or USB drives to the USB-A ports.
- If your device cable cannot be directly connected to the USB-A interface, use the included USB-A male to USB-A female adapter.

Image: Diagram showing a mouse and keyboard connected to the monitor's USB-A ports.
4.4 Audio Output
Connect headphones or external speakers to the AUX 3.5mm port for audio output.

Image: Diagram showing headphones connected to the monitor's AUX 3.5mm port.
5. Maintenance
To ensure the longevity and optimal performance of your AOKER D1 FHD Portable Monitor, follow these maintenance guidelines:
- Cleaning the Screen: Use a soft, lint-free cloth slightly dampened with water or a screen-cleaning solution. Avoid harsh chemicals, abrasive materials, or direct spraying onto the screen.
- Cleaning the Body: Wipe the monitor's body with a soft, dry cloth.
- Storage: When not in use, especially during travel, ensure the monitor is securely placed back into its protective cover. Before disassembling the screen from the stand, slide the screen to the top of the stand to avoid personal injury or damage from the rebound of the magnetic part.
- Handling: Avoid dropping the monitor or subjecting it to strong impacts. Do not place heavy objects on top of the monitor.
- Environment: Keep the monitor away from extreme temperatures, direct sunlight, high humidity, and dusty environments.

Image: Step-by-step guide for safely storing the monitor by reattaching it to its folded stand/cover.
6. Troubleshooting
If you encounter issues with your AOKER D1 FHD Portable Monitor, refer to the following common problems and solutions:
| Problem | Possible Cause / Solution |
|---|---|
| Monitor shows "No Signal" | Generally, this occurs if your laptop or device does not have a USB-C or HDMI port that supports video output. Ensure your device's port supports video output. Check all cable connections are secure. |
| Screen doesn't light up after connecting | This portable screen requires an external power supply. Please use the included power adapter and cable to power the monitor. Ensure the power source is active. |
| Laptop compatibility issues | Your laptop needs to have 1 full-function USB-C port or 1 USB-C/USB-A port plus 1 HDMI port for full compatibility. Verify your laptop's port specifications. |
| Peripherals (mouse/keyboard) not working via USB-A ports | Ensure the monitor is properly powered. If your peripheral's cable cannot directly connect, use the provided USB-A male to USB-A female adapter. |

Image: A Q&A section addressing common troubleshooting queries.
7. Specifications
| Feature | Detail |
|---|---|
| Model Number | D1 FHD |
| Screen Size | 24 Inches (23 Inches standing screen display size) |
| Resolution | 1920 x 1080 Pixels (FHD 1080p) |
| Refresh Rate | 100Hz |
| Aspect Ratio | 16:9 |
| Image Brightness | 300 Candela per Square Meter |
| Screen Surface Description | Matte |
| Panel Type | IPS |
| Connectivity | USB-C (x2), Mini HDMI (x1), USB-A (x2), AUX 3.5mm (x1) |
| Product Dimensions | 3.94 x 26.37 x 16.14 inches |
| Item Weight | 9.94 pounds |
| Manufacturer | AOKER |
8. Warranty and Support
8.1 Warranty Information
Please refer to the product packaging or the official AOKER website for specific warranty terms and conditions. Typically, AOKER products come with a limited manufacturer's warranty covering defects in materials and workmanship.
8.2 Customer Support
For technical assistance, troubleshooting, or any product-related inquiries, please contact AOKER customer support. You can usually find contact information on the official AOKER website or through the retailer where you purchased the product.
Alternatively, you can reach out for help by:
- Finding "Sold by" on the product page and clicking the blue seller name. Then click "Ask a question".
- Going to "Account & Lists" > "Orders" > "Contact seller" for your specific order.