Introduction
This manual provides detailed instructions for the installation, operation, and maintenance of your new Generic Refrigerator Ice Maker Assembly Replacement. Please read this manual thoroughly before beginning installation to ensure proper function and safety. This ice maker is designed as a replacement part for various refrigerator models, including specific KitchenAid, Maytag, Jenn-Air, and Ikea units.
Safety Information
- Disconnect Power: Always disconnect the refrigerator from the power supply before attempting any installation, maintenance, or repair. Failure to do so can result in electric shock or injury.
- Wear Protective Gear: Use appropriate personal protective equipment, such as gloves, to prevent injury during handling and installation.
- Professional Assistance: If you are unsure about any step or uncomfortable performing the installation, consult a qualified appliance technician.
- Water Supply: Ensure the water supply to the refrigerator is turned off before disconnecting any water lines.
Product Overview
The ice maker assembly is a critical component for automatic ice production in your refrigerator. This replacement unit includes the main ice maker mechanism, ice mold, and associated electrical connections.
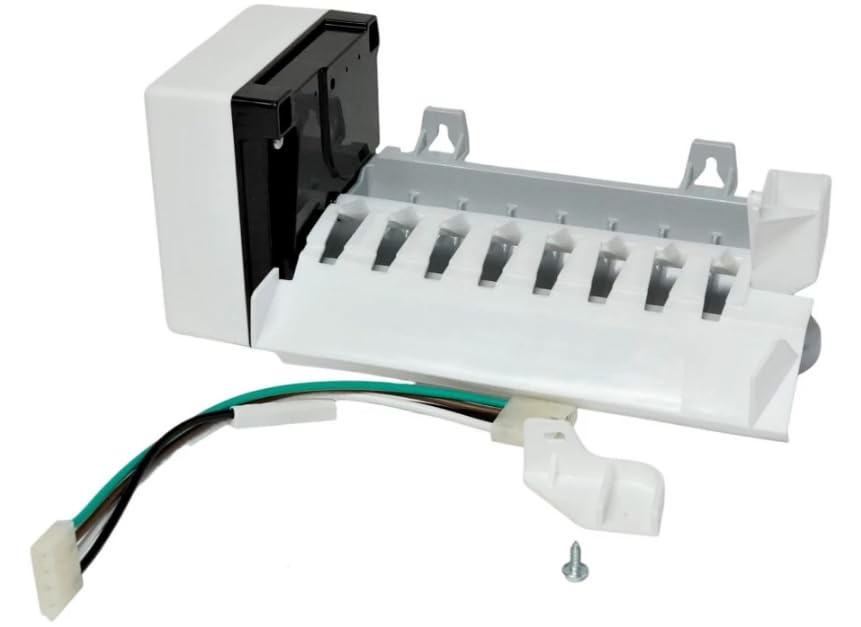
Image: Side view of the complete ice maker assembly, showing the ice mold and motor housing.

Image: Rear view of the ice maker assembly, highlighting the internal components and water fill tube connection.
Compatibility
This ice maker assembly is compatible with a wide range of refrigerator models. Please verify your refrigerator's model number against the list below to ensure compatibility. This unit is known to fit models from KitchenAid, Maytag, Jenn-Air, and Ikea.
Partial List of Compatible Models:
- KitchenAid: KSRL25FRST04, KSRL25FRWH00, KSRL25FRWH01, KSRL25FRWH02, KSRL25FRWH03, KSRL25FRWH04, KSRL25FTBL00, KSRL25FTMS00, KSRL25FTMS01, KSRL25FTST00, and many others listed in the product description.
- Ikea: ID3CHEXWS00, ID3CHEXVQ00, ID3CHEXVS00, ID3CHEXWQ00.
- Maytag: MSD2669KEA00, MSD2550VEB00, MSD2550VEB01, MSD2550VES01, MSD2550VES02, MSD2550VES03, MSD2550VEU01, MSD2550VEW01, MSD2554VEY00, MSD2554VEY01, MSD2658KES00, MSD2658KES01, MSD2658KES02, MSD2658KEU00, MSD2658KEU02, MSD2658KGB00, MSD2658KGB01, MSD2658KGB02, MSD2658KGW00, MSD2658KGW01, MSD2669KEA01, MSD2669KEB00, MSD2669KEB01, MSD2669KEW00, MSD2669KEW01, MSD2669KEY00, MSD2669KEY01, MSD2550VES00, MSD2550VEU00, MSD2554VEA01, MSF25C2EXB00, MSF25C2EXM00, MSF25C2EXS00, MSF25C2EXW00, MSD2658KEU01.
- Jenn-Air: JCB2488MTR00, JCB2581WES00, JCB2585WEP00, JCB2585WES00, JCD2395WES00, JCD2591WES00, JCD2595WEK00, JCD2595WEP00, JCD2595WES00.
What's in the Box
Your package should contain the following items:
- Ice Maker Assembly
- Wiring Harness (if applicable for your model)
- Mounting Bracket and Screw (if applicable for your model)
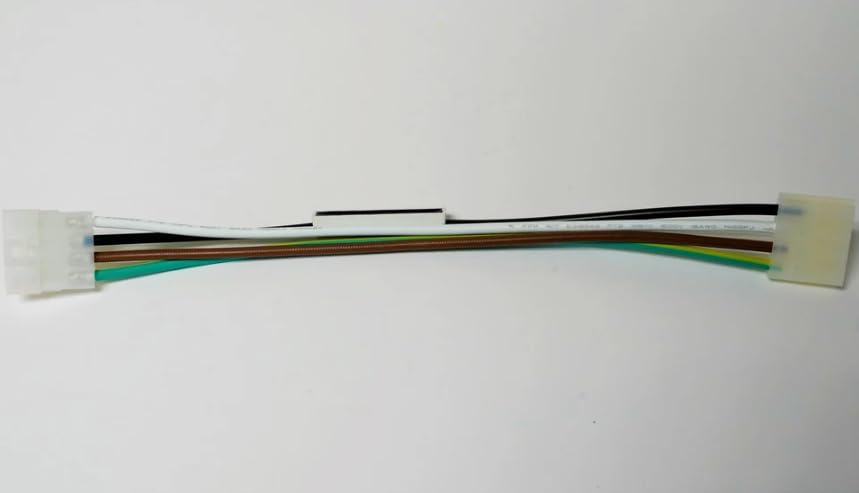
Image: Included wiring harness, showing multiple colored wires and connectors.
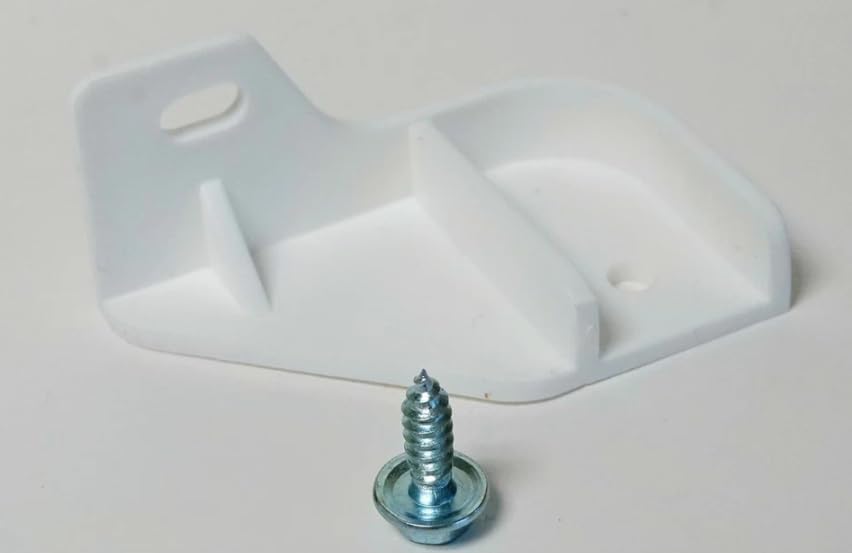
Image: A white plastic mounting bracket and a single screw, typically used for securing the ice maker.
Setup and Installation
Follow these steps carefully to install your new ice maker assembly.
- Prepare for Installation:
- Disconnect the refrigerator from the main power supply.
- Turn off the water supply to the refrigerator.
- Empty the ice bin and remove it from the freezer compartment.
- Remove the Old Ice Maker:
- Locate the screws or clips securing the old ice maker to the freezer wall. Remove them.
- Carefully pull the old ice maker forward to access the electrical connector.
- Disconnect the wiring harness from the old ice maker. You may need to press a tab or release a clip.
- Remove the old ice maker from the freezer.
- Install the New Ice Maker:
- Connect the new ice maker's wiring harness to the refrigerator's electrical connector. Ensure it clicks securely into place.
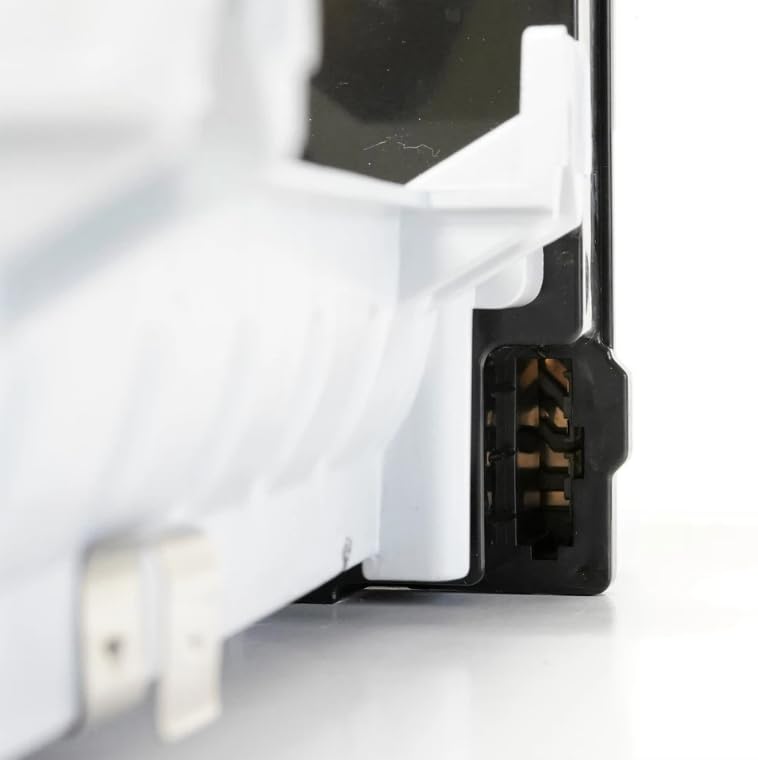
Image: Close-up of the electrical connector on the ice maker, showing the pins for connection.
- Align the new ice maker with the mounting points in the freezer.
- Secure the ice maker with the screws or clips removed earlier. Ensure it is firmly attached.
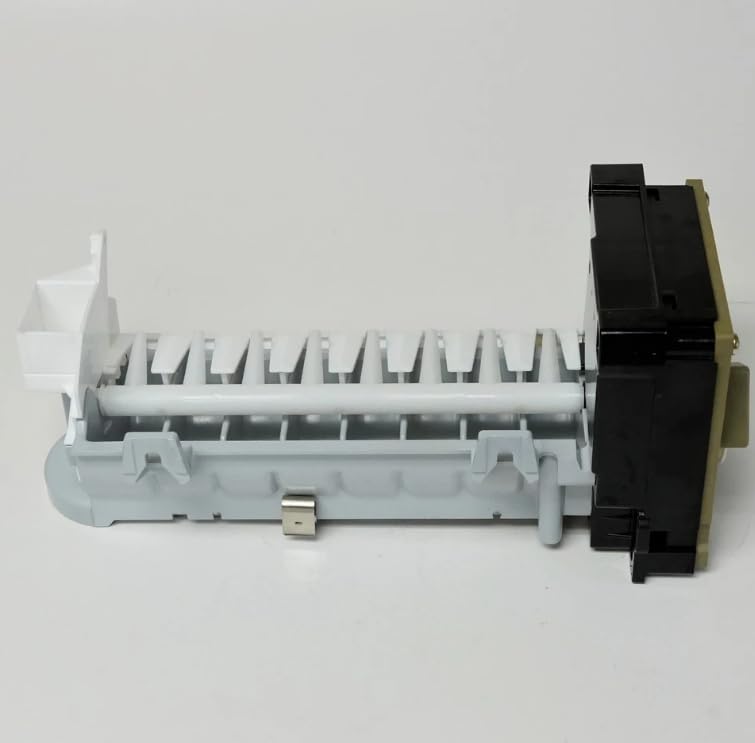
Image: Top view of the ice maker, showing the ice mold where water is frozen into cubes.
- Final Steps:
- Turn the water supply back on. Check for any leaks around the water inlet tube.
- Reconnect the refrigerator to the power supply.
- Replace the ice bin.
The ice maker will typically begin producing ice within 12-24 hours after installation, depending on the refrigerator's temperature and water supply.
Operating Instructions
Once installed, the ice maker operates automatically. Water fills the ice mold, freezes, and then the ice cubes are ejected into the ice bin. The ice maker features an ice level arm to prevent overfilling.
- First Use: Discard the first few batches of ice to ensure the system is clean and free of any manufacturing residues.
- Ice Level Arm: The metal arm on the side of the ice maker detects the ice level in the bin. When the ice reaches a certain height, the arm is pushed up, signaling the ice maker to stop production. When ice is removed, the arm drops, and production resumes.
- Turning Off the Ice Maker: To stop ice production, lift the ice level arm into its uppermost position and secure it. Some models may have a dedicated ON/OFF switch.
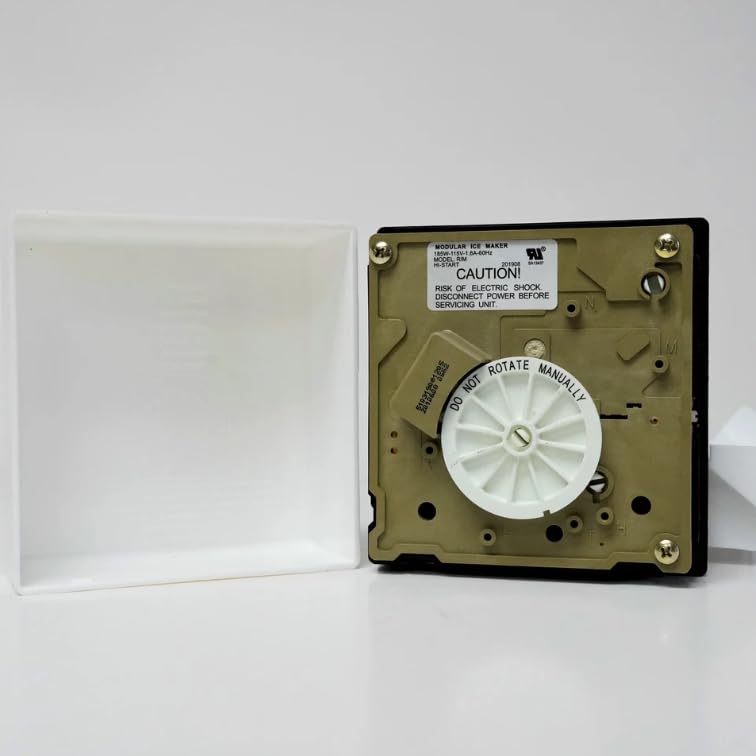
Image: The control module of the ice maker, showing a caution label regarding electric shock and a 'Do Not Manually Rotate' warning on the gear.
Maintenance
Regular maintenance helps ensure optimal performance and longevity of your ice maker.
- Cleaning the Ice Bin: Periodically remove and wash the ice bin with mild soap and warm water. Rinse thoroughly and dry completely before returning it to the freezer.
- Cleaning the Ice Maker: If mineral deposits or mold accumulate on the ice maker, disconnect power and gently wipe down accessible surfaces with a damp cloth. Do not use abrasive cleaners or harsh chemicals.
- Water Filter: Ensure your refrigerator's water filter is replaced regularly according to the manufacturer's recommendations. A clogged filter can reduce water flow to the ice maker and affect ice quality.
- Check Water Line: Periodically inspect the water supply line for kinks, leaks, or damage.
Troubleshooting
If your ice maker is not functioning correctly, refer to the following common issues and solutions:
| Problem | Possible Cause | Solution |
|---|---|---|
| No ice production | Refrigerator not connected to power; water supply off; ice level arm in 'off' position; clogged water filter; freezer temperature too high. | Check power connection; ensure water supply is on; lower ice level arm; replace water filter; set freezer to 0°F (-18°C). |
| Small or hollow ice cubes | Low water pressure; clogged water filter; partially frozen water line. | Check water supply valve; replace water filter; thaw water line if frozen. |
| Ice tastes bad or has odor | Old ice; uncleaned ice bin; food odors in freezer; old water filter. | Discard old ice; clean ice bin; store odorous foods in sealed containers; replace water filter. |
| Ice maker is noisy | Normal operation sounds; loose mounting. | Some noise during ice ejection is normal. Ensure ice maker is securely mounted. |
If these troubleshooting steps do not resolve the issue, it may indicate a more complex problem requiring professional service.
Specifications
- Model Number: KSRL25FTMS01
- Product Dimensions: Approximately 1"D x 1"W x 1"H (Note: These dimensions are from the provided data and may represent packaging or a specific component, not the full assembly.)
- Capacity: 1 Cubic Feet (referring to ice production capacity or internal volume, specific details may vary by refrigerator model)
- Voltage: 1 (This value is from the provided data and may be incomplete or refer to a specific internal component's rating. Refer to your refrigerator's specifications for overall electrical requirements.)
- Brand: Generic
- Manufacturer: generic
Warranty and Support
Specific warranty information for this Generic replacement part is not available in the provided product data. Please refer to the seller or manufacturer's website for any applicable warranty details or support contacts. For general inquiries or assistance with installation, you may also consult online appliance repair resources or a qualified technician.


