
1. Introduction
Thank you for choosing the Oskkude Car Stereo. This manual provides detailed instructions for the installation, operation, and maintenance of your new 9-inch Android 13 multimedia player. Please read this manual thoroughly before use to ensure proper functionality and to maximize your user experience. This unit is designed for Mercedes-Benz ML GL ML350 GL320 X164 models from 2005 to 2011.

Image 1.1: Oskkude Car Stereo with Wireless CarPlay interface.
2. Safety Information
- Professional Installation Recommended: Due to the complexity of car electrical systems, professional installation is highly recommended to prevent damage to the unit or your vehicle.
- Driving Safety: Do not operate the unit in a way that distracts you from driving. Always prioritize road safety.
- Power Supply: Ensure the unit is connected to a 12V DC power supply with a negative ground. Incorrect voltage can cause damage.
- Avoid Moisture: Do not expose the unit to water or excessive moisture.
- Temperature: Operate the unit within normal vehicle operating temperatures.
3. Package Contents
Verify that all items are present in the package:
- Oskkude 9-inch Car Stereo Unit
- Power Cable (x2)
- 2USB Cable
- Camera Input Cable
- Radio Adapter
- GPS Antenna
- Instruction Manual
- RCA Input/Output Cables
- Canbus Box
- Mounting Brackets (x2)

Image 3.1: Included components in the Oskkude Car Stereo package.
4. Setup
4.1. Installation Overview
This car stereo is designed for direct fitment in Mercedes-Benz ML GL ML350 GL320 X164 models (2005-2011). Before installation, ensure your vehicle's center console matches the unit's dimensions and shape. Disconnect the vehicle's battery before beginning any electrical work.

Image 4.1: Visual comparison of the car's dashboard before and after the Oskkude Car Stereo installation.
4.2. Wiring Diagram
Refer to the following diagram for proper wiring connections. Incorrect wiring can damage the unit or vehicle electronics. If unsure, consult a professional installer.

Image 4.2: Comprehensive wiring diagram for the car stereo system.
- Power Cable: Connect to the vehicle's power harness. Ensure correct positive and negative terminals.
- GPS Antenna: Mount the GPS antenna in a location with a clear view of the sky, typically on the dashboard or under the windshield.
- USB Cables: Connect external USB devices for media playback or charging.
- RCA Input/Output: For external amplifiers, subwoofers, or auxiliary video input.
- Backup Camera Input: Connect the provided backup camera or a compatible aftermarket camera.
- Canbus Box: Integrate with the vehicle's CAN-BUS system for steering wheel controls and other vehicle data.
4.3. Initial Power-On
After installation, reconnect the vehicle battery. Turn on the ignition. The unit should power on automatically. Follow any on-screen prompts for initial setup, such as language selection and time zone.
5. Operating Instructions
5.1. Basic Controls and Android 13 System
The unit features a 9-inch HD IPS touchscreen for intuitive control. Navigate through the Android 13 operating system by tapping icons, swiping, and using familiar gestures. The system provides a smooth and responsive user experience.
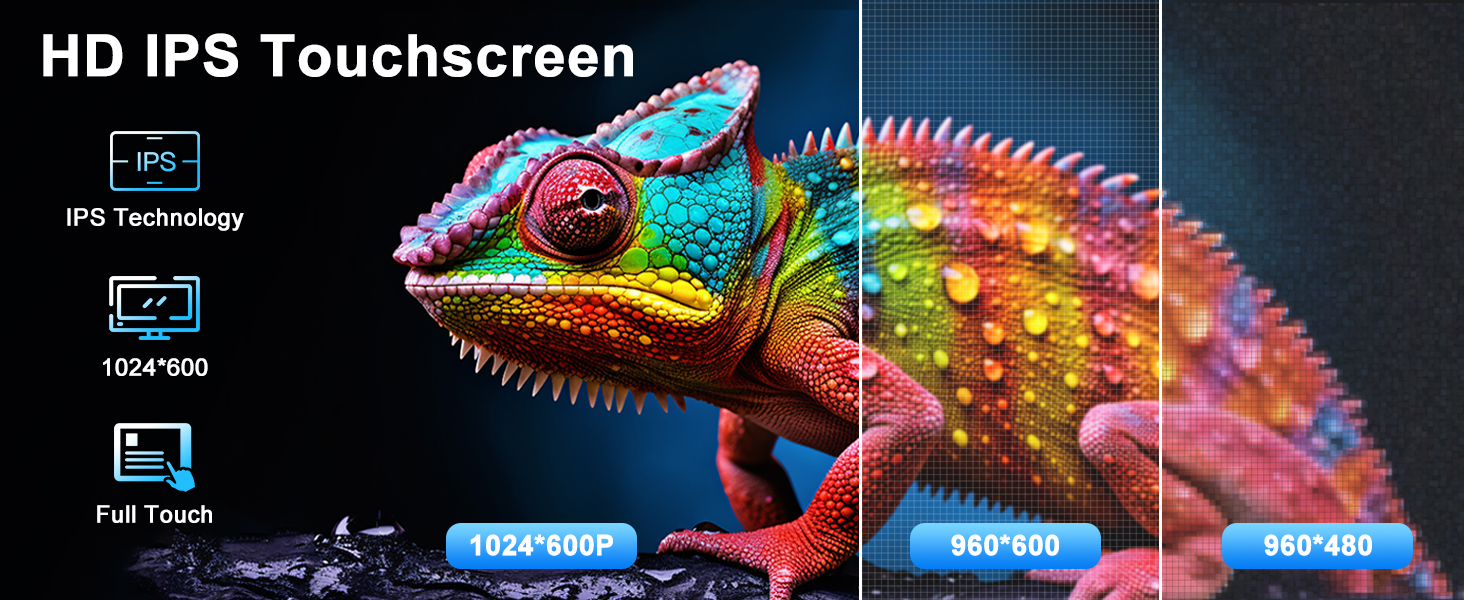
Image 5.1: HD IPS Touchscreen display capabilities.
5.2. Wireless CarPlay and Android Auto
Connect your smartphone wirelessly to access CarPlay or Android Auto. This allows for voice control, navigation, calls, messages, and music playback directly from your phone's interface displayed on the car stereo screen.
- Ensure Bluetooth and Wi-Fi are enabled on your smartphone.
- On the car stereo, open the CarPlay/Android Auto application.
- Search for your car stereo's Bluetooth name on your phone and pair.
- Confirm the connection on both devices.

Image 5.2: Wireless CarPlay and Android Auto interfaces.
5.3. GPS Navigation & Wi-Fi
The unit comes with a built-in GPS module and supports both online and offline navigation. An offline map of North America is pre-installed. Connect to Wi-Fi via a mobile hotspot to use online maps and download additional applications from the Application Store.
- For Wi-Fi: Go to Settings > Network > Wi-Fi and connect to your desired network.
- For GPS: Open the Navigation app. Ensure the GPS antenna is properly installed for optimal signal reception.

Image 5.3: GPS Navigation and Wi-Fi functionality.
5.4. Bluetooth Connectivity
The built-in Bluetooth allows for hands-free calling and audio streaming. Pair your phone to make and receive calls safely and enjoy your music library wirelessly.
- On the car stereo, open the Bluetooth application.
- Enable Bluetooth on your smartphone and search for the car stereo (e.g., "CarBT").
- Pair the devices using the provided PIN (usually 0000 or 1234).
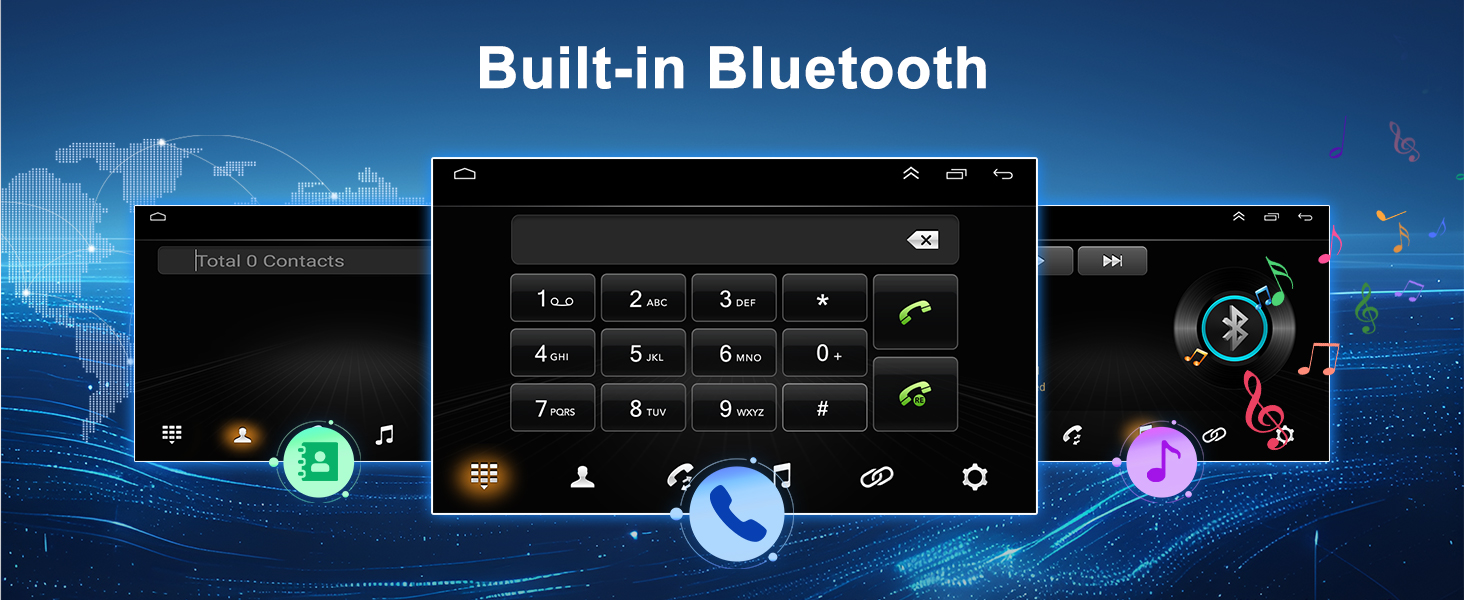
Image 5.4: Built-in Bluetooth interface for calls and music.
5.5. FM/RDS Radio
Enjoy your favorite radio stations with the integrated FM/RDS tuner. The radio supports automatic and manual station searching.
- Open the Radio application.
- Use the scan function to automatically find and save available stations.
- Manually tune by entering frequencies or using the seek buttons.
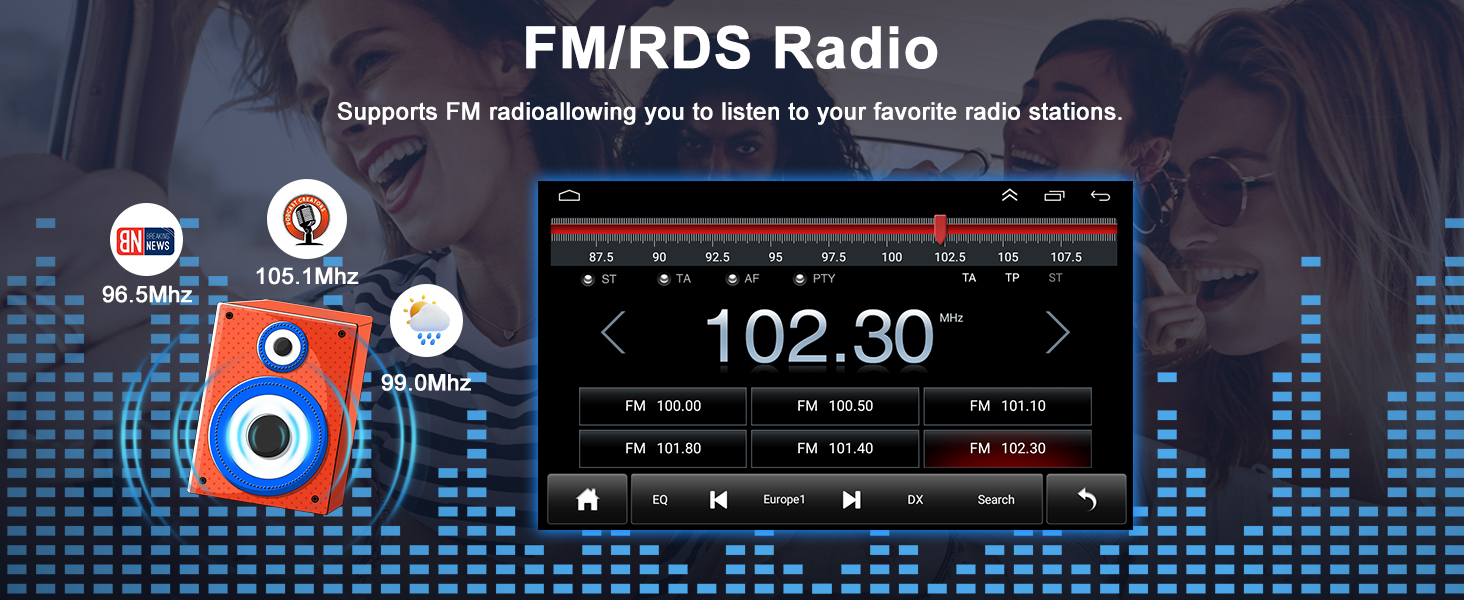
Image 5.5: FM/RDS Radio interface.
5.6. Steering Wheel Control (SWC)
Maintain control of essential functions without taking your hands off the steering wheel. The unit supports original steering wheel controls for switching songs, adjusting volume, and more.
- After installation, navigate to the Steering Wheel Control settings in the unit's menu.
- Follow the on-screen instructions to map your vehicle's steering wheel buttons to the desired functions.
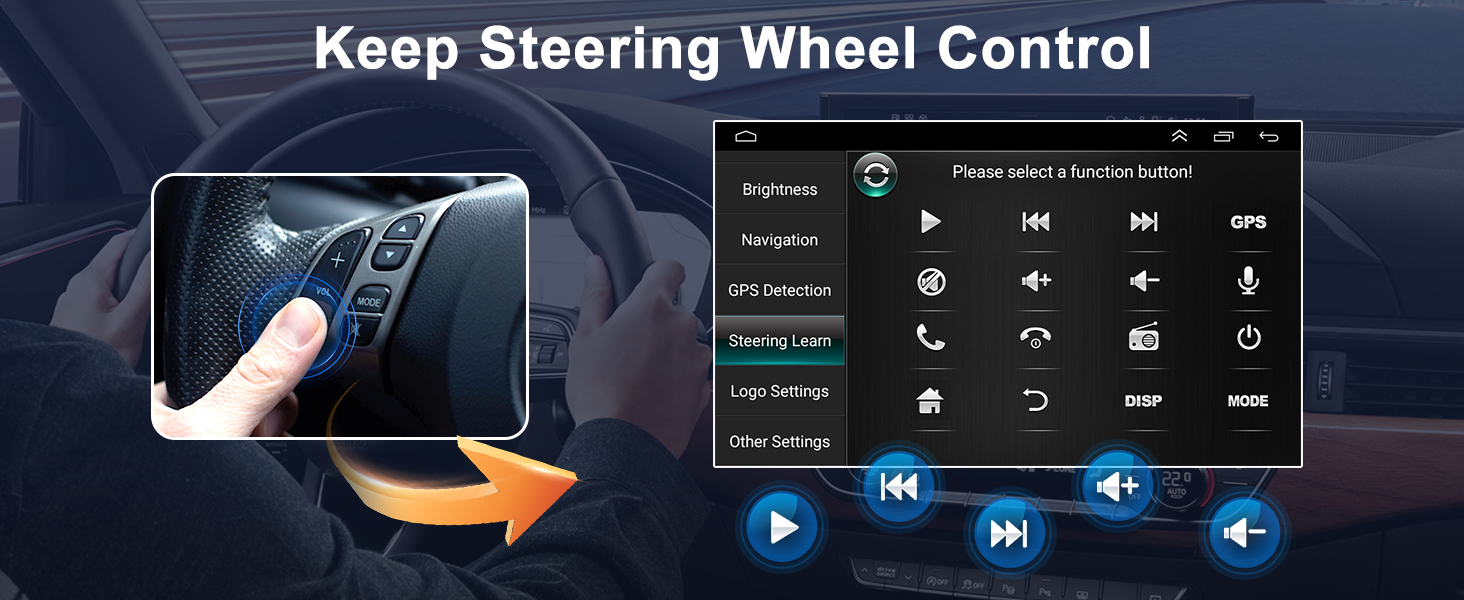
Image 5.6: Steering Wheel Control setup interface.
5.7. Backup Camera
The unit supports a backup camera with night vision and a 170° wide field of view, providing a clear image of the area behind your vehicle when reversing.
- Ensure the backup camera is correctly wired to the unit's camera input and the vehicle's reverse light trigger.
- When the vehicle is shifted into reverse, the display will automatically switch to the camera view.
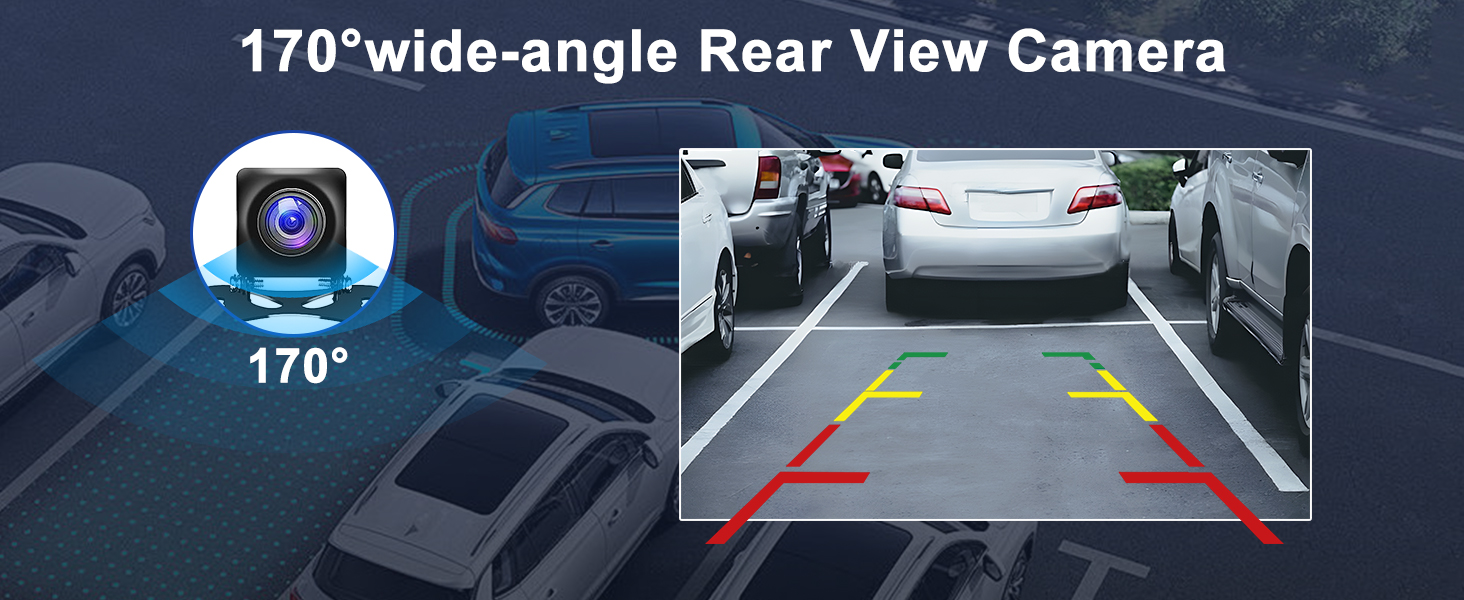
Image 5.7: Rear View Camera functionality.
5.8. Split Screen Functionality
The split-screen feature allows you to run two applications simultaneously, such as navigation and music playback, enhancing multitasking capabilities.
- Open the first application you wish to use.
- Press and hold the recent apps button or swipe from the bottom (depending on Android gesture settings) to enter split-screen mode.
- Select the second application from the recent apps list or app drawer.
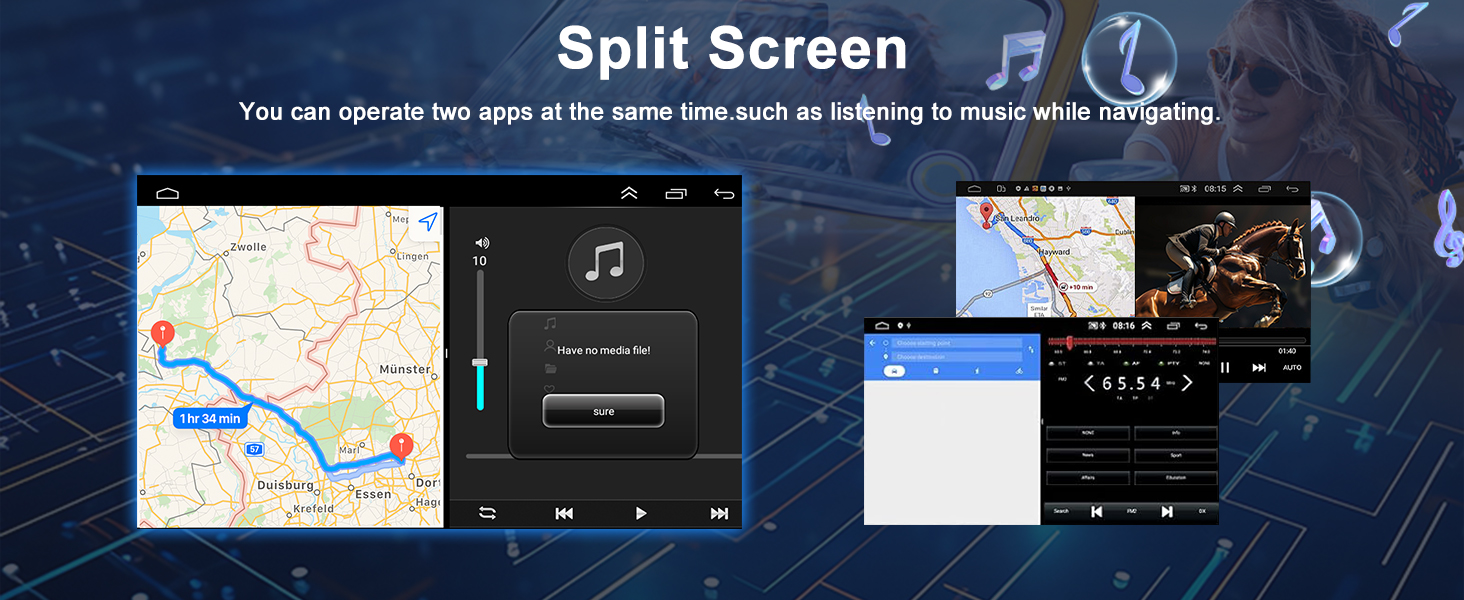
Image 5.8: Split Screen feature in action.
5.9. Mirror Link
Mirror Link allows you to display your smartphone's screen directly onto the car stereo, enabling you to view navigation, videos, and other content from your phone on the larger display.
- Connect your smartphone to the car stereo via USB or Wi-Fi (depending on your phone's capabilities and the unit's settings).
- Open the Mirror Link application on the car stereo.
- Follow the on-screen prompts to establish the connection.
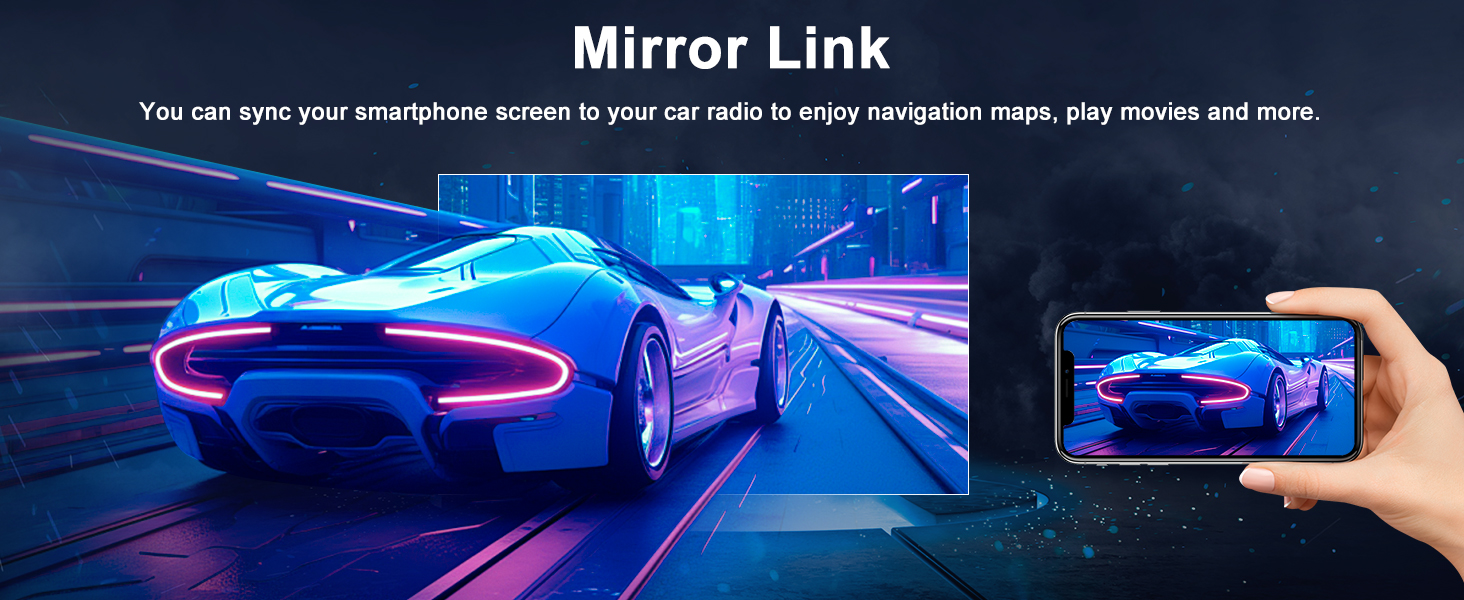
Image 5.9: Mirror Link functionality.
5.10. How to Start Car Navigation (Video)
Watch this video for a visual guide on how to initiate and use the car navigation feature.
Video 5.10: Instructions on how to start the car navigation system.
6. Maintenance
- Cleaning the Screen: Use a soft, lint-free cloth to clean the touchscreen. For stubborn marks, slightly dampen the cloth with water or a screen-safe cleaner. Avoid harsh chemicals.
- Software Updates: Periodically check for software updates to ensure optimal performance and access to new features. Updates can usually be found in the system settings or on the manufacturer's website.
- Avoid Extreme Temperatures: Prolonged exposure to extreme heat or cold can affect the unit's lifespan.
7. Troubleshooting
| Problem | Possible Cause | Solution |
|---|---|---|
| Unit does not power on. | Incorrect wiring; Blown fuse; Vehicle battery disconnected. | Check power connections and fuses. Ensure battery is connected. |
| No sound. | Volume too low; Mute activated; Speaker wiring issue. | Increase volume. Check mute setting. Verify speaker connections. |
| GPS signal lost or inaccurate. | GPS antenna improperly placed or disconnected. | Ensure GPS antenna has a clear view of the sky and is securely connected. |
| CarPlay/Android Auto not connecting. | Bluetooth/Wi-Fi off on phone; Incorrect pairing. | Enable Bluetooth/Wi-Fi on phone. Re-pair devices. Check phone compatibility. |
| Steering Wheel Controls not working. | Canbus box not connected; SWC learning not performed. | Verify Canbus connection. Perform SWC learning in settings. |
8. Specifications
| Feature | Specification |
|---|---|
| Brand | Oskkude |
| Model Number | TISU-03-DYY-25QA1398X |
| Operating System | Android 13.0 |
| RAM + ROM | 2GB RAM + 32GB ROM |
| Screen Size | 9 Inch |
| Display Type | IPS Touchscreen |
| Connectivity | Bluetooth, USB, Wi-Fi |
| Special Features | Wireless CarPlay, Wire Android Auto, Steering Wheel Control, GPS Navigation, Split Screen, AHD Backup Camera, FM/AUX, AV IN, RCA, RLV |
| Audio Output Mode | Stereo |
| Surround Sound Channel Configuration | 4 |
| Output Power | 45 watts (per channel) |
| Output Wattage | 180 watts (total) |
| Control Method | Touch, Voice |
| Compatible Devices | Smartphone |
| Video Encoding | MKV, AVI, MP4, RMVB |
| Item Weight | 1500 g |
9. Warranty and Support
For warranty information and technical support, please refer to the documentation included with your purchase or contact Oskkude customer service through the retailer where the product was purchased. Keep your purchase receipt as proof of purchase.