1. Product Overview
The SDSNTE Sliding Gate Kit provides the necessary hardware to construct a smooth and secure sliding gate. Designed for both residential and commercial applications, this kit enhances security and optimizes space. The hardware is constructed from racking-resistant galvanized steel with a baked powder coating finish, ensuring durability against rust and harsh weather conditions. This kit is specifically designed for use with 2" x 4" railers.
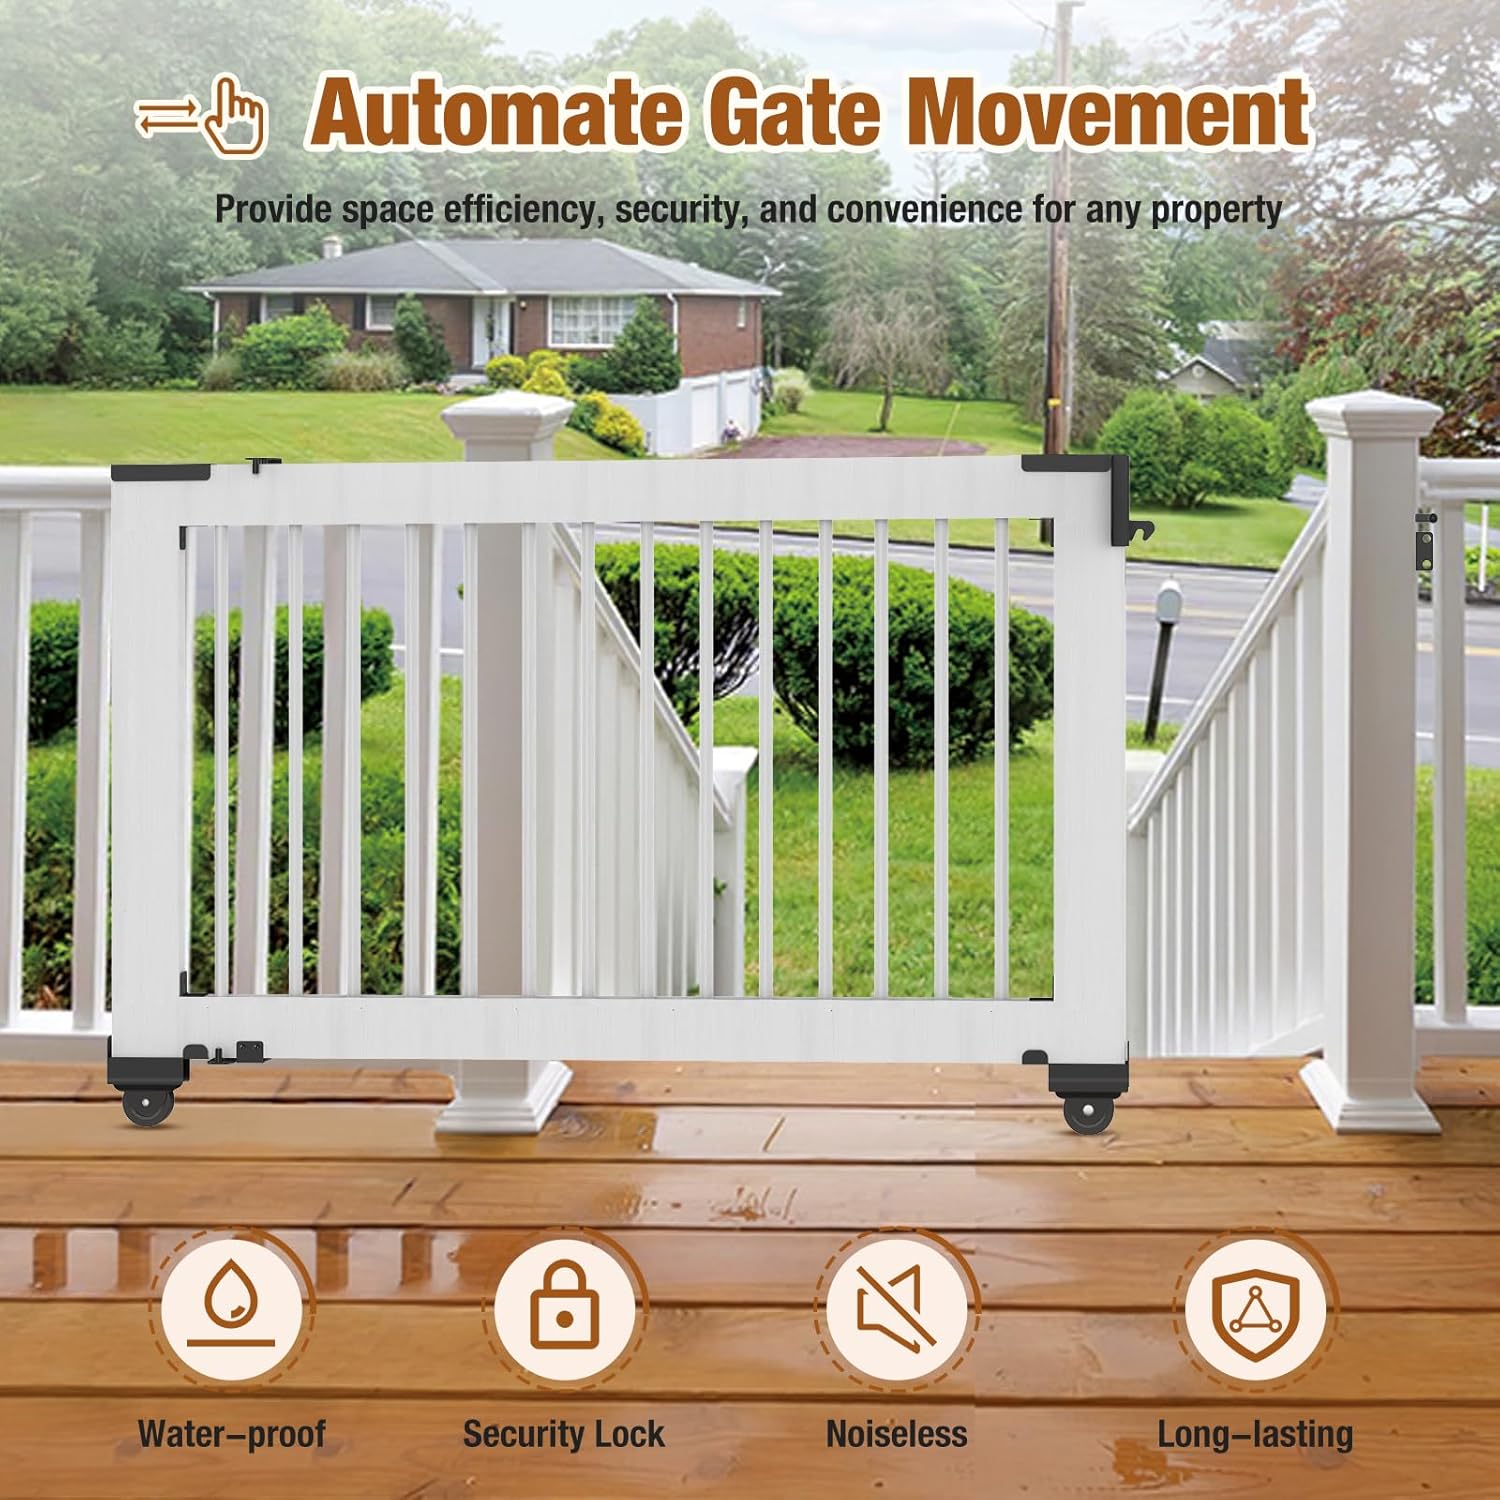
Image 1.1: An installed white sliding gate on a porch, demonstrating space efficiency and security.
2. Safety Information
- Always read and understand all instructions before beginning installation.
- Wear appropriate safety gear, including eye protection and gloves, during installation.
- Ensure the gate frame is securely assembled and stable before attaching the sliding gate hardware. This kit includes hardware only; the gate frame must be constructed separately.
- Verify that the installation surface (e.g., handrail, post) is structurally sound and capable of supporting the gate's weight and operational forces.
- Keep children and pets away from the installation area during assembly and operation.
- Regularly inspect the gate and hardware for any signs of wear, damage, or loose fasteners. Address any issues promptly to maintain safe operation.
3. Package Contents
The SDSNTE Sliding Gate Kit includes all essential hardware for assembly. Please verify that all components listed below are present before beginning installation.
- Sliding Gate Wheels (with premium bearings)
- Upper Rail Brackets
- Lower Rail Brackets
- Gate Latch Mechanism
- Mounting Screws (Note: Consider using higher quality screws for enhanced durability, as some users have reported issues with the included screws.)
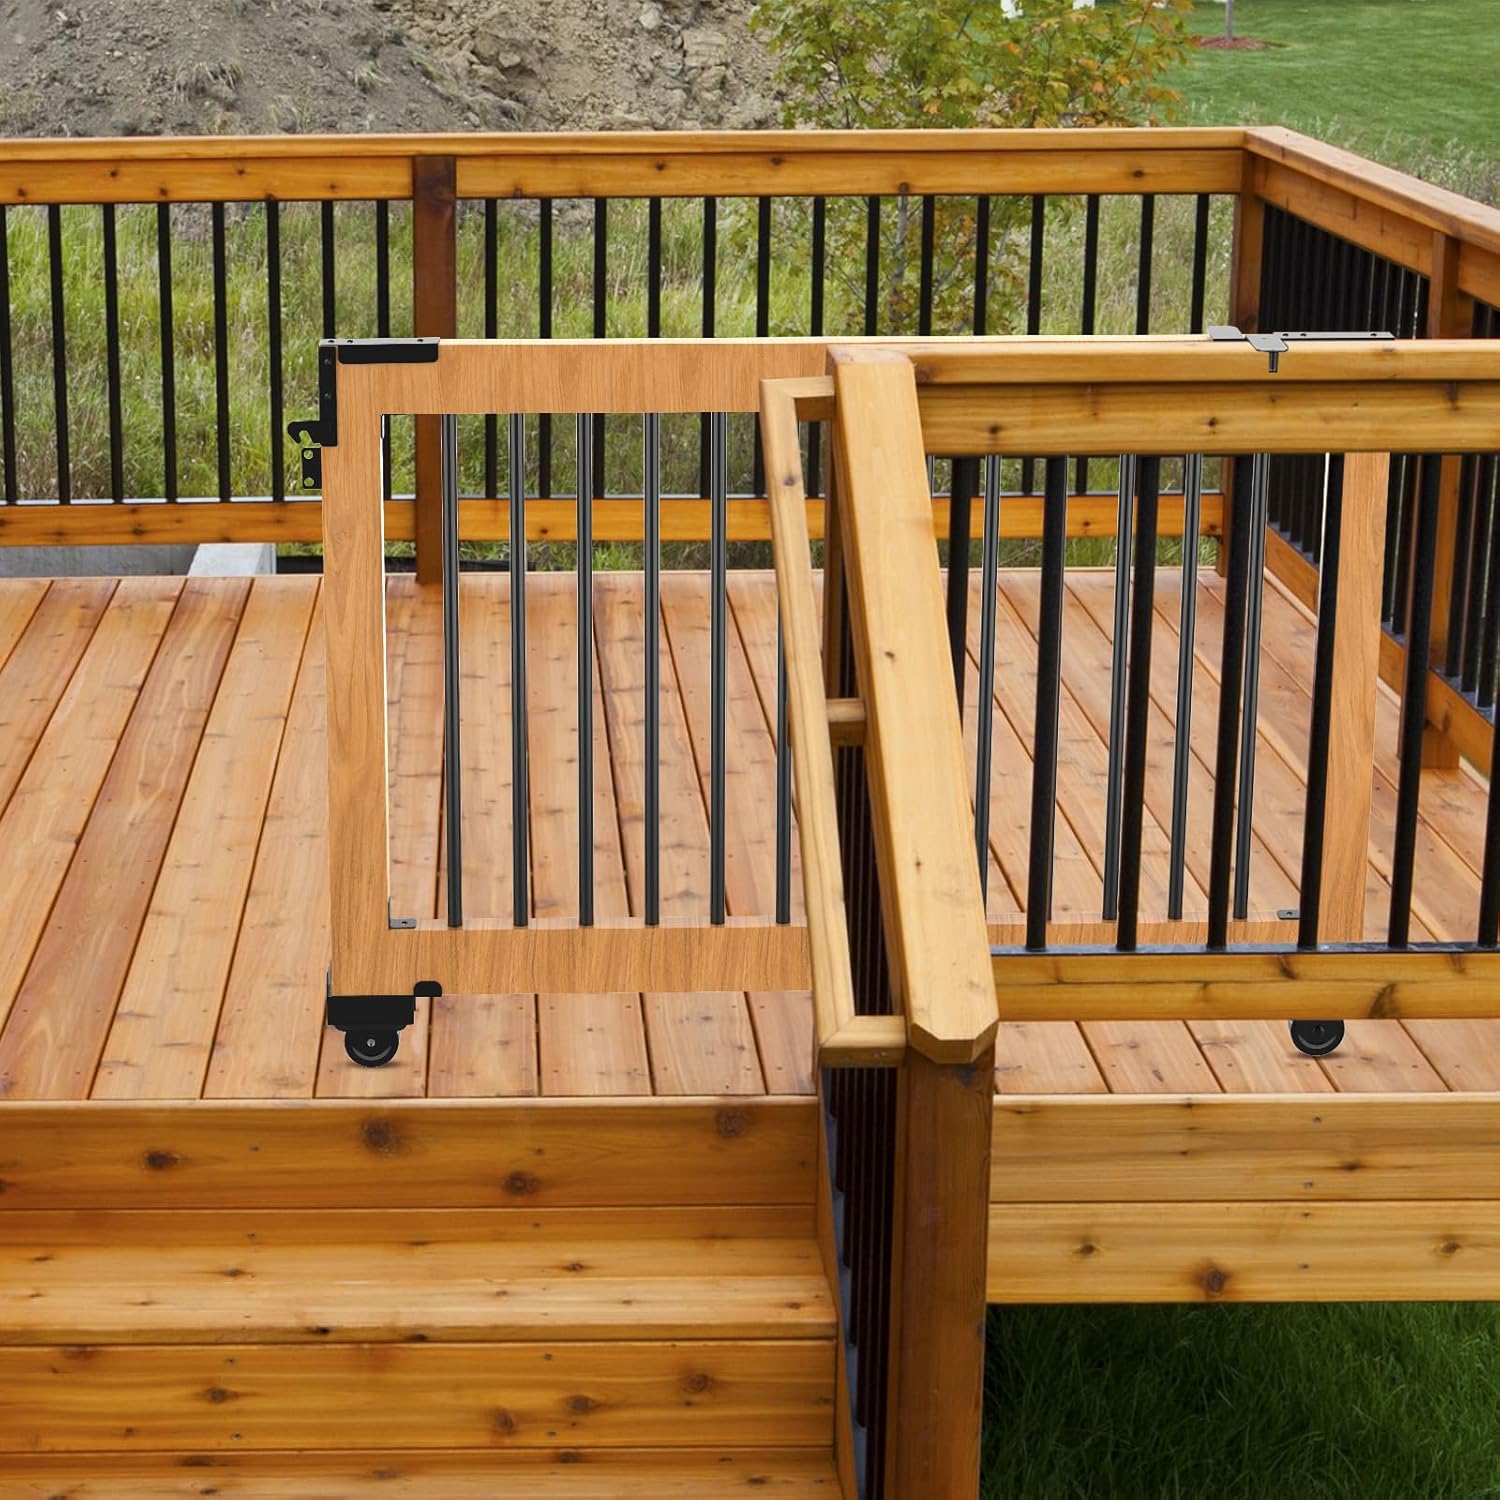
Image 3.1: All components included in the SDSNTE Sliding Gate Kit, laid out for inspection.
4. Setup and Installation
This kit is designed for easy installation without professional tools or expertise. Please follow these steps carefully. Important: Ensure your gate frame is assembled first, and that it utilizes 2" x 4" vertical railers.
4.1. Prepare Your Gate Frame
Before installing the hardware, ensure your gate frame is built with 2" x 4" vertical railers. This kit is specifically designed for this dimension. Measure your rail size before purchase and installation to confirm compatibility.

Image 4.1: A visual guide indicating that the kit is compatible only with 2" x 4" vertical rails.
4.2. Rail Assembly
Attach the upper and lower rail brackets to your gate frame. Use the provided screws, ensuring they are tightened securely. For optimal stability, consider using higher quality screws than those supplied, as some users have reported issues with the included hardware.

Image 4.2: Illustration of how corner brackets are used to secure the gate rail at all four corners for improved stability.
4.3. Wheel Assembly
Install the heavy-duty gate wheels at the bottom corners of your gate. These wheels feature premium bearings for silent and effortless movement.

Image 4.3: A detailed view of the heavy-duty gate wheel, highlighting its wear-resistant, silent, and smooth sliding characteristics.
4.4. Gate Latch Installation
Install the gate latch mechanism on the gate and the corresponding handrail. Ensure the latch operates smoothly and securely. Do not overtighten the screws on the gate lock components to allow for proper movement and engagement.
4.5. Visual Installation Guide
For a visual step-by-step guide, please refer to the official installation video below. This video demonstrates the assembly process for the SDSNTE Sliding Gate Kit.
Video 4.1: Official installation guide for the SDSNTE Sliding Gate Kit, demonstrating each step from rail assembly to gate lock installation.
5. Operating Instructions
To operate your SDSNTE Sliding Gate:
- To Open: Disengage the gate latch. Gently push the gate along its track. The premium bearings in the wheels ensure silent and effortless movement.
- To Close: Guide the gate back along its track until it reaches the closed position. Engage the gate latch to secure it.

Image 5.1: A fully installed sliding gate on a porch, ready for operation.
6. Maintenance
To ensure the longevity and optimal performance of your SDSNTE Sliding Gate Kit, follow these maintenance guidelines:
- Regular Cleaning: Periodically clean the gate hardware and tracks to remove dirt, debris, and any obstructions that could hinder smooth operation. Use a damp cloth and mild detergent if necessary.
- Lubrication: Apply a silicone-based lubricant to the wheel bearings and sliding mechanisms annually, or more frequently in harsh environments, to maintain smooth and quiet operation.
- Fastener Check: Regularly inspect all screws and fasteners for tightness. Tighten any loose components to prevent wobbling or instability.
- Corrosion Inspection: Although made from galvanized steel with a powder coating, inspect for any signs of rust or corrosion, especially in areas where the coating might be chipped. Touch up with appropriate rust-inhibiting paint if needed.
- Track Alignment: Ensure the gate track remains clear and properly aligned. Any misalignment can cause the gate to stick or operate inefficiently.
7. Troubleshooting
If you encounter issues with your SDSNTE Sliding Gate Kit, refer to the following troubleshooting tips:
7.1. Gate is difficult to slide or sticks
- Check for Obstructions: Inspect the gate track and wheels for any debris, dirt, or objects that might be blocking movement.
- Lubricate Wheels: Apply a silicone-based lubricant to the wheel bearings.
- Verify Track Alignment: Ensure the gate and its track are properly aligned. Adjust if necessary.
- Inspect Wheels: Check for any damage or excessive wear on the wheels. Replace if severely damaged.
7.2. Gate Latch is not engaging properly
- Check Alignment: Ensure the gate and the latch components on the handrail are correctly aligned. Slight adjustments to the latch plate might be needed.
- Tightness of Screws: Verify that the screws holding the latch components are not overtightened, which could restrict movement. Also, ensure they are not too loose.
- Obstructions: Clear any paint, debris, or other materials that might be preventing the latch from fully engaging.
7.3. Screws are stripping or breaking during installation
- Pilot Holes: Always drill appropriate pilot holes before driving screws, especially into hardwoods, to prevent stripping and splitting.
- Use Quality Screws: If the provided screws are proving problematic, consider purchasing higher quality, hardened screws from a local hardware store.
- Proper Driver Bit: Use the correct size and type of driver bit for the screw head to prevent stripping.
8. Specifications
| Feature | Detail |
|---|---|
| Brand | SDSNTE |
| Model Number | SDS-79 |
| Material | Carbon Steel |
| Color | Black |
| Mounting Type | Wall Mount |
| Unit Count | 1.0 Count |
9. Warranty and Support
SDSNTE offers a one-year after-sale service on this sliding gate hardware kit. Should you require assistance or have any questions, our customer support team is available 24 hours a day for prompt assistance and resolution.
For support, please contact SDSNTE customer service through the retailer's platform or the official SDSNTE website.


