1. Introduction
Thank you for choosing the LUTHXAY 84-inch Wall-Mounted Bathroom Vanity. This manual provides essential information for the safe installation, operation, and maintenance of your new vanity. Please read these instructions thoroughly before beginning installation and retain them for future reference.
2. Safety Information
WARNING: Improper installation, operation, or maintenance can result in serious injury or property damage. Always follow local plumbing and electrical codes.
- Ensure all electrical connections are performed by a qualified electrician.
- Verify that the wall structure can support the weight of the vanity and its contents.
- Do not overtighten fasteners during assembly to prevent damage to components.
- Keep children away from the installation area.
- Disconnect power before performing any maintenance on the LED mirror.
3. Package Contents
Verify that all components are present and undamaged before beginning assembly. If any parts are missing or damaged, contact LUTHXAY customer support.
- Wall-Mounted Vanity Cabinet (84 inches)
- Black Rock Plate Countertop
- Integrated Ceramic Double Sinks
- LED Smart Defogging Mirror
- Mounting Hardware and Fasteners
- Soft-close Drawer Slides and Door Hinges
4. Specifications
| Feature | Description |
|---|---|
| Brand | LUTHXAY |
| Model | 84IN Bathroom Vanity |
| Dimensions (Vanity) | 84" (Width) x 22" (Depth) x 20" (Height) |
| Dimensions (Mirror) | 82" (Width) x 28" (Height) |
| Material | High-Quality Waterproof Solid Wood |
| Countertop | Black Rock Plate |
| Sinks | Integrated Ceramic Double Sinks |
| Drawers | 2 (Soft-close) |
| Special Features | LED Smart Defogging Mirror, Time Display, Soft-close Drawers |
| Assembly Required | Yes |

Image: Overall dimensions of the 84-inch LUTHXAY bathroom vanity and mirror.
5. Setup and Installation
Professional installation is recommended for this wall-mounted vanity. Ensure you have all necessary tools and safety equipment before starting.
5.1 Pre-Installation Checks
- Inspect all components for damage.
- Confirm wall suitability for mounting heavy objects.
- Ensure plumbing and electrical outlets are correctly positioned.
5.2 Plumbing and Electrical Preparation

Image: Diagram showing recommended positions for cold water valve, hot water valve, wall drain pipe, and floor drain. Also illustrates light cord and power cord routing for the smart mirror.
- Cold Water Valve: Position at a height of 45-65 cm.
- Hot Water Valve: Position at a height of 45-65 cm.
- Wall Drain Pipe: Position at a height of 45-55 cm.
- Floor Drain: Place as close to the wall as possible for aesthetic integration.
- Reserved Light Cord with Switch: Recommended to hide the light cord at 1.4-1.7 meters. If higher than 1.7 meters, it may affect appearance.
- No Switch (Smart Mirror): The socket for the smart mirror should be within 1.2 meters. The smart mirror is equipped with a 1.5-meter connection cable.
5.3 Vanity Cabinet Mounting
- Mark the desired height and level position for the vanity on the wall.
- Locate wall studs and securely attach the mounting brackets (not explicitly shown, but implied for wall-mount) to the studs using appropriate fasteners.
- Carefully lift the vanity cabinet and hook it onto the wall brackets. Secure the cabinet to the brackets.
5.4 Countertop and Sink Installation
- Apply a bead of silicone sealant along the top edges of the vanity cabinet.
- Carefully place the black rock plate countertop with integrated ceramic sinks onto the cabinet, ensuring proper alignment.
- Connect the plumbing for the double sinks according to local codes.
5.5 LED Smart Defogging Mirror Installation
- Determine the desired height for the mirror, ensuring it is centered above the vanity.
- Mount the mirror hanging hardware to the wall, ensuring it is level and secure.
- Hang the LED smart mirror onto the installed hardware.
- Connect the mirror's power cable to the dedicated electrical outlet.
6. Operating Instructions
6.1 LED Smart Defogging Mirror

Image: Close-up of the LED smart defogging mirror, showing touch controls and time display.

Image: Detailed view of the mirror's touch-sensitive controls for activating the defogging function and adjusting LED lighting.
- Power On/Off: Touch the power icon on the mirror surface to turn the LED light on or off.
- Defogging Function: Touch the defogging icon (often represented by a steam cloud) to activate the intelligent defogging function. This will quickly clear fog from the mirror surface. Touch again to deactivate.
- Time Display: The mirror features an integrated time display for convenience.
6.2 Drawers and Cabinet Doors
- Soft-Close Drawers: The vanity is equipped with soft-close drawers. To close, gently push the drawer until the soft-close mechanism engages, allowing it to close smoothly and silently.
- Cabinet Doors: The cabinet doors also feature soft-close hinges for quiet operation.
7. Maintenance
Regular cleaning and proper care will extend the life and appearance of your vanity.
7.1 Cleaning the Countertop and Sinks
- Use a soft cloth and mild, non-abrasive cleaner.
- Wipe spills immediately to prevent staining.
- Avoid harsh chemicals, abrasive pads, or acidic cleaners, which can damage the rock plate and ceramic surfaces.
7.2 Cleaning the Mirror
- Use a soft, lint-free cloth and a glass cleaner specifically designed for mirrors.
- Do not spray cleaner directly onto the mirror; instead, apply it to the cloth.
- Avoid excessive moisture around the mirror's edges and electrical components.
7.3 Cabinet Care
- Wipe cabinet surfaces with a soft, damp cloth. Dry immediately.
- Avoid prolonged exposure to excessive moisture.
- Do not use abrasive cleaners or solvents on the cabinet finish.
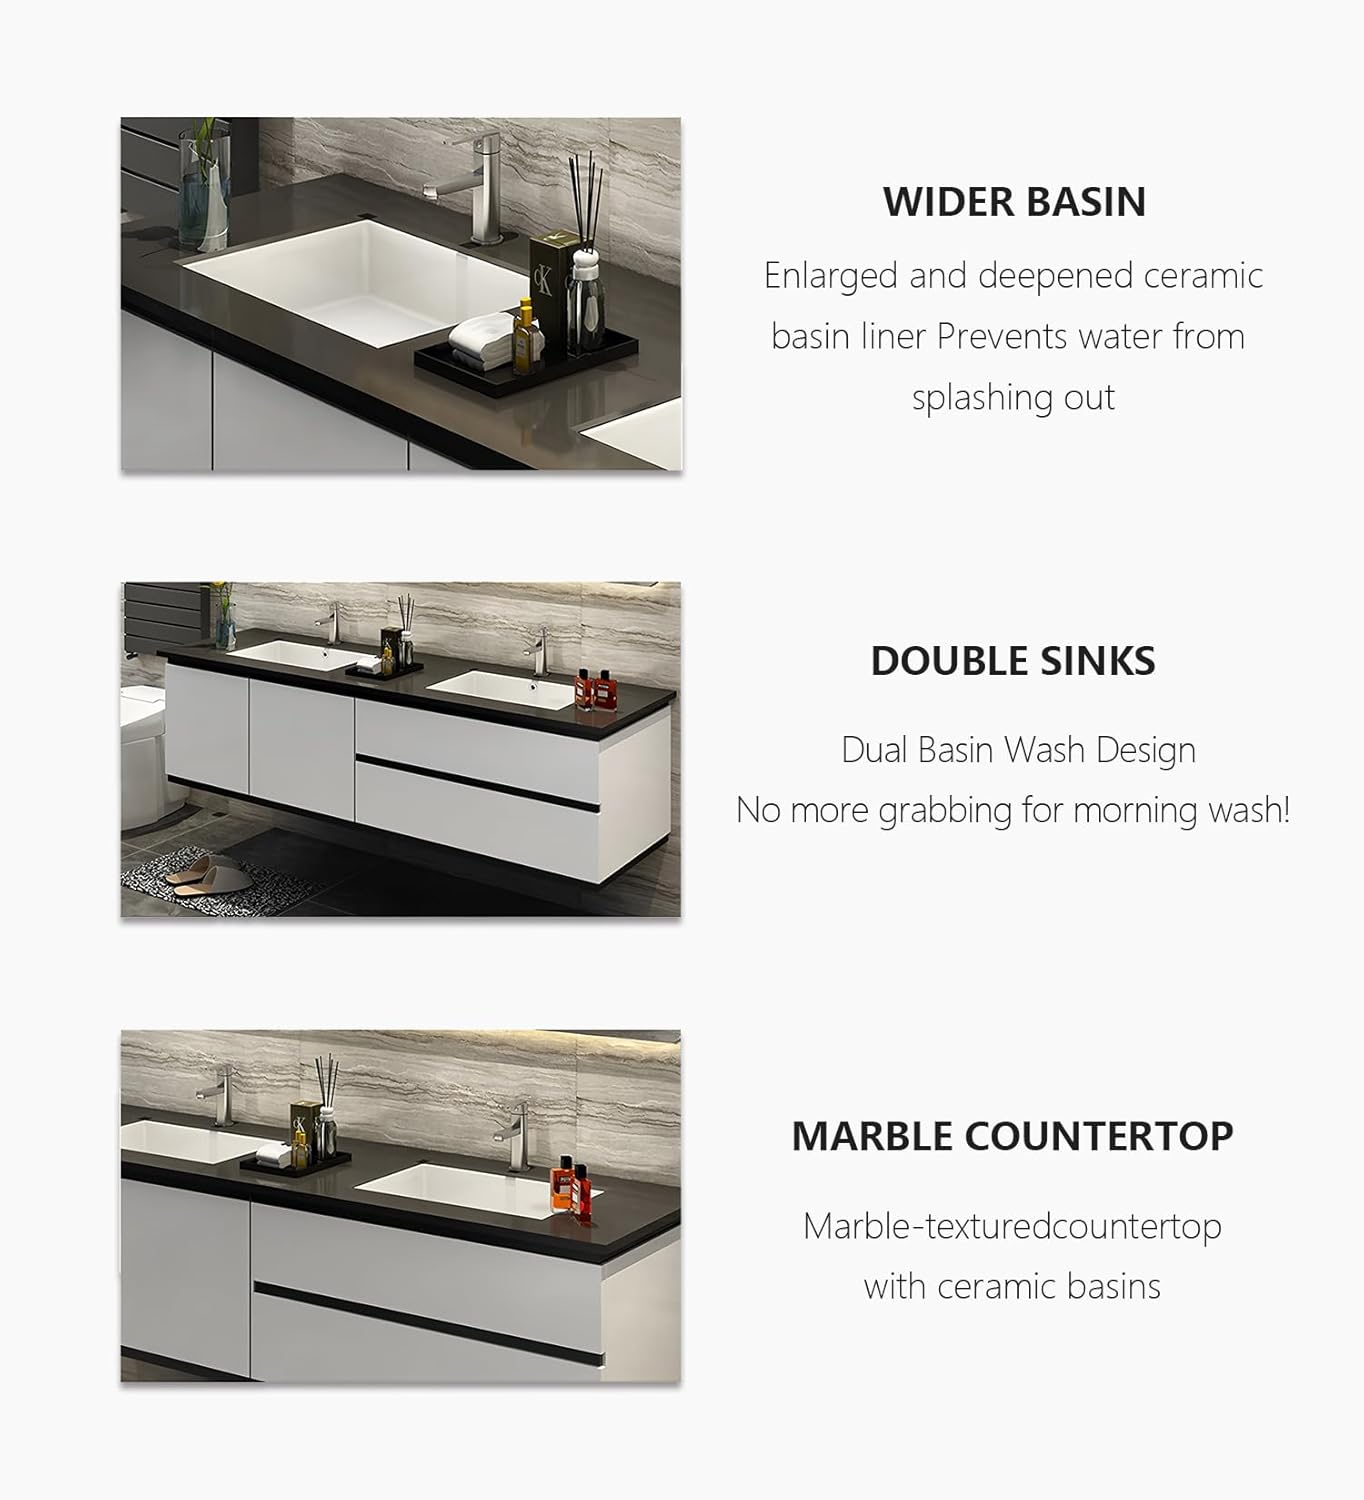
Image: Close-up view of the wider ceramic basin, double sink design, and black rock plate countertop.

Image: Interior view of the vanity's storage cabinet, showing multi-level drawers and door storage for toiletries and cleaning supplies.

Image: Detail of the selected solid rubber wood material, highlighting its sturdy, fine-grained, and natural characteristics.

Image: Illustration of the high-quality hardware fittings, including hydraulic damping guides for drawers and silent cushion hinges for doors, ensuring smooth and quiet operation.
8. Troubleshooting
| Problem | Possible Cause | Solution |
|---|---|---|
| LED mirror not turning on | No power supply; loose connection; faulty mirror. | Check power outlet and connections. Ensure power is on. If problem persists, contact customer support. |
| Defogging function not working | Function not activated; electrical issue. | Ensure the defogging icon is touched to activate. Check power supply. |
| Drawers not closing smoothly | Obstruction in drawer slide; misaligned slides; damaged soft-close mechanism. | Remove any obstructions. Check alignment of drawer slides. If damaged, contact customer support. |
| Water leakage from sink/plumbing | Loose plumbing connections; improper sealant application. | Tighten all plumbing connections. Reapply silicone sealant if necessary. Consult a plumber if unsure. |
9. Warranty and Support
For warranty information and customer support, please refer to the documentation provided with your purchase or contact LUTHXAY directly. Details regarding protection plans, such as the 3-Year Protection Plan or Complete Protect, are available from your retailer.