1. Introduction
This manual provides essential information for the proper installation, operation, maintenance, and troubleshooting of the Jeimgrso Fuel Injector models 095000-0391 and 095000-0490. Please read this manual thoroughly before attempting any installation or service to ensure safety and optimal performance of your vehicle's fuel system components.
2. Product Overview
The Jeimgrso Fuel Injectors (Part Numbers 095000-0391 and 095000-0490) are precision-engineered components designed to deliver fuel to your engine's combustion chambers. These injectors are critical for maintaining proper fuel-air mixture, ensuring efficient combustion, optimal engine performance, and reduced emissions. Each package includes 4 fuel injectors.
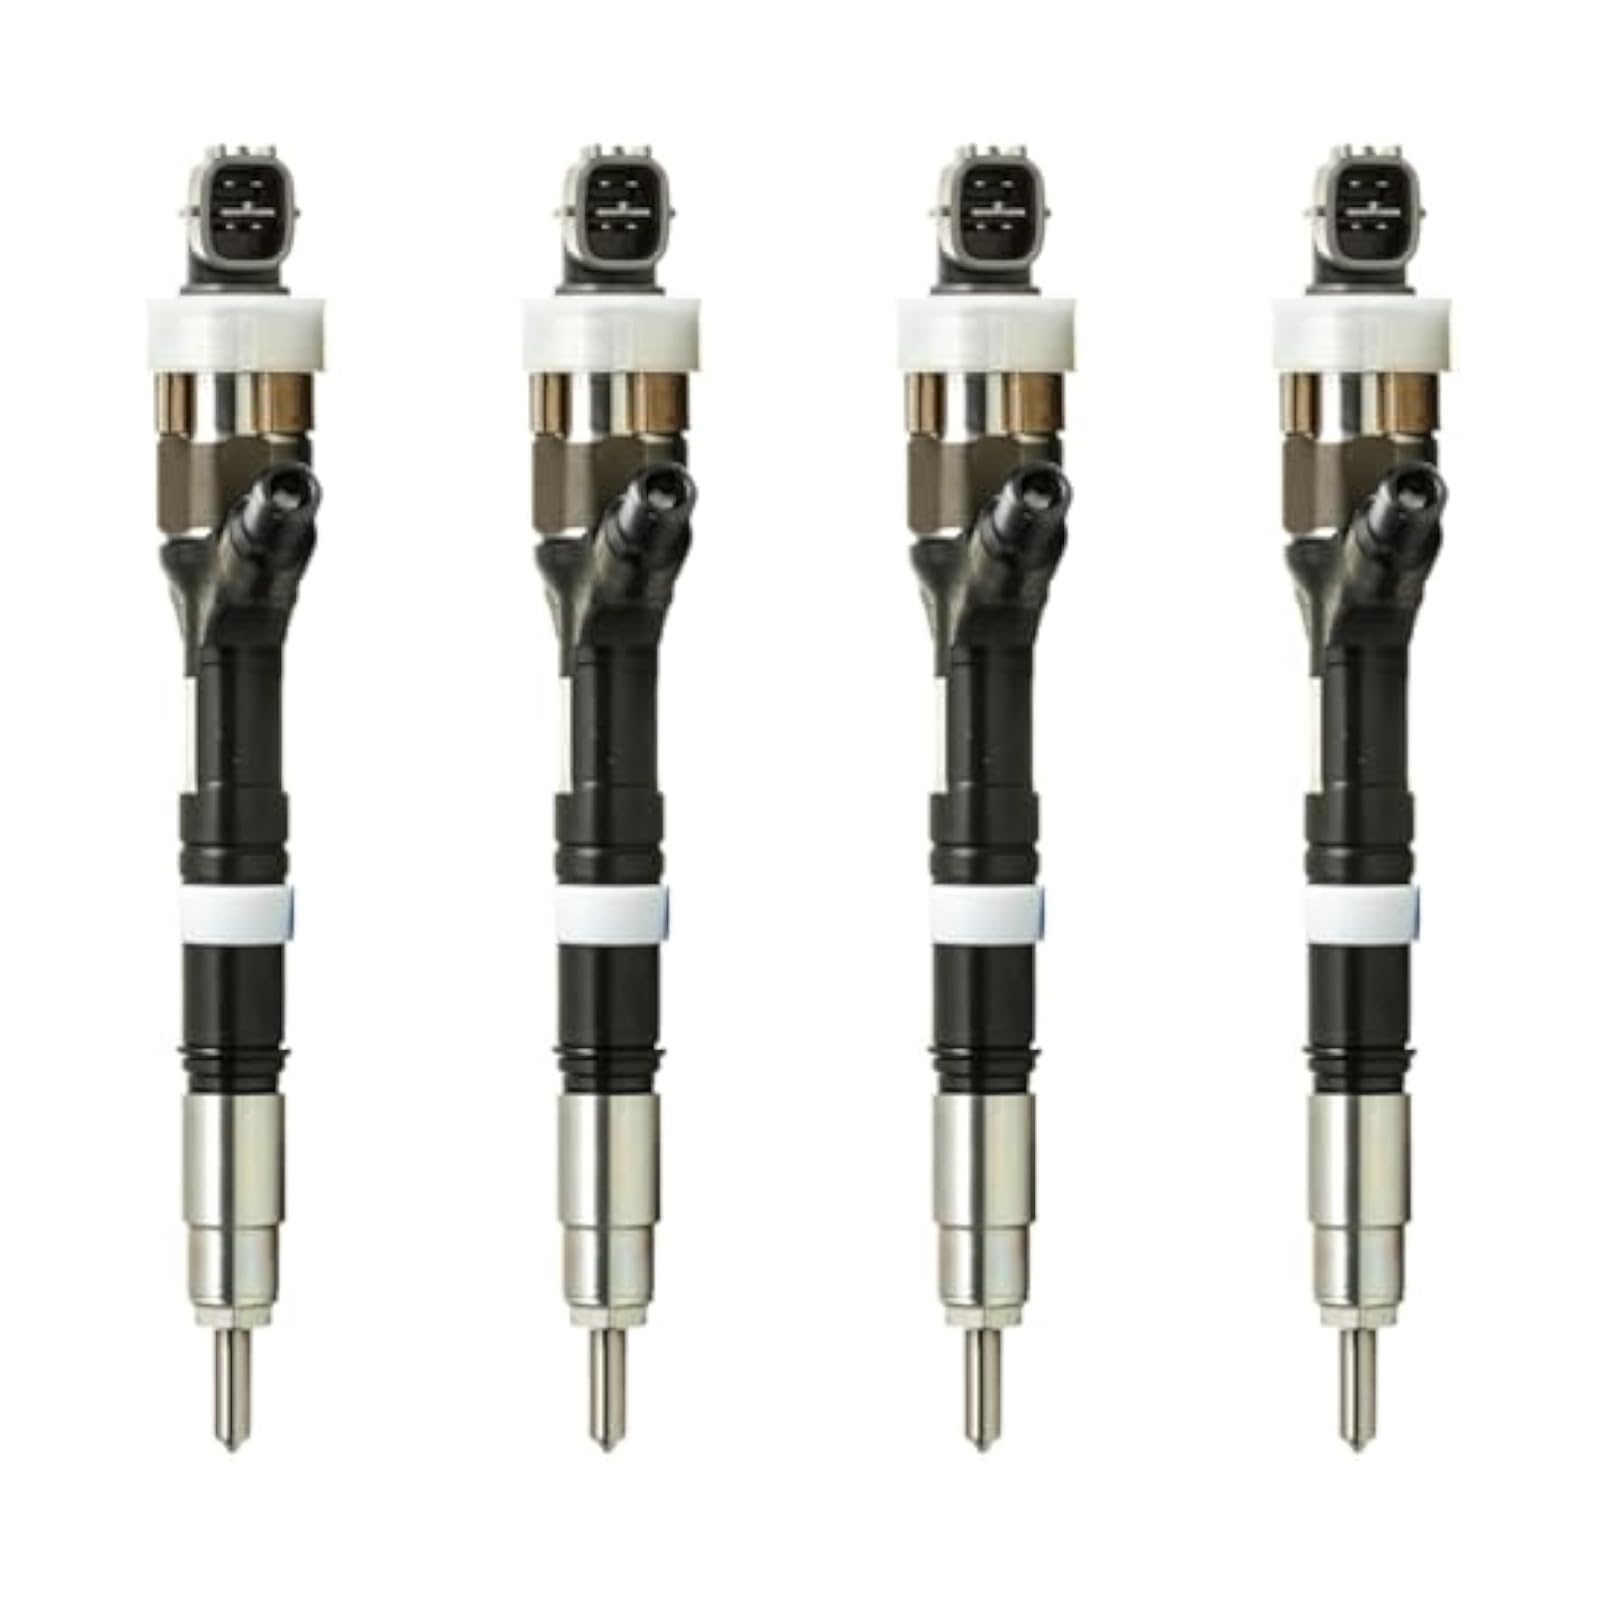
Image 1: Jeimgrso Fuel Injectors (095000-0391 / 095000-0490). This image displays the four fuel injectors included in the package, showcasing their design and construction.
3. Compatibility
These fuel injectors are specifically designed for compatibility with the following vehicle models:
- Vehicle: Toyota Land Cruiser
- Engine Type: 3.0 D-4D 1KD-FTV
- Chassis Codes: KDJ120, KDJ125
- Model Years: 2002-2010
Important Note: Before purchasing or installing, carefully compare the part numbers (095000-0391, 095000-0490) and product photos with your existing components to ensure correct fitment. If you are unsure about compatibility, consult a qualified mechanic or contact customer support with your vehicle's engine model and part number.
4. Safety Information
Working with automotive fuel systems requires caution. Always adhere to the following safety guidelines:
- Personal Protective Equipment: Wear safety glasses and gloves to protect against fuel splashes and sharp edges.
- Fire Hazard: Fuel is highly flammable. Ensure no open flames, sparks, or smoking materials are present in the work area. Have a fire extinguisher readily available.
- Ventilation: Work in a well-ventilated area to avoid inhaling fuel vapors.
- Depressurize Fuel System: Before disconnecting any fuel lines, ensure the fuel system is depressurized according to your vehicle's service manual.
- Battery Disconnection: Disconnect the vehicle's battery negative terminal before starting work to prevent accidental electrical shorts.
- Professional Installation: If you are not confident in your mechanical abilities, seek professional installation from a certified technician.
5. Installation
The following steps provide a general guide for fuel injector replacement. Always refer to your specific vehicle's service manual for detailed instructions and torque specifications.
- Preparation:
- Park the vehicle on a level surface and engage the parking brake.
- Allow the engine to cool completely.
- Disconnect the negative terminal of the vehicle's battery.
- Depressurize the fuel system as per your vehicle's service manual.
- Gather necessary tools: socket set, wrenches, torque wrench, fuel line disconnect tools, new injector seals/o-rings, clean rags.
- Access Injectors:
- Remove any engine covers, air intake components, or other obstructions to gain access to the fuel rail and injectors.
- Carefully disconnect electrical connectors from each injector.
- Remove Fuel Rail:
- Disconnect the fuel lines from the fuel rail. Be prepared for residual fuel leakage.
- Unbolt the fuel rail from the engine manifold.
- Carefully lift the fuel rail, pulling the injectors out of their seats.
- Replace Injectors:
- Remove the old injectors from the fuel rail. Note their orientation.
- Install new O-rings and seals on the new Jeimgrso injectors. Lubricate O-rings with a small amount of clean engine oil or petroleum jelly to prevent damage during installation.
- Insert the new injectors into the fuel rail, ensuring they are fully seated.
- Reinstallation:
- Carefully lower the fuel rail with the new injectors back into position, ensuring each injector nozzle aligns with its port in the manifold.
- Bolt the fuel rail securely, tightening fasteners to the manufacturer's specified torque.
- Reconnect fuel lines to the fuel rail.
- Reconnect electrical connectors to each injector, ensuring a secure click.
- Reinstall any removed engine covers, air intake components, etc.
- Post-Installation Check:
- Reconnect the vehicle's battery negative terminal.
- Turn the ignition key to the "ON" position (without starting the engine) for a few seconds to allow the fuel pump to prime the system. Repeat this a few times.
- Check for any fuel leaks around the injectors and fuel lines.
- Start the engine and listen for any unusual noises or signs of misfire. Check for any "Check Engine" lights.
- If leaks or issues are detected, immediately shut off the engine and re-inspect the installation.
6. System Operation
Fuel injectors are electronically controlled valves that spray atomized fuel into the engine's intake manifold or directly into the combustion chamber. The Engine Control Unit (ECU) determines the precise timing and duration of each injection based on various sensor inputs (e.g., engine speed, load, temperature). This precise control ensures optimal fuel delivery for efficient combustion, power output, and emission control.
7. Maintenance
Proper maintenance of your fuel system can extend the life of your injectors and ensure consistent engine performance:
- Fuel Quality: Always use high-quality fuel from reputable sources. Poor quality fuel can contain contaminants that clog injectors.
- Fuel Filter Replacement: Regularly replace your vehicle's fuel filter according to the manufacturer's recommendations. A clogged fuel filter can restrict fuel flow and put strain on the injectors.
- Injector Cleaning: If you suspect clogged injectors, consider using a high-quality fuel system cleaner added to your fuel tank. For severe clogging, professional ultrasonic cleaning or replacement may be necessary.
- Regular Inspections: Periodically inspect fuel lines and injector connections for any signs of leaks or damage.
8. Troubleshooting
If you experience issues after installation or during normal operation, consider the following common troubleshooting steps:
| Symptom | Possible Cause | Solution |
|---|---|---|
| Engine Misfire / Rough Idling |
|
|
| Fuel Leakage |
|
|
| Reduced Fuel Economy |
|
|
If troubleshooting steps do not resolve the issue, it is recommended to consult a qualified automotive technician.
9. Specifications
| Attribute | Detail |
|---|---|
| Part Numbers | 095000-0391, 095000-0490 |
| Brand | Jeimgrso |
| Compatibility | Toyota Land Cruiser 3.0 D-4D 1KD-FTV (KDJ120, KDJ125) 2002-2010 |
| Condition | New |
| Package Contents | 4 x Fuel Injectors |
| ASIN | B0F2DQY228 |
| GTIN/UPC | 753758527489 |
10. Warranty and Support
For information regarding product warranty, returns, or technical support, please refer to the seller's policies on the platform where the product was purchased. Keep your purchase receipt or order number handy for any inquiries.


