MSC1220F
User Manual: 12'x20' Galvanized Metal Livestock Shed
Model: MSC1220F
1. Introduction
This manual provides comprehensive instructions for the assembly, operation, and maintenance of your 12'x20' Galvanized Metal Livestock Shed, Model MSC1220F. Designed for durability and functionality, this shed is an ideal solution for hobby farmers, professional ranchers, and anyone involved in livestock rearing. Its robust construction and thoughtful design ensure a safe and comfortable environment for your animals or secure storage for equipment.
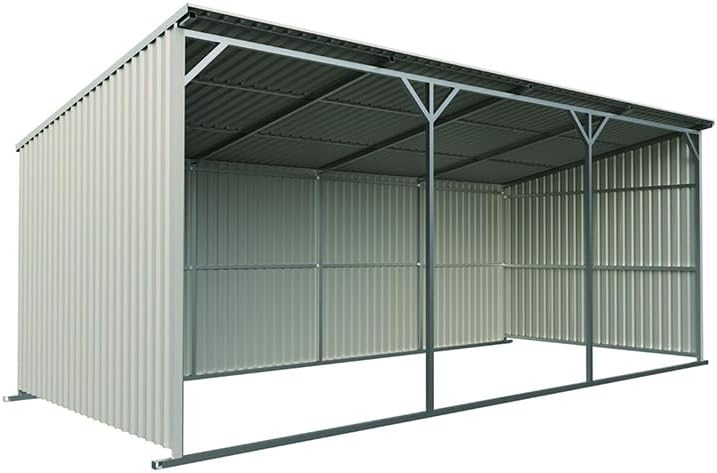
Figure 1.1: The 12'x20' Galvanized Metal Livestock Shed, showcasing its open-front design and sloped roof.
2. Safety Instructions
Please read and understand all safety instructions before beginning assembly or using the shed. Failure to follow these instructions may result in injury or damage to the product.
- Personal Protective Equipment (PPE): Always wear appropriate PPE, including work gloves, safety glasses, and sturdy footwear, during assembly.
- Two-Person Assembly: Assembly requires at least two people due to the size and weight of components. Do not attempt to assemble alone.
- Site Preparation: Choose a level, stable surface for installation. Ensure the area is clear of obstructions and debris.
- Weather Conditions: Avoid assembly during strong winds, heavy rain, or lightning.
- Component Handling: Metal panels may have sharp edges. Handle with care to prevent cuts.
- Anchoring: Securely anchor the shed to the ground to prevent tipping or movement, especially in windy conditions.
- Children and Pets: Keep children and pets away from the assembly area.
- Electrical Safety: If using power tools, ensure they are in good working order and follow all manufacturer safety guidelines.
3. Components and Packaging
Your livestock shed is delivered in sturdy wooden crates. Carefully inspect all packages upon arrival for any signs of damage. Report any discrepancies or damage to your supplier immediately.
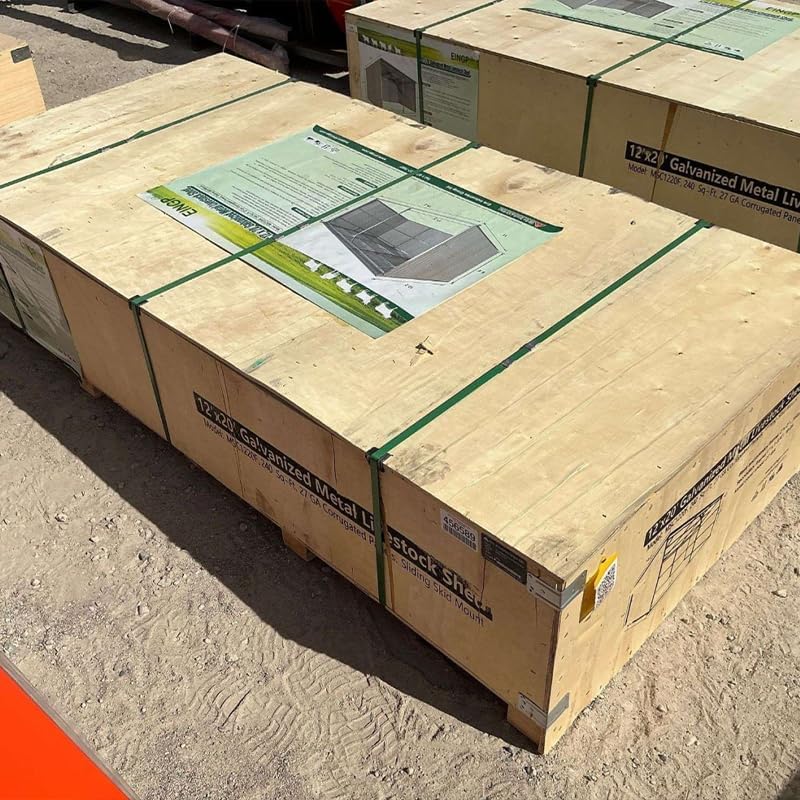
Figure 3.1: Components are securely packaged in wooden crates for transport.

Figure 3.2: Another view of the crated shed, showing packaging details.
All necessary hardware for assembly is included within the packaging. Please verify all parts against the included packing list before beginning assembly.
4. Setup and Assembly
Assembly of the 12'x20' Galvanized Metal Livestock Shed typically requires two people and can be completed in approximately 8-10 hours. No welding is required for assembly.
4.1 Site Selection and Preparation
- Choose a flat, well-drained area for the shed.
- Ensure adequate space around the shed for assembly and future access.
- Clear the area of any rocks, roots, or debris.
4.2 Assembly Steps
- Unpack and Organize: Carefully unpack all components and lay them out according to the included parts list. Group similar parts together.
- Assemble Base Frame: Begin by assembling the base frame using the provided hardware. Ensure all connections are secure. The sliding base design allows for easy repositioning later if needed.
- Erect Vertical Supports: Attach the vertical support poles to the base frame. Ensure they are plumb and stable before proceeding.
- Install Roof Frame: Assemble and attach the roof frame components, including the central support pole, to the vertical supports. The sloped roof design aids in water runoff.
- Attach Wall Panels: Secure the 27GA corrugated metal wall panels to the frame. Start from one corner and work your way around, ensuring panels overlap correctly for weather resistance.
- Install Roof Panels: Attach the corrugated metal roof panels. Ensure proper overlap and secure fastening to prevent leaks.
- Final Checks: Double-check all bolts and fasteners to ensure they are tightened securely.
Recommendation: For enhanced functionality and insulation, adding a wood lining to the interior of the shed is recommended. This can be done after the main structure is fully assembled.
5. Operating the Shed
The 12'x20' Galvanized Metal Livestock Shed is designed for versatile use, primarily for housing livestock or storing equipment.
- Livestock Shelter: The open-front design allows for convenient observation and access to your animals. The sloped roof provides protection from rain and improves ventilation, creating a comfortable environment.
- Equipment Storage: When not housing livestock, the shed can serve as a secure, weather-protected area for storing farm equipment, tools, or feed.
- Mobility: The sliding base design allows for easy movement of the shed to different locations on your property, adapting to changing needs or pasture rotation.
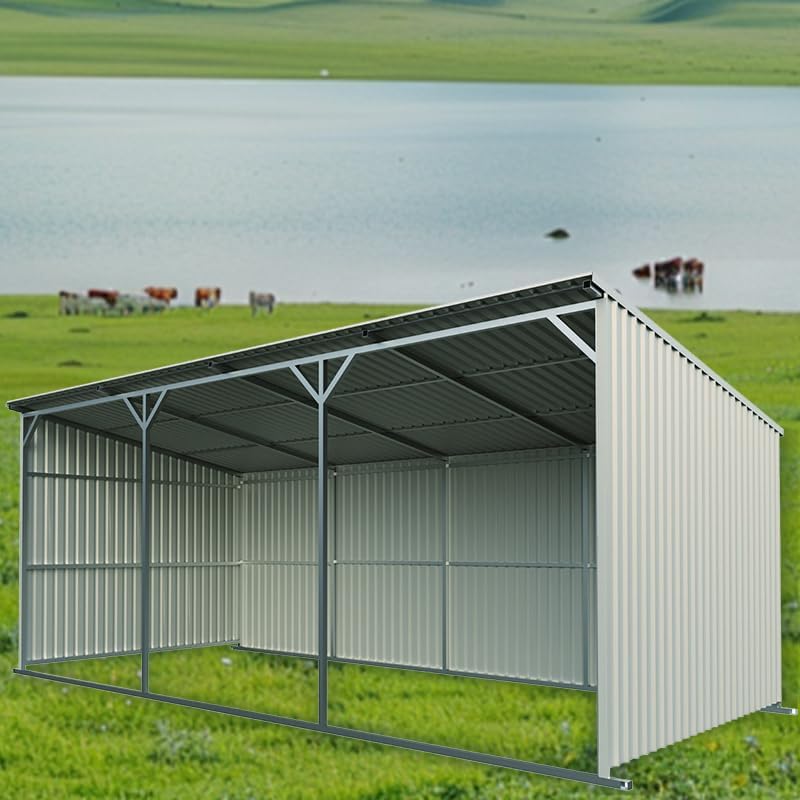
Figure 5.1: The shed provides shelter for cattle in an open field environment.

Figure 5.2: The shed is suitable for various types of livestock, including sheep.
6. Maintenance
Regular maintenance will ensure the longevity and continued functionality of your galvanized metal livestock shed.
- Cleaning: Periodically clean the interior and exterior of the shed to remove dirt, debris, and animal waste. Use a mild detergent and water, rinsing thoroughly.
- Rust Inspection: Although constructed with corrosion-resistant galvanized panels, regularly inspect for any signs of rust, especially at joints or areas where the coating might be compromised. Address any rust spots promptly with appropriate rust-inhibiting paint.
- Fastener Check: Annually check all bolts, screws, and fasteners to ensure they remain tight. Re-tighten as necessary.
- Drainage: Ensure the area around the shed remains well-drained to prevent water accumulation at the base.
- Roof Integrity: Inspect the roof for any damage, loose panels, or blockages that might impede water runoff.
7. Troubleshooting
This section addresses common issues you might encounter with your livestock shed.
- Issue: Water pooling inside the shed.
Solution: Check the ground level around the shed for proper drainage. Ensure roof panels are securely fastened and overlapping correctly. Verify that the sloped roof is free of debris that might block water flow.
- Issue: Shed feels unstable or wobbly.
Solution: Re-check all frame connections and fasteners for tightness. Ensure the shed is on a level surface. Consider additional anchoring points if located in a high-wind area.
- Issue: Difficulty moving the shed (sliding base).
Solution: Ensure the ground surface is relatively smooth and free of large obstacles. Lubricate the sliding base rails if necessary. Ensure the shed is empty before attempting to move it.
8. Specifications
Detailed specifications for the 12'x20' Galvanized Metal Livestock Shed, Model MSC1220F.
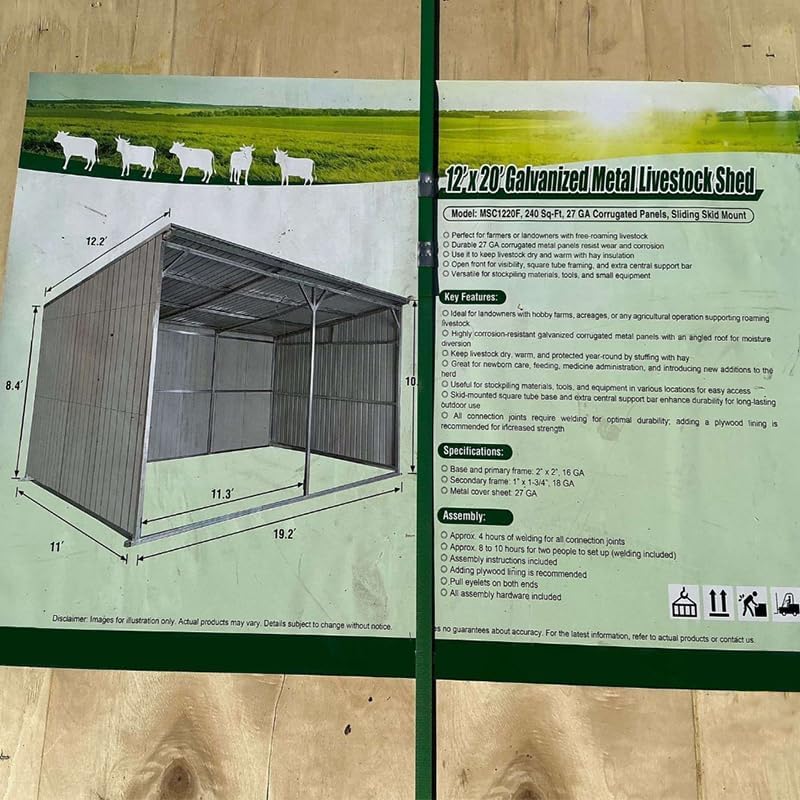
Figure 8.1: Key dimensions of the livestock shed.
| Feature | Detail |
|---|---|
| Model Name | MSC1220F |
| Product Dimensions (L x W x H) | 19.2' x 12.2' x 10.4' (Based on product diagram. Note: Package dimensions are 11.3"D x 12.2"W x 10.4"H) |
| Base and Primary Frame | 2" x 2", 16 GA Alloy Steel |
| Secondary Frame | 1" x 1-3/4", 18 GA Alloy Steel |
| Metal Cover Sheet | 27 GA Galvanized Corrugated Metal |
| Assembly Required | Yes (Approx. 8-10 hours for 2 people) |
| Special Features | Sliding Base Design, Sloped Roof for Ventilation/Drainage, Open-Front Design, Central Support Pole |
| Color | White |
9. Warranty and Support
For information regarding warranty coverage, claims, or technical support for your 12'x20' Galvanized Metal Livestock Shed (Model MSC1220F), please contact the manufacturer, Valley Pioneer, or your point of purchase directly. Ensure you have your model number and purchase date available when contacting support.
This manual is included as part of the product package to assist with assembly and use.