
1. Product Overview
The DUCLUS 39x39 inch Light Box Photography Studio is designed to provide a professional and consistent lighting environment for product photography. This studio features adjustable LED lighting, multiple shooting angles, and a variety of backdrops to enhance your product images.
- Extra Large Shooting Space: At 100cm/39 inches, this light box accommodates various product sizes, from jewelry to home appliances. It includes two diffuser cloths for soft lighting and a reflective silver interior.
- Stepless Dimming & High CRI: Equipped with 210 ultra-bright 10,500-lumen LED beads, offering 0% to 100% dimmable brightness. A high CRI >96 and 5600K daylight color temperature ensure accurate color reproduction.
- Adjustable Light Panels: Three movable light panels can rotate 360 degrees, allowing precise positioning for optimal lighting from top, front, side, or multiple angles.
- Multi-Angle Shooting: Features a multi-opening system for front-facing shots, overhead shots, and close-ups, providing flexibility for dynamic product photography.
- 4 Matte Photography Backdrops: Includes high-quality PP backgrounds in white, black, light orange, and blue. These backdrops are wrinkle-resistant, waterproof, dustproof, and anti-reflective.
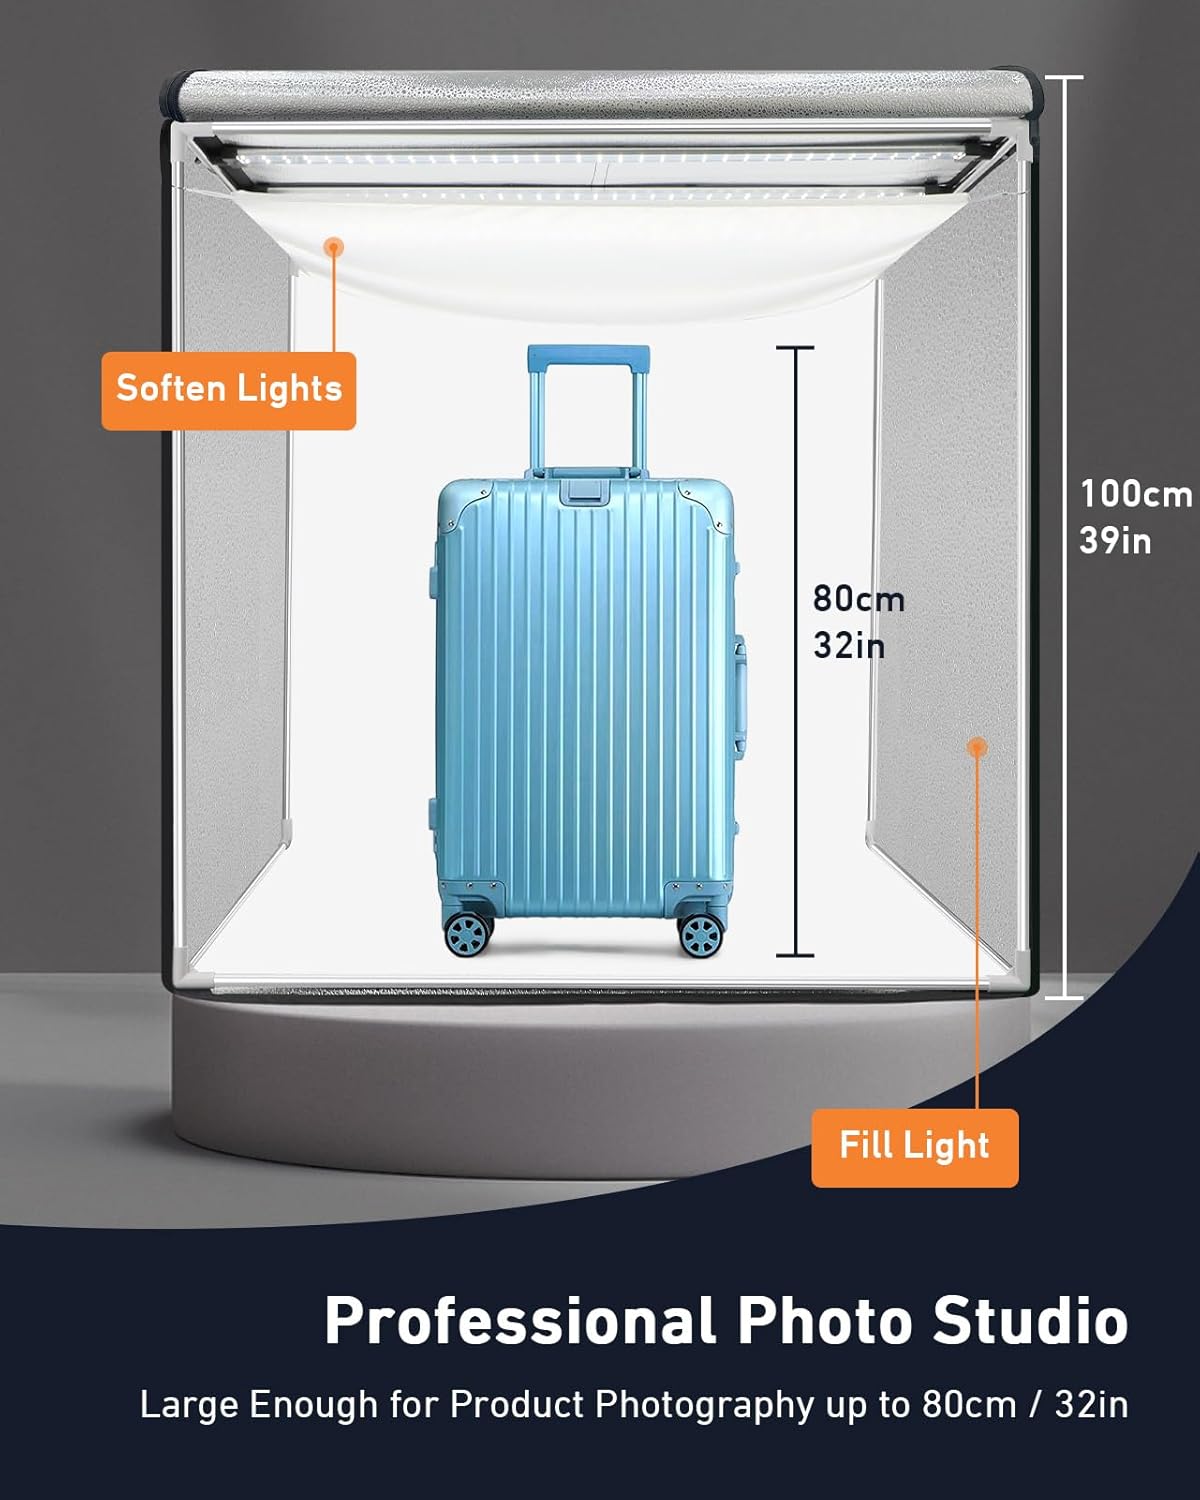
Image 1.1: The DUCLUS 39x39 inch Light Box, demonstrating its spacious interior suitable for large items like a suitcase.
2. Package Contents
Verify that all components are present in your package:
- 1x Studio Tent (39x39 inch)
- 1x Detachable Frame (Stainless Steel Tubes and Plastic Connectors)
- 3x LED Light Panels
- 2x Diffuser Cloths
- 1x Power Supply with Stepless Dimmer
- 4x Matte PP Backdrops (White, Black, Light Orange, Blue)
- 1x Carry Bag
- 1x User Manual

Image 2.1: All components included in the DUCLUS Light Box Photography Studio package.
3. Setup Instructions
Follow these steps to assemble your DUCLUS Light Box Photography Studio:
- Unpack all components from the carry bag.
- Assemble the metal frame using the stainless steel tubes and plastic connectors. Ensure all connections are secure.
- Attach the LED light panels to the top frame tubes. Ensure they are securely clipped or fastened.
- Drape the studio tent over the assembled frame, zipping it up from the bottom to fully enclose the structure.
- Secure the desired backdrop (white, black, light orange, or blue) to the interior of the light box using the Velcro strips or clips provided.
- Connect the LED light panels to the power supply, then plug the power supply into an appropriate electrical outlet.
- If desired, attach the diffuser cloths to the inside of the light box to soften the light further.

Image 3.1: Visual guide for assembling the light box studio.
Video 3.1: An official seller video demonstrating the setup and features of the 39-inch DUCLUS Photo Background Shooting Tent.
4. Operating Instructions
4.1 Light Control (Stepless Dimming)
The light box features a stepless dimming control on the power supply. Rotate the knob to adjust the brightness of the LED lights from 0% to 100% to achieve the desired illumination for your product. The high CRI >96 ensures accurate color representation.

Image 4.1: Stepless dimming control for precise brightness adjustment.
4.2 Adjustable Light Panels
The three LED light panels can be rotated 360 degrees and moved along the frame. This allows you to direct light precisely onto your subject from various angles, including top, front, side, or a combination, to create different lighting effects and minimize shadows.

Image 4.2: Adjustable light panels for versatile lighting setups.
4.3 Multi-Angle Shooting
The light box is designed with multiple openings to facilitate various shooting angles:
- Front Window: Use the large front opening for standard front-facing shots.
- Smaller Front Window: Utilize the smaller front opening for close-up shots.
- Top Opening: Access the top opening for overhead shots, ideal for flat lay photography or capturing the top view of products.

Image 4.3: Multiple shooting windows for flexible photography angles.
4.4 Using Backdrops
Select one of the four provided matte PP backdrops (white, black, light orange, or blue) to complement your product. These backdrops are anti-reflective, wrinkle-resistant, waterproof, and dustproof, making them easy to clean and maintain. Simply secure the desired backdrop inside the light box before shooting.

Image 4.4: The four included matte PP backdrops and their features.
5. Maintenance
To ensure the longevity and optimal performance of your DUCLUS Light Box Photography Studio, follow these maintenance guidelines:
- Cleaning the Tent: The Oxford cloth material of the studio tent can be wiped clean with a damp cloth and mild detergent if necessary. Avoid harsh chemicals that may damage the fabric.
- Cleaning Backdrops: The PP backdrops are waterproof and dustproof. Wipe them with a damp cloth to remove any dust or smudges. For stubborn marks, a mild soap solution can be used. Ensure they are dry before storage.
- LED Panels: Keep the LED light panels free from dust. Use a soft, dry cloth to gently wipe them. Do not use liquids directly on the LED components.
- Storage: When not in use, disassemble the light box and store all components in the provided carry bag to protect them from dust and damage. Store in a cool, dry place.
6. Troubleshooting
If you encounter any issues with your light box, refer to the following common problems and solutions:
- Lights Not Turning On:
- Ensure the power supply is securely plugged into both the light panels and the electrical outlet.
- Check if the dimmer knob is turned up from 0%.
- Verify that the electrical outlet is functional by plugging in another device.
- Uneven Lighting or Shadows:
- Adjust the position and angle of the three movable LED light panels to distribute light more evenly.
- Ensure the diffuser cloths are properly installed to soften harsh light and reduce shadows.
- Check for any obstructions inside the light box that might be casting shadows.
- Backdrops Not Lying Flat:
- Ensure the backdrop is securely attached to the Velcro strips or clips inside the light box.
- The PP backdrops are wrinkle-resistant; however, if creases occur from storage, gently roll them in the opposite direction or allow them to hang for a period.
- Difficulty Zipping the Tent:
- Ensure the frame is fully assembled and the tent is correctly aligned.
- Gently push the frame inward slightly while zipping to ease tension on the zipper.
7. Technical Specifications
| Brand | DUCLUS |
| Model Number | RXZER100 |
| Product Dimensions | 40"D x 40"W x 40"H (100cm x 100cm x 100cm) |
| Material | Oxford Cloth, Polyvinyl Chloride (PVC) |
| Light Source | 210 LED beads |
| Light Source Wattage | 80 watts |
| Lumen Output | 10,500 lumens |
| Color Temperature | 5600 Kelvin (Daylight) |
| Color Rendering Index (CRI) | >96 |
| Voltage | 36 volts DC |
| Dimming Range | 0% to 100% Stepless |
| Water Resistance Level | Waterproof (Backdrops) |
8. Warranty and Support
8.1 Warranty Information
The DUCLUS 39x39 inch Light Box Photography Studio comes with a 2-year manufacturer's warranty covering defects in materials and workmanship. Please retain your proof of purchase for warranty claims.
8.2 Customer Support
For any questions, technical assistance, or warranty claims, please contact DUCLUS customer service. We offer 24-hour client service and a 30-day return policy. Our team is dedicated to providing support for your product photography needs.
For further assistance, please refer to the contact information provided on the product packaging or the official DUCLUS website.