1. Introduction
Thank you for choosing the SanmeiLi HCT-322 Automatic Water Timer. This digital irrigation device is designed to automate your garden watering, helping you conserve water and manage your time efficiently. Please read this manual thoroughly before operation to ensure proper setup and use.
Package Contents:
- 1 x SanmeiLi HCT-322 Automatic Water Timer
- 1 x User Manual
- Various hose connectors/adapters (as shown in images)
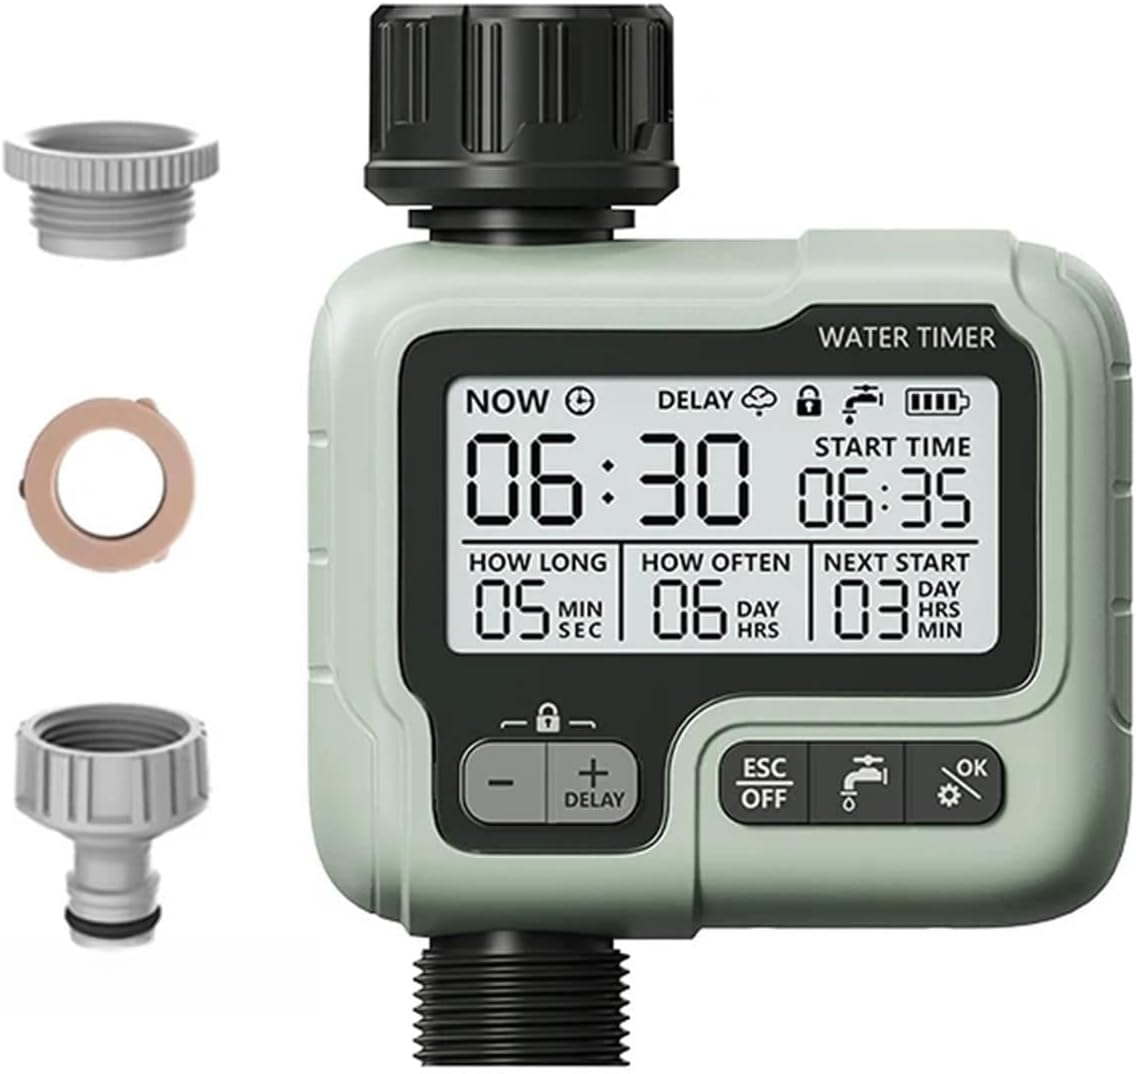
Image 1.1: The SanmeiLi HCT-322 Automatic Water Timer shown with various hose connectors and adapters, illustrating the complete package contents.
2. Product Features
- Digital Display: Large 2.76-inch screen for clear visibility of settings.
- Easy Installation: Features a 360° movable connector for flexible positioning.
- Programmable: Set watering duration, frequency, and start time.
- Removable Filter: Integrated filter to prevent debris from entering the timer.
- Leak Hole Design: Designed to protect the internal components.
- Child Lock: Prevents accidental changes to settings.
- Delay Function: Postpone watering cycles.
- Manual Mode: Allows for immediate, unscheduled watering.
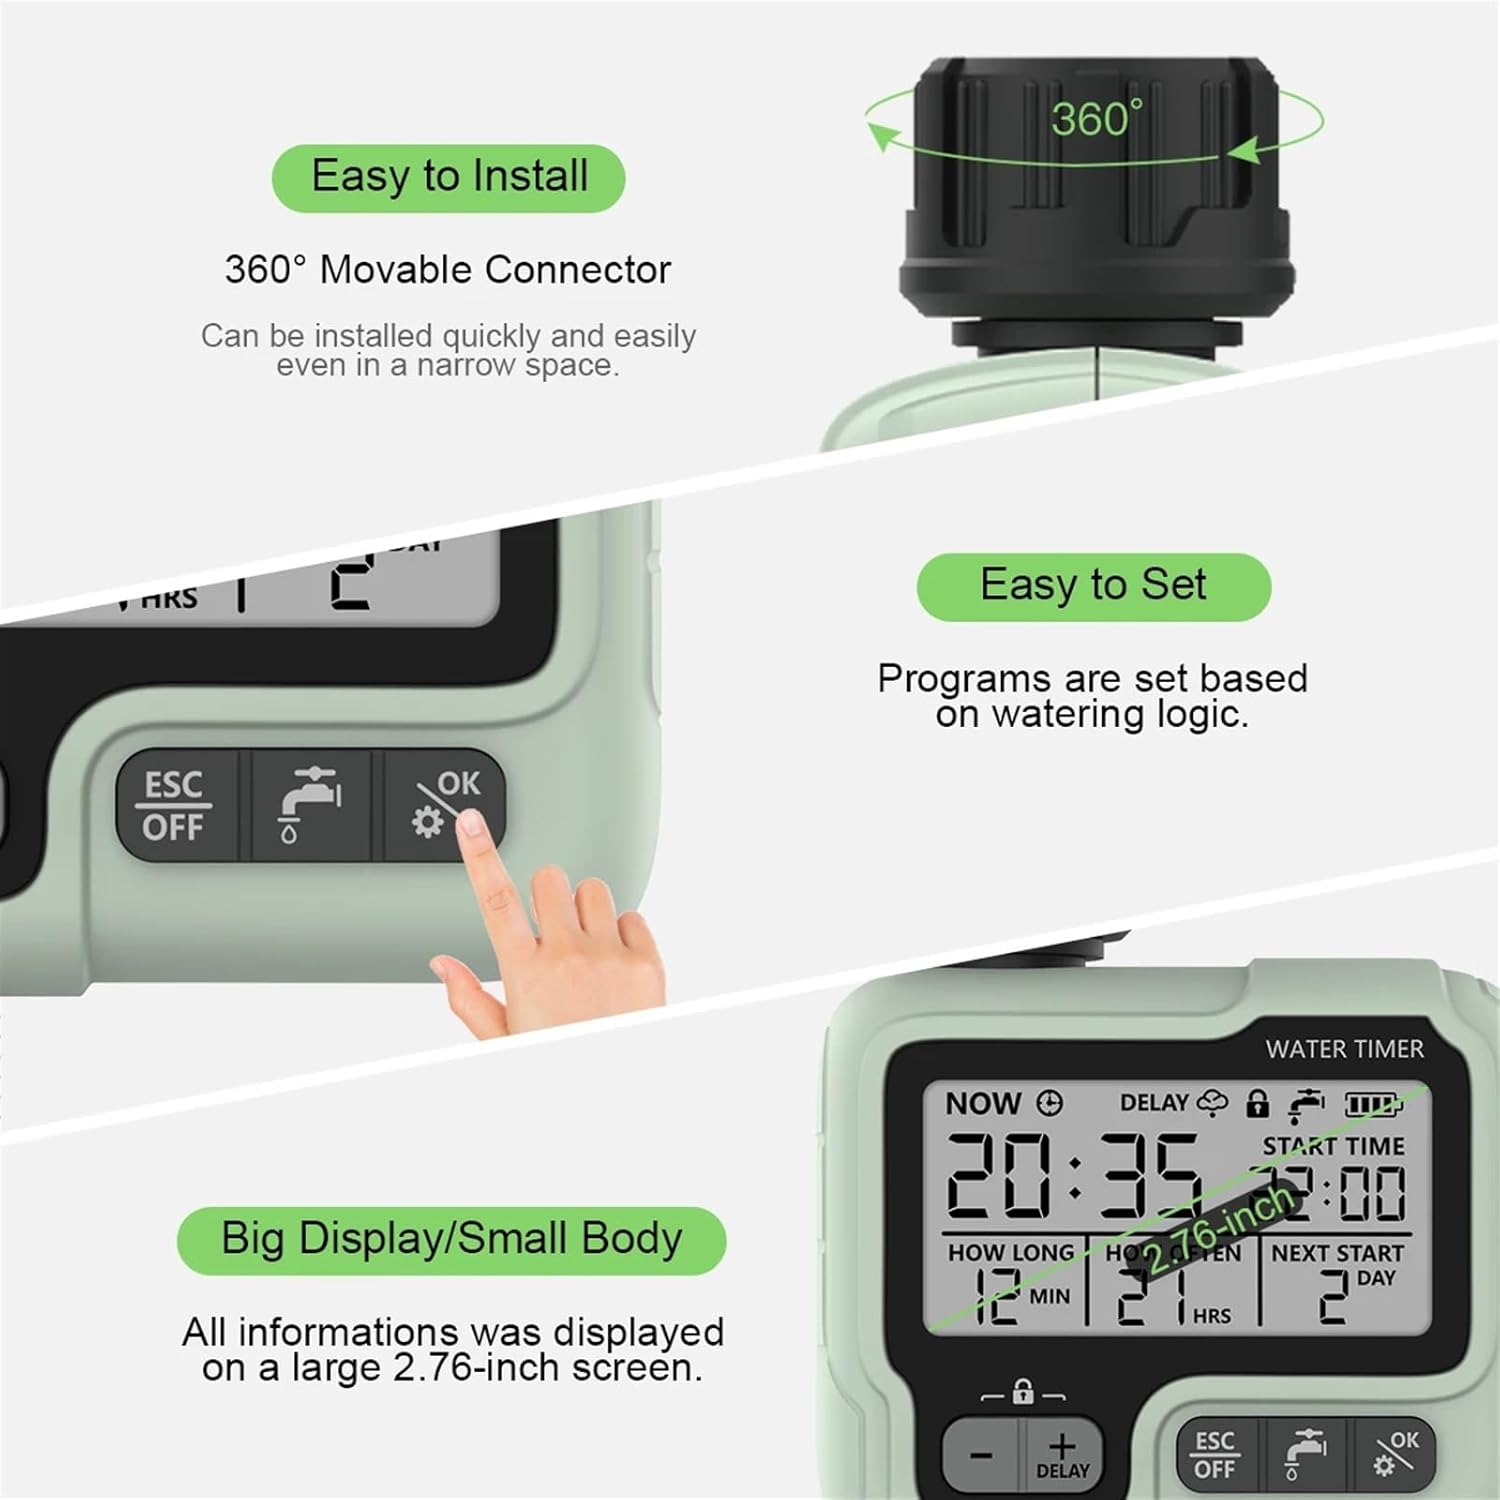
Image 2.1: This image illustrates key features such as the 360° movable connector for easy installation, the intuitive interface for easy setting, and the large display for clear information.
3. Setup
3.1 Battery Installation
The timer requires batteries for operation. Locate the battery compartment, typically on the back or side of the unit. Insert the required batteries, ensuring correct polarity. Close the compartment securely.
3.2 Connecting the Water Timer
- Ensure your outdoor faucet is turned off.
- Screw the water timer onto your outdoor faucet. Hand-tighten only to prevent damage.
- Connect your garden hose to the outlet of the water timer.
- Turn on your outdoor faucet. The timer is now ready for programming.
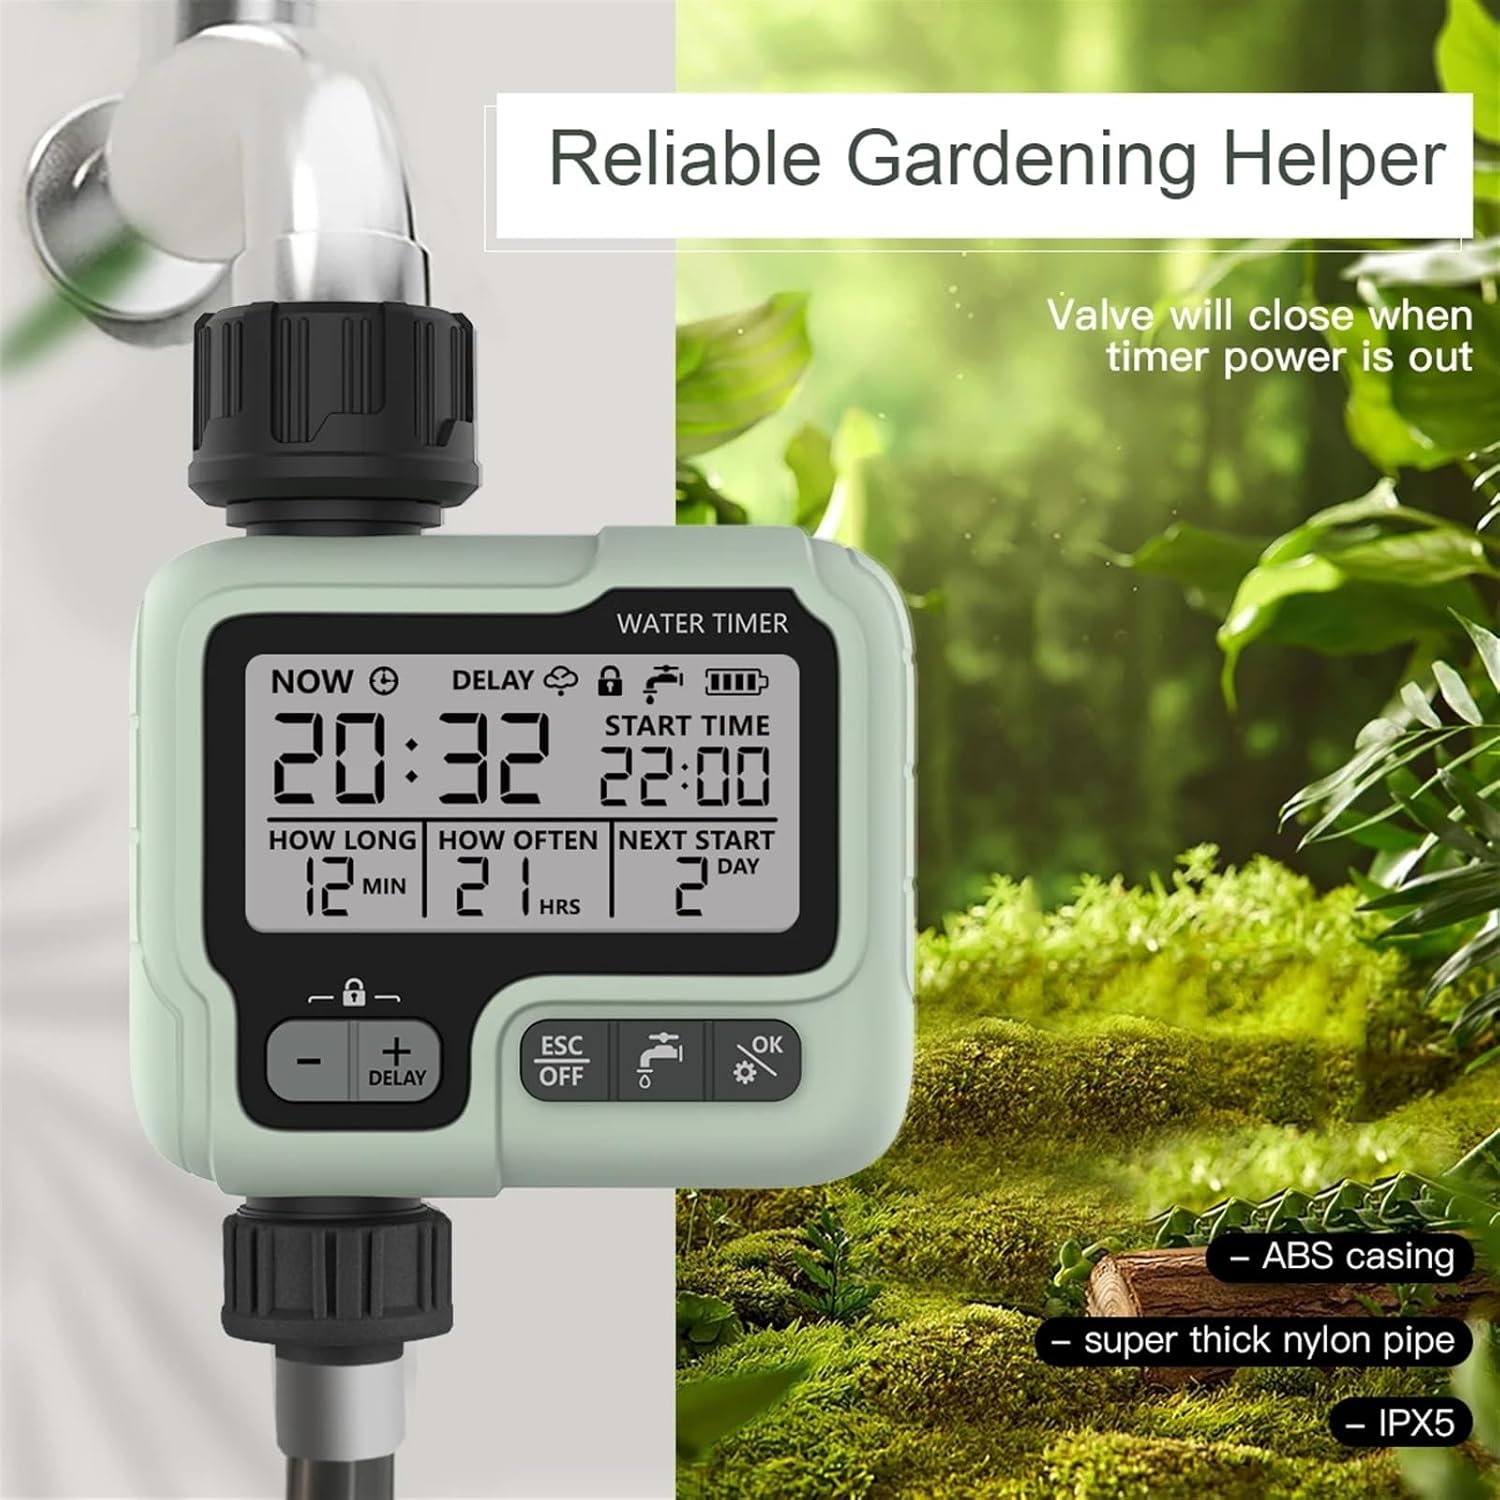
Image 3.1: The water timer is shown securely connected to an outdoor faucet, ready for use in a garden environment. This demonstrates a typical installation scenario.
4. Operating Instructions
The timer features a clear digital display and intuitive buttons for programming. The main display shows the current time, start time, watering duration, frequency, and next start day/time.

Image 4.1: A close-up of the timer's digital display, showing programmed settings: current time 20:32, start time 22:00, watering duration 12 minutes, watering frequency every 21 hours, and the next start in 2 days.
4.1 Setting Current Time
Refer to the specific instructions in your timer's quick start guide for setting the current time (NOW). This is usually done by pressing a dedicated button or holding the 'OK' button to enter time setting mode, then using '+' and '-' to adjust.
4.2 Programming Watering Schedule
The timer allows you to set three main parameters for your watering schedule:
- START TIME: The specific time of day when watering should begin.
- HOW LONG: The duration of each watering cycle (e.g., 1 minute to 99 minutes, or 1 second to 59 seconds).
- HOW OFTEN: The frequency of watering (e.g., every 1 hour to 23 hours, or every 1 day to 15 days).
Use the 'OK' button to cycle through the settings and the '+' and '-' buttons to adjust values. Confirm each setting with 'OK'.

Image 4.2: This image displays the adjustable ranges for 'How Long' (1 second to 59 seconds, 1 minute to 99 minutes) and 'How Often' (1 hour to 23 hours, 1 day to 15 days) settings, providing a visual guide for programming.
4.3 Additional Functions
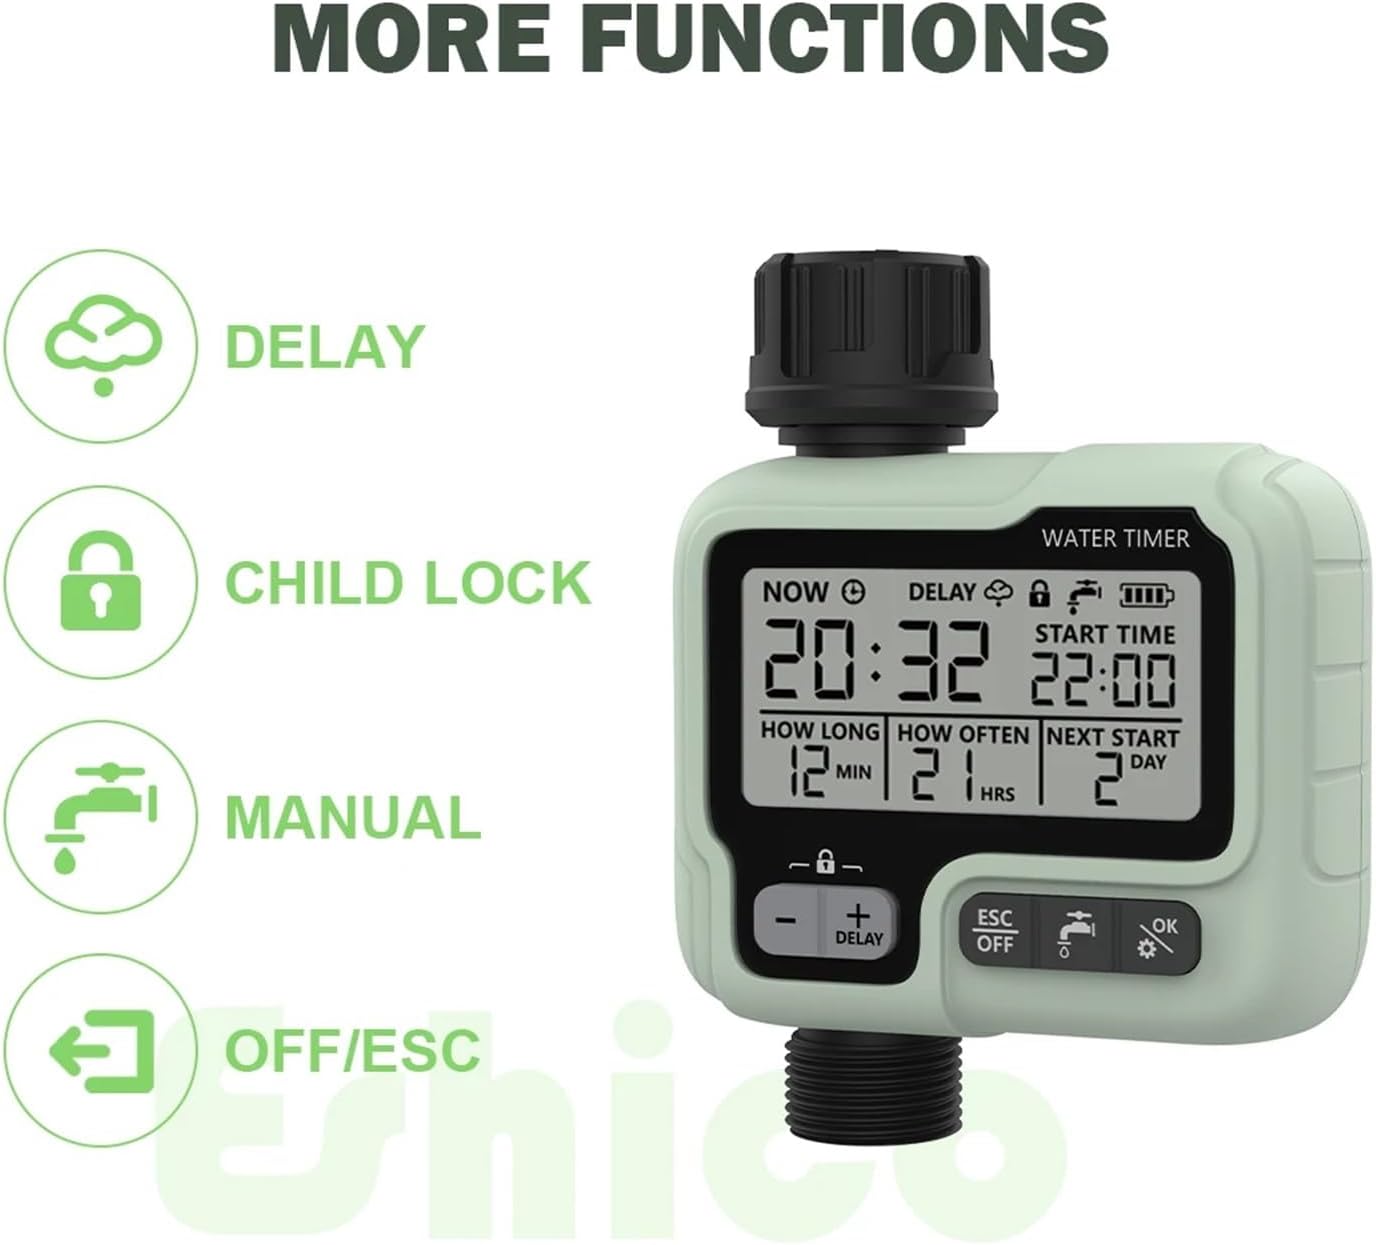
Image 4.3: This image highlights the icons and labels for the timer's additional functions: Delay, Child Lock, Manual watering, and OFF/ESC (Escape/Off).
- Delay Function: Press the 'DELAY' button (often combined with '+') to postpone the next scheduled watering cycle by a set amount of time. This is useful for unexpected rain.
- Child Lock: Activate the child lock feature (indicated by a lock icon) to prevent unauthorized or accidental changes to the programmed settings. Refer to your timer's specific instructions for activation/deactivation.
- Manual Mode: Press the 'MANUAL' button (often indicated by a faucet icon) to initiate immediate watering outside of the programmed schedule. You can typically set a duration for this manual watering. Press 'ESC' to stop manual watering.
- OFF/ESC: The 'ESC' or 'OFF' button is used to exit programming modes or to turn off the watering schedule entirely.
5. Maintenance
5.1 Cleaning the Filter
The water timer is equipped with a removable filter to prevent debris from clogging the unit. Periodically inspect and clean this filter to ensure optimal water flow and timer performance.
- Turn off the water supply to the timer.
- Carefully unscrew the timer from the faucet.
- Locate the filter screen at the inlet.
- Remove the filter and rinse it under running water to clear any accumulated debris.
- Reinsert the clean filter and reattach the timer to the faucet.
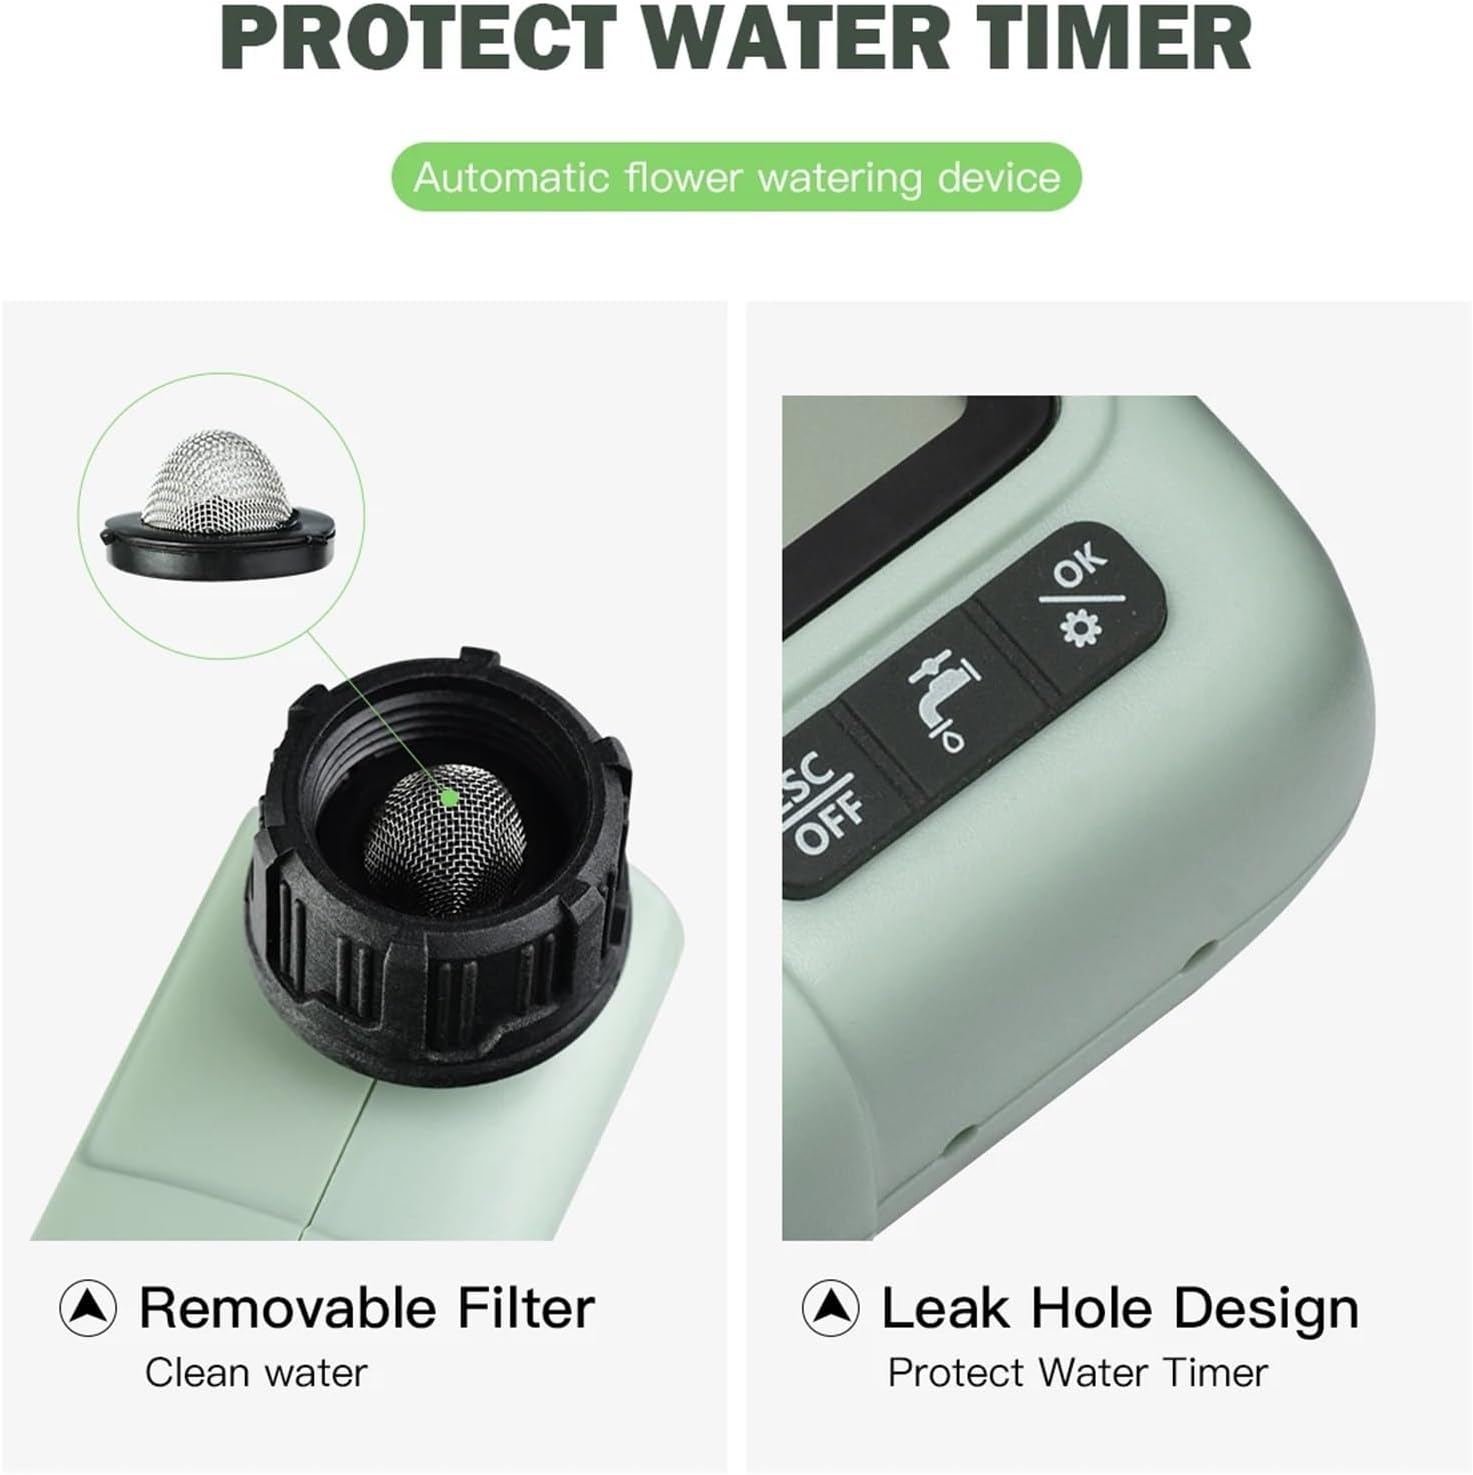
Image 5.1: This image shows the removable filter at the water inlet, emphasizing its importance for clean water flow. It also points out the leak hole design, which helps protect the timer.
5.2 Winter Storage
During freezing temperatures, remove the water timer from the faucet and store it indoors in a dry, frost-free location. This prevents damage from freezing water expansion.
6. Troubleshooting
- No Water Flow:
- Check if the faucet is fully open.
- Ensure batteries are installed correctly and have sufficient charge.
- Clean the inlet filter for any blockages.
- Verify that the watering schedule is correctly programmed and not in 'OFF' mode.
- Display Not Working:
- Replace batteries with new ones.
- Ensure battery compartment is dry and free of corrosion.
- Incorrect Watering Times:
- Re-check your programmed 'START TIME', 'HOW LONG', and 'HOW OFTEN' settings.
- Ensure the current time is set accurately.
- Water Leaks:
- Ensure all connections are hand-tightened.
- Check rubber washers for proper seating and damage. Replace if necessary.
7. Specifications
| Specification | Detail |
|---|---|
| Model Number | HCT-322 |
| Brand | SanmeiLi |
| Material | Plastic |
| Item Weight | 50 Grams (1.76 ounces) |
| Number of Settings | 5 (referring to programmable parameters) |
| Package Dimensions | 1.18 x 0.79 x 0.39 inches |
8. Warranty and Support
For warranty information or technical support, please refer to the contact details provided with your purchase or visit the official SanmeiLi website. Keep your purchase receipt for warranty claims.