1. Introduction
This manual provides instructions for assembling, operating, and maintaining the E IDEA ROBOTICS Automatic Irrigation DIY Kit. This kit is designed to create a self-watering system for plants using capacitive soil moisture sensors, water pumps, and a 4-channel relay module. It is suitable for indoor plants, small gardens, or experimental agricultural projects, helping to maintain optimal soil moisture levels with minimal manual intervention. Please note that a microcontroller board for automation control is not included in this kit and must be sourced separately.
2. Components Included
The E IDEA ROBOTICS Automatic Irrigation DIY Kit includes the following components:
- 4 x Water Pumps with Tubing
- 4 x Capacitive Soil Moisture Sensors with Probes
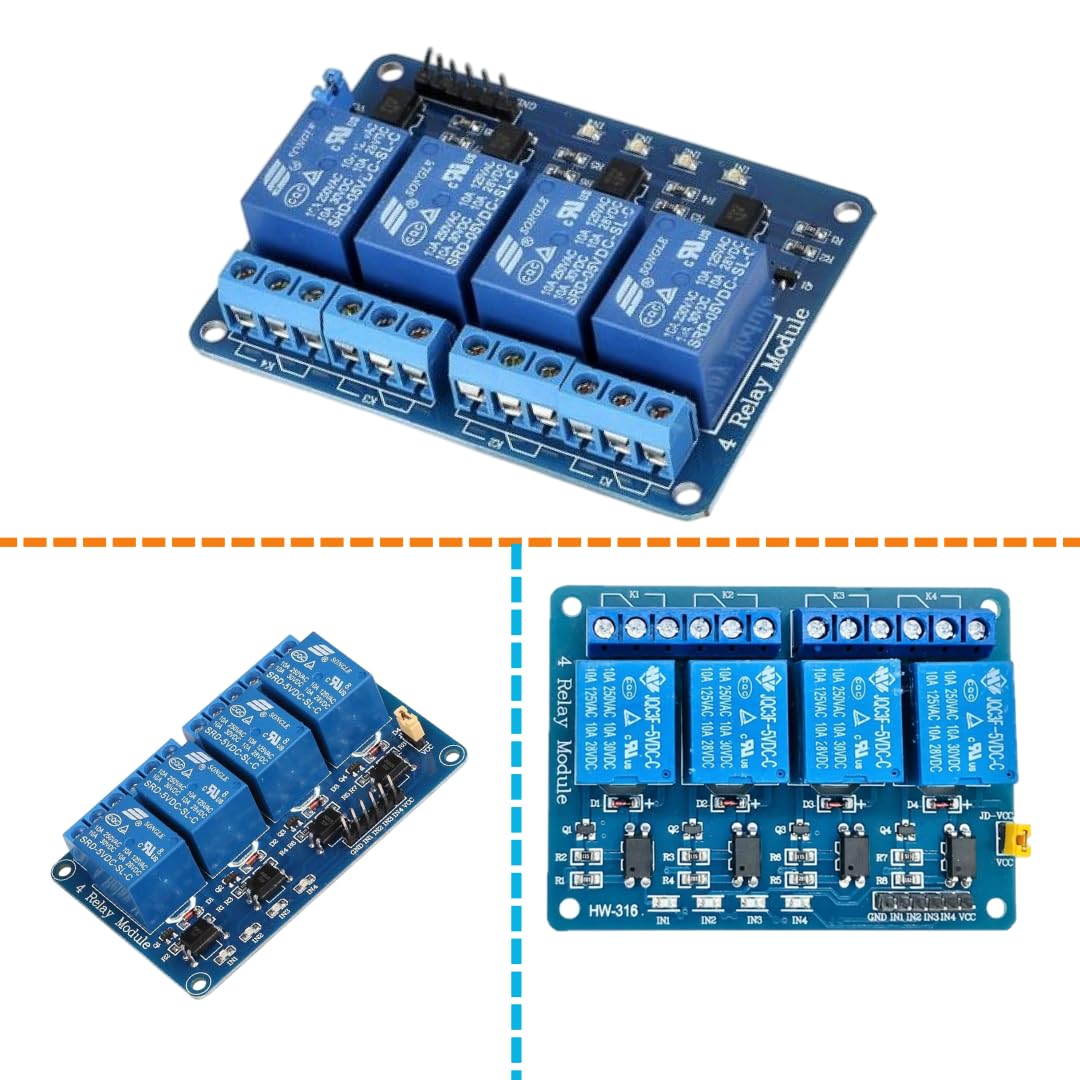
- 1 x 4-Channel Relay Module
- Jumper Wires (various colors and lengths)
- Mounting Accessories (e.g., zip ties)


3. Setup Instructions
Follow these steps to assemble your automatic irrigation system. A microcontroller (e.g., Arduino) is required for programming and control, but is not included.
- Prepare the Microcontroller: Ensure your chosen microcontroller board is ready for programming. Install any necessary IDEs (e.g., Arduino IDE) and drivers on your computer.
- Connect Soil Moisture Sensors:
- Connect each capacitive soil moisture sensor to your microcontroller. Typically, these sensors have VCC, GND, and an Analog Output pin.
- Connect VCC to 3.3V or 5V (depending on sensor/microcontroller compatibility), GND to Ground, and the Analog Output pin to an analog input pin on your microcontroller (e.g., A0, A1, A2, A3).
- Insert the sensor probes into the soil of the plants you wish to monitor. Ensure the entire probe surface is in contact with the soil.
- Connect the 4-Channel Relay Module:
- Connect the VCC pin of the relay module to the 5V pin of your microcontroller.
- Connect the GND pin of the relay module to the GND pin of your microcontroller.
- Connect the IN1, IN2, IN3, IN4 pins of the relay module to digital output pins on your microcontroller (e.g., D2, D3, D4, D5). These pins will control each of the four water pumps.
- Connect Water Pumps to Relay Module:
- Each water pump has two wires. Connect one wire from each pump to the Normally Open (NO) terminal of a corresponding relay channel on the 4-channel relay module.
- Connect the other wire from each pump to a common power source (e.g., a separate 5V power supply or the microcontroller's 5V if it can handle the current for all pumps).
- Connect the Common (COM) terminal of each relay channel to the positive terminal of the pump's power source.
- Ensure all connections are secure.
- Install Tubing:
- Attach the clear tubing to the outlet nozzle of each water pump.
- Route the tubing to the base of the plants you intend to water. You can use the provided zip ties to secure the tubing in place.
- Program the Microcontroller:
- Write or upload a program to your microcontroller. The program should read the analog values from the soil moisture sensors.
- Based on predefined moisture thresholds, the program should activate the corresponding relay channel (setting the digital output pin HIGH or LOW, depending on your relay module's logic) to turn the water pump ON or OFF.
- Test the system thoroughly before leaving it unattended.
4. Operating Instructions
Once the system is fully assembled and programmed, it will operate automatically based on the logic defined in your microcontroller's code.
- Automated Watering: The soil moisture sensors continuously monitor the moisture levels in the soil. When the moisture level drops below the programmed threshold, the microcontroller will activate the corresponding relay, turning on the water pump for that plant.
- Water Delivery: The activated pump will draw water from its source (e.g., a reservoir) and deliver it through the tubing to the plant until the soil moisture sensor detects that the optimal level has been reached, at which point the pump will turn off.
- Monitoring: You can monitor the system's performance by observing your plants' health and, if your microcontroller setup allows, by viewing sensor readings or pump status through a serial monitor or display.
- Adjusting Thresholds: If plants appear over- or under-watered, adjust the moisture thresholds in your microcontroller's program to fine-tune the watering schedule.
5. Maintenance
Regular maintenance ensures the longevity and efficiency of your automatic irrigation system.
- Sensor Cleaning: Periodically remove soil moisture sensors and gently clean any accumulated dirt or mineral deposits from the probes. This helps maintain accurate readings.
- Pump Inspection: Check water pumps for any blockages or signs of wear. Ensure the impellers are free to move.
- Tubing Check: Inspect tubing for kinks, leaks, or blockages. Ensure water flows freely to all plants.
- Water Source: Ensure the water reservoir (not included) is clean and adequately filled. Prevent algae growth by cleaning the reservoir regularly.
- Electrical Connections: Verify that all jumper wire connections are secure and free from corrosion.
- Software Updates: If you are using a programmable microcontroller, consider updating your code or libraries as needed for improved performance or new features.
6. Troubleshooting
Here are some common issues and their potential solutions:
| Problem | Possible Cause | Solution |
|---|---|---|
| Pump not turning on | Incorrect wiring; Relay not activating; Low water level in reservoir; Pump blockage; Microcontroller program error. | Check all electrical connections; Verify relay status (LEDs); Refill water reservoir; Inspect pump for debris; Review and debug microcontroller code. |
| Pump runs continuously | Sensor not detecting moisture; Sensor faulty; Microcontroller program error; Relay stuck ON. | Ensure sensor is properly inserted in soil; Clean sensor probe; Check sensor wiring; Debug microcontroller code (check moisture thresholds); Test relay functionality. |
| Inaccurate moisture readings | Sensor dirty; Sensor not fully in soil; Sensor faulty; Calibration issue in code. | Clean sensor probe; Re-insert sensor firmly into soil; Replace sensor if faulty; Recalibrate sensor readings in microcontroller code. |
| Water not reaching plant | Tubing kinked or blocked; Pump not strong enough; Leak in tubing. | Inspect and clear tubing; Ensure pump is adequately powered; Check for and repair any leaks. |
7. Specifications
| Feature | Detail |
|---|---|
| Brand | Generic |
| Model Name | E Idea Robotics Automatic Irrigation Kit |
| Model Number | kit-15 |
| Style | DIY Electronic Kit |
| Material | Plastic |
| Item Dimensions | 20 x 15 x 5 Centimeters |
| Item Weight | 60 Grams |
| Hose Length | 10 Centimetres (per pump) |
| Number of Sets | 1 (comprising multiple components) |
| Number of Pieces | 8 (as per product listing: arduno,soil-m,relay,pipe,pump moter,jumperwire,swich) |
| Power Source Type | USB/Battery Powered (via microcontroller, not included) |
| Special Features | Automatic Watering |
| Control Type | Electronic (via user-supplied microcontroller) |
| Country of Origin | India |
8. Warranty and Support
This product is a DIY kit, and as such, specific warranty details may vary. Please refer to the retailer's return policy for information regarding returns or exchanges. For technical support related to the components or general guidance on assembly, you may contact the manufacturer, E-IDEA-ROBOTICS, through their provided contact information if available, or consult online DIY electronics communities for assistance with microcontroller programming and integration.