
1. Introduction
This manual provides essential information for the safe and effective use of your RDSJK 6800mAh Li-ion vacuum battery replacement. Please read these instructions carefully before installation and operation to ensure optimal performance and longevity of your battery.
2. Product Specifications

Figure 2.1: Battery Product Parameters. This image displays the key electrical specifications and regulatory markings on the battery label, including a serial number example like P20082101050054801TW1.
- Battery Type: Li-ion
- Voltage: 14.4V / 14.8V
- Capacity: 6800mAh / 80.64Wh
- Cells: 8-Cell
- Dimensions: Approximately 5.9 x 1.96 x 1.96 inches
- Item Weight: Approximately 14.1 ounces
- Replace Part Numbers: NR18650 M26-4S2P, H18650CH-4S2P, SUN-INTE-181
3. Compatibility
This replacement battery is designed to be compatible with a wide range of robot vacuum cleaner models. Please verify your vacuum cleaner's model number against the list below:

Figure 3.1: Compatible Robot Vacuum Cleaners. This image illustrates several robot vacuum models that are compatible with this battery.
- Coredy: L900, L900W, L900X
- Proscenic: M6, M7, M8 Pro, M7 Max, U6 Robot Vacuum Cleaner
- Uoni: S1, V980 Pro, V980 Max, V980 Plus
- LDS: M7 Pro, M8 Pro
- ROIDMI: EVE PLUS
- Lydsto: R1 Pro, S1 Pro, G2
- VIOMI: S9, alpha 2 Pro, alpha 2 Pro Plus, VXVC15-JC, VXVC16-JC, VXVC23, A1, ALPHA UV
- Onson: J30 Pro
- Lenovo: LR1, S9 VXVC07, 1112131415
- Kyvol: S31, Cybovac S31
- Xiaomi Viomi: S9 D800
- Viomi: A1, ALPHA UV
- AIRROBO: T10+
- NEABOT: N2 Series Vacuum Cleaner
4. Safety Information
Your RDSJK battery is equipped with multiple protection features to ensure safe operation. Adhere to the following safety guidelines:

Figure 4.1: Multiple Protection Features. This image highlights the various safety mechanisms integrated into the battery.
- Integrated Protection: The battery features built-in over-temperature protection, overheating protection, anti-overcharge, over-discharge, over-voltage, over-current, and short-circuit protection chips.
- Installation: Ensure the battery is installed correctly according to your vacuum cleaner's instructions.
- Charging: Use only the original charger or a compatible charger specified by your vacuum cleaner manufacturer.
- Storage: Store the battery in a cool, dry place away from direct sunlight, heat sources, and flammable materials.
- Disposal: Do not dispose of the battery in fire or water. Recycle responsibly according to local regulations.
- Damage: Do not use if the battery casing is damaged, swollen, or leaking. Contact support if you suspect damage.
- Modification: Do not attempt to disassemble, puncture, or modify the battery.
5. Installation (Setup)
Replacing your robot vacuum's battery is a straightforward process. Follow these general steps. Refer to your specific robot vacuum cleaner's user manual for detailed instructions on accessing the battery compartment.
- Power Off: Ensure your robot vacuum cleaner is completely powered off and disconnected from its charging base.
- Access Battery Compartment: Locate and open the battery compartment on your robot vacuum. This is typically on the underside and may require a screwdriver.
- Remove Old Battery: Carefully disconnect the old battery's connector from the vacuum's port. Remove the old battery.
- Verify Connector: Before installing the new battery, confirm that its connector matches the one in your vacuum cleaner.
- Install New Battery: Connect the new RDSJK battery's plug firmly into the vacuum's port. Place the battery into the compartment.
- Close Compartment: Securely close the battery compartment cover.
- Initial Charge: Place your robot vacuum on its charging base for a full charge before its first use with the new battery.

Figure 5.1: Battery Connector Detail. This image shows the battery's connector, which must match your original battery for proper installation.
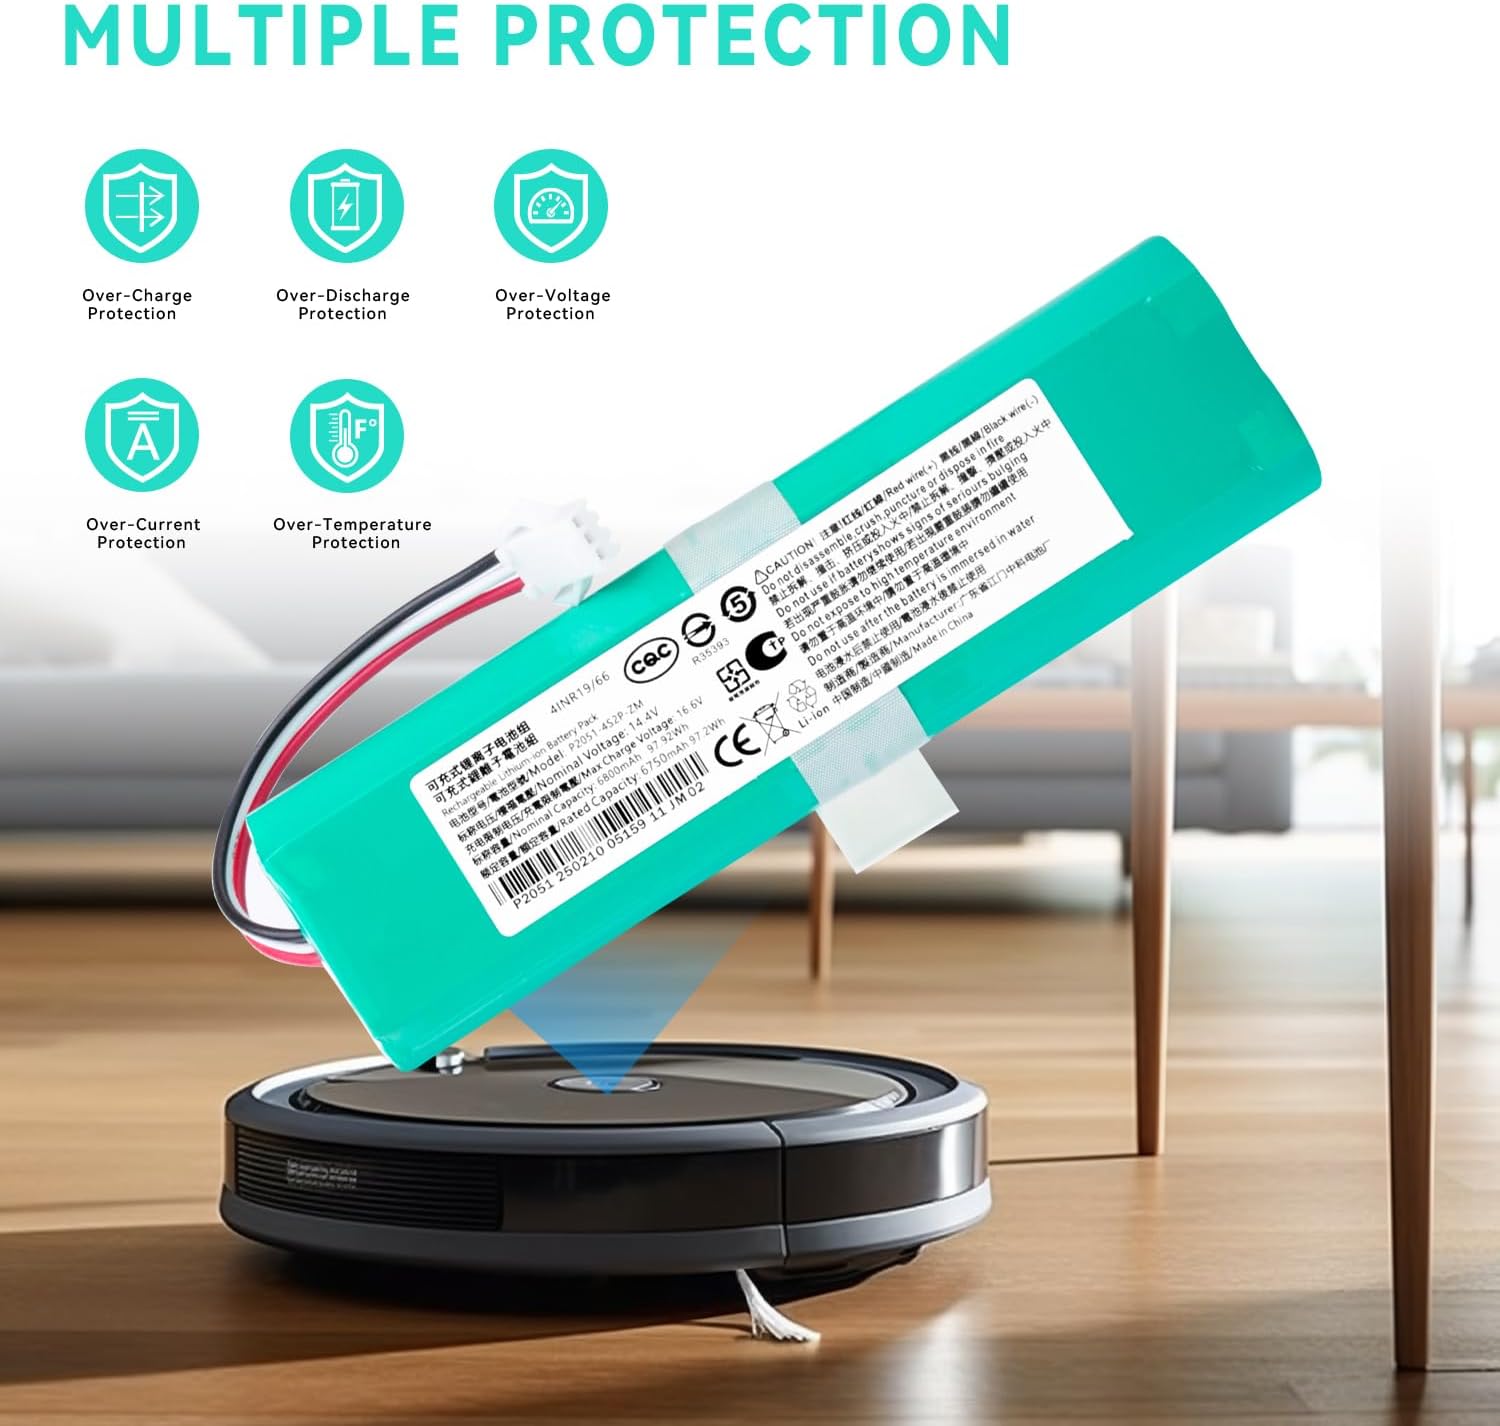
Figure 5.2: Battery Rear View. This image displays the battery from the back, showing the wiring and connector.
The installation process is designed to be quick and easy, typically taking around 2 minutes.
6. Operation
Once installed and fully charged, your robot vacuum cleaner will operate with renewed power and extended runtime. The 6800mAh capacity ensures powerful energy for thorough cleaning.

Figure 6.1: Powerful Cleaning Performance. This image demonstrates the battery's ability to power robot vacuums for effective cleaning of various floor contaminants.
- First Use: After installation, fully charge the battery before operating the vacuum.
- Regular Charging: Always return the robot vacuum to its charging base after use to ensure it's ready for the next cleaning cycle.
- Discharge Cycle: For optimal battery health, occasionally allow the battery to discharge significantly before a full recharge.
7. Maintenance
Proper maintenance can extend the life of your battery and ensure consistent performance.
- Cleaning: Keep the battery and its contacts clean and free from dust or debris.
- Temperature: Avoid exposing the battery to extreme temperatures (very hot or very cold) as this can degrade performance and lifespan.
- Long-Term Storage: If storing the battery for an extended period (e.g., several months), charge it to approximately 50-60% capacity and store it in a cool, dry place. Recharge it every 3-6 months to prevent deep discharge. The battery is designed for low self-discharge, retaining approximately 80% capacity after one year of non-use.

Figure 7.1: Low Self-Discharge Feature. This graph demonstrates the battery's ability to retain a significant charge even after a year of storage.
8. Troubleshooting
If you encounter issues with your new battery, consider the following common solutions:
- Battery Not Charging:
- Ensure the battery is correctly installed and the connector is firmly seated.
- Verify that the charging base and power adapter are functioning correctly.
- Clean the charging contacts on both the vacuum and the charging base.
- Short Runtime:
- Ensure the battery has been fully charged.
- Check for any obstructions in the vacuum's brushes or wheels that might be causing increased power consumption.
- If the issue persists after several charge/discharge cycles, the battery may require replacement.
- Vacuum Not Powering On:
- Confirm the battery is properly installed and charged.
- Check your vacuum cleaner's main power switch.
For persistent issues, refer to your robot vacuum cleaner's original manual or contact customer support.
9. Warranty and Support
This RDSJK battery replacement is manufactured to work as genuine parts with the exact same plug and size, ensuring a perfect fit and performance comparable to the original. For any questions, technical assistance, or warranty inquiries, please contact your retailer or the manufacturer directly.
Manufacturer: RDSJK