Introduction
This user manual provides detailed instructions for the AirheadStorm Replacement Kit, designed for Mamibot EXVAC650, EXVAC660, EXVAC680S, and EXVAC880 robotic vacuum cleaners. This kit includes essential components to maintain your vacuum's cleaning efficiency and extend its lifespan. Please read this manual thoroughly before installation and use.
Kit Contents
The AirheadStorm Replacement Kit includes the following components:
- 1 Main Brush: Designed for deep cleaning and debris collection.
- 4 Side Brushes: For sweeping dirt from edges and corners.
- 4 Filters: To capture fine particles and maintain air quality.
- 4 Mop Cloths: For wet cleaning and polishing hard floors.
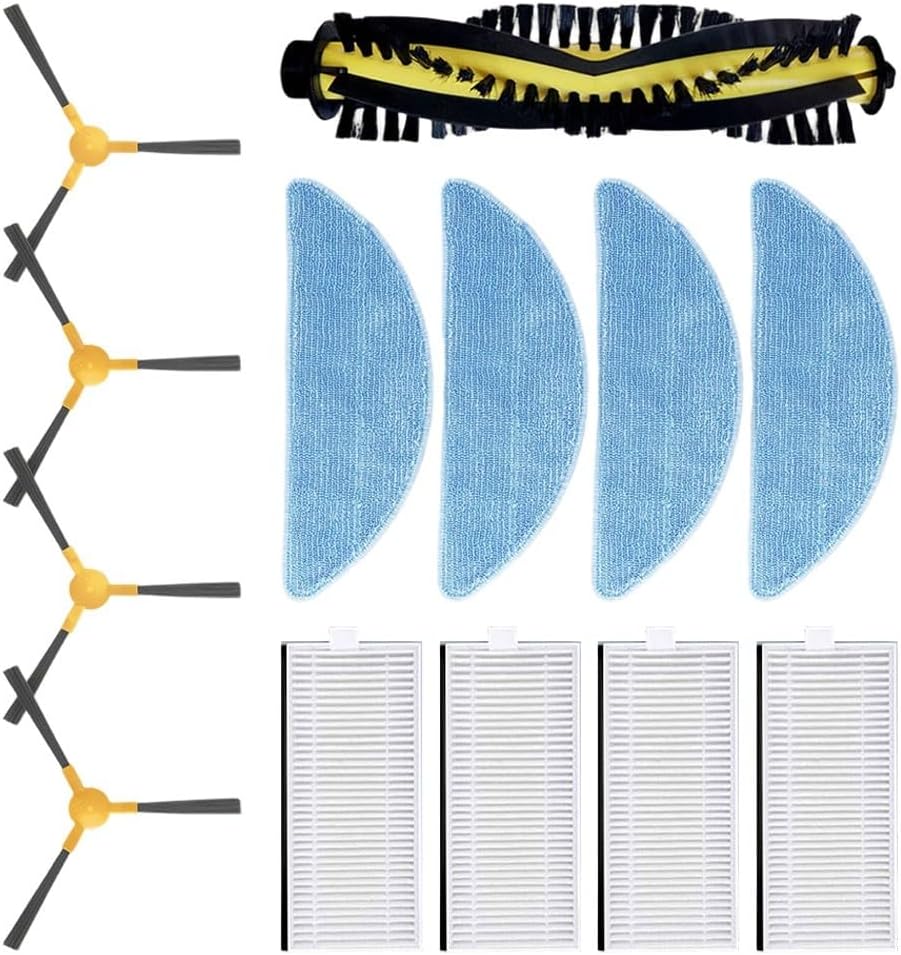
Image 1: An overview of the AirheadStorm Replacement Kit, showing one main brush, four side brushes, four filters, and four mop cloths arranged neatly.
Setup and Installation
Before installing any replacement parts, ensure your Mamibot robotic vacuum cleaner is powered off and unplugged from its charging base.
1. Main Brush Installation
- Turn the robot vacuum upside down.
- Locate the main brush cover, usually secured by latches or screws.
- Open the cover and remove the old main brush.
- Insert the new AirheadStorm main brush into the designated slot, ensuring it clicks into place.
- Close the main brush cover securely.

Image 2: Close-up view of the AirheadStorm main brush, featuring yellow and black bristles designed for effective debris collection.
2. Side Brush Installation
- Turn the robot vacuum upside down.
- Locate the side brushes, typically held by a single screw.
- Unscrew and remove the old side brushes.
- Align the new AirheadStorm side brushes with the corresponding posts and secure them with the screws.

Image 3: A set of four AirheadStorm side brushes, each with three black bristles and a yellow base, designed to sweep debris from edges.
3. Filter Installation
- Open the dustbin compartment of your robot vacuum.
- Remove the dustbin.
- Locate the filter housing within the dustbin and remove the old filter.
- Insert a new AirheadStorm filter into the housing, ensuring it fits snugly.
- Reinsert the dustbin into the vacuum cleaner.

Image 4: Four white AirheadStorm filters, designed to capture fine dust and allergens, shown with their pleated structure.
4. Mop Cloth Installation
- Locate the mop cloth attachment on your robot vacuum (if applicable to your model).
- Remove the used mop cloth.
- Attach a new AirheadStorm mop cloth to the designated area, ensuring it is securely fastened.
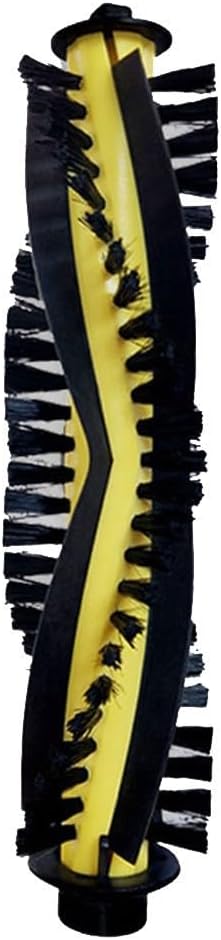
Image 5: Four blue AirheadStorm mop cloths, designed for wet cleaning, shown with their textured surface.
Operating Principles
Once installed, these replacement parts work in conjunction with your Mamibot robotic vacuum to ensure comprehensive cleaning:
- Main Brush: The main brush rotates rapidly to agitate and lift dirt, dust, and debris from various floor types, directing it towards the vacuum's suction inlet.
- Side Brushes: These brushes spin to sweep debris from edges, corners, and along walls into the path of the main brush and suction inlet.
- Filters: The filters capture fine dust particles, allergens, and other airborne contaminants from the air expelled by the vacuum, contributing to cleaner indoor air quality.
- Mop Cloths: When attached to the water tank module (if present on your model), the mop cloths absorb water and gently wipe hard floors, removing fine dust and leaving a polished finish.
Maintenance
Regular maintenance of your replacement parts is crucial for optimal performance and longevity of your robotic vacuum.
Main Brush Maintenance
- Inspect the main brush weekly for tangled hair or debris.
- Use the cleaning tool (often provided with your vacuum) to cut and remove any tangled hair or fibers.
- Wipe the brush with a dry cloth.
- Replace the main brush every 6-12 months, or as needed, depending on usage.
Side Brush Maintenance
- Check side brushes regularly for wear, bending, or tangles.
- Remove any hair or debris caught around the brushes.
- If bristles are bent, you can try soaking them in warm water for a few minutes to reshape them.
- Replace side brushes every 3-6 months, or if they become visibly worn or damaged.
Filter Maintenance
- Tap the filter gently over a trash bin to remove accumulated dust after each cleaning cycle.
- Do not wash the filters with water unless explicitly stated by your vacuum's manufacturer, as this can damage the filter material.
- Replace filters every 1-3 months, or more frequently if you have pets or allergies.
Mop Cloth Maintenance
- Remove mop cloths after each use.
- Wash mop cloths by hand with mild detergent or machine wash on a gentle cycle.
- Allow mop cloths to air dry completely before reattaching them to the vacuum.
- Replace mop cloths when they show signs of significant wear or reduced cleaning effectiveness.
Troubleshooting
If you encounter issues after installing the replacement parts, consider the following:
- Parts not fitting: Ensure you have the correct replacement kit for your specific Mamibot EXVAC model (EXVAC650, EXVAC660, EXVAC680S, EXVAC880). Double-check alignment during installation.
- Reduced cleaning performance:
- Check if the main brush or side brushes are properly installed and free from obstructions.
- Ensure the filter is clean and not clogged. A dirty filter can reduce suction power.
- Verify that mop cloths are clean and correctly attached.
- Unusual noises: Remove and re-install brushes to ensure they are seated correctly. Check for any foreign objects caught in the brush mechanisms.
If problems persist, refer to your Mamibot robotic vacuum's original user manual or contact the vacuum manufacturer's support.
Specifications
| Attribute | Detail |
|---|---|
| Product Name | Main Brush Side Brushes Filter Mop Kit |
| Brand | AirheadStorm |
| Compatible Models | Mamibot EXVAC650, EXVAC660, EXVAC680S, EXVAC880 |
| Kit Contents | 1 Main Brush, 4 Filters, 4 Side Brushes, 4 Mop Cloths |
| Material | Nylon, Plastic, Filter Paper |
| Product Dimensions | 7.87 x 3.94 x 3.94 inches |
| Item Weight | 5.2 ounces |
| Model Number | 08ZPUAKI14KR9J2BRE57V84B1K |
| Date First Available | March 24, 2025 |