Introduction
This manual provides essential instructions for the proper installation, operation, and maintenance of your XIBEIKE Rear Trunk Liftgate Release Switch. Please read this manual thoroughly before installation and use to ensure safe and efficient performance. Keep this manual for future reference.
Product Overview
The XIBEIKE Rear Trunk Liftgate Release Switch is a replacement component designed to restore the functionality of your vehicle's tailgate or liftgate release mechanism. It is manufactured with durable materials and tested to ensure stable performance and compatibility with original equipment.
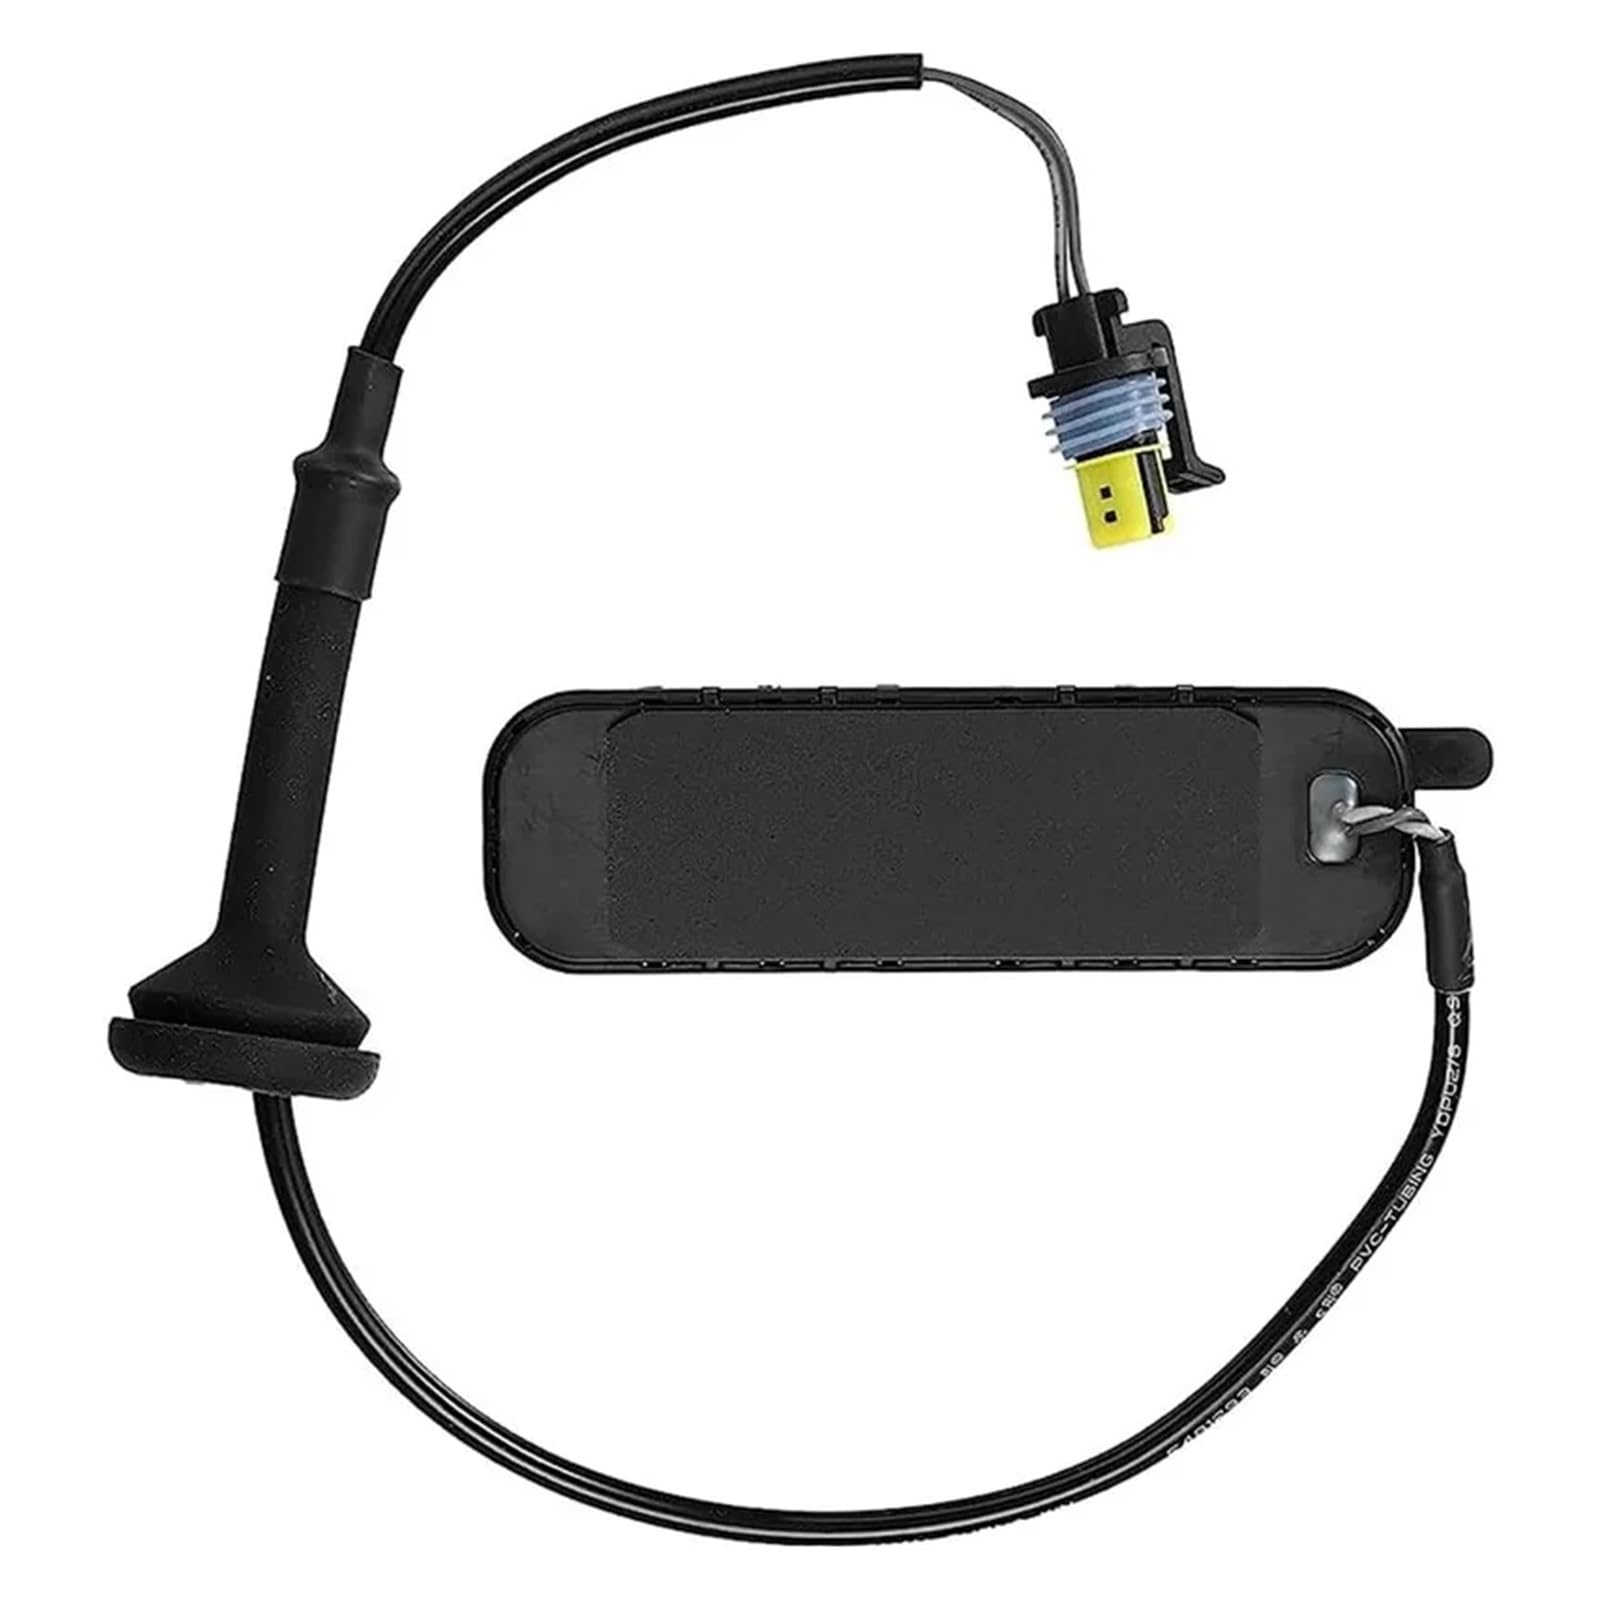
Image: The XIBEIKE Rear Trunk Liftgate Release Switch, shown with a vehicle's rear section in the background, illustrating its intended application.
Key Features:
- Newly manufactured and rigorously tested for stable performance.
- Constructed from environmentally friendly, safe, and reliable materials.
- Designed for perfect compatibility with original equipment.
- Features a non-slip surface treatment for enhanced stability.
- Simple installation procedure and convenient operation.
Compatibility
This Rear Trunk Liftgate Release Switch (OEM NO. 15106857) is designed for specific vehicle models. Please verify compatibility with your vehicle before installation.
Known Compatible Models:
- Chevrolet Suburban 1500
- Cadillac Escalade ESV
- GMC Yukon
Refer to your vehicle's service manual or consult a qualified technician to confirm the correct part number for your specific model year.
Specifications
| Attribute | Value |
|---|---|
| Part Number (OEM NO.) | 15106857 |
| Item Model Number | XIBEIKE1019 |
| Brand | XIBEIKE |
| Color | Black |
| Material | Plastic, Rubber |
| Dimension (L*W) | 10cm x 3cm (3.94'' x 1.18'') |
| Wire Length | 42cm (16.54'') |
| Item Weight | 1.76 ounces |
| Placement on Vehicle | Tailgate |
| Number of Pieces | 1 |
Safety Information
- Always disconnect the vehicle's battery before performing any electrical work to prevent electrical shock or damage to the vehicle's electrical system.
- Wear appropriate personal protective equipment (PPE) such as gloves and eye protection during installation.
- Ensure the vehicle is parked on a level surface with the parking brake engaged before beginning work.
- If you are unsure about any step of the installation process, consult a qualified automotive technician.
- Keep small parts away from children.
Setup and Installation
This section outlines the general steps for replacing the rear trunk liftgate release switch. Specific procedures may vary slightly depending on your vehicle model. It is recommended to consult your vehicle's service manual for detailed instructions.
Tools You May Need:
- Basic hand tools (screwdrivers, trim removal tools, sockets)
- Multimeter (for testing electrical connections, if needed)
- Work light
Installation Steps:
- Prepare the Vehicle: Park the vehicle on a level surface, engage the parking brake, and turn off the ignition. Disconnect the negative terminal of the vehicle's battery to prevent electrical hazards.
- Access the Switch: Locate the existing liftgate release switch. This typically involves removing interior trim panels from the tailgate or liftgate. Use appropriate trim removal tools to avoid damage.
- Disconnect Old Switch: Once the old switch is accessible, carefully disconnect its electrical connector. There may be a locking tab that needs to be pressed or released.
- Remove Old Switch: Unmount the old switch from its housing. This may involve clips, screws, or a simple snap-in mechanism.
- Install New Switch: Position the new XIBEIKE switch (Model 15106857) into the housing. Ensure it fits securely.
- Connect Electrical Connector: Connect the vehicle's electrical harness to the new switch. Ensure the connection is firm and the locking tab (if present) is engaged.
- Test Functionality: Before reassembling the trim, reconnect the vehicle's battery. Test the new liftgate release switch to ensure it operates correctly. The liftgate should open smoothly when the button is pressed.
- Reassemble: If the switch functions correctly, carefully reassemble all removed trim panels. Ensure all clips and fasteners are properly secured.

Image: The XIBEIKE Rear Trunk Liftgate Release Switch showing the integrated electrical connector, ready for connection to the vehicle's wiring harness.

Image: A detailed view of the XIBEIKE Rear Trunk Liftgate Release Switch, highlighting the button mechanism, electrical connector, and rubber grommet for cable protection.
Operating Instructions
Once installed, the XIBEIKE Rear Trunk Liftgate Release Switch operates identically to the original equipment switch.
- To open the rear trunk or liftgate, locate the release switch on your vehicle's tailgate.
- Press the button firmly. The liftgate mechanism will activate, allowing you to open the trunk.

Image: A close-up view of the XIBEIKE Rear Trunk Liftgate Release Switch, focusing on the tactile button surface designed for easy operation.
Maintenance
The XIBEIKE Rear Trunk Liftgate Release Switch is designed for durability and requires minimal maintenance.
- Cleaning: Periodically wipe the exterior of the switch with a soft, damp cloth to remove dirt and debris. Avoid using harsh chemicals or abrasive cleaners.
- Inspection: Annually inspect the switch and its wiring for any signs of wear, damage, or loose connections. Ensure the rubber boot (if applicable) is intact to protect against moisture.
- Avoid Force: Do not apply excessive force when operating the switch.
Troubleshooting
If you encounter issues with your XIBEIKE Rear Trunk Liftgate Release Switch, consider the following troubleshooting steps:
| Problem | Possible Cause | Solution |
|---|---|---|
| Switch does not activate liftgate. |
|
|
| Liftgate opens intermittently. |
|
|
If troubleshooting steps do not resolve the issue, it is recommended to seek assistance from a qualified automotive technician.
Warranty and Support
For warranty information or technical support regarding your XIBEIKE Rear Trunk Liftgate Release Switch, please refer to the retailer where the product was purchased or contact the manufacturer directly. Keep your purchase receipt as proof of purchase.